check engine light SUZUKI IGNIS 2017 Owner's Manual
[x] Cancel search | Manufacturer: SUZUKI, Model Year: 2017, Model line: IGNIS, Model: SUZUKI IGNIS 2017Pages: 505, PDF Size: 8.36 MB
Page 137 of 505
2-114
BEFORE DRIVING
75RM4-01E
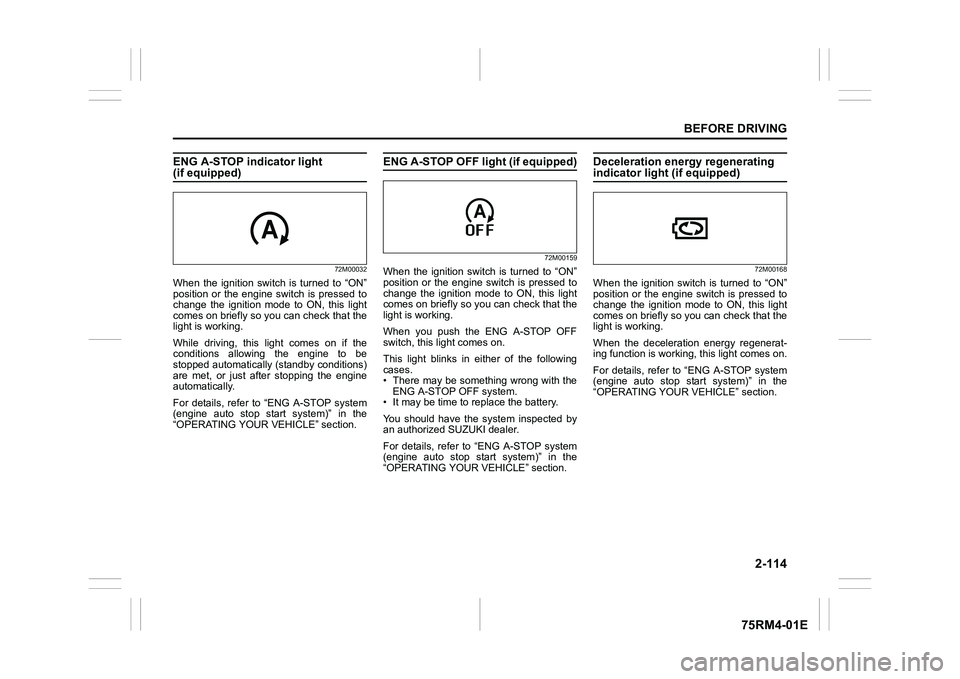
ENG A-STOP indicator light (if equipped)
72M00032
When the ignition switch is turned to “ON”
position or the engine switch is pressed to
change the ignition mode to ON, this light
comes on briefly so you can check that the
light is working.
While driving, this light comes on if the
conditions allowing the engine to be
stopped automatically (standby conditions)
are met, or just after stopping the engine
automatically.
For details, refer to “ENG A-STOP system
(engine auto stop start system)” in the
“OPERATING YOUR VEHICLE” section.
ENG A-STOP OFF light (if equipped)
72M00159
When the ignition switch is turned to “ON”
position or the engine switch is pressed to
change the ignition mode to ON, this light
comes on briefly so you can check that the
light is working.
When you push the ENG A-STOP OFF
switch, this light comes on.
This light blinks in either of the following
cases.
• There may be something wrong with theENG A-STOP OFF system.
• It may be time to replace the battery.
You should have the system inspected by
an authorized SUZUKI dealer.
For details, refer to “ENG A-STOP system
(engine auto stop start system)” in the
“OPERATING YOUR VEHICLE” section.
Deceleration energy regenerating indicator light (if equipped)
72M00168
When the ignition switch is turned to “ON”
position or the engine switch is pressed to
change the ignition mode to ON, this light
comes on briefly so you can check that the
light is working.
When the deceleration energy regenerat-
ing function is worki ng, this light comes on.
For details, refer to “ENG A-STOP system
(engine auto stop start system)” in the
“OPERATING YOUR VEHICLE” section.
Page 138 of 505
2-115BEFORE DRIVING
75RM4-01E
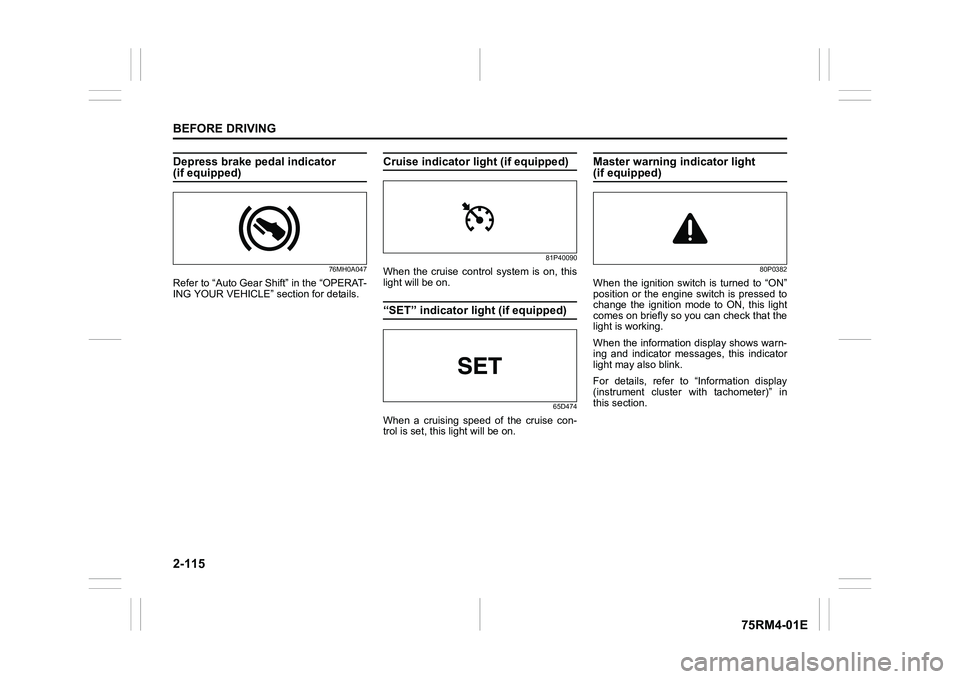
Depress brake pedal indicator (if equipped)
76MH0A047
Refer to “Auto Gear Shift” in the “OPERAT-
ING YOUR VEHICLE” section for details.
Cruise indicator light (if equipped)
81P40090
When the cruise control system is on, this
light will be on.“SET” indicator light (if equipped)
65D474
When a cruising speed of the cruise con-
trol is set, this light will be on.
Master warning indicator light (if equipped)
80P0382
When the ignition switch is turned to “ON”
position or the engine switch is pressed to
change the ignition mode to ON, this light
comes on briefly so you can check that the
light is working.
When the information display shows warn-
ing and indicator messages, this indicator
light may also blink.
For details, refer to “Information display
(instrument cluster with tachometer)” in
this section.
Page 154 of 505
3-1OPERATING YOUR VEHICLE
75RM4-01E
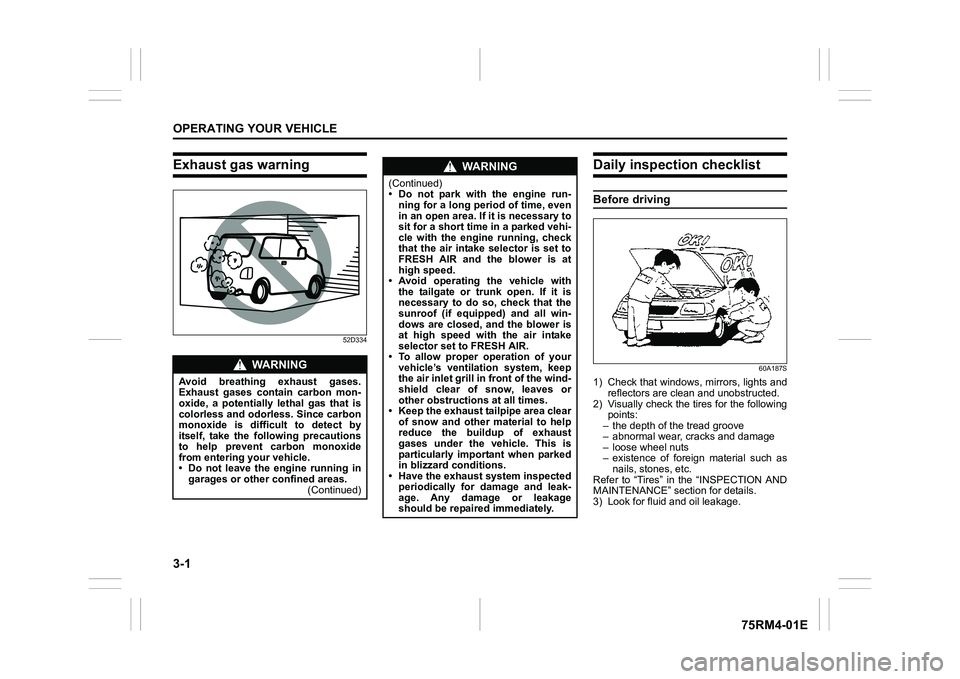
Exhaust gas warning
52D334
Daily inspection checklistBefore driving
60A187S
1) Check that windows, mirrors, lights andreflectors are clean and unobstructed.
2) Visually check the ti res for the following
points:
– the depth of the tread groove
– abnormal wear, cracks and damage
– loose wheel nuts
– existence of foreign material such as
nails, stones, etc.
Refer to “Tires” in the “INSPECTION AND
MAINTENANCE” section for details.
3) Look for fluid and oil leakage.
WA R N I N G
Avoid breathing exhaust gases.
Exhaust gases contain carbon mon-
oxide, a potentially lethal gas that is
colorless and odorless. Since carbon
monoxide is difficult to detect by
itself, take the following precautions
to help prevent carbon monoxide
from entering your vehicle.
• Do not leave the engine running in
garages or other confined areas. (Continued)
WA R N I N G
(Continued)
• Do not park with the engine run-
ning for a long period of time, even
in an open area. If it is necessary to
sit for a short time in a parked vehi-
cle with the engine running, check
that the air intake selector is set to
FRESH AIR and the blower is at
high speed.
• Avoid operating the vehicle with the tailgate or tr unk open. If it is
necessary to do so, check that the
sunroof (if equipped) and all win-
dows are closed, and the blower is
at high speed with the air intake
selector set to FRESH AIR.
• To allow proper operation of your vehicle’s ventilation system, keep
the air inlet grill in front of the wind-
shield clear of snow, leaves or
other obstructions at all times.
• Keep the exhaust tailpipe area clear
of snow and other material to help
reduce the buildup of exhaust
gases under the vehicle. This is
particularly important when parked
in blizzard conditions.
• Have the exhaust system inspected
periodically for damage and leak-
age. Any damage or leakage
should be repaired immediately.
Page 155 of 505
3-2
OPERATING YOUR VEHICLE
75RM4-01E
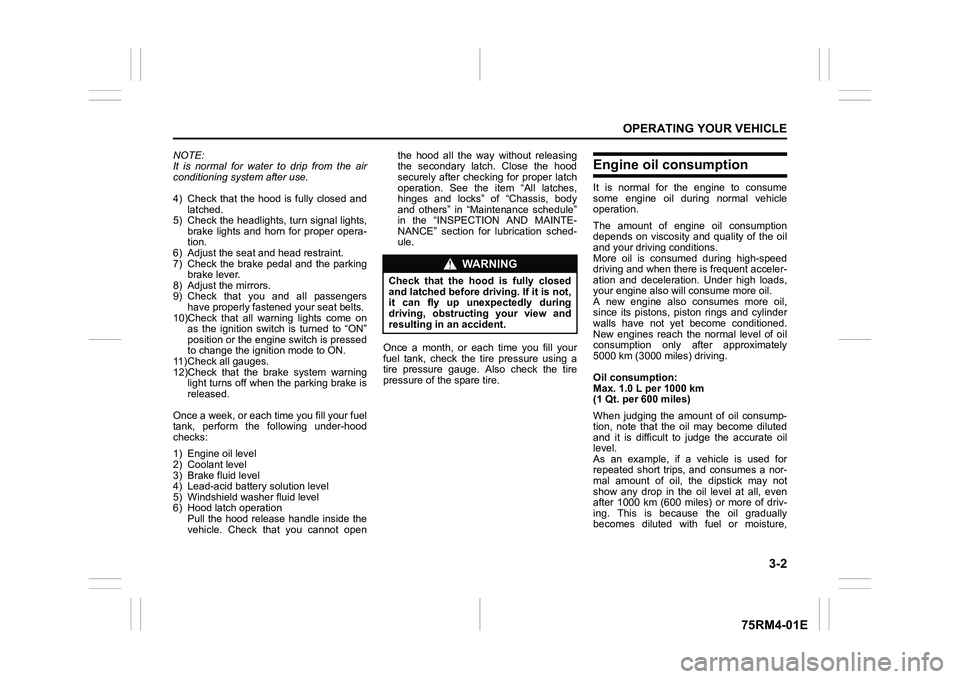
NOTE:
It is normal for water to drip from the air
conditioning system after use.
4) Check that the hood is fully closed andlatched.
5) Check the headlights, turn signal lights, brake lights and horn for proper opera-
tion.
6) Adjust the seat and head restraint.
7) Check the brake pedal and the parking brake lever.
8) Adjust the mirrors.
9) Check that you and all passengers have properly fastened your seat belts.
10)Check that all warning lights come on as the ignition switch is turned to “ON”
position or the engine switch is pressed
to change the ignition mode to ON.
11)Check all gauges.
12)Check that the brake system warning light turns off when the parking brake is
released.
Once a week, or each time you fill your fuel
tank, perform the following under-hood
checks:
1) Engine oil level
2) Coolant level
3) Brake fluid level
4) Lead-acid battery solution level
5) Windshield washer fluid level
6) Hood latch operation Pull the hood release handle inside the
vehicle. Check that you cannot open the hood all the way without releasing
the secondary latch. Close the hood
securely after checking for proper latch
operation. See the item “All latches,
hinges and locks” of “Chassis, body
and others” in “Maintenance schedule”
in the “INSPECTION AND MAINTE-
NANCE” section for lubrication sched-
ule.
Once a month, or each time you fill your
fuel tank, check the tire pressure using a
tire pressure gauge. Also check the tire
pressure of the spare tire.
Engine oil consumptionIt is normal for the engine to consume
some engine oil during normal vehicle
operation.
The amount of engine oil consumption
depends on viscosity and quality of the oil
and your driving conditions.
More oil is consumed during high-speed
driving and when there is frequent acceler-
ation and deceleration. Under high loads,
your engine also will consume more oil.
A new engine also consumes more oil,
since its pistons, piston rings and cylinder
walls have not yet become conditioned.
New engines reach the normal level of oil
consumption only after approximately
5000 km (3000 miles) driving.
Oil consumption:
Max. 1.0 L per 1000 km
(1 Qt. per 600 miles)
When judging the amount of oil consump-
tion, note that the oil may become diluted
and it is difficult to judge the accurate oil
level.
As an example, if a vehicle is used for
repeated short trips, and consumes a nor-
mal amount of oil, the dipstick may not
show any drop in the oil level at all, even
after 1000 km (600 miles) or more of driv-
ing. This is because the oil gradually
becomes diluted with fuel or moisture,
WA R N I N G
Check that the hood is fully closed
and latched before d riving. If it is not,
it can fly up unexpectedly during
driving, obstructing your view and
resulting in an accident.
Page 160 of 505
3-7OPERATING YOUR VEHICLE
75RM4-01E
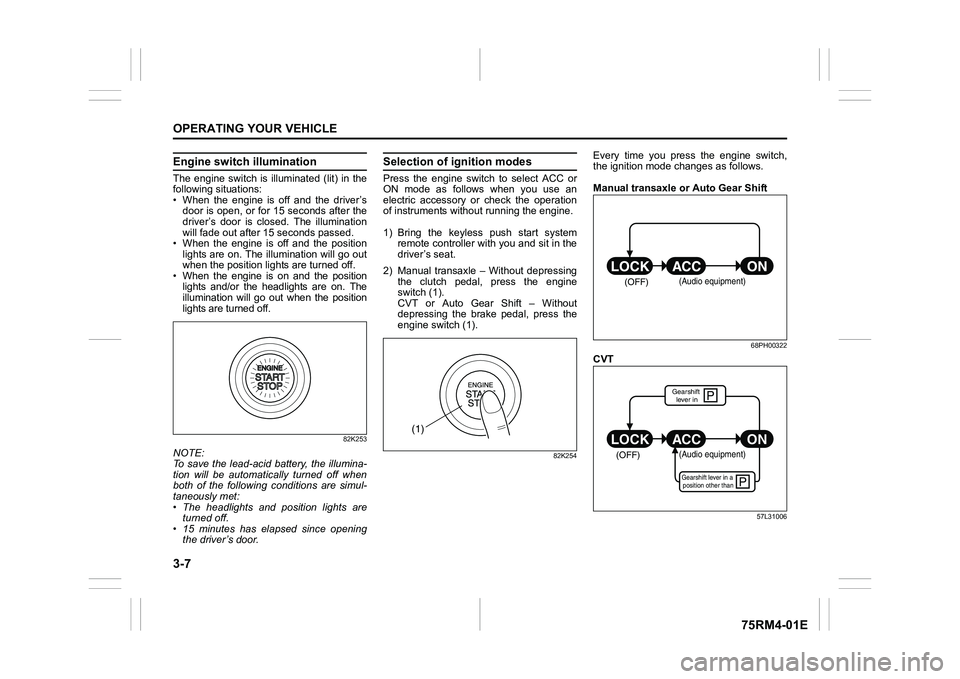
Engine switch illuminationThe engine switch is illuminated (lit) in the
following situations:
• When the engine is off and the driver’sdoor is open, or for 15 seconds after the
driver’s door is closed. The illumination
will fade out after 15 seconds passed.
• When the engine is off and the position lights are on. The illumination will go out
when the position lig hts are turned off.
• When the engine is on and the position lights and/or the headlights are on. The
illumination will go out when the position
lights are turned off.
82K253
NOTE:
To save the lead-acid battery, the illumina-
tion will be automatically turned off when
both of the following conditions are simul-
taneously met:
• The headlights and position lights areturned off.
• 15 minutes has elapsed since opening
the driver’s door.
Selection of i gnition modesPress the engine switch to select ACC or
ON mode as follows when you use an
electric accessory or check the operation
of instruments without running the engine.
1) Bring the keyless push start system remote controller with you and sit in the
driver’s seat.
2) Manual transaxle – Without depressing the clutch pedal, press the engine
switch (1).
CVT or Auto Gear Shift – Without
depressing the brake pedal, press the
engine switch (1).
82K254
Every time you press the engine switch,
the ignition mode changes as follows.
Manual transaxle or Auto Gear Shift
68PH00322
CVT
57L31006
(1)
(OFF)
(Audio equipment)
�çP
P
(OFF)
ON
ACC
LOCK
(Audio equipment)Gearshift lever in a
position other thanGearshift lever in
Page 161 of 505
3-8
OPERATING YOUR VEHICLE
75RM4-01E
NOTE:
• CVT – If the gearshift lever is in anyposition other than “P”, or if the knob but-
ton is pushed when the gearshift lever is
in “P” position the ignition mode cannot
be returned to LOCK (OFF).
• When selecting the ignition modes, the information display in the instrument
cluster shows certain messages. Refer
to “Information display” in the “BEFORE
DRIVING” section for details.
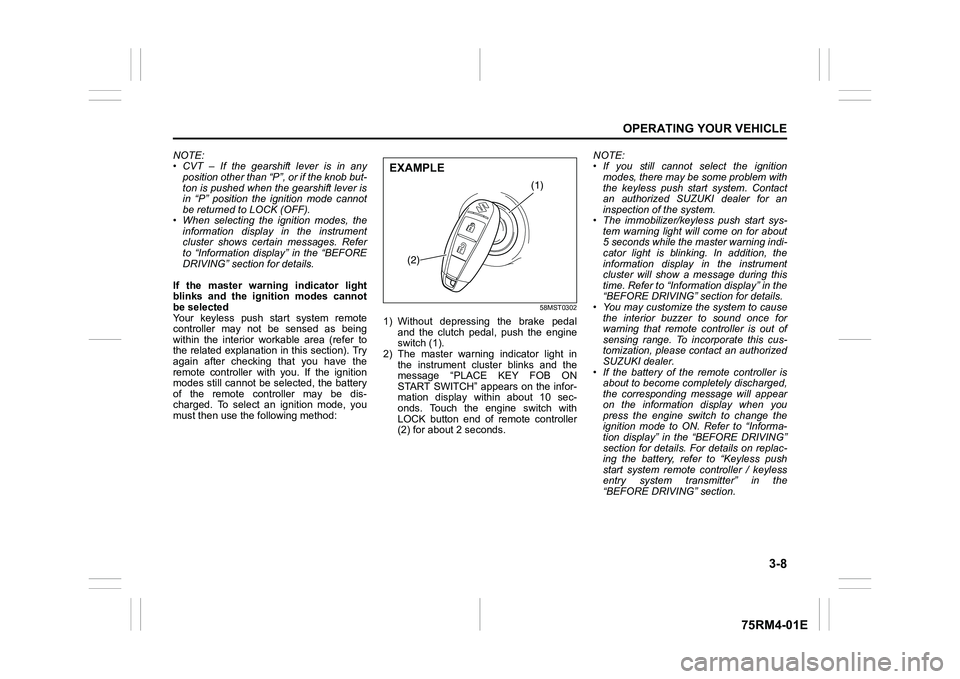
If the master warning indicator light
blinks and the ignition modes cannot
be selected
Your keyless push start system remote
controller may not be sensed as being
within the interior wo rkable area (refer to
the related explanation in this section). Try
again after checking that you have the
remote controller with you. If the ignition
modes still cannot be selected, the battery
of the remote controller may be dis-
charged. To select an ignition mode, you
must then use the following method:
58MST0302
1) Without depressing the brake pedal
and the clutch pedal, push the engine
switch (1).
2) The master warning indicator light in the instrument cluster blinks and the
message “PLACE KEY FOB ON
START SWITCH” appears on the infor-
mation display within about 10 sec-
onds. Touch the engine switch with
LOCK button end of remote controller
(2) for about 2 seconds. NOTE:
• If you still cannot
select the ignition
modes, there may be some problem with
the keyless push start system. Contact
an authorized SUZUKI dealer for an
inspection of the system.
• The immobilizer/keyless push start sys- tem warning light will come on for about
5 seconds while the master warning indi-
cator light is blinking. In addition, the
information display in the instrument
cluster will show a message during this
time. Refer to “Informa tion display” in the
“BEFORE DRIVING” section for details.
• You may customize the system to cause
the interior buzzer to sound once for
warning that remote controller is out of
sensing range. To incorporate this cus-
tomization, please contact an authorized
SUZUKI dealer.
• If the battery of the remote controller is about to become completely discharged,
the corresponding message will appear
on the information display when you
press the engine switch to change the
ignition mode to ON. Refer to “Informa-
tion display” in the “BEFORE DRIVING”
section for details. For details on replac-
ing the battery, refer to “Keyless push
start system remote controller / keyless
entry system transmitter” in the
“BEFORE DRIVING” section.
(1)
(2)
EXAMPLE
Page 164 of 505
3-11OPERATING YOUR VEHICLE
75RM4-01E
NOTE:
(For Auto Gear Shift Model)
For details on how to use the gearshift
lever to park the vehicle, refer to “Parking”
in “Auto Gear Shift” in this section.
Parking brake reminder buzzerA buzzer sounds intermittently to remind
you to release the parking brake if you
start the vehicle without releasing the park-
ing brake. Check that the parking brake is
fully released and the brake system warn-
ing light turns off.
WA R N I N G
Always set the parking brake fully
before leaving your vehicle or it may
move, causing injury or damage.
When parking, check that the gear-
shift lever is in one of the following
positions;
• 1st gear or “R” (Reverse) for man-ual transaxle vehicles.
• “P” (Park) for CVT vehicles.
• “D”, “M” or “R” for Auto Gear Shift vehicles. Also, check the instru-
ment cluster to make sure that the
transaxle is engaged in “1” or “R”
position.
Remember, even though the tran-
saxle is in gear or in Park, you must
set the parking brake fully.
WA R N I N G
When parking the vehicle in
extremely cold weather, the following
procedure should be used:
1) Set the parking brake.
2) Manual transaxle – turn off the
engine, then shift into reverse or
first gear.
Auto Gear Shift – shift into “D”,
“M” or “R” and check the gear
position indicator in the instru-
ment cluster to make sure that the
transaxle is engaged in “1” or “R”
position, then tur n off the engine.
CVT – shift into “P” (Park) and
turn off the engine.
3) Get out of the vehicle and put
chocks under the wheels.
4) Release the parking brake. When you return to your vehicle,
first set the parking brake, and
then remove the wheel chocks.
WA R N I N G
Do not leave cigarette lighters, spray
cans, soft drink cans or plastic arti-
cles (such as glasses, CD cases, etc.)
in sun-heated vehicle. The tempera-
ture inside the vehicle may cause as
follows:
• Gas may leak from a cigarette lighter or spray can and may lead
to a fire.
• The glasses, plastic cards or CD cases, etc. may deform or crack.
• Soft drink cans may fracture.
Page 169 of 505
3-16
OPERATING YOUR VEHICLE
75RM4-01E
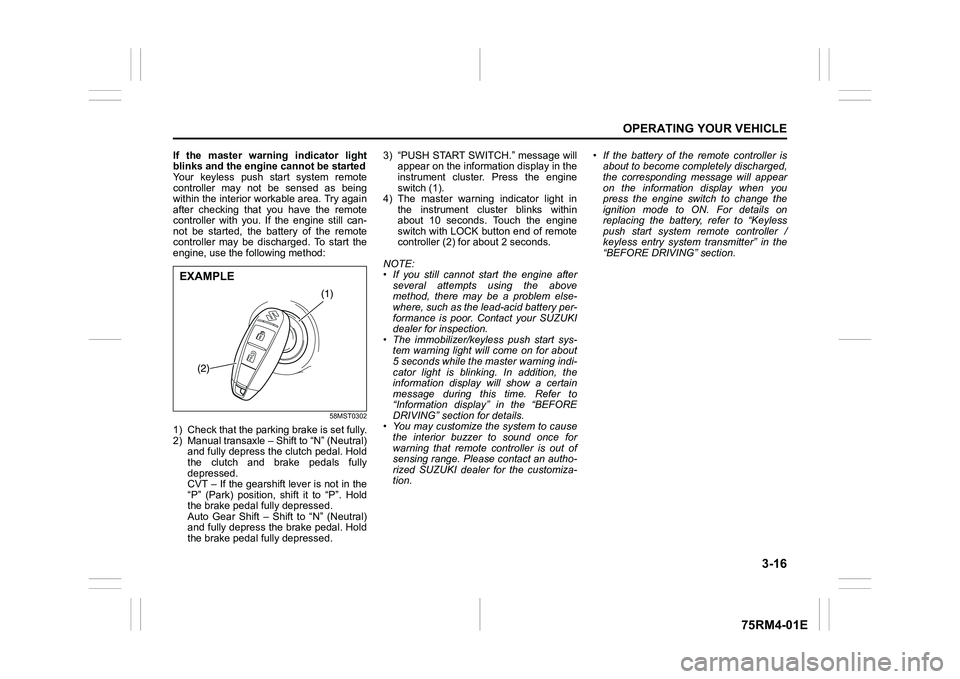
If the master warning indicator light
blinks and the engine cannot be started
Your keyless push start system remote
controller may not be sensed as being
within the interior workable area. Try again
after checking that you have the remote
controller with you. If the engine still can-
not be started, the battery of the remote
controller may be discharged. To start the
engine, use the following method:
58MST0302
1) Check that the parking brake is set fully.
2) Manual transaxle – Shift to “N” (Neutral) and fully depress the clutch pedal. Hold
the clutch and brake pedals fully
depressed.
CVT – If the gearshift lever is not in the
“P” (Park) position, shift it to “P”. Hold
the brake pedal fully depressed.
Auto Gear Shift – Shift to “N” (Neutral)
and fully depress the brake pedal. Hold
the brake pedal fully depressed. 3) “PUSH START SWITCH.” message will
appear on the information display in the
instrument cluster. Press the engine
switch (1).
4) The master warning indicator light in the instrument cluster blinks within
about 10 seconds. Touch the engine
switch with LOCK button end of remote
controller (2) for about 2 seconds.
NOTE:
• If you still cannot start the engine after several attempts using the above
method, there may be a problem else-
where, such as the lead-acid battery per-
formance is poor. Contact your SUZUKI
dealer for inspection.
• The immobilizer/keyless push start sys- tem warning light will come on for about
5 seconds while the master warning indi-
cator light is blinking. In addition, the
information display will show a certain
message during this time. Refer to
“Information display” in the “BEFORE
DRIVING” section for details.
• You may customize the system to cause
the interior buzzer to sound once for
warning that remote controller is out of
sensing range. Please contact an autho-
rized SUZUKI dealer for the customiza-
tion. • If the battery of the remote controller is
about to become completely discharged,
the corresponding message will appear
on the information display when you
press the engine switch to change the
ignition mode to ON. For details on
replacing the battery, refer to “Keyless
push start system remote controller /
keyless entry system transmitter” in the
“BEFORE DRIVING” section.
(1)
(2)
EXAMPLE
Page 184 of 505
3-31OPERATING YOUR VEHICLE
75RM4-01E
• The system will not allow shifting to the“R” position if the vehicle speed is over
about 3 km/h (2 mph). If the gearshift
lever is operated under this condition,
the “N” indicator in the instrument cluster
will blink. However, when the vehicle
speed drops below about 3 km/h (2
mph), the gear will be shifted to reverse.
Make sure that the vehicle has stopped
completely before shifting to the “R”
position. Stopping
The vehicle can be stopped by depressing
the brake pedal regardless of the gear
position. This is because the clutch is auto-
matically disengaged to prevent the engine
from stopping.
• If the gearshift lever is in the “D” position,
the gear will be downshifted to 1st when
the vehicle stops.
• If the gearshift lever is in the “M” posi- tion, the gear will be downshifted to 1st
when the vehicle stops.
NOTICE
On a downhill slope, never hold the
vehicle at a stop using only the accel-
erator pedal or the creeping function.
If you perform this operation for a
certain period of time, a warning
buzzer will sound, and in some cases
the engine will stall. This can also
cause excessive damage to the
clutch.
WA R N I N G
• When stopping, for example, at a
traffic light, be sure to depress the
brake pedal firmly. For your safety,
apply the parking brake, too, when
stopping on a hill.
• When racing the engine, make sure that the gear is in the “N” position
by checking the gear position indi-
cator. If the accelerator is operated
with the gear in any other position,
the vehicle may move resulting in
an unexpected accident.
• Do not leave your vehicle unat-
tended while the engine is running. (Continued)
WA R N I N G
(Continued)
• When leaving the vehicle, stop the
engine and park the vehicle with a
gear engaged. If you need to leave
the vehicle with the engine running,
apply the parking brakes firmly,
and shift the gearshift lever to the
“N” position. Otherwise, the vehi-
cle may move unexpectedly and
may cause an accident.
NOTICE
• On a slope, never hold the vehicleat a stop using only the accelerator
pedal or the creeping function. If
you perform this operation for a
certain period of time, a warning
buzzer will sound, and in some
cases the engine will stall. This can
also cause excessive damage to
the clutch.
• If the gearshift lever is operated
more than necessary, the system
may not allow operation of the
gearshift lever for a certain period
of time, and the gear may not be
shifted appropriately. Therefore, do
not operate the gearshift lever if not
necessary.
Page 212 of 505
3-59OPERATING YOUR VEHICLE
75RM4-01E
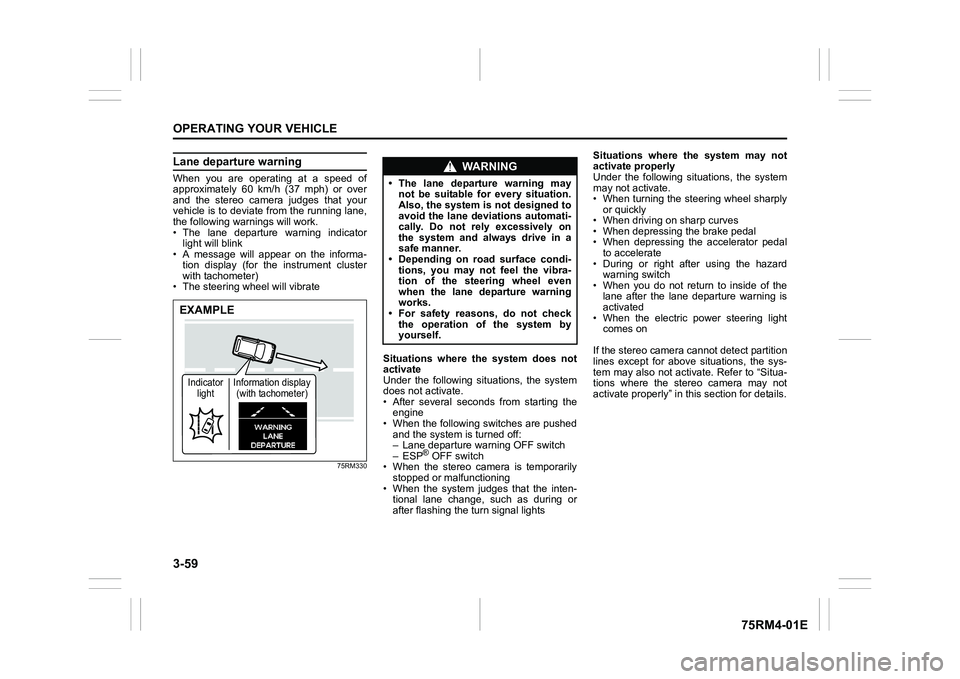
Lane departure warningWhen you are operating at a speed of
approximately 60 km/h (37 mph) or over
and the stereo camera judges that your
vehicle is to deviate from the running lane,
the following warnings will work.
• The lane departure warning indicatorlight will blink
• A message will appear on the informa-
tion display (for the instrument cluster
with tachometer)
• The steering wheel will vibrate
75RM330
Situations where the system does not
activate
Under the following situations, the system
does not activate.
• After several seconds from starting the engine
• When the following switches are pushed and the system is turned off:
– Lane departure warning OFF switch
– ESP
® OFF switch
• When the stereo camera is temporarily stopped or malfunctioning
• When the system judges that the inten- tional lane change, such as during or
after flashing the turn signal lights Situations where the system may not
activate properly
Under the following situations, the system
may not activate.
• When turning the steering wheel sharply
or quickly
• When driving on sharp curves
• When depressing the brake pedal
• When depressing the accelerator pedal to accelerate
• During or right after using the hazard warning switch
• When you do not return to inside of the lane after the lane departure warning is
activated
• When the electric power steering light comes on
If the stereo camera cannot detect partition
lines except for above situations, the sys-
tem may also not activ ate. Refer to “Situa-
tions where the stereo camera may not
activate properly” in this section for details.
EXAMPLEIndicator light Information display
(with tachometer)
WA R N I N G
• The lane departure warning may not be suitable for every situation.
Also, the system is not designed to
avoid the lane deviations automati-
cally. Do not rely excessively on
the system and always drive in a
safe manner.
• Depending on road surface condi-
tions, you may not feel the vibra-
tion of the steering wheel even
when the lane departure warning
works.
• For safety reasons, do not check
the operation of the system by
yourself.