fuel warning SUZUKI IGNIS 2017 Owners Manual
[x] Cancel search | Manufacturer: SUZUKI, Model Year: 2017, Model line: IGNIS, Model: SUZUKI IGNIS 2017Pages: 505, PDF Size: 8.36 MB
Page 23 of 505
BEFORE DRIVING
2
75RM4-01E
60G404
Keys ......................................................................................2-1
Door locks .................................................... ........................2-2
Keyless push start system remote controller /
Keyless entry system transmitte r (if equipped) ................2-7
Theft deterrent alarm system (if equipped) .................... ...2-16
Theft deterrent light (if equipped) ........................... ...........2-19
Windows ....................................................... ........................2-20
Mirrors ....................................................... ...........................2-23
Front seats ................................................... ........................2-27
Rear seats .................................................... .........................2-29
BEFORE DRIVINGSeat belts and child restraint systems ........................ ...... 2-33
Child restraint system f or countries applied for
UN Regulation No.16 ........................................... ................ 2-43
Supplemental restraint system (air bags) ...................... ... 2-54
Instrument cluster ............................................ ................... 2-68
Speedometer ................................................... .................... 2-69
Tachometer (if equipped) ...................................... ............. 2-69
Fuel gauge .................................................... ....................... 2-70
Brightness control ............................................ .................. 2-70
Information display
(instrument clus ter with tachometer) .......................... ...... 2-72
Information display
(instrument clus ter without tachometer) ....................... ... 2-93
Warning and indicator lights .................................. .......... 2-101
Lighting control lever ........................................ ............... 2-116
Headlight leveling switch (if equipped) ....................... .... 2-123
Turn signal control lever ..................................... ............. 2-123
Hazard warning switch ......................................... ............ 2-125
Windshield wiper and washer lever ............................. ... 2-125
Tilt steering lock lever ... ................................................... 2-128
Horn .......................................................... .......................... 2-128
Heated rear window switch /
heated outside rearview mirror switch (if equipped) ..... 2-129
Page 93 of 505
2-70
BEFORE DRIVING
75RM4-01E
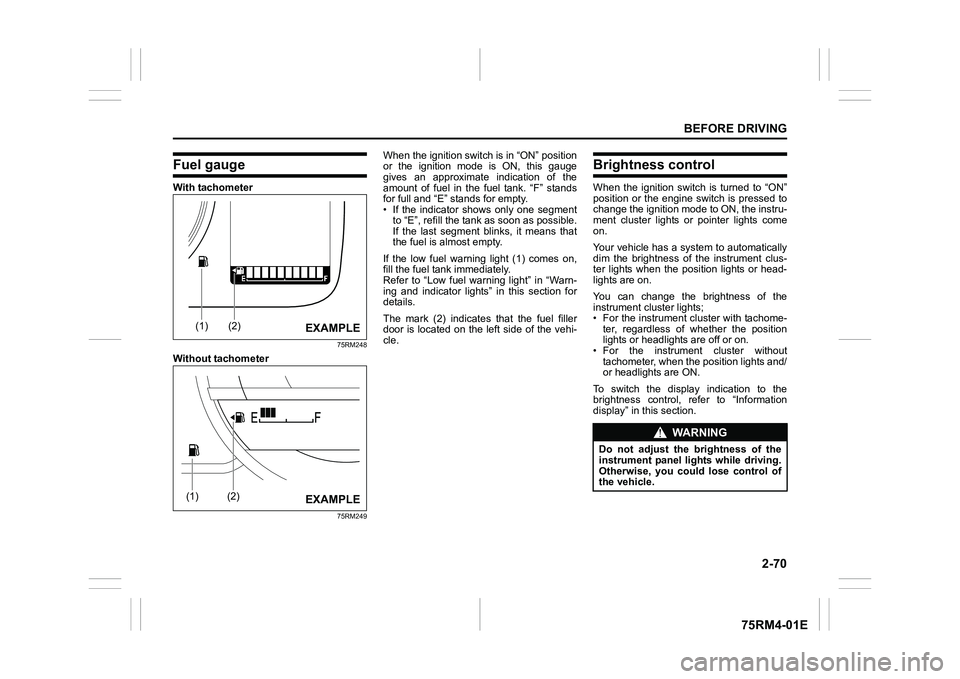
Fuel gaugeWith tachometer
75RM248
Without tachometer
75RM249
When the ignition switch is in “ON” position
or the ignition mode is ON, this gauge
gives an approximate indication of the
amount of fuel in the fuel tank. “F” stands
for full and “E” stands for empty.
• If the indicator shows only one segmentto “E”, refill the tank as soon as possible.
If the last segment blinks, it means that
the fuel is almost empty.
If the low fuel warning light (1) comes on,
fill the fuel tank immediately.
Refer to “Low fuel warning light” in “Warn-
ing and indicator lights” in this section for
details.
The mark (2) indicates that the fuel filler
door is located on the left side of the vehi-
cle.
Brightness controlWhen the ignition switch is turned to “ON”
position or the engine switch is pressed to
change the ignition mode to ON, the instru-
ment cluster lights or pointer lights come
on.
Your vehicle has a system to automatically
dim the brightness of the instrument clus-
ter lights when the position lights or head-
lights are on.
You can change the brightness of the
instrument cluster lights;
• For the instrument c luster with tachome-
ter, regardless of whether the position
lights or headlights are off or on.
• For the instrum ent cluster without
tachometer, when the position lights and/
or headlights are ON.
To switch the display indication to the
brightness control, re fer to “Information
display” in this section.
(1)
(2)
EXAMPLE
(1)
(2)
EXAMPLE
WA R N I N G
Do not adjust the brightness of the
instrument panel lights while driving.
Otherwise, you could lose control of
the vehicle.
Page 96 of 505
2-73BEFORE DRIVING
75RM4-01E
75RM183
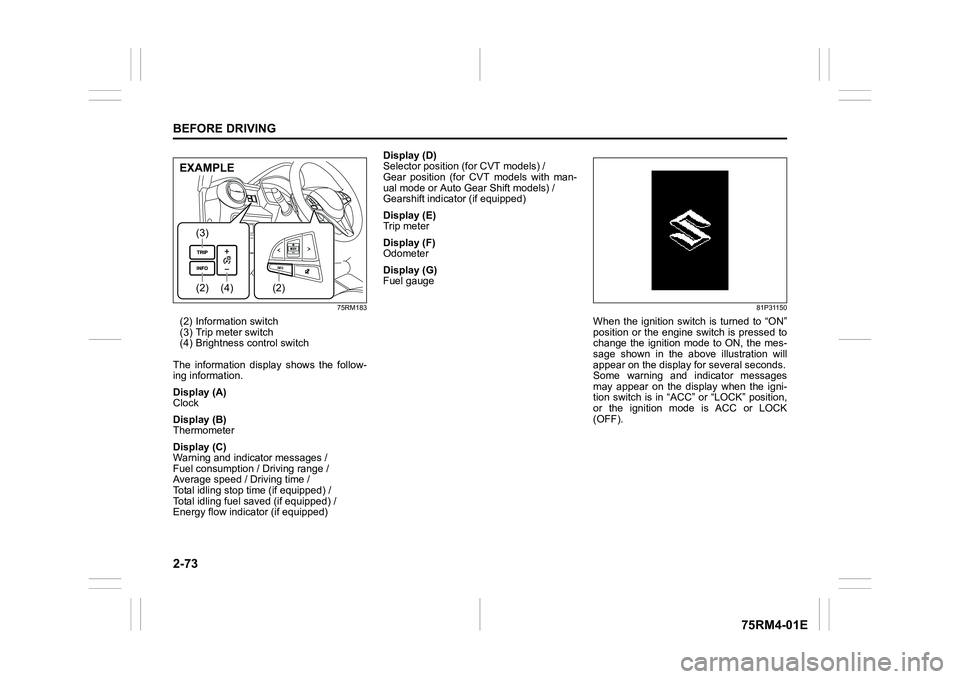
(2) Information switch
(3) Trip meter switch
(4) Brightness control switch
The information display shows the follow-
ing information.
Display (A)
Clock
Display (B)
Thermometer
Display (C)
Warning and indicator messages /
Fuel consumption / Driving range /
Average speed / Driving time /
Total idling stop time (if equipped) /
Total idling fuel saved (if equipped) /
Energy flow indicator (if equipped) Display (D)
Selector position (for CVT models) /
Gear position (for CVT models with man-
ual mode or Auto Gear Shift models) /
Gearshift indicator (if equipped)
Display (E)
Trip meter
Display (F)
Odometer
Display (G)
Fuel gauge
81P31150
When the ignition switch is turned to “ON”
position or the engine switch is pressed to
change the ignition mode to ON, the mes-
sage shown in the above illustration will
appear on the display
for several seconds.
Some warning and indicator messages
may appear on the display when the igni-
tion switch is in “ACC” or “LOCK” position,
or the ignition mode is ACC or LOCK
(OFF).
(4)
(2)(3)
(2)
EXAMPLE
Page 97 of 505
2-74
BEFORE DRIVING
75RM4-01E
ClockThe display (A) shows the time.
To set the clock, follow “Setting mode”
instructions in this section.ThermometerThe display (B) show s the thermometer.
The thermometer indicates the outside
temperature.
75RM210
If the outside temperature nears freezing,
the message shown in the above illustra-
tion will appear on the display.
NOTE:
The outside temperature indication is not
the actual outside temperature when driv-
ing at low speed, or when stopped.
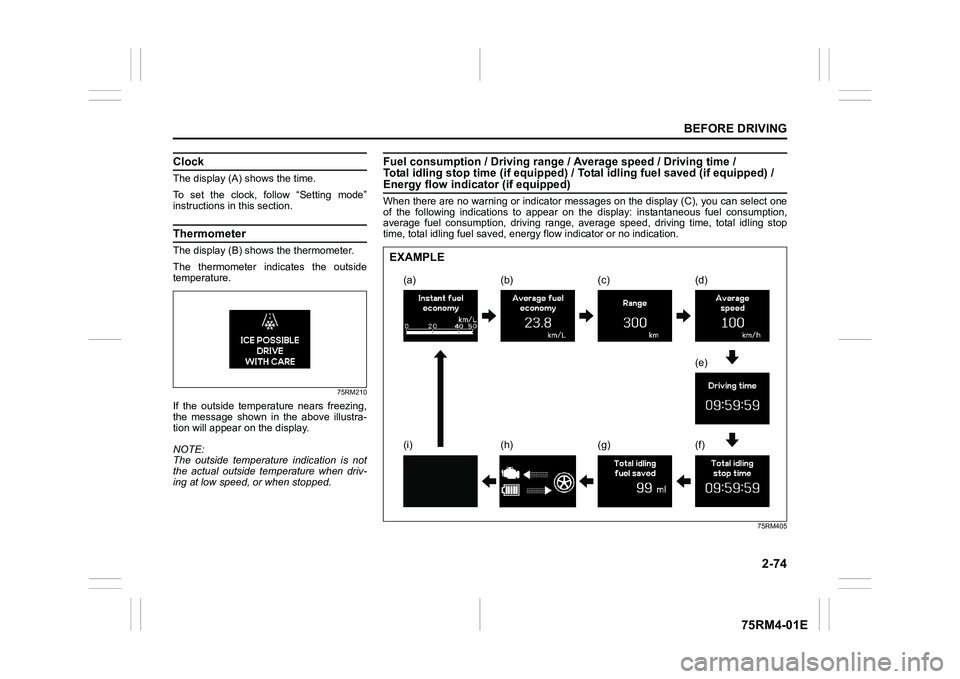
Fuel consumption / Driving range / Average speed / Driving time /
Total idling stop time (if equi pped) / Total idling fuel saved (if equipped) / Energy flow indicator (if equipped)When there are no warning or indicator messages on the display (C), you can select one
of the following indications to appear on the display: instanta neous fuel consumption,
average fuel consumption, driving range, average speed, driving time, total idling stop
time, total idling fuel saved, energy flow indicator or no indi cation.
75RM405
(a) (d)
(e)
(f)
(c)
(b)
(g)
(h)
(i)
EXAMPLE
Page 99 of 505
2-76
BEFORE DRIVING
75RM4-01E
To change when the value of average fuel
consumption is reset, refer to “Setting
mode” in this section.
NOTE:
If you add only a small amount of fuel
when you select “Reset after refuel”, the
average fuel consumption value may not
be reset.
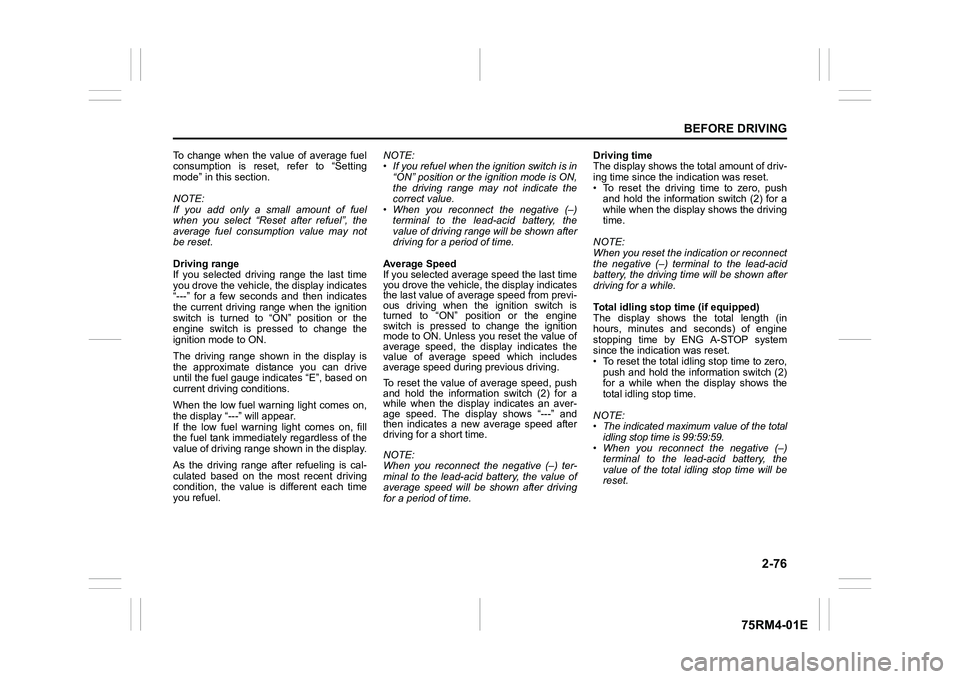
Driving range
If you selected driving range the last time
you drove the vehicle, the display indicates
“---” for a few seconds and then indicates
the current driving range when the ignition
switch is turned to “ON” position or the
engine switch is pressed to change the
ignition mode to ON.
The driving range shown in the display is
the approximate distance you can drive
until the fuel gauge indicates “E”, based on
current driving conditions.
When the low fuel warning light comes on,
the display “---” will appear.
If the low fuel warning light comes on, fill
the fuel tank immediately regardless of the
value of driving range shown in the display.
As the driving range after refueling is cal-
culated based on the most recent driving
condition, the value is different each time
you refuel. NOTE:
• If you refuel when the ignition switch is in
“ON” position or the i gnition mode is ON,
the driving range may not indicate the
correct value.
• When you reconnect the negative (–)
terminal to the lead-acid battery, the
value of driving range will be shown after
driving for a period of time.
Average Speed
If you selected average speed the last time
you drove the vehicle, the display indicates
the last value of average speed from previ-
ous driving when the ignition switch is
turned to “ON” position or the engine
switch is pressed to change the ignition
mode to ON. Unless you reset the value of
average speed, the display indicates the
value of average speed which includes
average speed during previous driving.
To reset the value of average speed, push
and hold the information switch (2) for a
while when the display indicates an aver-
age speed. The display shows “---” and
then indicates a new average speed after
driving for a short time.
NOTE:
When you reconnect the negative (–) ter-
minal to the lead-acid battery, the value of
average speed will be shown after driving
for a period of time. Driving time
The display shows the total amount of driv-
ing time since the indication was reset.
• To reset the driving time to zero, push
and hold the information switch (2) for a
while when the display shows the driving
time.
NOTE:
When you reset the indication or reconnect
the negative (–) terminal to the lead-acid
battery, the driving time will be shown after
driving for a while.
Total idling stop time (if equipped)
The display shows the total length (in
hours, minutes and seconds) of engine
stopping time by ENG A-STOP system
since the indication was reset.
• To reset the total idling stop time to zero, push and hold the information switch (2)
for a while when the display shows the
total idling stop time.
NOTE:
• The indicated maximum value of the total idling stop time is 99:59:59.
• When you reconnect the negative (–) terminal to the lead-acid battery, the
value of the total idling stop time will be
reset.
Page 104 of 505
2-81BEFORE DRIVING
75RM4-01E
NOTE:
For the theft deterrent alarm system of
other than Australia, Israel, Germany and
Taiwan models, refer to “Theft deterrent
alarm system” in this section.
Oil change
(Oil life monitoring system reset setting)
(if equipped)
The oil life monitoring system must be
reset after changing the engine oil and oil
filter.
IS A/C (ENG A-STOP system setting)
(if equipped)
• When using the automatic heating and air conditioning system (if equipped),
you can select one of the following
engine auto stop settings.
– Standard
– Economy
–Comfort
• When “Economy” is selected, engine
auto stop condition is eased, compared
with “Standard”. Engine auto stop condi-
tion will occur more f requently, the stop
time will be longer, leading to reduction
of fuel consumption.
• When “Comfort” is sel ected, engine auto
stop condition becomes severe, com-
pared with “Standard”. Engine auto stop
condition will occur less frequently, the
stop time will be shorter, leading to more
comfortable cabin condition by air condi-
tioner. TPMS
(Tire pressure monitoring system set-
ting) (if equipped)
• You can check the current tire inflation
pressure on the information display.
• You can set one of the initial values of
tire pressure below that are indicated on
the tire information label.
– Comfort Mode
– Load Mode
Refer to “Tire pressure monitoring system
(TPMS)” in the “OPERATING YOUR VEHI-
CLE” section for details.
Display item (if equipped)
(Idling stop setting)
You can switch whether the information
display shows the engine stopping time by
the ENG A-STOP system.
(Idling disp setting)
You can switch whether the information
display shows the Eco-driving display
when the ignition switch is turned to
“LOCK” position or the ignition mode is
changed to LOCK (OFF).
(Idling warn setting)
You can switch whether the information
display shows the warning and indicator
messages related on the ENG A-STOP
system.
(Regen disp setting)
You can choose that the deceleration
energy regenerating indicator light comes
on or does not come on. Default (initialization setting)
If you select “YES” and push the informa-
tion switch (2), all settings will be reinitial-
ized.
Page 107 of 505

2-84
BEFORE DRIVING
75RM4-01E
75RM213
Off Beep (one time from interiorbuzzer) Fuel is low. Refill it immediately. (#1)
75RM210
Off Off The road may be icy. Drive very carefully. (#1)
(#1) This message will disappear for a while even if the proble m that caused the message to appear is not corrected.
Warning and indicator
message Master warning
indicator light Sound Cause and remedy
Page 119 of 505
2-96
BEFORE DRIVING
75RM4-01E
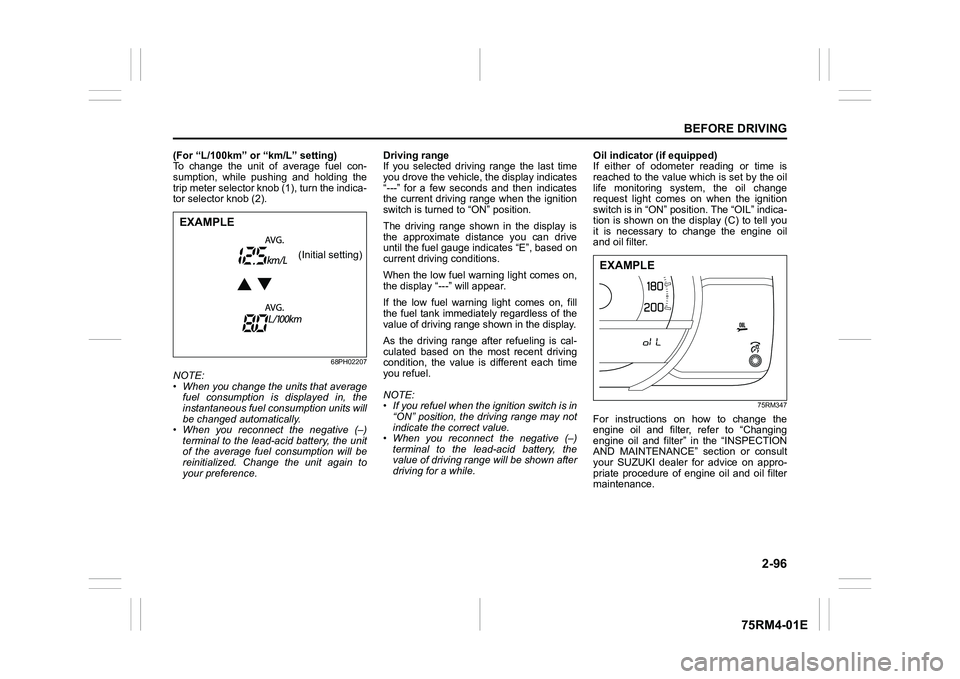
(For “L/100km” or “km/L” setting)
To change the unit of average fuel con-
sumption, while pushing and holding the
trip meter selector knob (1), turn the indica-
tor selector knob (2).
68PH02207
NOTE:
• When you change the units that averagefuel consumption is displayed in, the
instantaneous fuel consumption units will
be changed automatically.
• When you reconnect the negative (–)
terminal to the lead-acid battery, the unit
of the average fuel consumption will be
reinitialized. Change the unit again to
your preference. Driving range
If you selected driving range the last time
you drove the vehicle, the display indicates
“
--- ” for a few seconds and then indicates
the current driving range when the ignition
switch is turned to “ON” position.
The driving range shown in the display is
the approximate distance you can drive
until the fuel gauge indicates “E”, based on
current driving conditions.
When the low fuel warning light comes on,
the display “---” will appear.
If the low fuel warning light comes on, fill
the fuel tank immediately regardless of the
value of driving range shown in the display.As the driving range after refueling is cal-
culated based on the most recent driving
condition, the value is different each time
you refuel.
NOTE:
• If you refuel when the ignition switch is in
“ON” position, the driving range may not
indicate the correct value.
• When you reconnect the negative (–)
terminal to the lead-acid battery, the
value of driving range will be shown after
driving for a while. Oil indicator (if equipped)
If either of odometer reading or time is
reached to the value which is set by the oil
life monitoring system, the oil change
request light comes on when the ignition
switch is in “ON” position. The “OIL” indica-
tion is shown on the display (C) to tell you
it is necessary to change the engine oil
and oil filter.
75RM347
For instructions on how to change the
engine oil and filter, refer to “Changing
engine oil and filter” in the “INSPECTION
AND MAINTENANCE” section or consult
your SUZUKI dealer for advice on appro-
priate procedure of engine oil and oil filter
maintenance.
EXAMPLE
(Initial setting)
EXAMPLE
Page 124 of 505
2-101BEFORE DRIVING
75RM4-01E
Warning and indicator lightsNOTE:
If warning and indicator lights blink or
come on, the corresponding messages
may be shown on the information display.Low tire pressure warning light (if equipped)
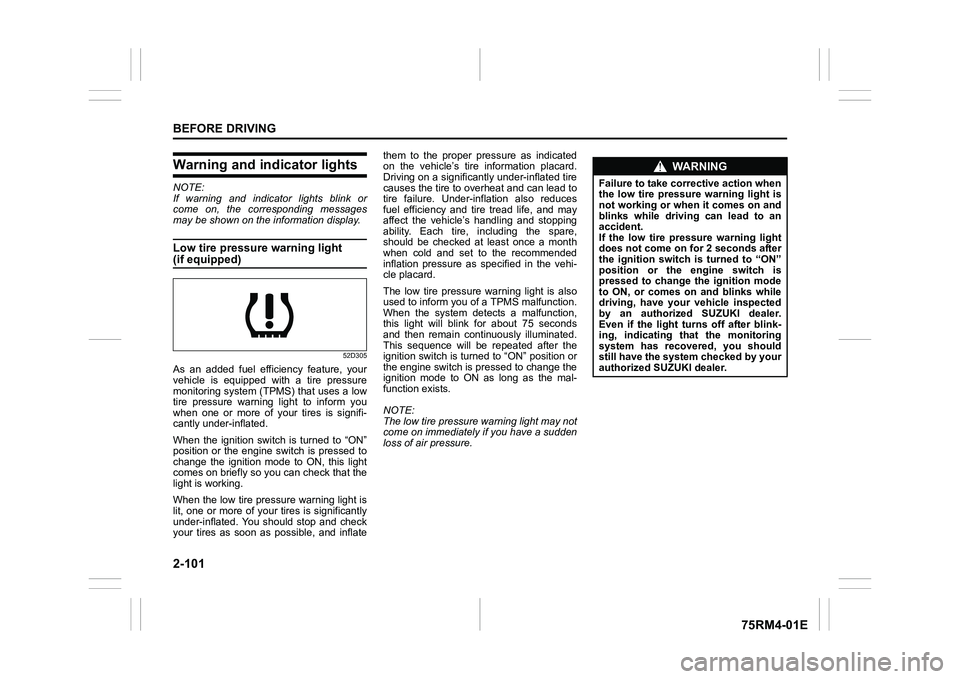
52D305
As an added fuel efficiency feature, your
vehicle is equipped with a tire pressure
monitoring system (TPMS) that uses a low
tire pressure warning light to inform you
when one or more of your tires is signifi-
cantly under-inflated.
When the ignition switch is turned to “ON”
position or the engine switch is pressed to
change the ignition mode to ON, this light
comes on briefly so you can check that the
light is working.
When the low tire pressure warning light is
lit, one or more of your tires is significantly
under-inflated. You should stop and check
your tires as soon as possible, and inflate them to the proper pressure as indicated
on the vehicle’s tire information placard.
Driving on a significantly under-inflated tire
causes the tire to overheat and can lead to
tire failure. Under-inf
lation also reduces
fuel efficiency and tire tread life, and may
affect the vehicle’s handling and stopping
ability. Each tire, including the spare,
should be checked at least once a month
when cold and set to the recommended
inflation pressure as specified in the vehi-
cle placard.
The low tire pressure warning light is also
used to inform you of a TPMS malfunction.
When the system detects a malfunction,
this light will blink for about 75 seconds
and then remain continuously illuminated.
This sequence will be repeated after the
ignition switch is turned to “ON” position or
the engine switch is pressed to change the
ignition mode to ON as long as the mal-
function exists.
NOTE:
The low tire pressure warning light may not
come on immediately if you have a sudden
loss of air pressure.
WA R N I N G
Failure to take corrective action when
the low tire pressure warning light is
not working or when it comes on and
blinks while driving can lead to an
accident.
If the low tire pressure warning light
does not come on for 2 seconds after
the ignition switch is turned to “ON”
position or the engine switch is
pressed to change the ignition mode
to ON, or comes on and blinks while
driving, have your vehicle inspected
by an authorized SUZUKI dealer.
Even if the light tu rns off after blink-
ing, indicating that the monitoring
system has recovered, you should
still have the system checked by your
authorized SUZUKI dealer.
Page 130 of 505
2-107BEFORE DRIVING
75RM4-01E
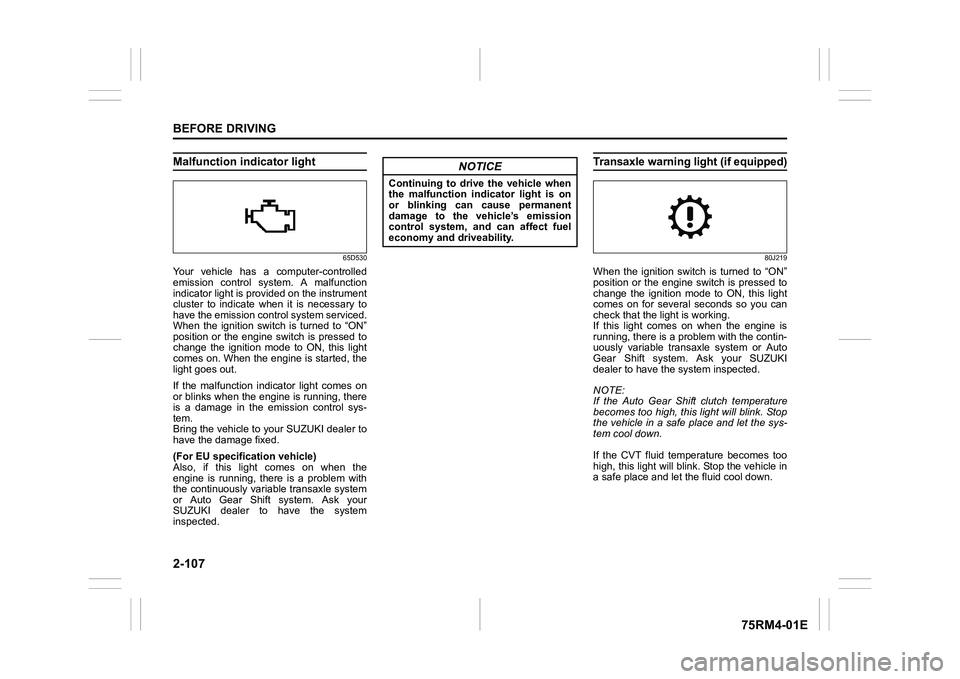
Malfunction indicator light
65D530
Your vehicle has a computer-controlled
emission control system. A malfunction
indicator light is provided on the instrument
cluster to indicate when it is necessary to
have the emission control system serviced.
When the ignition switch is turned to “ON”
position or the engine switch is pressed to
change the ignition mode to ON, this light
comes on. When the engine is started, the
light goes out.
If the malfunction indicator light comes on
or blinks when the engine is running, there
is a damage in the emission control sys-
tem.
Bring the vehicle to your SUZUKI dealer to
have the damage fixed.
(For EU specifi cation vehicle)
Also, if this light comes on when the
engine is running, there is a problem with
the continuously variable transaxle system
or Auto Gear Shift system. Ask your
SUZUKI dealer to have the system
inspected.
Transaxle warning light (if equipped)
80J219
When the ignition switch is turned to “ON”
position or the engine switch is pressed to
change the ignition mode to ON, this light
comes on for several seconds so you can
check that the light is working.
If this light comes on when the engine is
running, there is a problem with the contin-
uously variable transaxle system or Auto
Gear Shift system. Ask your SUZUKI
dealer to have t he system inspected.
NOTE:
If the Auto Gear Shift clutch temperature
becomes too high, this light will blink. Stop
the vehicle in a safe place and let the sys-
tem cool down.
If the CVT fluid temperature becomes too
high, this light will blink. Stop the vehicle in
a safe place and let the fluid cool down.
NOTICE
Continuing to drive the vehicle when
the malfunction indicator light is on
or blinking can cause permanent
damage to the vehicle’s emission
control system, and can affect fuel
economy and driveability.