Warning and indicator SUZUKI IGNIS 2021 Owner's Manual
[x] Cancel search | Manufacturer: SUZUKI, Model Year: 2021, Model line: IGNIS, Model: SUZUKI IGNIS 2021Pages: 505, PDF Size: 8.36 MB
Page 124 of 505
2-101BEFORE DRIVING
75RM4-01E
Warning and indicator lightsNOTE:
If warning and indicator lights blink or
come on, the corresponding messages
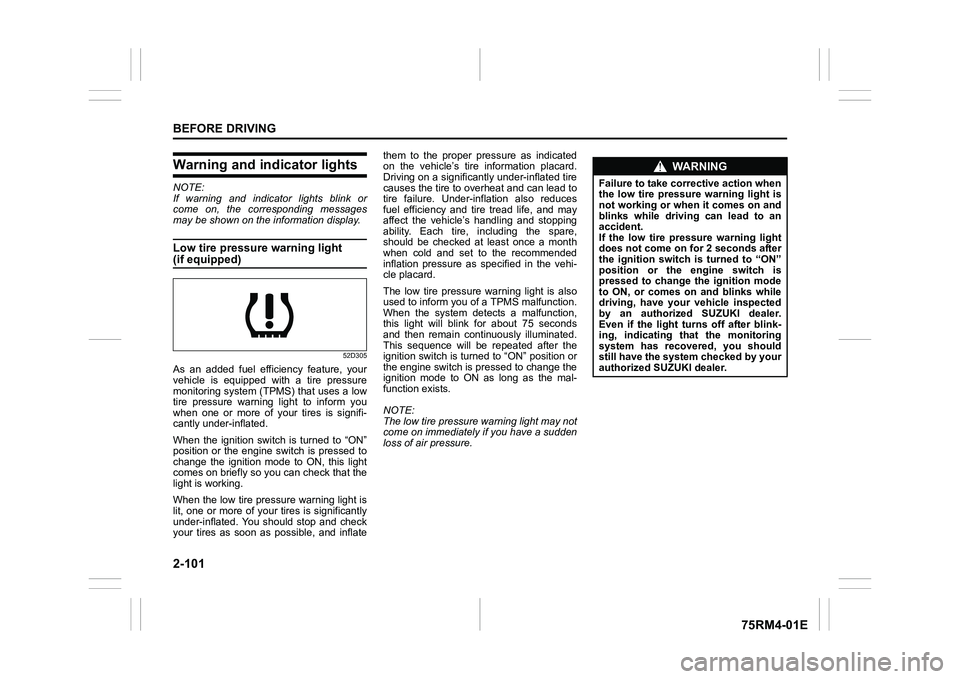
may be shown on the information display.Low tire pressure warning light (if equipped)
52D305
As an added fuel efficiency feature, your
vehicle is equipped with a tire pressure
monitoring system (TPMS) that uses a low
tire pressure warning light to inform you
when one or more of your tires is signifi-
cantly under-inflated.
When the ignition switch is turned to “ON”
position or the engine switch is pressed to
change the ignition mode to ON, this light
comes on briefly so you can check that the
light is working.
When the low tire pressure warning light is
lit, one or more of your tires is significantly
under-inflated. You should stop and check
your tires as soon as possible, and inflate them to the proper pressure as indicated
on the vehicle’s tire information placard.
Driving on a significantly under-inflated tire
causes the tire to overheat and can lead to
tire failure. Under-inf
lation also reduces
fuel efficiency and tire tread life, and may
affect the vehicle’s handling and stopping
ability. Each tire, including the spare,
should be checked at least once a month
when cold and set to the recommended
inflation pressure as specified in the vehi-
cle placard.
The low tire pressure warning light is also
used to inform you of a TPMS malfunction.
When the system detects a malfunction,
this light will blink for about 75 seconds
and then remain continuously illuminated.
This sequence will be repeated after the
ignition switch is turned to “ON” position or
the engine switch is pressed to change the
ignition mode to ON as long as the mal-
function exists.
NOTE:
The low tire pressure warning light may not
come on immediately if you have a sudden
loss of air pressure.
WA R N I N G
Failure to take corrective action when
the low tire pressure warning light is
not working or when it comes on and
blinks while driving can lead to an
accident.
If the low tire pressure warning light
does not come on for 2 seconds after
the ignition switch is turned to “ON”
position or the engine switch is
pressed to change the ignition mode
to ON, or comes on and blinks while
driving, have your vehicle inspected
by an authorized SUZUKI dealer.
Even if the light tu rns off after blink-
ing, indicating that the monitoring
system has recovered, you should
still have the system checked by your
authorized SUZUKI dealer.
Page 130 of 505
2-107BEFORE DRIVING
75RM4-01E
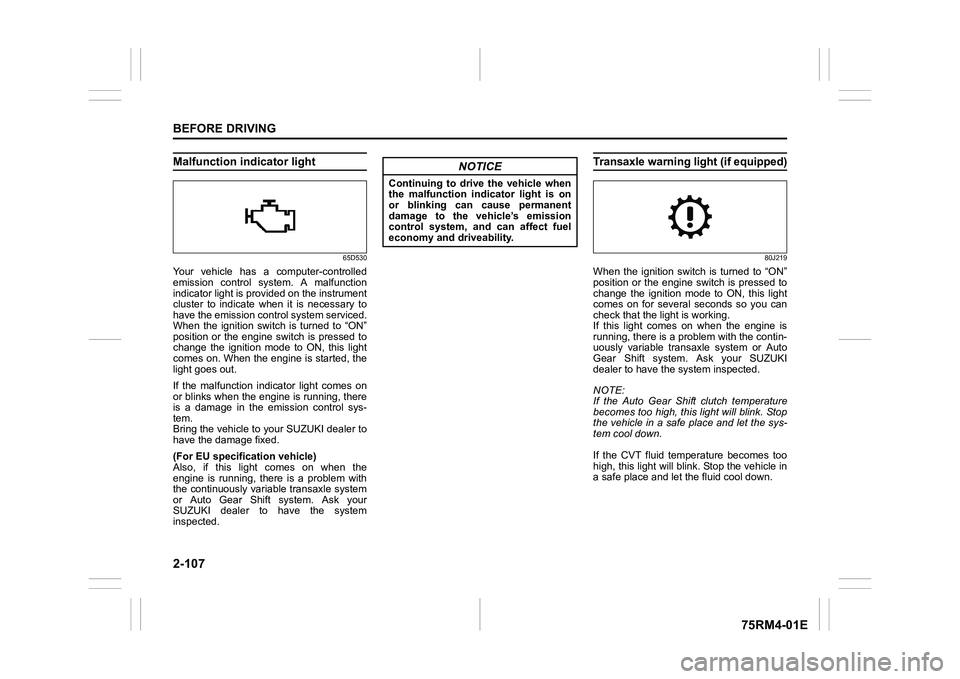
Malfunction indicator light
65D530
Your vehicle has a computer-controlled
emission control system. A malfunction
indicator light is provided on the instrument
cluster to indicate when it is necessary to
have the emission control system serviced.
When the ignition switch is turned to “ON”
position or the engine switch is pressed to
change the ignition mode to ON, this light
comes on. When the engine is started, the
light goes out.
If the malfunction indicator light comes on
or blinks when the engine is running, there
is a damage in the emission control sys-
tem.
Bring the vehicle to your SUZUKI dealer to
have the damage fixed.
(For EU specifi cation vehicle)
Also, if this light comes on when the
engine is running, there is a problem with
the continuously variable transaxle system
or Auto Gear Shift system. Ask your
SUZUKI dealer to have the system
inspected.
Transaxle warning light (if equipped)
80J219
When the ignition switch is turned to “ON”
position or the engine switch is pressed to
change the ignition mode to ON, this light
comes on for several seconds so you can
check that the light is working.
If this light comes on when the engine is
running, there is a problem with the contin-
uously variable transaxle system or Auto
Gear Shift system. Ask your SUZUKI
dealer to have t he system inspected.
NOTE:
If the Auto Gear Shift clutch temperature
becomes too high, this light will blink. Stop
the vehicle in a safe place and let the sys-
tem cool down.
If the CVT fluid temperature becomes too
high, this light will blink. Stop the vehicle in
a safe place and let the fluid cool down.
NOTICE
Continuing to drive the vehicle when
the malfunction indicator light is on
or blinking can cause permanent
damage to the vehicle’s emission
control system, and can affect fuel
economy and driveability.
Page 135 of 505
2-112
BEFORE DRIVING
75RM4-01E
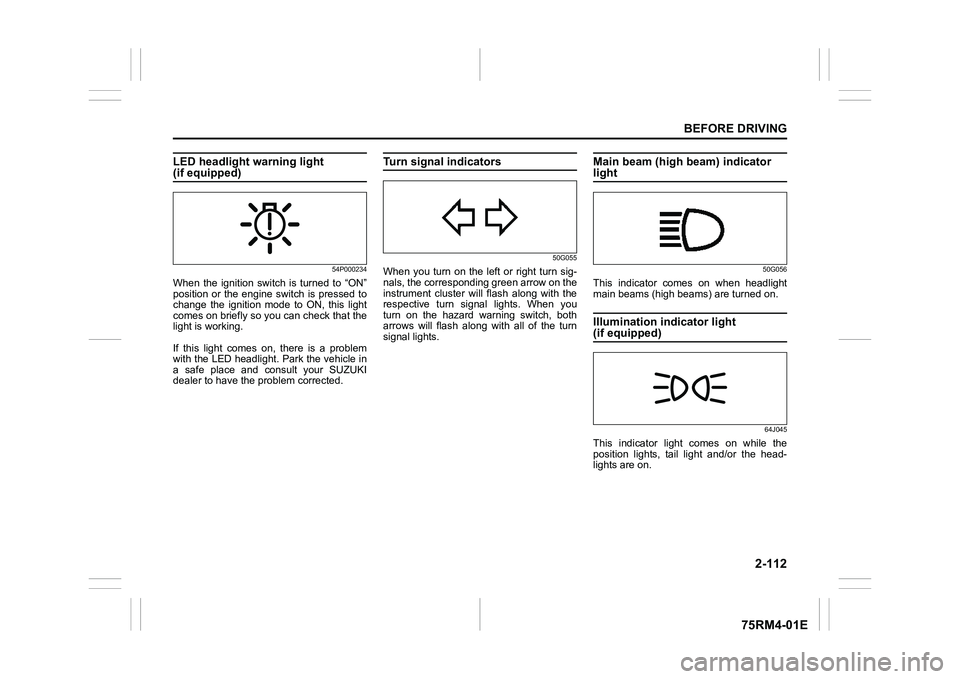
LED headlight warning light (if equipped)
54P000234
When the ignition switch is turned to “ON”
position or the engine switch is pressed to
change the ignition mode to ON, this light
comes on briefly so you can check that the
light is working.
If this light comes on, there is a problem
with the LED headlight. Park the vehicle in
a safe place and consult your SUZUKI
dealer to have the problem corrected.
Turn signal indicators
50G055
When you turn on the left or right turn sig-
nals, the corresponding green arrow on the
instrument cluster will flash along with the
respective turn signal lights. When you
turn on the hazard warning switch, both
arrows will flash along with all of the turn
signal lights.
Main beam (high beam) indicator light
50G056
This indicator comes on when headlight
main beams (high beams) are turned on.Illumination indicator light (if equipped)
64J045
This indicator light comes on while the
position lights, tail light and/or the head-
lights are on.
Page 138 of 505
2-115BEFORE DRIVING
75RM4-01E
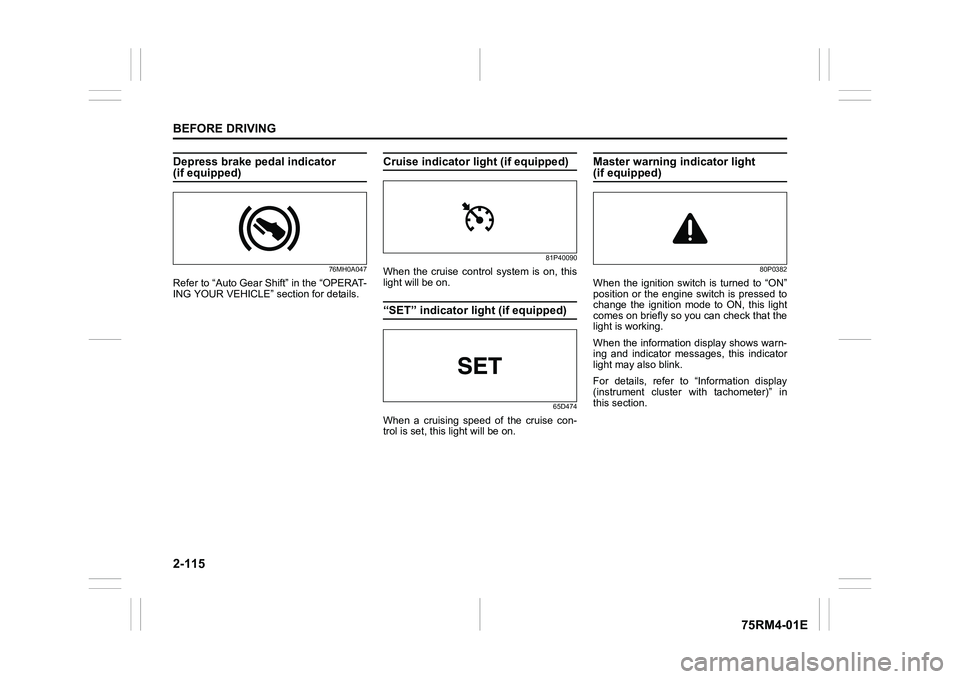
Depress brake pedal indicator (if equipped)
76MH0A047
Refer to “Auto Gear Shift” in the “OPERAT-
ING YOUR VEHICLE” section for details.
Cruise indicator light (if equipped)
81P40090
When the cruise control system is on, this
light will be on.“SET” indicator light (if equipped)
65D474
When a cruising speed of the cruise con-
trol is set, this light will be on.
Master warning indicator light (if equipped)
80P0382
When the ignition switch is turned to “ON”
position or the engine switch is pressed to
change the ignition mode to ON, this light
comes on briefly so you can check that the
light is working.
When the information display shows warn-
ing and indicator messages, this indicator
light may also blink.
For details, refer to “Information display
(instrument cluster with tachometer)” in
this section.
Page 148 of 505
2-125BEFORE DRIVING
75RM4-01E
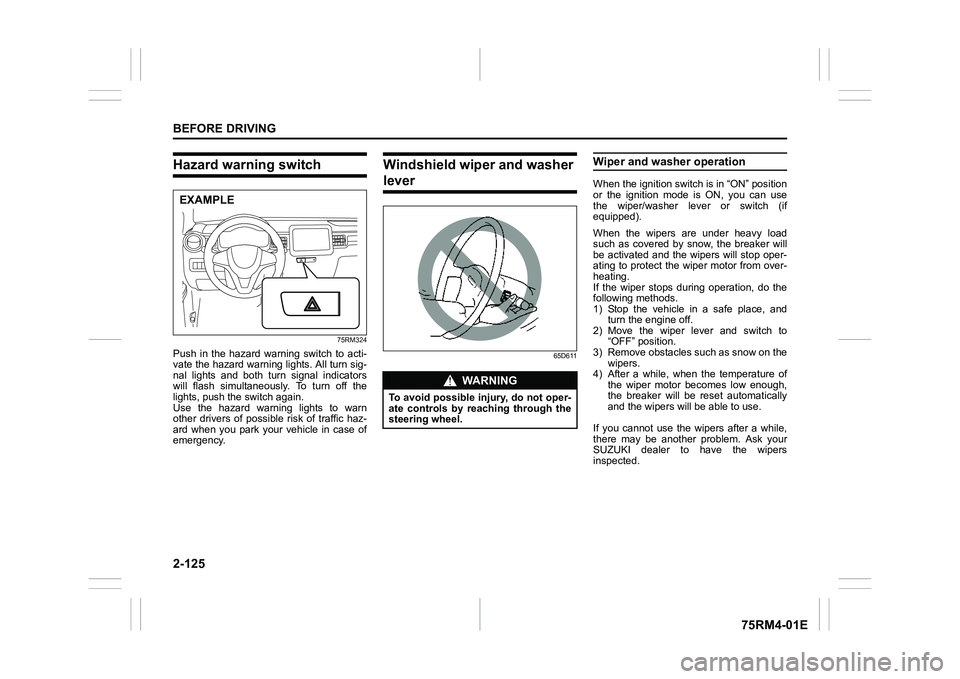
Hazard warning switch
75RM324
Push in the hazard warning switch to acti-
vate the hazard warning lights. All turn sig-
nal lights and both turn signal indicators
will flash simultaneously. To turn off the
lights, push the switch again.
Use the hazard warning lights to warn
other drivers of possible risk of traffic haz-
ard when you park your vehicle in case of
emergency.
Windshield wiper and washer lever
65D611
Wiper and washer operationWhen the ignition switch is in “ON” position
or the ignition mode is ON, you can use
the wiper/washer lever or switch (if
equipped).
When the wipers are under heavy load
such as covered by snow, the breaker will
be activated and the wipers will stop oper-
ating to protect the wiper motor from over-
heating.
If the wiper stops during operation, do the
following methods.
1) Stop the vehicle in a safe place, andturn the engine off.
2) Move the wiper lever and switch to “OFF” position.
3) Remove obstacles such as snow on the wipers.
4) After a while, when the temperature of
the wiper motor becomes low enough,
the breaker will be reset automatically
and the wipers will be able to use.
If you cannot use the wipers after a while,
there may be another problem. Ask your
SUZUKI dealer to have the wipers
inspected.
EXAMPLE
WA R N I N G
To avoid possible injury, do not oper-
ate controls by reaching through the
steering wheel.
Page 161 of 505
3-8
OPERATING YOUR VEHICLE
75RM4-01E
NOTE:
• CVT – If the gearshift lever is in anyposition other than “P”, or if the knob but-
ton is pushed when the gearshift lever is
in “P” position the ignition mode cannot
be returned to LOCK (OFF).
• When selecting the ignition modes, the information display in the instrument
cluster shows certain messages. Refer
to “Information display” in the “BEFORE
DRIVING” section for details.
If the master warning indicator light
blinks and the ignition modes cannot
be selected
Your keyless push start system remote
controller may not be sensed as being
within the interior wo rkable area (refer to
the related explanation in this section). Try
again after checking that you have the
remote controller with you. If the ignition
modes still cannot be selected, the battery
of the remote controller may be dis-
charged. To select an ignition mode, you
must then use the following method:
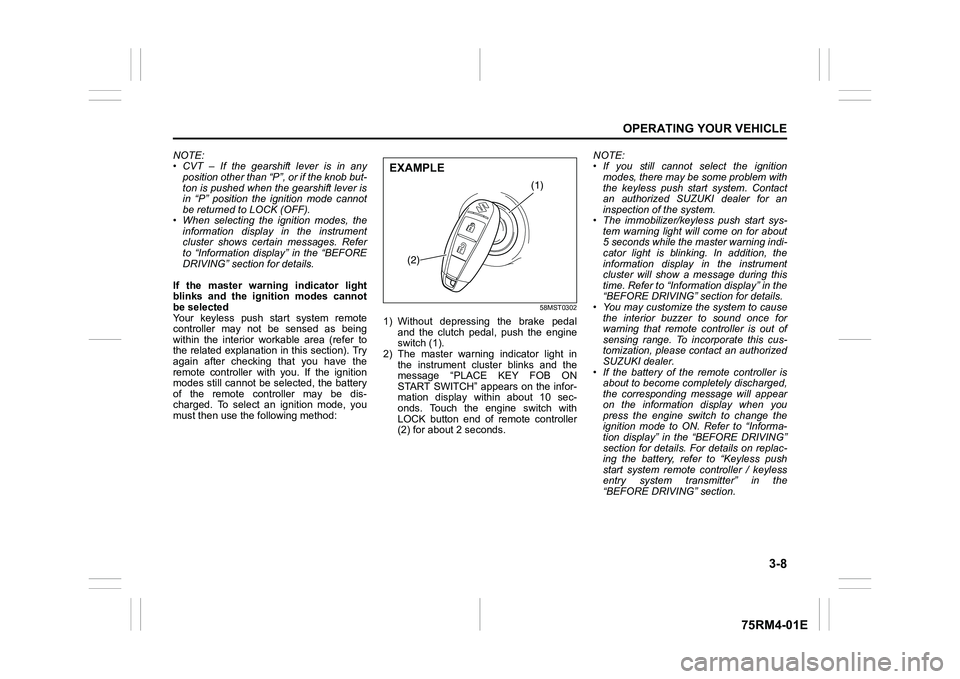
58MST0302
1) Without depressing the brake pedal
and the clutch pedal, push the engine
switch (1).
2) The master warning indicator light in the instrument cluster blinks and the
message “PLACE KEY FOB ON
START SWITCH” appears on the infor-
mation display within about 10 sec-
onds. Touch the engine switch with
LOCK button end of remote controller
(2) for about 2 seconds. NOTE:
• If you still cannot
select the ignition
modes, there may be some problem with
the keyless push start system. Contact
an authorized SUZUKI dealer for an
inspection of the system.
• The immobilizer/keyless push start sys- tem warning light will come on for about
5 seconds while the master warning indi-
cator light is blinking. In addition, the
information display in the instrument
cluster will show a message during this
time. Refer to “Informa tion display” in the
“BEFORE DRIVING” section for details.
• You may customize the system to cause
the interior buzzer to sound once for
warning that remote controller is out of
sensing range. To incorporate this cus-
tomization, please contact an authorized
SUZUKI dealer.
• If the battery of the remote controller is about to become completely discharged,
the corresponding message will appear
on the information display when you
press the engine switch to change the
ignition mode to ON. Refer to “Informa-
tion display” in the “BEFORE DRIVING”
section for details. For details on replac-
ing the battery, refer to “Keyless push
start system remote controller / keyless
entry system transmitter” in the
“BEFORE DRIVING” section.
(1)
(2)
EXAMPLE
Page 162 of 505
3-9OPERATING YOUR VEHICLE
75RM4-01E
REMOTE CONTROLLER OUTSIDE warningWhen either of the conditions described
below is met, the system issues a
REMOTE CONTROLLER OUTSIDE warn-
ing by sounding the interior and exterior
buzzers. At the same time, the immobi-
lizer/keyless push start system warning
light comes on and the master warning
indicator light blinks.
• Any door is opened and then closedwhile the remote controller is not inside
the vehicle and the engine is running or
the ignition mode has been changed to
ACC or ON by pressing the engine
switch.
• The remote controller is not inside the vehicle when you attempt to start the
engine after changing the ignition mode
to ACC or ON by pressing the engine
switch.
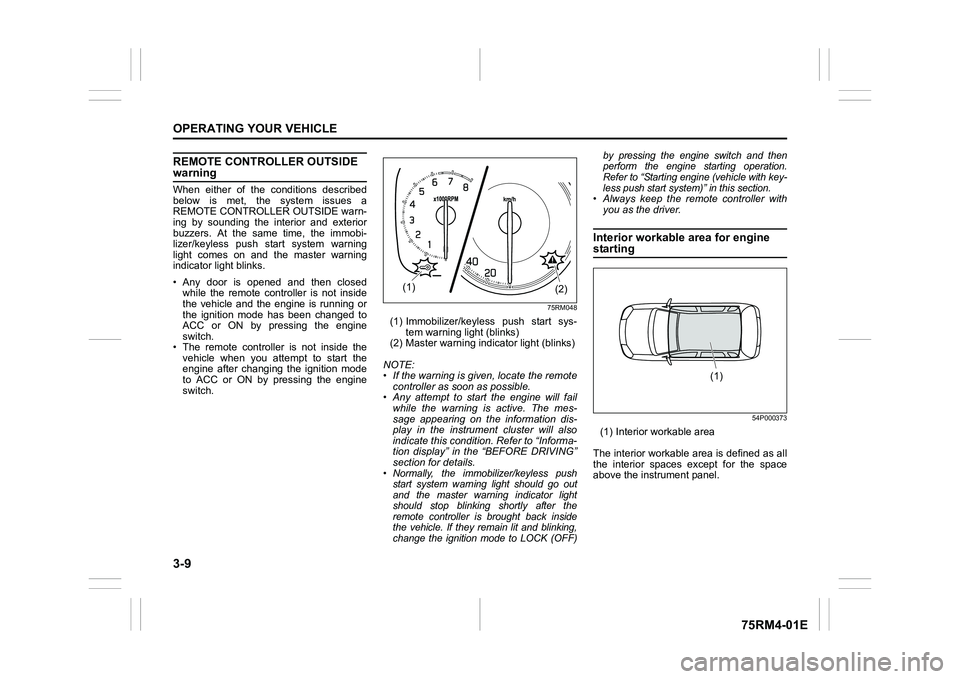
75RM048
(1) Immobilizer/keyless push start sys- tem warning light (blinks)
(2) Master warning indi cator light (blinks)
NOTE:
• If the warning is given, locate the remote controller as soon as possible.
• Any attempt to start the engine will fail
while the warning is active. The mes-
sage appearing on the information dis-
play in the instrument cluster will also
indicate this condition. Refer to “Informa-
tion display” in the “BEFORE DRIVING”
section for details.• Normally, the immobilizer/keyless push start system warning light should go out
and the master warning indicator light
should stop blinking shortly after the
remote controller is brought back inside
the vehicle. If they remain lit and blinking,
change the ignition mode to LOCK (OFF) by pressing the engine switch and then
perform the engine starting operation.
Refer to “Starting engine (vehicle with key-
less push start system)” in this section.
• Always keep the remote controller with
you as the driver.Interior workable area for engine starting
54P000373
(1) Interior workable area
The interior workable area is defined as all
the interior spaces except for the space
above the instrument panel.
(2)
(1)
(1)
Page 169 of 505
3-16
OPERATING YOUR VEHICLE
75RM4-01E
If the master warning indicator light
blinks and the engine cannot be started
Your keyless push start system remote
controller may not be sensed as being
within the interior workable area. Try again
after checking that you have the remote
controller with you. If the engine still can-
not be started, the battery of the remote
controller may be discharged. To start the
engine, use the following method:
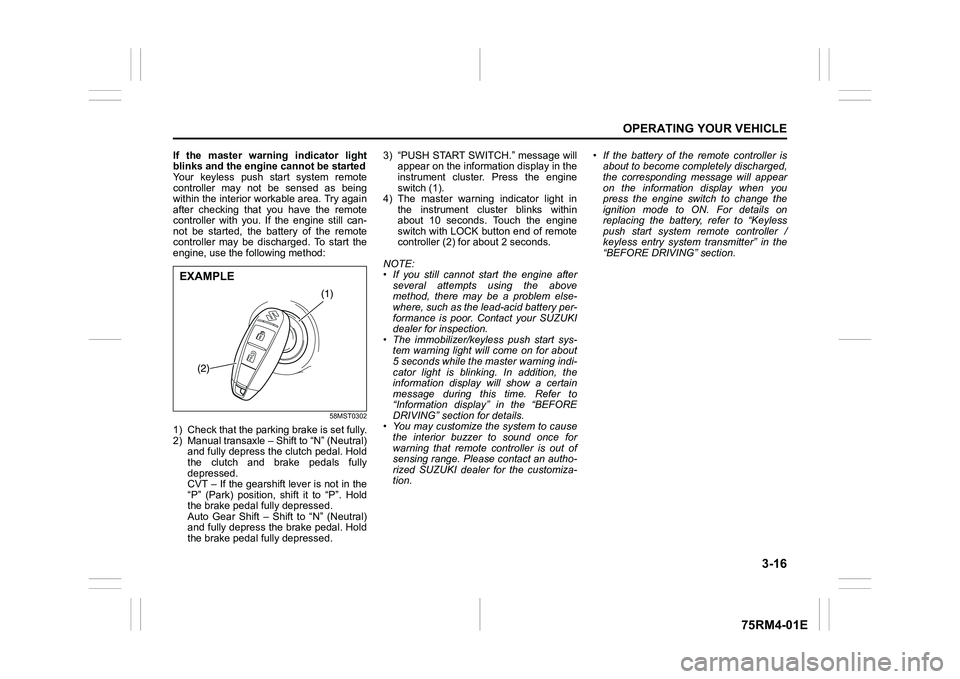
58MST0302
1) Check that the parking brake is set fully.
2) Manual transaxle – Shift to “N” (Neutral) and fully depress the clutch pedal. Hold
the clutch and brake pedals fully
depressed.
CVT – If the gearshift lever is not in the
“P” (Park) position, shift it to “P”. Hold
the brake pedal fully depressed.
Auto Gear Shift – Shift to “N” (Neutral)
and fully depress the brake pedal. Hold
the brake pedal fully depressed. 3) “PUSH START SWITCH.” message will
appear on the information display in the
instrument cluster. Press the engine
switch (1).
4) The master warning indicator light in the instrument cluster blinks within
about 10 seconds. Touch the engine
switch with LOCK button end of remote
controller (2) for about 2 seconds.
NOTE:
• If you still cannot start the engine after several attempts using the above
method, there may be a problem else-
where, such as the lead-acid battery per-
formance is poor. Contact your SUZUKI
dealer for inspection.
• The immobilizer/keyless push start sys- tem warning light will come on for about
5 seconds while the master warning indi-
cator light is blinking. In addition, the
information display will show a certain
message during this time. Refer to
“Information display” in the “BEFORE
DRIVING” section for details.
• You may customize the system to cause
the interior buzzer to sound once for
warning that remote controller is out of
sensing range. Please contact an autho-
rized SUZUKI dealer for the customiza-
tion. • If the battery of the remote controller is
about to become completely discharged,
the corresponding message will appear
on the information display when you
press the engine switch to change the
ignition mode to ON. For details on
replacing the battery, refer to “Keyless
push start system remote controller /
keyless entry system transmitter” in the
“BEFORE DRIVING” section.
(1)
(2)
EXAMPLE
Page 179 of 505
3-26
OPERATING YOUR VEHICLE
75RM4-01E
Starting the engine
When starting the engine, always place the
gearshift lever in the “N” position and
depress the brake pedal firmly. The engine
cannot be started unless the gearshift
lever is in the “N” position and the brake
pedal is depressed.
If you parked vehicle with gear engaged on
last time (if you can see “1” or “R”), shift
into “N” (Neutral) and depress the brake
pedal. Hold the brake pedal while starting
the engine. You can hear buzzer in short
time.
NOTE:
If you start the engine without the gearshift
lever in the “N” position, the gear position
indicator in the instrument cluster will blink.
Clutch operation
You can select either the Drive (D) mode or
the Manual (M) mode. Since this vehicle
controls clutch operation electronically in
either mode, you do not need to operate
the clutch.Creeping function
This vehicle has a creeping function that
helps the vehicle to start smoothly by
engaging the clutch. When the gearshift
lever is in any of the positions “D”, “M” or
“R”, and you release your foot from the
brake pedal, the vehicle starts slowly with-
out depressing the accelerator pedal. The
creeping function is disabled if you
depress the brake pedal or pull up the
parking brake lever.
NOTE:
If the driver’s door is opened and/or the
parking brake lever is engaged with the
gear in the “M”, “D” or “R” position, the
creeping function will not operate.
Parking and Stopping the vehicle
Auto Gear Shift does not have a parking
position. Park the vehicle with a gear
engaged. Make sure that the gearshift
lever is “D”, “M”, or “R”.
Also, check the instrument cluster to make
sure that the transaxle is engaged in “1” or
“R” position.Drive (D) mode
When the Drive (D) mode is activated, the
most appropriate gear
position is automati-
cally selected upon operation of the accel-
erator pedal and variation of vehicle
speed.
Normal driving:
1) Start the engine as instructed in “Start- ing the engine” in this section.
2) With your foot on the brake pedal, shift the gearshift lever to the “D” position.
When the gearshift lever is shifted to
the “D” position, the gear will be shifted
to 1st.
NOTE:
• If 1st gear cannot be engaged even though the gearshift lever has been
shifted from the “N” to the “D” position,
the system will re-try shifting automati-
cally. This will take some time, noise
may be heard from the gears, and shift-
ing gear shock may occur. However,
they do not indicate malfunction.
• The “N” indicator will flush, the depress brake pedal indicator will come on and a
warning buzzer (long pulse sound) will
sound if any of the following cases
occur;
– If you shift the gearshift lever from the
“N” to the “D” position without depress-
ing the brake pedal
– If the system is unable to re-try shifting
You should depress the brake pedal and
shift the gearshift lever to “N” position,
then shift to “D” again.
NOTICE
A buzzer will sound continuously if
the vehicle is operated with the gear-
shift lever in-between of each shift
positions. The vehicle will become
inoperative if you continue to operate
the vehicle with the gearshift lever in-
between shift positions.
Page 182 of 505
3-29OPERATING YOUR VEHICLE
75RM4-01E
possible. However, if downshifting more
than 3 steps, gear shifting will take more
time.
• When the gear is shifting, a noise can be heard in some case. This is not malfunc-
tion. Starting off:
1) Start the engine as instructed in “Start-
ing the engine” in this section.
2) With your foot on the brake pedal, shift the gearshift lever to the “M” position.
When the gearshift lever is shifted to
the “M” position, the gear will be shifted
to 1st. Before starting off, always make
sure that the intended gear is engaged
by checking the gear position indicator,
then depress the accelerator pedal.
NOTE:
• If 1st gear cannot be engaged even though the gearshift lever has been
shifted from the “N” to the “M” position,
the system will re-try shifting automati-
cally. This will take some time, noise
may be heard from the gears, and shift-
ing gear shock may occur. However,
they do not indicate malfunction.
• The “N” indicator will flush, the depress brake pedal indicator will come on and a
warning buzzer (long pulse sound) will
sound if any of the following cases
occur;
– If you shift the gearshift lever from the “N” to the “M” position without
depressing the brake pedal
– If the system is unable to re-try shifting
You should depress the brake pedal and
shift the gearshift lever to “N” position,
then shift to “M” position again a few
seconds later.
WA R N I N G
• Be careful when accelerating, upshifting, downshifting or braking
on a slippery surface. Sudden
acceleration or engine braking
could cause the vehicle to spin or
skid.
• To drive down a long or steep hill,
reduce your speed and downshift.
Remember, if you ride the brakes
excessively, they may overheat and
fail.
• While driving the vehicle, do not shift the gearshift lever to “N” posi-
tion. The engine brake may not
work and you may get involved in
an unexpected accident. If you
return the gearshift lever from “N”
to “M” because of unintended shift-
ing, the gear position will be shifted
according to the current vehicle
speed.
• Do not apply the parking brake
while driving. Otherwise, it could
cause a skid and you may get
involved in an unexpected acci-
dent.
NOTICE
• If the gearshift lever cannot shiftinto any position, or the gear is
changed to “N” position automati-
cally when the vehicle speed
becomes less than 10 km/h (6
mph), there may be a systematic
malfunction. In this case, ask your
SUZUKI dealer to inspect the Auto
Gear Shift system as soon as pos-
sible.
• The manual (M) mode does not
upshift even if the engine speed
reaches the rev-limit.
• The system will not allow shifting up or down to a gear that would
cause engine over-revving or
under-revving.
• If frequently driving at low speed using a high gear position, the life
cycle of the clutch may be reduced.
• Frequent downshif ting (more than
3 positions consecutively) causes
the reduction of transaxle life.