check engine SUZUKI JIMNY 2020 Owner's Manual
[x] Cancel search | Manufacturer: SUZUKI, Model Year: 2020, Model line: JIMNY, Model: SUZUKI JIMNY 2020Pages: 421, PDF Size: 6.35 MB
Page 171 of 421

NOTICE
Pay attention to shifting the transfer lever safely when driving your vehicle.
NOTE: After shifting the transfer lever from "2H'" to "4H", check that the 4WD indicator
light comes on. After shifting the transfer lever from "4H" to "2H", check that the 4WD indicator goes off. ·
When 4WD indicator fight is blinking after shifting the transfer fever to "4H" position, accelerate, slow down your vehicle or stop and reverse your vehicle a little to shift the transfer lever. Pay attention to the vehicles and the circumference toward or backward your vehicle when shifting the transfer fever. When you shift the transfer fever while turning the steering wheel or depressing the accelerator pedal, shifting the transfer fever may be difficult. Operate the transfer fever while driving at low speed if it may be difficult to shift the transfer fever from "2H" position to "4H" position when the vehicle is stopped.
Shift the transfer fever again after decelerating or stopping the vehicle if it may be difficult to shift the transfer fever from "2H" position to "4H" position while driving or when the gear noise occurs. There may be a case to operate the transfer fever heavily when shifting the transfer lever from "4H" position to "2H" P_Osition while driving. In this case, position the front wheels straight ahead and drive for a while and then operate shifting the transfer fever again. When the transfer lever is shifted from 2H" position to "4H" position or from "4H" position to 2H" position and the air locking hubs are activated, the air conditioning system may not be operated for several seconds. This is not a malfunction. When the ignition switch is turned "ON" after the transfer fever is shifted from 2H" position to "4H" position or from "4H" position to 2H" position while stopping the engine, 4WD indicator light may blink. This is not a malfunction.
OPERATING YOUR VEHICLE
78RB03027
Stop the vehicle completely, place the transmission in "N" (Neutral) or depress the clutch pedal fully (if equipped), then shift the transfer lever from "4H" position to "4L" position by pressing the transfer lever.
3-20
Page 172 of 421

OPERATING YOUR VEHICLE
A WARNING
When you turn off the engine while the transfer is not finished to shift into "4L" position, follow instructions below. 1) Depress the brake pedal* fully. 2) Turn the ignition switch to "OFF" position. • Depress the brake pedal until the engine is started again. Even though the gearshift lever is shifted into 1st gear or "R" (Reverse) gear for manual transmission vehicles or shifted into "P" (Park) position for automatic transmission vehicles, there may be a case that the wheels of the vehicle is not stationary. When you turn off the engine in this situation, start the engine again and move the vehicle forward or backward slowly.
3-21
A CAUTION
Do not operate the transfer lever while driving. Do not operate the transfer lever while making a left or right turn or while holding rear wheels slipped on icy, snow-covered, or muddy roads. Your vehicle may move to the unexpected direction. 4-wheel drive system may be also damaged.
NOTE: There may be a case that you will feel the difficulty to operate the transfer lever when shifting the transfer lever from "4H" position to "4L" position. Operate the transfer lever into "4L" position surely. When shifting the transfer lever from "4H" position to "4L" position, the buzzer will sound and the function of the ES?® system and the vehicle stability control system will be deactivated. There may be a case that shifting into "4L" position is not completed when the transfer system or the transmission is not warm in the cold weather. There may be a possibility of difficulty to shift especially for automatic transmission vehicles in the cold weather. Follow instructions below in this case and operate the transfer lever again. -Stop the vehicle completely. -Place the transmission in "N" (Neu-tral). -Depress the brake pedal* fully. -Release the parking brake. -Turn the ignition switch to "OFF" posi-tion. -Shift the transfer lever from "4H" position to "4L" position by pressing the transfer lever. -Check whether the vehicle can be moved by moving the vehicle forward or backward slowly. • Depress the brake pedal until the engine is started again.
Page 178 of 421
OPERATING YOUR VEHICLE
Cancelling speed limiter
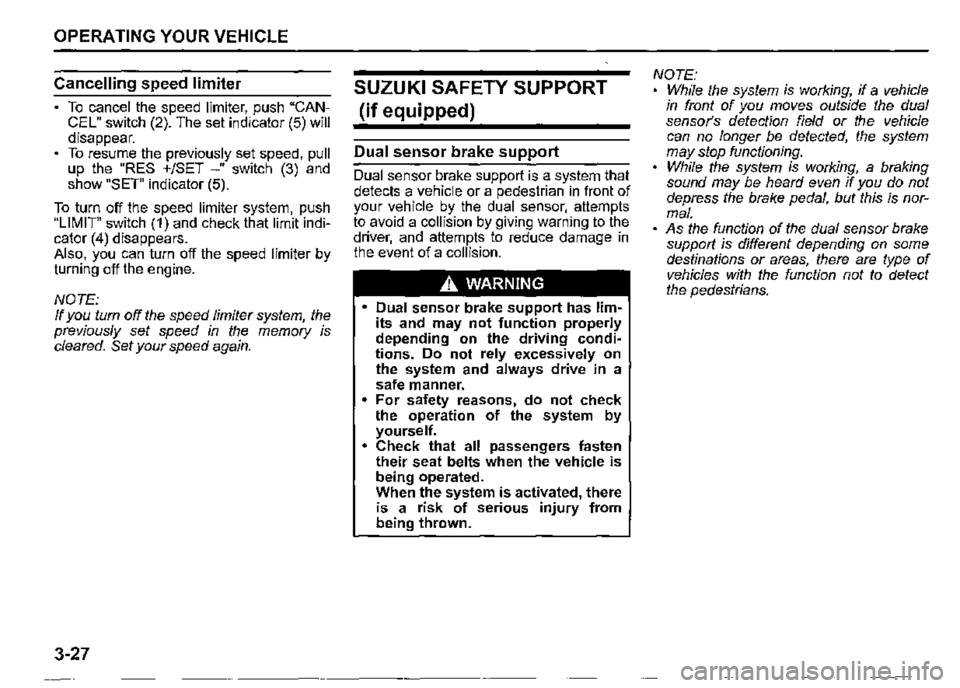
To cancel the speed limiter, push "CANCEL" switch (2). The set indicator (5) will disappear. To resume the previously set speed, pull up the "RES +/SET -" switch (3) and show "SET" indicator (5).
To turn off the speed limiter system, push "LIMIT" switch (1) and check that limit indicator (4) disappears. Also, you can turn off the speed limiter by turning off the engine.
NOTE: If you turn off the speed limiter system, the previously set speed in the memory is cleared. Set your speed again.
3-27
SUZUKI SAFETY SUPPORT
(if equipped)
Dual sensor brake support
Dual sensor brake support is a system that detects a vehicle or a pedestrian in front of your vehicle by the dual sensor, attempts to avoid a collision by giving warning to the driver, and attempts to reduce damage in the event of a collision.
A WARNING
• Dual sensor brake support has limits and may not function properly depending on the driving conditions. Do not rely excessively on the system and always drive in a safe manner. For safety reasons, do not check the operation of the system by yourself. Check that all passengers fasten their seat belts when the vehicle is being operated. When the system is activated, there is a risk of serious injury from being thrown.
NOTE: While the system is working, if a vehicle in front of you moves outside the dual sensor's detection field or the vehicle can no longer be detected, the system may stop functioning. While the system is working, a braking sound may be heard even if you do not depress the brake pedal, but this is normal. • As the function of the dual sensor brake support is different depending on some destinations or areas, there are type of vehicles with the function not to detect the pedestrians.
Page 199 of 421

NOTE: When the function of the dual sensor is temporarily stopped or malfunctioning, all of following functions will be turned off. Dual sensor brake support Lane departure warning Vehicle swaying warning High beam assist Traffic sign recognition
Temporary stop of the dual sensor Under the following situations, the function of the dual sensor stops temporarily. When the situations are improved, the temporary stop of the function will be canceled. When the visibility of the dual sensor is poor Refer to "Situations where the dual sensor may not activate properly" in this section for details. When the temperature of the body of dual sensor is high When the systems related to the dual sensor brake support are stopped temporarily When the battery has a voltage abnormality
Failure of the dual sensor When the dual sensor is faulty, the function of the dual sensor is stopped until the ignition switch is turned to "LOCK". Find a safe place to park and turn the ignition switch to "LOCK". Restart the engine, and check that the dual sensor brake support indicator light, lane departure warning indicator light, and high beam assist warning light go off. If all of the indicators stay on after restarting the engine, there may be a failure of the dual sensor. Ask a SUZUKI dealer to have the dual sensor inspected.
NOTE: Under the following situations, the dual sensor brake support indicator light, lane departure warning indicator light, and high beam assist warning light come on after the engine has been started, it does not indicate a malfunction. Once the ignition switch to is turned to "LOCK" position and then the engine is restarted, these indicators will go off. -When the automatic brake system has been operating 3 times -When the automatic brake system has been operating for long periods
OPERATING YOUR VEHICLE
The function of the dual sensor is stopped if the dual sensor brake support indicator light, lane departure warning indicator light, and high beam assist warning light come on and there may be a failure of the dual sensor, but it r}oes not hinder normal driving.
Pedestrian detection The dual sensor detects pedestrians by whose size, shape or motion.
•
•
T
(1)
75RM238
(1) About 1 -2 m (3.3 -6.6 ft)
3-48
Page 205 of 421
Anti-lock brake system (ABS)
ABS will help you avoid skidding by electronically controlling braking pressure. It will also help you maintain steering control when braking on slippery surfaces or when braking hard. The ABS works automatically, so you do not need any special braking technique. Just push the brake pedal down without pumping. The ABS will operate whenever it senses that the wheels are locking up. You may feel the brake pedal move a little while the ABS is operating.
NOTE: The ABS will not work if vehicle speed is under about 9 km/h (6 mph). ff the ABS system is activated, you may hear a clunking noise and/or feel pulsating in the brake pedal. This is normal and indicates that the brake fluid pressure is being controlled properly. You may hear an operation sound when you start the engine or after the vehicle begins to move. This means that the above systems are in the self-check mode. This sound does not indicate a malfunction.
A WARNING
On some types of loose surfaces (such as gravel, snow-covered roads, etc.), the stopping distance required for a vehicle with ABS may be slightly greater than the one required for a comparable vehicle with a conventional brake system. With a conventional brake system, skidding tyres are able to plow the gravel or snow layer, shortening the stopping distance. ABS minimizes this resistance effect. Allow for extra stopping distance when driving on loose surfaces. On regular paved roads, some drivers may be able to obtain slightly shorter stopping distances with conventional brake systems than with ABS. In both of the above conditions, ABS will still offer the advantage of helping you maintain directional control. However, remember that ABS will not compensate for bad road or weather conditions or poor driver judgment. Use good judgment and do not drive too fast.
OPERATING YOUR VEHICLE
(8) (CD)
(1) (2)
54MN069
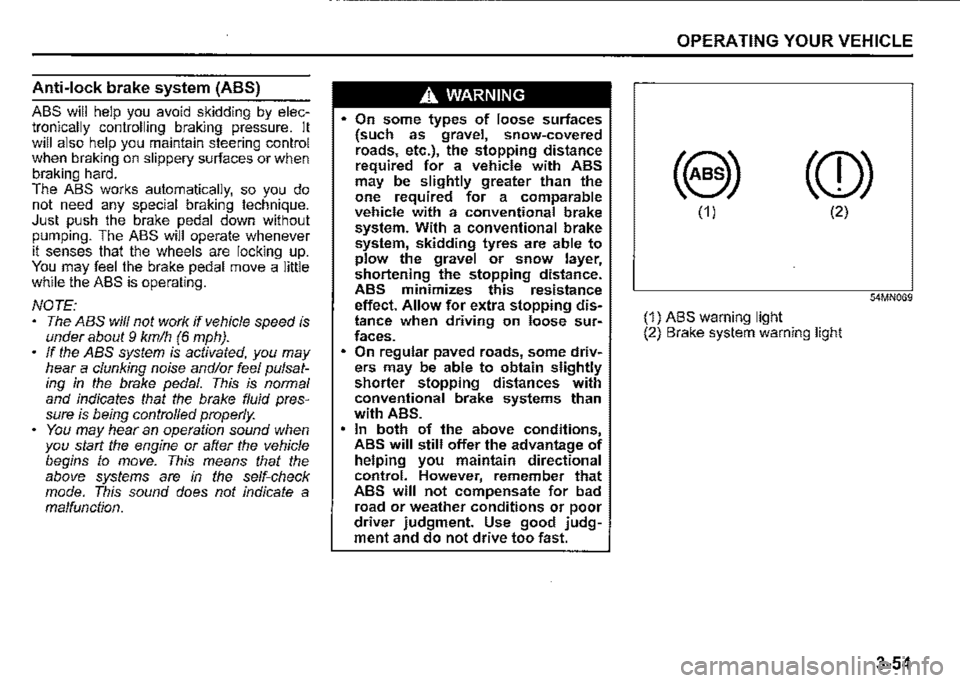
(1) ABS warning light (2) Brake system warning light
3-54
Page 206 of 421
OPERATING YOUR VEHICLE
A WARNING
If the ABS warning light (1) on the instrument cluster comes on and stays on while driving, there may be a problem with the ABS system. Ask a SUZUKI dealer to inspect the ABS system immediately. If the ABS system becomes inoperative, the brake system will function as an ordinary brake system that has no ABS. If the ABS warning light (1) and the brake system warning light (2) on the instrument cluster simultaneously stay on or come on while driving, both anti-lock function and rear brake force control function (proportioning valve function) of the ABS system may have failed. If so, the rear wheels may easily skid or the vehicle can even spin in the worst case when braking on a slippery road or when hard braking even on a dry paved road. Ask a SUZUKI dealer to inspect the ABS system immediately. Drive carefully, avoiding hard braking as much as possible.
3-55
How ABS works
A computer continuously monitors wheel speed. The computer compares the changes in wheel speed when braking. If the wheels slow suddenly. indicating a skidding situation, the computer will change braking pressure several times each second to prevent the wheels from locking. When you start your vehicle or when you accelerate after a hard stop. you may hear a momentary motor or clicking noise as the system resets or checks itself.
A WARNING
The ABS may not work properly if tyres or wheels other than those specified in the owner's manual are used. This is because the ABS works by comparing changes in wheel speed. When replacing tyres or wheels, use only the size and type specified in this owner's manual.
Electronic stability program
(ESP®)
ESP® is a registered trademark of Daimler
AG.
The Electronic Stability Program (ESP®) helps to control the vehicle during cornering if front wheels or rear wheels skid. It also assists you in maintaining traction while accelerating on loose or slippery road surfaces. It does this by regulating the engine's output, and by_ . selective!¥ applying the brakes. In add1t1on, ESP helps to avoid skidding by controlling braking pressure.
A WARNING
The ESP® cannot enhance the vehicle's driving stability in all situations and does not control your vehicle's entire braking system. The ESP® cannot prevent accidents, including those resulting from excessive speed in turns, or hydroplaning. Only safe and attentive drive can prevent accidents. The capabilities of an ESP®
equipped vehicle must never be used as a substitute for careful driving.
Page 207 of 421
The ESP® has the following three systems:
Stability control system
The vehicle stability control system helps provide integrated control of systems such as anti-lock brakes, traction control, engine control, etc. This system automatically controls the brakes and engine to help prevent the vehicle from skidding when cornering on a slippery road surface or when turning the steering wheel abruptly.
Traction control system
The traction control system automatically helps prevent the spinning of wheels when the vehicle is started or accelerated on slippery road surfaces. The system operates only if it senses that some of the wheels are spinning or beginning to lose traction. When this happens, the system operates the front or rear brakes and reduces engine power to l1m1t wheel spin.
NOTE: You may hear an operation sound when you start the engine or after the vehicle begins to move. This means that the above systems are in the self-check mode. This sound does not indicate a malfunction.
Anti-lock brake system (ABS)
ABS will help you avoid skidding by electronically controlling braking pressure. It will also help you maintain steering control when braking on slippery surfaces or when braking hard. The ABS works automatically, so you do not have to use any special braking technique. Just push the brak_e pedal down without pumping. The ABS will operate whenever it senses that wheels are locking up. You may feel the brake pedal pulsate while the ABS is operating. (For more information on ABS, see "Braking" in this section.)
NOTE: The ABS will not work if vehicle speed is under about 9 km/h (6 mph).
A WARNING
The ESP® may not work properly if tyres or wheels other than those specified in the owner's manual are used. When replacing tyres or wheels, use only the size and type specified in this owner's manual. • The ESP® may not work properly if ·tyres are not inflated to the recom
mended ~re pressure. The ESP" may not work properly if tyres are fitted with snow chains. (Continued)
OPERATING YOUR VEHICLE
A WARNING
(Continued) • The ESP® may not work properly if the tyres are excessively worn. Replace tyres when the tread wear indicators in the grooves appear on the tread surface. • The ESP® is not a substitute for winter tyres or snow chains on a snowMcovered road.
A WARNING
• The ESP® may not work properly if engine related parts such as the muffler are not equivalent to standard equipment or are extremely deteriorated. Do not modify the vehicle's suspension since the ESP® may not work properly.
NOTE: • If the Espi!) system is activated, you may hear a clunking noise and/or feel pulsating in the brake pedal. This is. normal and indicates that the brake flwd pressure is being controlled properly. You may hear an operation sound when you start the engine or after the vehicle begins to move. This means that the above systems are in the self-check mode. This sound does not indicate a malfunction.
3-56
Page 211 of 421
A WARNING
• When the hill descent control system is used continuously for a long time, the temperature of the bra~e system may increase and the hill descent control system may be deactivated temporarily to protect the device of the brake system. The hill descent control indicator blinks to let you know the system is deactivated. Depress the brake pedal and stop the vehicle in a safe place. When the temperature of the brake system goes down, the hill descent control indicator will come on and the system is activated again. • The hill descent control system may be activated when the gearshift lever is in "N" (Neutral) posi~ tion, but engine braking will not work. Always use the hill descent control system with the gearshift lever in a forward gear or reverse
gear. When using the hill descent control system, push the hill descent control switch and make sure that the hill descent control indicator light comes on and no warning message are indicated on the information display.
NOTE: You may hear a sound coming from the engine when the hill descent control system is activated. This sound is normal and does not indicate a malfunction.
To turn off the hill descent control system, push the hill descent control switch and turn off the hill descent control indicator
light.
OPERATING YOUR VEHICLE
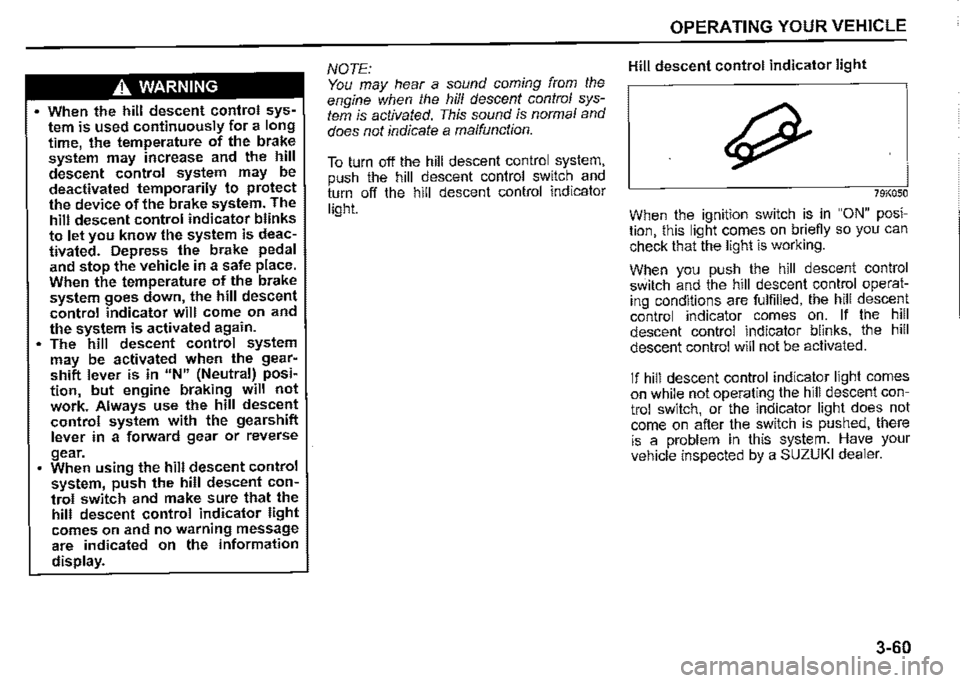
Hill descent control indicator light
79K050
When the ignition switch is in "ON" position, this light comes on briefiy so you can check that the light is working.
When you push the hill descent control switch and the hill descent control operating conditions are fulfilled, the hill desce~t control indicator comes on. If the hill descent control indicator blinks, the hill descent control will not be activated.
If hill descent control indicator light comes on while not operating the hill descent control switch, or the indicator light does not come on after the switch is pushed, there is a problem in this system. Have your vehicle inspected by a SUZUKI dealer.
3-60
Page 218 of 421
OPERATING YOUR VEHICLE
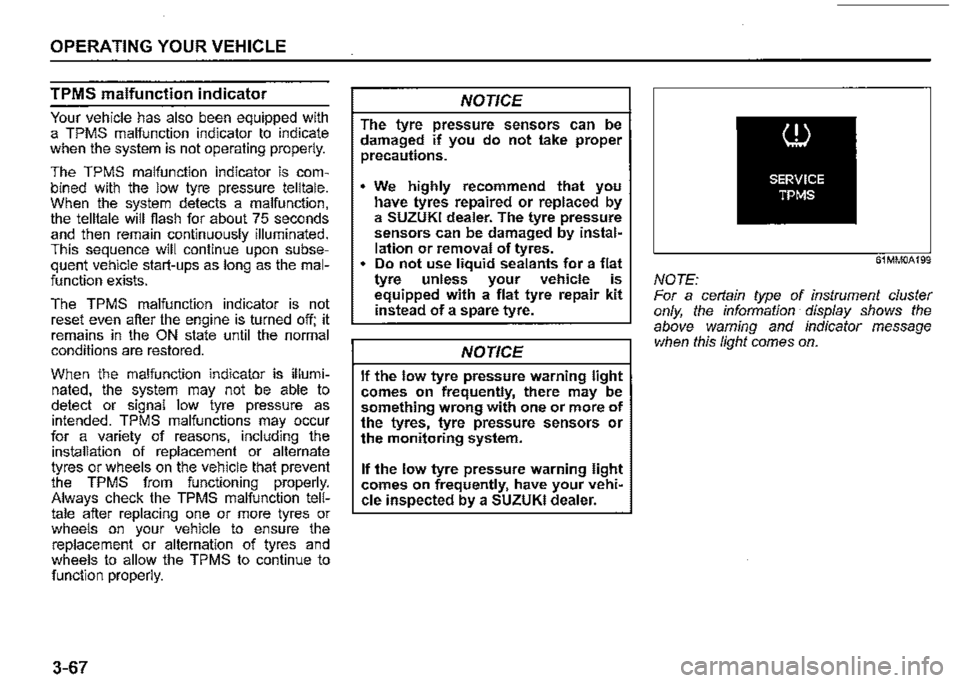
TPMS malfunction indicator
Your vehicle has also been equipped with a TPMS malfunction indicator to indicate when the system is not operating properly.
The TPMS malfunction indicator is combined with the low tyre pressure telltale. When the system detects a malfunction, the telltale will flash for about 75 seconds and then remain continuously illuminated. This sequence will continue upon subsequent vehicle start-ups as long as the malfunction exists.
The TPMS malfunction indicator is not reset even after the engine is turned off; it remains in the ON state until the normal conditions are restored.
When the malfunction indicator is illuminated, the system may not be able to detect or signal low tyre pressure as intended. TPMS malfunctions may occur for a variety of reasons, including the installation of replacement or alternate tyres or wheels on the vehicle that prevent the TPMS from functioning properly. Always check the TPMS malfunction telltale after replacing one or more tyres or wheels on your vehicle to ensure the replacement or alternation of tyres and wheels to allow the TPMS to continue to function properly.
3-67
NOTICE
The tyre pressure sensors can be damaged if you do not take proper precautions.
We highly recommend that you have tyres repaired or replaced by a SUZUKI dealer. The tyre pressure sensors can be damaged by installation or removal of tyres. • Do not use liquid sealants for a flat tyre unless your vehicle is equipped with a flat tyre repair kit instead of a spare tyre.
NOTICE
If the low tyre pressure warning light comes on frequently, there may be something wrong with one or more of the tyres, tyre pressure sensors or the monitoring system.
If the low tyre pressure warning light comes on frequently, have your vehi~ cle inspected by a SUZUKI dealer.
61MM0A199
NOTE: For a cerlain type of instrument cluster only, the information display shows the above warning and indicator message when this light comes on.
Page 228 of 421
DRIVING TIPS
Snow chains
Snow chains should only be used if they are needed to increase traction or are required by law. Check that the chains you use are the correct size for your vehicle's tyres. Also check that there is enough clearance between the fenders and the chains as installed on the tyres. Install the chains on the rear tyres tightly, according to the chain manufacturer's instructions. Retighten the chains after driving about 1.0 km (1/2 mile) if necessary. With the chains installed, drive slowly.
NOTICE
If you hear the chains hitting against the vehicle body while driving, stop and tighten them.
4-5
Do not drive in the field covered
with grown grass
If you drive in the field covered with grass, it may cause accident or vehicle damage by getting caught in grown grass.
If Your Vehicle Gets Stuck
If your vehicle gets stuck in snow, mud, or sand, follow the directions below:
1) Shift the transfer shift lever into the "4L"
position. 2) Shift the transmission back and forth between a forward range (or first gear for manual transmission) and reverse. This will create a rocking motion which may give you enough momentum to free the vehicle. Press gently on the accelerator to keep wheel spin to a minimum. Remove your foot from the accelerator while shifting. Do not race the engine. Excessive wheel spin will cause the tyres to dig deeper, making it more difficult to free the vehicle. 3) If your vehicle remains stuck after a few minutes of rocking, get another vehicle to pull you out.
A WARNING
Do not allow anyone to stand near the vehicle when you are rocking it, and do not spin the wheels faster than an indicated 40 km/h (25 mph) on the speedometer. Personal injury and/or vehicle damage may result from spinning the wheels too fast.
NOTICE
• Release the accelerator pedal when operating the gearshift lever or the transfer lever. Operating the gearshift lever or the transfer lever with the engine racing can damage the gears and the free axle mechanism. • Do not continue rocking the vehicle for more than a few minutes. Prolonged rocking can cause engine overheating, transmission, transfer case, axles, propeller shaft or differential damage, or tyre damage.