check engine SUZUKI JIMNY 2021 User Guide
[x] Cancel search | Manufacturer: SUZUKI, Model Year: 2021, Model line: JIMNY, Model: SUZUKI JIMNY 2021Pages: 421, PDF Size: 6.35 MB
Page 120 of 421
BEFORE DRIVING
If the dual sensor brake support indicator light, lane departure warning indicator light and high beam assist warning light stay on after restarting the engine, there may be a failure of the dual sensor. Ask a SUZUKI dealer to have the dual sensor inspected.
Under the following situations, the function of the dual sensor stops temporarily. When the situations are improved, the temporary stop of the function will be canceled. When the visibility of the dual sensor is poor.
• When the temperature of the body of dual sensor is high.
• When the systems related to the dual sensor brake support stop temporarily. • When the battery has a voltage abnor-mality.
For details, refer to "Dual sensor brake support (if equipped)" in "OPERATING YOUR VEHICLE" section.
2-49
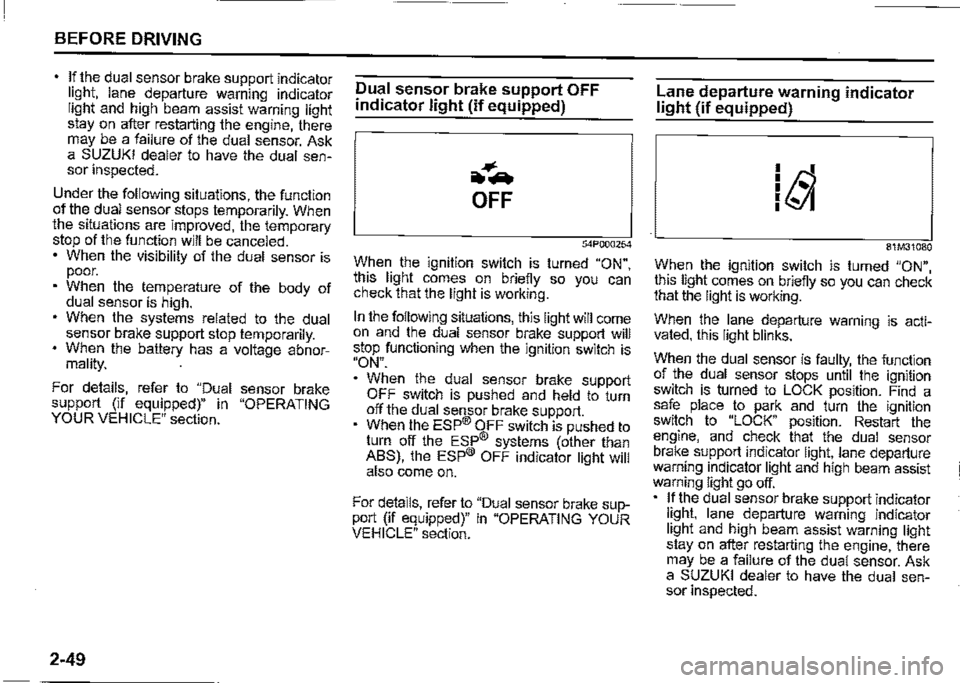
Dual sensor brake support OFF
indicator light (if equipped)
~-.
OFF
54P000254
When the ignition switch is turned "ON", this light comes on briefly so you can check that the light is working.
In the following situations, this light will come on and the dual sensor brake support will stop functioning when the ignition switch is "ON".
When the dual sensor brake support OFF switch is pushed and held to turn off the dual sensor brake support. When the ESP® OFF switch is pushed to turn off the ESP® systems (other than ABS), the ESP® OFF indicator light will also come on.
For details, refer to "Dual sensor brake support (if equipped)" in "OPERATING YOUR VEHICLE" section.
Lane departure warning indicator light (if equipped)
81M31080
When the ignition switch is turned "ON", this light comes on briefly so you can check that the light is working.
When the lane departure warning is activated, this light blinks.
When the dual sensor is faulty, the function of the dual sensor stops until the ignition switch is turned to LOCK position. Find a safe place to park and turn the ignition switch to "LOCK" position. Restart the engine, and check that the dual sensor brake support indicator light, lane departure warning indicator light and high beam assist warning light go off. If the dual sensor brake support indicator light, lane departure warning indicator light and high beam assist warning light stay on after restarting the engine, there may be a failure of the dual sensor. Ask a SUZUKI dealer to have the dual sensor inspected.
Page 122 of 421
BEFORE DRIVING
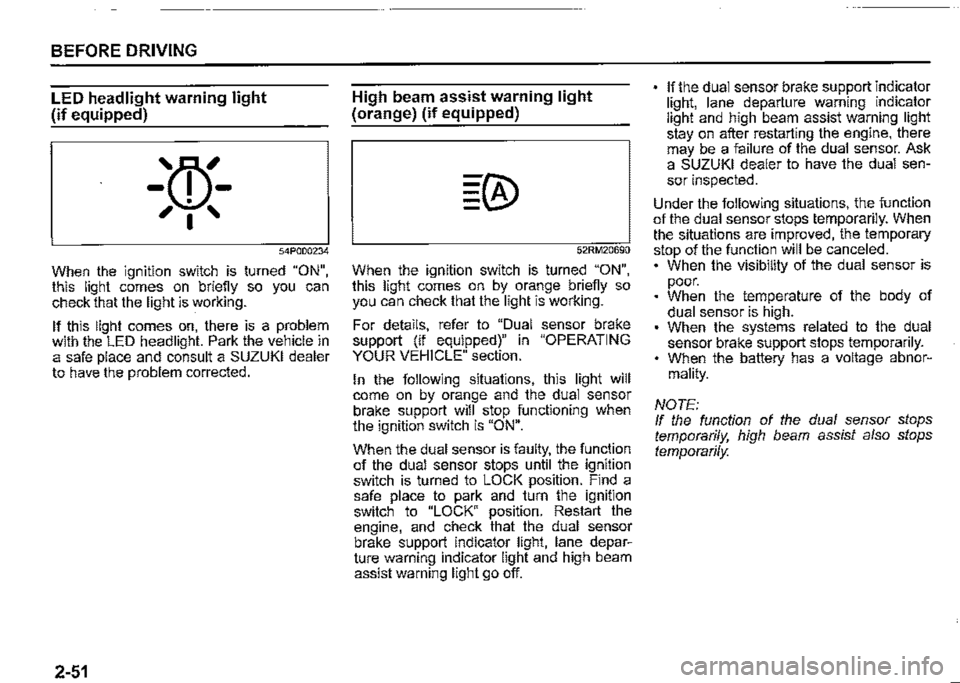
LED headlight warning light
(if equipped)
'm
-w.-, I '
54P000234
When the ignition switch is turned "ON", this light comes on briefly so you can check that the light is working.
If this light comes on, there is a problem with the LED headlight. Park the vehicle in a safe place and consult a SUZUKI dealer to have the problem corrected.
2-51
High beam assist warning light
(orange) (if equipped)
52RM20690
When the ignition switch is turned "ON", this light comes on by orange briefly so you can check that the light is working.
For details, refer to "Dual sensor brake support (if equipped)" in "OPERATING YOUR VEHICLE" section.
In the following situations, this light will come on by orange and the dual sensor brake support will stop functioning when the ignition switch is "ON".
When the dual sensor is faulty, the function of the dual sensor stops until the ignition switch is turned to LOCK position. Find a safe place to park and turn the ignition switch to "LOCK" position. Restart the engine, and check that the dual sensor brake support indicator light, lane departure warning indicator light and high beam assist warning light go off.
If the dual sensor brake support indicator light, lane departure warning indicator light and high beam assist warning light stay on after restarting the engine, there may be a failure of the dual sensor. Ask a SUZUKI dealer to have the dual sensor inspected.
Under the following situations, the function of the dual sensor stops temporarily. When the situations are improved, the temporary stop of the function will be canceled. • When the visibility of the dual sensor is poor. When the temperature of the body of dual sensor is high. When the systems related to the dual sensor brake support stops temporarily. When the battery has a voltage abnor
mality.
NOTE: If the function of the dual sensor stops temporarily, high beam assist also stops
temporarily.
Page 124 of 421
BEFORE DRIVING
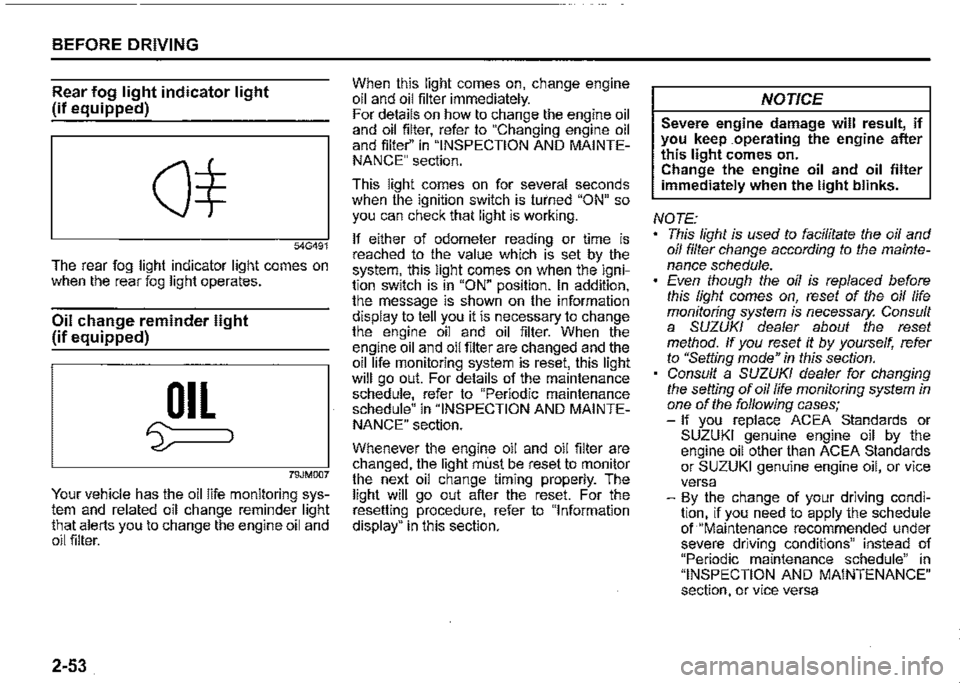
Rear fog light indicator light
(if equipped)
54G491
The rear fog light indicator light comes on when the rear fog light operates.
Oil change reminder light
(if equipped)
OIL
'5::===i
79JM007
Your vehicle has the oil life monitoring system and related oil change reminder light that alerts you to change the engine oil and oil filter.
2-53
When this light comes on, change engine oil and oil filter immediately. For details on how to change the engine oil and oil filter, refer to "Changing engine oil and filter'' in "INSPECTION AND MAINTENANCE" section.
This light comes on for several seconds when the ignition switch is turned "ON" so you can check that light is working.
If either of odometer reading or time is reached to the value which is set by the system, this light comes on when the ignition switch is in "ON" position. In addition, the message is shown on the information display to tell you it is necessary to change the engine oil and oil filter. When the engine oil and oil filter are changed and the oil life monitoring system is reset, this light will go out. For details of the maintenance schedule, refer to "Periodic maintenance schedule" in "INSPECTION AND MAINTENANCE" section.
Whenever the engine oil and oil filter are changed, the light must be reset to monitor the next oil change timing properly. The light will go out after the reset. For the resetting procedure, refer to "Information display" in this section.
NOTICE
Severe engine damage will result, if you keep .operating the engine after this light comes on. Change the engine oil and oil filter immediately when the light blinks.
NOTE: This light is used to facilitate the oil and oil filter change according to the maintenance schedule. Even though the oil is replaced before this light comes on, reset of the oil life monitoring system is necessary. Consult a SUZUKI dealer about the reset method. If you reset it by yourself, refer to "Setting mode" in this section. Consult a SUZUKI dealer for changing the setting of oil life monitoring system in one of the following cases; -If you replace ACEA Standards or SUZUKI genuine engine oil by the engine oil other than ACEA Standards or SUZUKI genuine engine oil, or vice versa -By the change of your driving condition, if you need to apply the schedule of "Maintenance recommended under severe driving conditions" instead of "Periodic maintenance schedule" in "INSPECTION AND MAINTENANCE" section, or vice versa
Page 125 of 421

Master warning indicator light
(if equipped)
68PM00278
When the ignition switch is turned "ON", this light comes on briefiy so you can check that the light is working.
When the information display shows warning and indicator messages, this indicator light may also blink.
For details, refer to "Information display" in this section.
4WD indicator light
78RB02078
· This indicator light comes on when the transfer gear and the air locking hubs are switched to 4-wheel drive condition ("4H" or "4L").
When the ignition switch is turned "ON", this 4WD indicator light will come on for a while and then this light will turned on or off according to the drive condition.
If 4WD indicator light continues to blink, there may be a malfunction of the system. If so, have the system inspected by your SUZUKI dealer.
When you shift the transfer lever from "2H" position to "4H" position at a speed of 100 km/h (60 mph) or more, this indicator light blinks.
When you shift transfer lever again while changing the drive condition, this indicator blinks.
BEFORE DRIVING
NOTE: When the drive condition is 4-wheel drive condition and the engine is not running with the ignition switch turned "ON", this 4WD indicator light will come on for a while and then blink. In this situation, when you start the engine and this indicator light comes on, the system does not indicate a malfunction.
Cruise indicator light (if equipped)
81P40090
When the cruise control system is activated, this light comes on.
2-54
Page 151 of 421
OPERATING YOUR VEHICLE
OPERATING YOUR VEHICLE
Daily inspection checklist .................................................. 3-1
Engine oil consumption ..................................................... 3-2
Ignition switch ..................................................................... 3-2 -
Parking brake lever ............................................................. 3-5
Pedal ..................................................................................... 3-6
Starting engine .................................................................... 3-7
Using transmission ............................................................. 3-8
Gearshift indicator (if equipped) ........................................ 3-13
Transfer lever ...................................................................... 3-16
Cruise control (if equipped) ............................................... 3-22
Speed limiter (if equipped) ................................................. 3-25
SUZUKI SAFETY SUPPORT (if equipped) ......................... 3-27
Emergency stop signal (ESS) (if equipped) ...................... 3-52
Braking ................................................................................. 3-53
Electronic stability program (ESP®) .................................. 3-55
Tyre pressure monitoring system
(TPMS) (if equipped) ........................................................... 3-63
Page 152 of 421
OPERATING YOUR VEHICLE
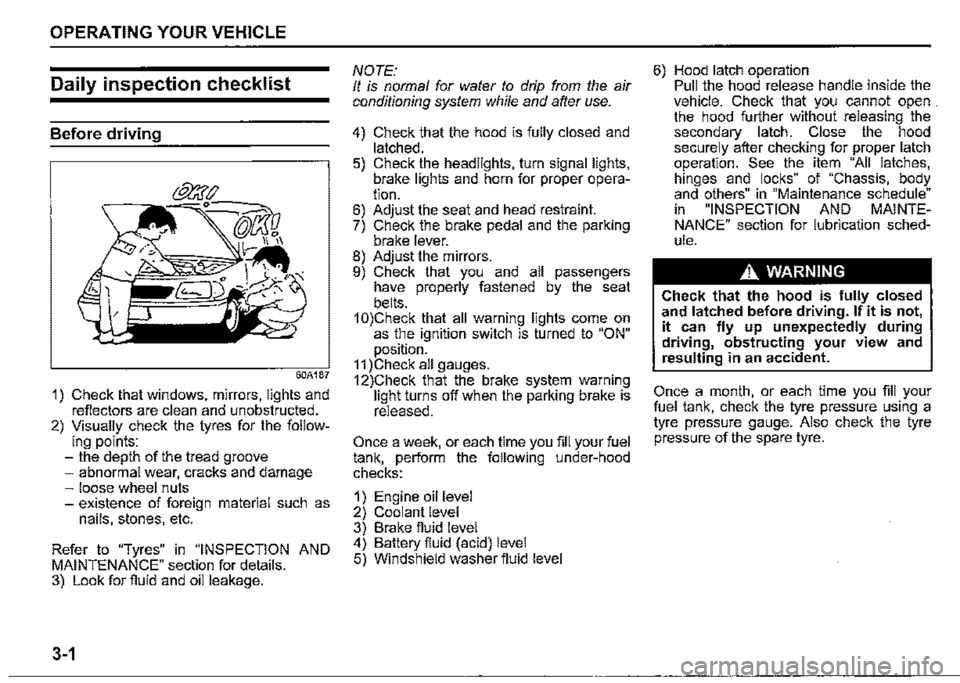
Daily inspection checklist
Before driving
60A187
1) Check that windows, mirrors, lights and reflectors are clean and unobstructed. 2) Visually check the tyres for the follow-ing points: -the depth of the tread groove -abnormal wear, cracks and damage -loose wheel nuts -existence of foreign material such as nails, stones, etc.
Refer to "Tyres" in "INSPECTION AND MAINTENANCE" section for details. 3) Look for fluid and oil leakage.
3-1
NOTE: It is normal for water to drip from the air conditioning system while and after use.
4) Check that the hood is fully closed and latched. 5) Check the headlights, turn signal lights, brake lights and horn for proper operation. 6) Adjust the seat and head restraint. 7) Check the brake pedal and the parking brake lever. 8) Adjust the mirrors. 9) Check that you and all passengers have properly fastened by the seat belts. 1 0)Check that all warning lights come on as the ignition switch is turned to "ON" position. 11 )Check all gauges. 12)Check that the brake system warning light turns off when the parking brake is released.
Once a week, or each time you fill your fuel tank, perform the following under-hood checks:
1) Engine oil level 2) Coolant level 3) Brake fluid level 4) Battery fluid (acid) level 5) Windshield washer fluid level
6) Hood latch operation Pull the hood release handle inside the vehicle. Check that you cannot open . the hood further without releasing the secondary latch. Close the hood securely after checking for proper latch operation. See the item "All latches, hinges and locks" of "Chassis, body and others" in "Maintenance schedule" in "INSPECTION AND MAINTENANCE" section for lubrication schedule.
A WARNING
Check that the hood is fully closed and latched before driving. If it is not, it can fly up unexpectedly during driving, obstructing your view and resulting in an accident.
Once a month, or each time you fill your fuel tank, check the tyre pressure using a tyre pressure gauge. Also check the tyre pressure of the spare tyre.
Page 157 of 421

A WARNING
Always set the parking brake fully before leaving your vehicle or it may move, causing injury or damage. When parking, make sure the gearshift lever for manual transmission vehicles is in 1st gear or "R" (Reverse) and the gearshift lever for automatic transmission vehicles is in "P" (Park). Remember, even though the transmission is in gear or in Park, you must set the parking brake fully.
A WARNING
When parking the vehicle in extremely cold weather, the following procedure should be used: 1) Set the parking brake. 2) Manual transmission -turn off the engine, then shift into reverse or first gear. Automatic transmission -shift into "P" (Park) and turn off the engine. 3) Get out of the vehicle and put chocks under the wheels. 4) Release the parking brake. When you return to your vehicle, first set the parking brake, and then remove the wheel chocks.
A WARNING
Do not leave cigarette lighters, spray cans, soft drink cans or plastic arti~ cles (such as glasses, CD case, etc.) in sun-heated vehicle. The temperature inside the vehicle may cause as follows: Gas may leak from a cigarette lighter or spray can and may lead to a fire. The glasses, plastic cards or CD cases, etc. may deform or crack. Soft drink cans may fracture.
Parking brake reminder buzzer
A buzzer sounds intermittently to remind you to release the parking brake if you start the vehicle without fully releasing the parking brake. Check that the parking brake is fully released and the brake system warning light turns off.
OPERATING YOUR VEHICLE
Pedal
Manual transmission
80J2121
Automatic transmission
80J2122
3-6
Page 158 of 421
OPERATING YOUR VEHICLE
Clutch pedal (1)
A clutch pedal is used to disengage the driving force to the wheels when starting the engine, stopping, or shifting the gearshift lever. Depressing the pedal disengages the clutch.
A WARNING
Do not drive with your foot resting on the clutch pedal. It could result in excessive clutch wear, clutch damage, or unexpected loss of engine braking.
Brake pedal (2)
Your vehicle is equipped with either front and rear disc brakes or front disc brakes and rear drum brakes. Depressing a brake pedal applies both sets of brakes.
You may hear occasional brake squeal when you apply the brakes. This is a normal condition caused by environmental factors such as temperature, humidity or dust, etc.
A WARNING
If brake squeal is excessive and occurs each time the brakes are applied, you should have the brakes checked by a SUZUKI dealer.
3-7
A WARNING
Do not apply brakes continuously or rest your foot on the brake pedal. This will result in overheating of the brakes which could cause unpredictable braking action, longer stopping distances, or permanent brake dam
age.
Accelerator pedal (3)
An accelerator pedal controls the speed of the engine. Depressing the accelerator pedal increases power output and speed.
Starting engine
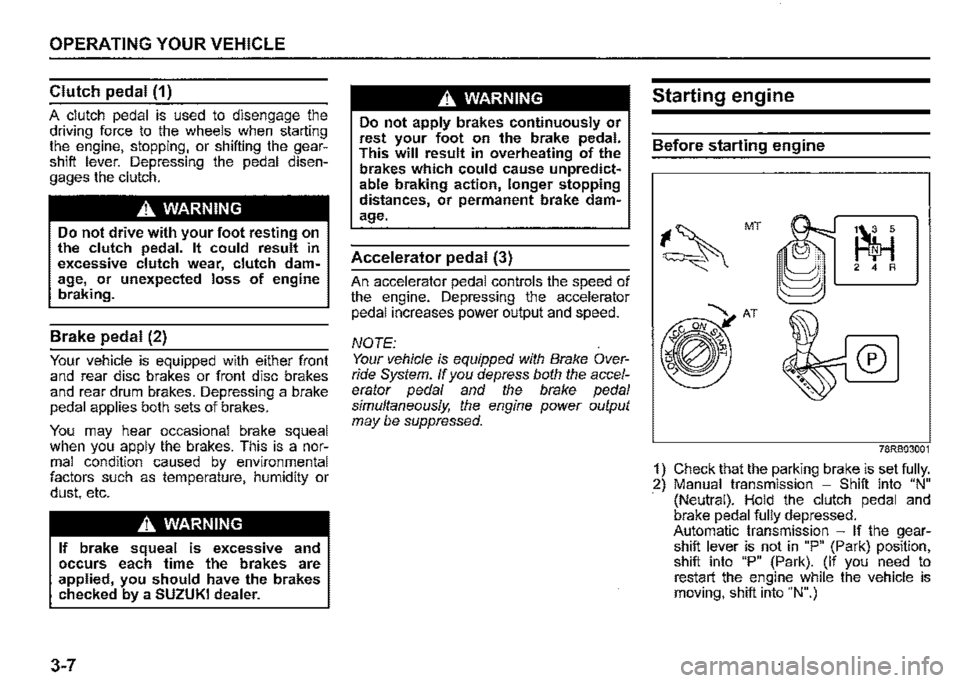
Before starting engine
~ 2 4 R
AT
NOTE: Your vehicle is equipped with Brake Over-fl..l""'"-i ® ride System. If you depress both the accelerator pedal and the brake pedal simultaneously, the engine power output may be suppressed.
78RB03001
1) Check that the parking brake is set fully. 2) Manual transmission -Shift into "N" (Neutral). Hold the clutch pedal and brake pedal fully depressed. Automatic transmission -If the gearshift lever is not in "P" (Park) position, shift into "P" (Park). (If you need to restart the engine while the vehicle is moving, shift into "N".)
Page 159 of 421

NOTE: Automatic transmission vehicles have a starter interlock device which is designed to keep the starter from operating if the transmission is in any of the drive positions.
A WARNING
Check that the parking brake is set fully and the transmission is in Neutral (or Park for vehicles with an automatic transmission) before attempting to start the engine.
Starting a cold and warm engine
With your foot taken off the accelerator pedal, crank the engine by turning the ignition key to "START". Release the key when the engine starts.
NOTICE
• Stop turning the starter immediately after the engine has started or the starter system can be damaged. For protection of a lead-acid battery and a starter motor, do not use the starter motor by turning the key to "START" for more than 12 seconds at a time. If the engine dose not start, turn the key to 11LOCK" position and wait for more than 30 seconds before trying again. If the engine does not start after several attempts, consult a SUZUKI dealer or a qualified workshop.
If the engine does not start after 12 seconds of cranking, wait about 30 seconds, and then press down the accelerator pedal to 1/3 of its stroke and try cranking the engine again. Release the key and accelerator pedal when the engine starts.
If the engine still does not start, depress the accelerator pedal all the way to the fioor while cranking.
OPERATING YOUR VEHICLE
Using transmission
A WARNING
Do not hang any items on the gearshift lever and do not use the gearshift lever as a handrest. Otherwise, it could prevent proper operation of the gearshift lever and cause its malfunction, resulting in an accident.
Manual transmission
3 5
1-$=1
2 4 R
78RB03002
3-8
Page 160 of 421
OPERATING YOUR VEHICLE
Starting off To start off, depress the clutch pedal all the way to the floor and shift into 1 st gear. After releasing the parking brake, gradually release the clutch. When you hear a change in the engine's sound, slowly press the accelerator while continuing to gradually release the clutch.
Shifting All forward gears are synchronized and provide quiet and easy shifting. Always depress the clutch pedal all the way to the floor before shifting gears. Keep the engine speed from rising into the red zone of the tachometer.
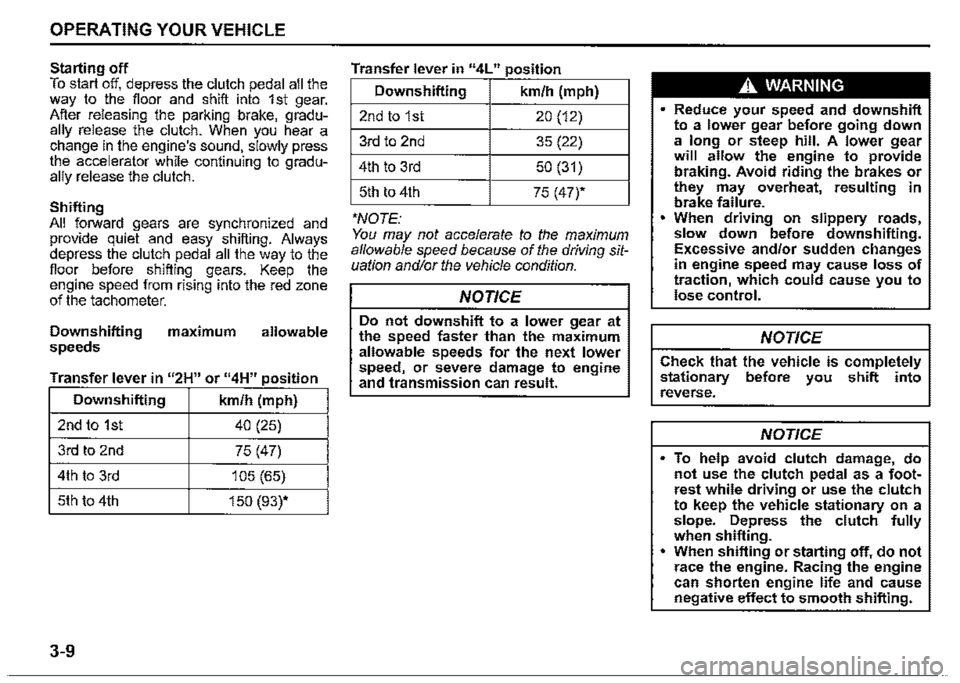
Downshifting maximum allowable speeds
Transfer lever in "2H" or "4H" position
Downshifting km/h (mph)
2nd to 1st 40 (25)
3rd to 2nd 75 (47)
4th to 3rd 105 (65)
5th to 4th 150 (93)*
3-9
Transfer lever in "4L" position
Downshifting km/h (mph)
2ndto1st 20 (12)
3rd to 2nd 35 (22)
4th to 3rd 50 (31)
5th to 4th 75 (47)*
*NOTE: You may not accelerate to the maximum allowable speed because of the driving situation and/or the vehicle condition.
NOTICE
Do not downshift to a lower gear at the speed faster than the maximum allowable speeds for the next lower speed) or severe damage to engine and transmission can result.
A WARNING
• Reduce your speed and downshift to a lower gear before going down a long or steep hill. A lower gear will allow the engine to provide braking. Avoid riding the brakes or they may overheat, resulting in brake failure. When driving on slippery roads, slow down before downshifting. Excessive and/or sudden changes in engine speed may cause loss of traction, which could cause you to lose control.
NOTICE
Check that the vehicle is completely stationary before you shift into reverse.
NOTICE
To help avoid clutch damage, do not use the clutch pedal as a footrest while driving or use the clutch to keep the vehicle stationary on a slope. Depress the clutch fully when shifting. • When shifting or starting off, do not race the engine. Racing the engine can shorten engine life and cause negative effect to smooth shifting.