maintenance SUZUKI JIMNY 2021 Owners Manual
[x] Cancel search | Manufacturer: SUZUKI, Model Year: 2021, Model line: JIMNY, Model: SUZUKI JIMNY 2021Pages: 421, PDF Size: 6.35 MB
Page 1 of 421
OWNER'S MANUAL
Keep With Vehicle At All Times.
Contains Important Information
On Safety, Operation & Maintenance.
* SUZUKI
Page 3 of 421
FOREWORD
This manual should be considered as a permanent part of the vehicle and should remain with the vehicle when resold or otherwise transferred to a new owner or operator. Please read this manual carefully before operating your new SUZUKI vehicle and review the manual from time to time. It contains important information on safety, operation and maintenance.
SUZUKI MOTOR CORPORATION
All information in this manual is based on the latest product information available at the time of publication. Due to improvements or other changes1 there may be discrepancies between information in this manual and your vehicle. SUZUKI MOTOR CORPORATION reserves the right to make production changes at any time, without notice and without incurring any obligation to make the same or similar changes to vehicles previously built or sold.
This vehicle may not comply with standards or regulations of other countries. Before attempting to register this vehicle in any other country, check all applicable regulations and make any necessary modifications.
NOTE: Please see the warning label named "Airbag symbol meaning" in "BEFORE DRIVING" section for information on front airbag
protection.
IMPORTANT
A WARNING/ A CAUTION/NOTICE/ NOTE Please read this manual and follow its instructions carefully. To emphasize special information, the symbol A and the words WARNING, CAUTION, NOTICE and NOTE have special meanings. Pay particular attention to messages highlighted by these signal words:
A WARNING
Indicates a potential hazard that could result in death or serious injury.
A CAUTION
Indicates a potential hazard that could result in minor or moderate
injury.
NOTICE
Indicates a potential hazard that could result in vehicle damage.
NOTE: Indicates special information to make maintenance easier or instructions clearer.
Page 5 of 421
INTRODUCTION
Thank you for choosing SUZUKI product and welcome to our growing family. Your choice was a wise one; SUZUKI products have great
value that will give you driving pleasure for years.
This owner's manual was prepared to give you a safe, enjoyable, and trouble-free experience with your SUZUKI vehicle. In this manual, you will learn about the vehicle's operation, its safety features and maintenance requirements. Please read the manual carefully before operating your vehicle. Afterwards, keep this manual in the glove box for further reference.
Should you resell the vehicle, please leave this manual with it for the next owner.
In addition to the owner's manual, the other booklets provided with your SUZUKI vehicle explain the vehicle's warranties. We recom
mend you read them as well to familiarize yourself with this important information.
When planning the regular scheduled maintenance of your SUZUKI vehicle, we recommend you visit your local SUZUKI dealer. Their factory-trained technicians will provide the best possible service and use only genuine SUZUKI parts and accessories or their equiva
lents.
NOTE: "SUZUKI dealer'' means an Authorized Suzuki Dealer and an Authorized Suzuki Service Workshop. • The illustrations in this manual represent a typical variation, which may differ from your vehicle.
SUZUKI MOTOR CORPORATION
Page 11 of 421

TABLE OF CONTENTS FOR SAFE DRIVING
BEFORE DRIVING
OPERATING YOUR VEHICLE
DRIVING TIPS
OTHER CONTROLS AND EQUIPMENT
INSPECTION AND MAINTENANCE
EMERGENCY SERVICE
APPEARANCE CARE
SPECIFICATION
SUPPLEMENT Iii■
rc-lN,---D_E_X------------------------.,-, ..
Page 72 of 421
BEFORE DRIVING
Keys
54G489
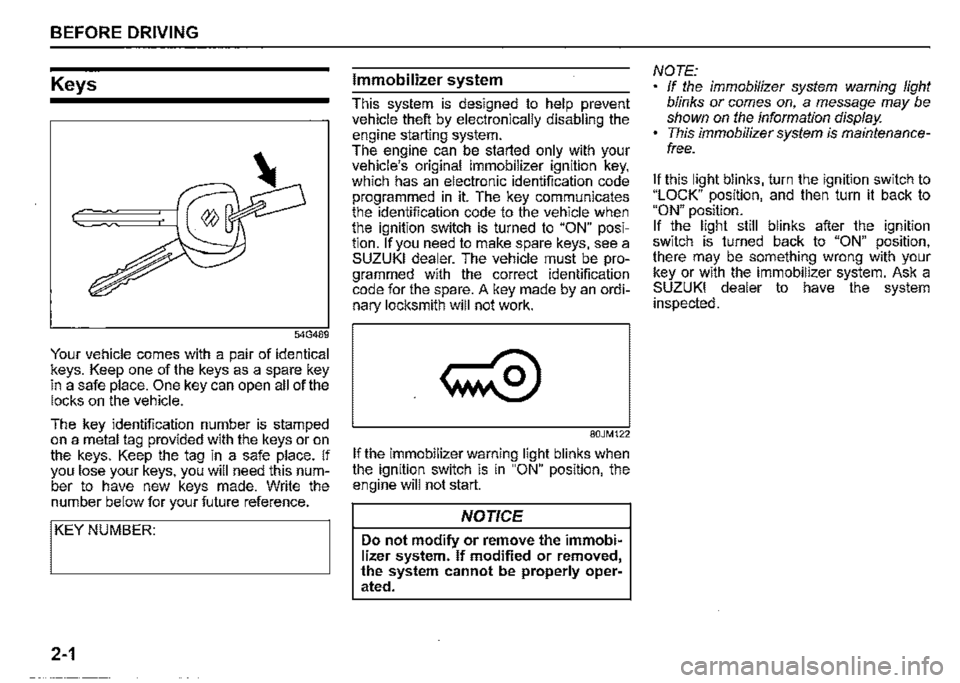
Your vehicle comes with a pair of identical keys. Keep one of the keys as a spare key in a safe place. One key can open all of the locks on the vehicle.
The key identification number is stamped on a metal tag provided with the keys or on the keys. Keep the tag in a safe place. If you lose your keys, you will need this number to have new keys made. Write the number below for your future reference.
I KEY NUMBER:
2-1
Immobilizer system
This system is designed to help prevent vehicle theft by electronically disabling the engine starting system. The engine can be started only with your vehicle's original immobilizer ignition key, which has an electronic identification code programmed in it. The key communicates the identification code to the vehicle when the ignition switch is turned to "ON" position. If you need to make spare keys, see a SUZUKI dealer. The vehicle must be programmed with the correct identification code for the spare. A key made by an ordinary locksmith will not work.
80JM122
If the immobilizer warning light blinks when the ignition switch is in "ON" position, the engine will not start.
NOTICE
Do not modify or remove the immobilizer system. If modified or removed, the system cannot be properly operated.
NOTE: If the immobilizer system warning light blinks or comes on, a message may be shown on the information display. This immobilizer system is maintenancefree.
It this light blinks, turn the ignition switch to "LOCK" position, and then turn it back to "ON" position. It the light still blinks after the ignition switch is turned back to "ON" position, there may be something wrong with your key or with the immobilizer system. Ask a SUZUKI dealer to have the system inspected.
Page 79 of 421
80JM133
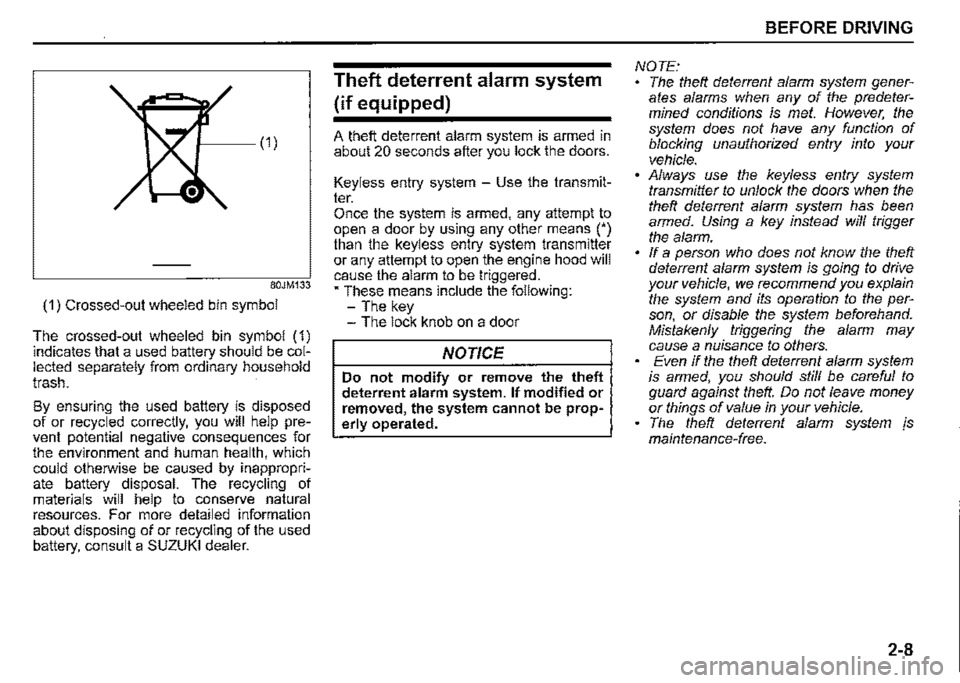
(1) Crossed-out wheeled bin symbol
The crossed-out wheeled bin symbol (1) indicates that a used battery should be collected separately from ordinary household trash.
By ensuring the used battery is disposed of or recycled correctly, you will help prevent potential negative consequences for the environment and human health, which could otherwise be caused by inappropriate battery disposal. The recycling of materials will help to conserve natural resources. For more detailed information about disposing of or recycling of the used battery, consult a SUZUKI dealer.
Theft deterrent alarm system
(if equipped)
A theft deterrent alarm system is armed in about 20 seconds after you lock the doors.
Keyless entry system -Use the transmitter. Once the system is armed, any attempt to open a door by using any other means (') than the keyless entry system transmitter or any attempt to open the engine hood will cause the alarm to be triggered. • These means include the following: -The key -The lock knob on a door
NOTICE
Do not modify or remove the theft deterrent alarm system. If modified or removed, the system cannot be properly operated.
BEFORE DRIVING
NOTE: The theft deterrent alarm system generates alarms when any of the predetermined conditions is met. However, the system does not have any function of blocking unauthorized entry into your vehicle. Always use the keyless entry system transmitter to unlock the doors when the theft deterrent alarm system has been armed. Using a key instead will trigger the alarm. If a person who does not know the theft deterrent alarm system is going to drive your vehicle, we recommend you explain the system and its operation to the person, or disable the system beforehand. Mistakenly triggering the alarm may cause a nuisance to others. Even if the theft deterrent alarm system is armed, you should still be careful to guard against theft. Do not leave money or things of value in your vehicle. The theft deterrent alarm system js maintenance-free.
2-8
Page 92 of 421

BEFORE DRIVING
Trip meter The trip meter can be used to measure the distance traveled on short trips or between fuel stops. You can use the trip meter A or trip meter B independently.
To reset the trip meter, push and hold the trip meter selector knob (1) until the display shows a.a.
NOTE: The indicated maximum value of the trip meter is 9999.9. When you run past the maximum value, the indicated value will return to 0. 0. ·
Odometer The odometer records the total distance the vehicle has been driven.
NOTICE
Keep track of your odometer reading and check the maintenance schedule regularly for required services. Increased wear or damage to certain parts can result from failure to perform required services at the proper mileage intervals.
2-21
Instantaneous fuel consumption The display shows the value of instantaneous fuel consumption only when the vehicle is moving.
NOTE: The display does not show the value unless the vehicle is moving. Depending on the vehicle's specification, the fuel consumption units of initial setting are indicated as U100km or km/L. For "U100km" setting, the indicated maximum value of instantaneous fuel consumption is 30. No more than 30 will be indicated on the display even if the actual instantaneous fuel consumption is higher. For "km/L" setting, the indicated maximum value of instantaneous fuel consumption is 50. No more than 50 will be indicated on the display even if the actual instantaneous fuel consumption is higher. The indication on the display may be delayed if fuel consumption is greatly affected by driving conditions. The display shows estimated values. Indications may not be the same as actual values. For "U100km" or "km/L" setting, you can change the units that instantaneous fuel consumption is displayed in. Refer to ',<\verage fuel consumption" in this section.
Average fuel consumption If you previously selected average fuel consumption setting, the display shows average fuel consumption from the last reset to the present when the ignition switch is turned "ON".
To reset the average fuel consumption, push and hold the indicator selector knob (2) for a while when the display shows the average fuel consumption.
NOTE: When you reset the indication or reconnect the terminals to the lead-acid battery, the value of average fuel consumption will be shown after driving for a while.
Page 103 of 421

NOTE: If you refuel when the ignition switch is "ON", the driving range may not indicate the correct value. When you reconnect the terminals to the lead-acid battery, the value of driving range will be shown after driving for a period of time.
Average speed If you selected average speed the last time you drove the vehicle, the display indicates the last value of average speed from previous driving when the ignition switch is turned "ON". Unless you reset the value of average speed, the display indicates the value of average speed which includes average speed during previous driving.
To reset the value of average speed, push and hold the indicator selector knob (3) for a while when the display indicates an average speed. The display shows "---" and then indicates a new average speed after driving for a short time.
NOTE: When you reconnect the terminals to the lead-acid battery, the value of average speed will be shown after driving for a period of time.
Driving time The display shows the total amount of driving time since the indication was reset. To reset the driving time, push and hold the indicator selector knob (3) for a while when the display shows the driving time.
NOTE: When you reset the indication or reconnect the terminals to the lead-acid battery, the driving time will be shown after driving for a while. The indicated maximum value of driving time is 99:59:59. No more than the maximum value will be indicated on the display until you reset the driving time.
Gearshift indicator
The display (D) shows the gearshift indicator.
Refer to "Gearshift indicator" in "OPERATING YOUR VEHICLE" section.
BEFORE DRIVING
Trip meter
The display (E) shows the trip meter.
The trip meter can be used to measure the distance traveled on short trips or between fuel stops. You can use trip meter A or trip meter B independently.
To reset the trip meter, push and hold the trip meter selector knob (2) for a while.
NOTE: The indicated maximum value of the trip meter is 9999.9. When you run past the maximum value, the indicated value will return to 0.0.
Odometer
The display (F) shows the odometer.
The odometer records the total distance the vehicle has been driven.
NOTICE
Keep track of your odometer reading and check the maintenance schedule regularly for required services. Increased wear or damage to certain parts can result from failure to perform required services at the proper mileage intervals.
2-32
Page 112 of 421
BEFORE DRIVING
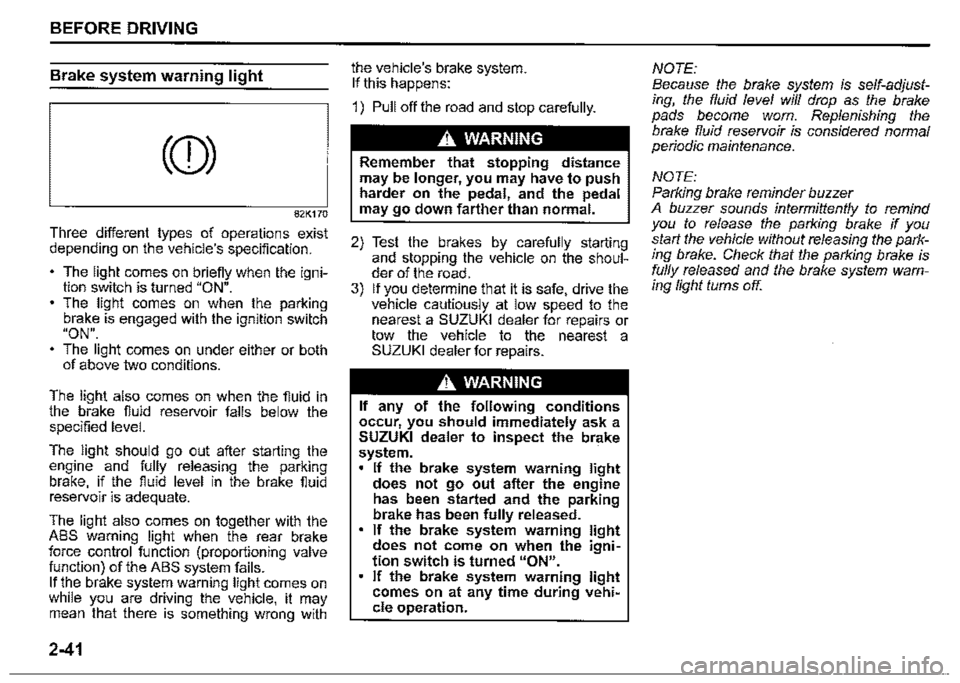
Brake system warning light
(CD)
82K170
Three different types of operations exist depending on the vehicle's specification.
• The light comes on briefiy when the ignition switch is turned "ON". The light comes on when the parking brake is engaged with the ignition switch "ON". The light comes on under either or both of above two conditions.
The light also comes on when the fiuid in the brake fiuid reservoir falls below the specified level.
The light should go out after starting the engine and fully releasing the parking brake, if the fluid level in the brake fiuid reservoir is adequate.
The light also comes on together with the ABS warning light when the rear brake force control function (proportioning valve function) of the ABS system fails. If the brake system warning light comes on while you are driving the vehicle, it may mean that there is something wrong with
2-41
the vehicle's brake system. If this happens:
1) Pull off the road and stop carefully.
A WARNING
Remember that stopping distance may be longer, you may have to push harder on the pedal, and the pedal may go down farther than normal.
2) Test the brakes by carefully starting and stopping the vehicle on the shoulder of the road. 3) If you determine that it is safe, drive the vehicle cautiously at low speed to the nearest a SUZUKI dealer for repairs or tow the vehicle to the nearest a SUZUKI dealer for repairs.
A WARNING
If any of the following conditions occur, you should immediately ask a SUZUKI dealer to inspect the brake system. If the brake system warning light does not go out after the engine has been started and the parking brake has been fully released. If the brake system warning light does not come on when the ignition switch is turned "ON". If the brake system warning light comes on at any time during vehicle operation.
NOTE: Because the brake system is self-adjusting, the fluid level will drop as the brake pads become worn. Replenishing the brake fluid reservoir is considered normal periodic maintenance.
NOTE: Parking brake reminder buzzer A buzzer sounds intermittently to remind you to release the parking brake if you start the vehicle without releasing the parking brake. Check that the parking brake is fully released and the brake system warning light turns off.
Page 124 of 421
BEFORE DRIVING
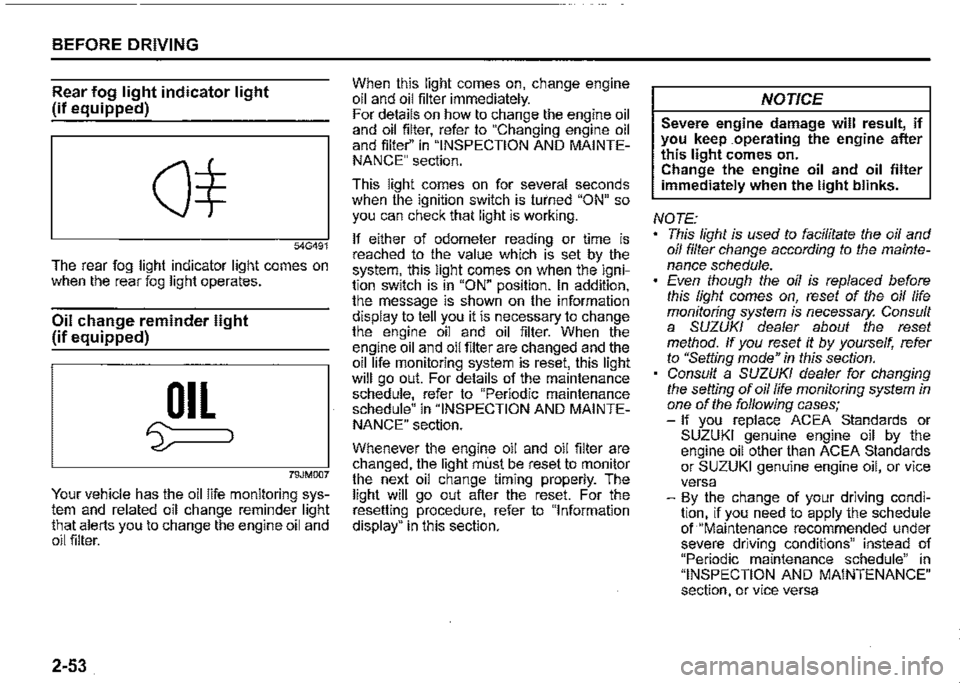
Rear fog light indicator light
(if equipped)
54G491
The rear fog light indicator light comes on when the rear fog light operates.
Oil change reminder light
(if equipped)
OIL
'5::===i
79JM007
Your vehicle has the oil life monitoring system and related oil change reminder light that alerts you to change the engine oil and oil filter.
2-53
When this light comes on, change engine oil and oil filter immediately. For details on how to change the engine oil and oil filter, refer to "Changing engine oil and filter'' in "INSPECTION AND MAINTENANCE" section.
This light comes on for several seconds when the ignition switch is turned "ON" so you can check that light is working.
If either of odometer reading or time is reached to the value which is set by the system, this light comes on when the ignition switch is in "ON" position. In addition, the message is shown on the information display to tell you it is necessary to change the engine oil and oil filter. When the engine oil and oil filter are changed and the oil life monitoring system is reset, this light will go out. For details of the maintenance schedule, refer to "Periodic maintenance schedule" in "INSPECTION AND MAINTENANCE" section.
Whenever the engine oil and oil filter are changed, the light must be reset to monitor the next oil change timing properly. The light will go out after the reset. For the resetting procedure, refer to "Information display" in this section.
NOTICE
Severe engine damage will result, if you keep .operating the engine after this light comes on. Change the engine oil and oil filter immediately when the light blinks.
NOTE: This light is used to facilitate the oil and oil filter change according to the maintenance schedule. Even though the oil is replaced before this light comes on, reset of the oil life monitoring system is necessary. Consult a SUZUKI dealer about the reset method. If you reset it by yourself, refer to "Setting mode" in this section. Consult a SUZUKI dealer for changing the setting of oil life monitoring system in one of the following cases; -If you replace ACEA Standards or SUZUKI genuine engine oil by the engine oil other than ACEA Standards or SUZUKI genuine engine oil, or vice versa -By the change of your driving condition, if you need to apply the schedule of "Maintenance recommended under severe driving conditions" instead of "Periodic maintenance schedule" in "INSPECTION AND MAINTENANCE" section, or vice versa