check engine light SUZUKI KIZASHI 2010 1.G User Guide
[x] Cancel search | Manufacturer: SUZUKI, Model Year: 2010, Model line: KIZASHI, Model: SUZUKI KIZASHI 2010 1.GPages: 388, PDF Size: 4.94 MB
Page 95 of 388
2-76
BEFORE DRIVING
57L20-03E
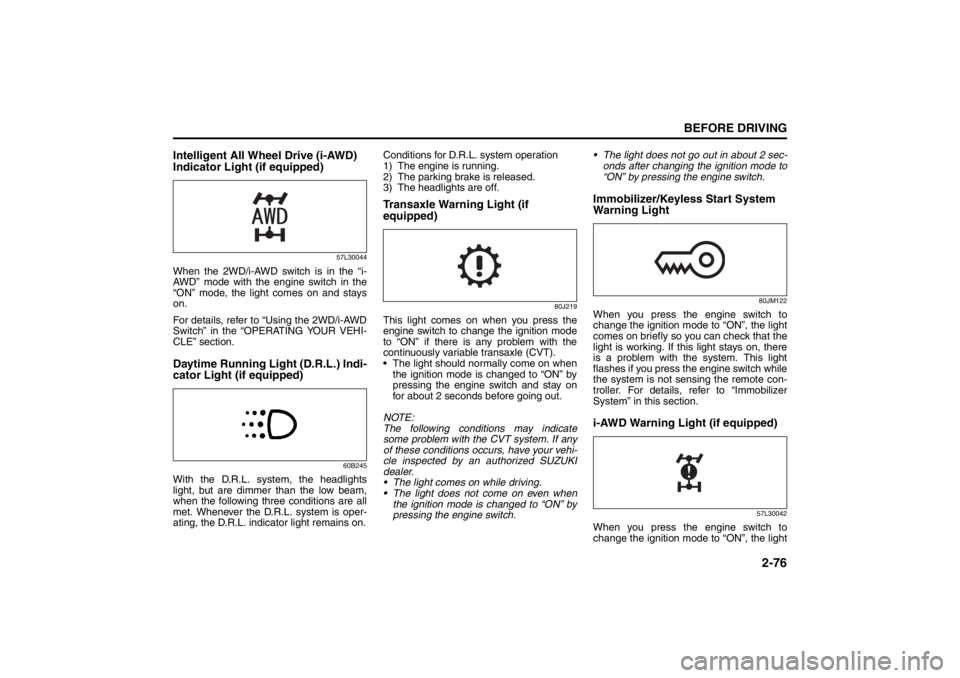
Intelligent All Wheel Drive (i-AWD)
Indicator Light (if equipped)
57L30044
When the 2WD/i-AWD switch is in the “i-
AWD” mode with the engine switch in the
“ON” mode, the light comes on and stays
on.
For details, refer to “Using the 2WD/i-AWD
Switch” in the “OPERATING YOUR VEHI-
CLE” section.Daytime Running Light (D.R.L.) Indi-
cator Light (if equipped)
60B245
With the D.R.L. system, the headlights
light, but are dimmer than the low beam,
when the following three conditions are all
met. Whenever the D.R.L. system is oper-
ating, the D.R.L. indicator light remains on.Conditions for D.R.L. system operation
1) The engine is running.
2) The parking brake is released.
3) The headlights are off.
Transaxle Warning Light (if
equipped)
80J219
This light comes on when you press the
engine switch to change the ignition mode
to “ON” if there is any problem with the
continuously variable transaxle (CVT).
The light should normally come on when
the ignition mode is changed to “ON” by
pressing the engine switch and stay on
for about 2 seconds before going out.
NOTE:
The following conditions may indicate
some problem with the CVT system. If any
of these conditions occurs, have your vehi-
cle inspected by an authorized SUZUKI
dealer.
The light comes on while driving.
The light does not come on even when
the ignition mode is changed to “ON” by
pressing the engine switch. The light does not go out in about 2 sec-
onds after changing the ignition mode to
“ON” by pressing the engine switch.
Immobilizer/Keyless Start System
Warning Light
80JM122
When you press the engine switch to
change the ignition mode to “ON”, the light
comes on briefly so you can check that the
light is working. If this light stays on, there
is a problem with the system. This light
flashes if you press the engine switch while
the system is not sensing the remote con-
troller. For details, refer to “Immobilizer
System” in this section.i-AWD Warning Light (if equipped)
57L30042
When you press the engine switch to
change the ignition mode to “ON”, the light
Page 96 of 388
2-77BEFORE DRIVING
57L20-03E
comes on briefly so you can check that the
light is working.
This light comes on if there is any prob-
lem with the intelligent all wheel drive (i-
AWD) system. The drive mode will then
automatically switch to the two-wheel
drive (2WD) mode.
The light flashes if the vehicle is in any of
the following conditions, and the drive
train mode will then automatically switch
to the 2WD mode.
– Wheels of different diameters are fitted
to the vehicle.
– Drive train components overheat as a
result of spinning of a drive wheel in
the mud or snow.
The light should normally come on when
you press the engine switch to change
the ignition mode to “ON” and continue
to light or go out depending on the drive
train mode engaged.
NOTE:
Should the light flash, immediately move
the vehicle to a safe place and park it there
to protect the drive train components. If
you let the engine run at idle for a while,
the light will stop flashing and then stay lit,
and the i-AWD mode will resume.
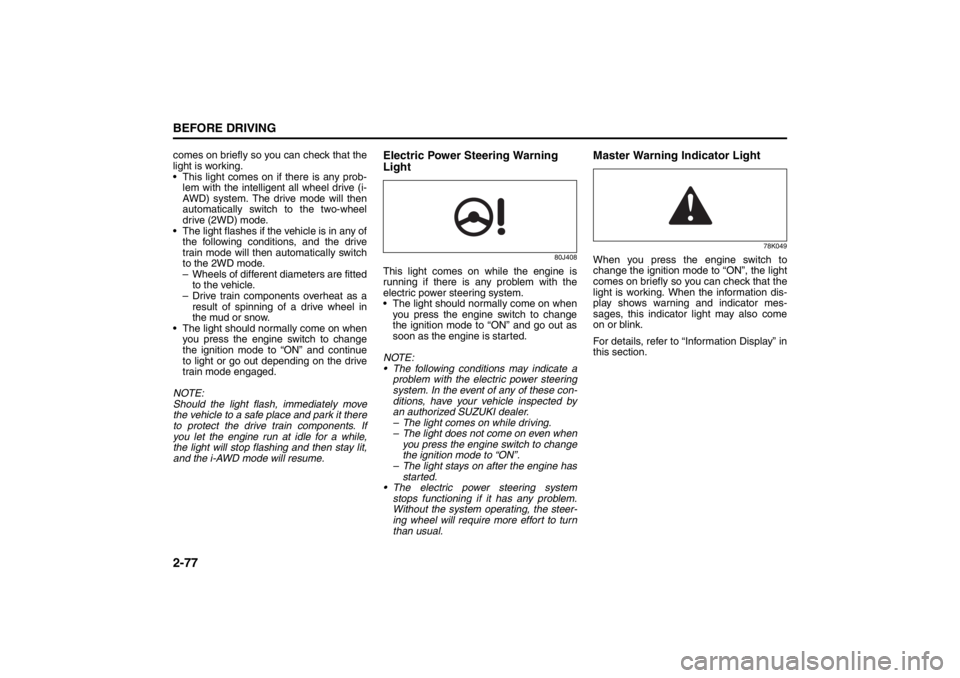
Electric Power Steering Warning
Light
80J408
This light comes on while the engine is
running if there is any problem with the
electric power steering system.
The light should normally come on when
you press the engine switch to change
the ignition mode to “ON” and go out as
soon as the engine is started.
NOTE:
The following conditions may indicate a
problem with the electric power steering
system. In the event of any of these con-
ditions, have your vehicle inspected by
an authorized SUZUKI dealer.
– The light comes on while driving.
– The light does not come on even when
you press the engine switch to change
the ignition mode to “ON”.
– The light stays on after the engine has
started.
The electric power steering system
stops functioning if it has any problem.
Without the system operating, the steer-
ing wheel will require more effort to turn
than usual.
Master Warning Indicator Light
78K049
When you press the engine switch to
change the ignition mode to “ON”, the light
comes on briefly so you can check that the
light is working. When the information dis-
play shows warning and indicator mes-
sages, this indicator light may also come
on or blink.
For details, refer to “Information Display” in
this section.
Page 132 of 388
3-1OPERATING YOUR VEHICLE
57L20-03E
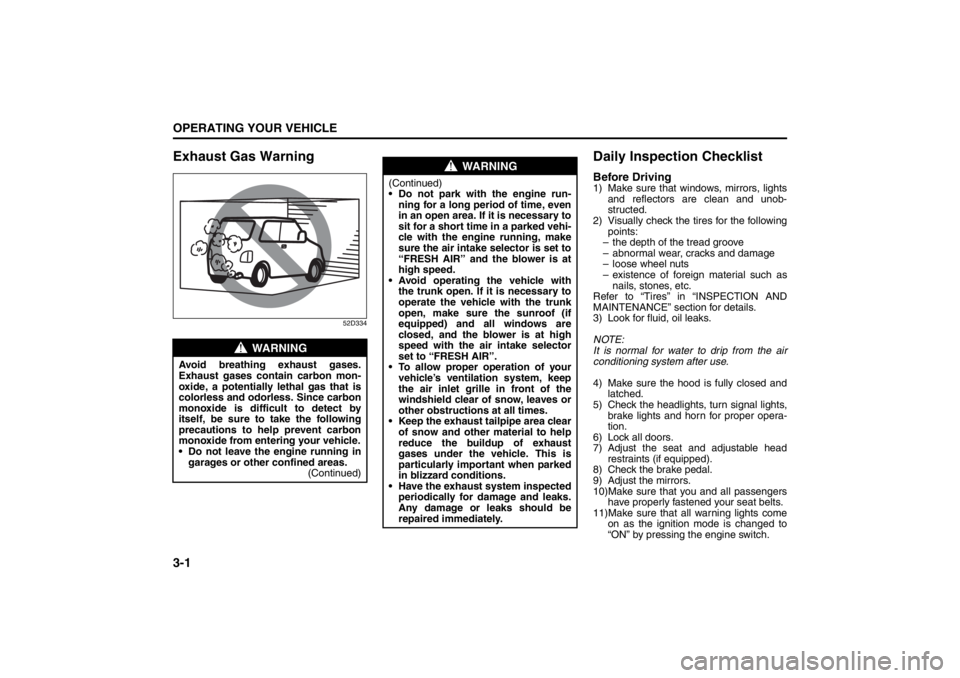
Exhaust Gas Warning
52D334
Daily Inspection ChecklistBefore Driving1) Make sure that windows, mirrors, lights
and reflectors are clean and unob-
structed.
2) Visually check the tires for the following
points:
– the depth of the tread groove
– abnormal wear, cracks and damage
– loose wheel nuts
– existence of foreign material such as
nails, stones, etc.
Refer to “Tires” in “INSPECTION AND
MAINTENANCE” section for details.
3) Look for fluid, oil leaks.
NOTE:
It is normal for water to drip from the air
conditioning system after use.
4) Make sure the hood is fully closed and
latched.
5) Check the headlights, turn signal lights,
brake lights and horn for proper opera-
tion.
6) Lock all doors.
7) Adjust the seat and adjustable head
restraints (if equipped).
8) Check the brake pedal.
9) Adjust the mirrors.
10)Make sure that you and all passengers
have properly fastened your seat belts.
11)Make sure that all warning lights come
on as the ignition mode is changed to
“ON” by pressing the engine switch.
WARNING
Avoid breathing exhaust gases.
Exhaust gases contain carbon mon-
oxide, a potentially lethal gas that is
colorless and odorless. Since carbon
monoxide is difficult to detect by
itself, be sure to take the following
precautions to help prevent carbon
monoxide from entering your vehicle.
Do not leave the engine running in
garages or other confined areas.
(Continued)
WARNING
(Continued)
Do not park with the engine run-
ning for a long period of time, even
in an open area. If it is necessary to
sit for a short time in a parked vehi-
cle with the engine running, make
sure the air intake selector is set to
“FRESH AIR” and the blower is at
high speed.
Avoid operating the vehicle with
the trunk open. If it is necessary to
operate the vehicle with the trunk
open, make sure the sunroof (if
equipped) and all windows are
closed, and the blower is at high
speed with the air intake selector
set to “FRESH AIR”.
To allow proper operation of your
vehicle’s ventilation system, keep
the air inlet grille in front of the
windshield clear of snow, leaves or
other obstructions at all times.
Keep the exhaust tailpipe area clear
of snow and other material to help
reduce the buildup of exhaust
gases under the vehicle. This is
particularly important when parked
in blizzard conditions.
Have the exhaust system inspected
periodically for damage and leaks.
Any damage or leaks should be
repaired immediately.
Ignition Switch: 8
Page 133 of 388
3-2
OPERATING YOUR VEHICLE
57L20-03E
12)Check all gauges.
13)Make sure that the BRAKE light turnsoff when the parking brake is released.
Once a week, or each time you fill your fuel
tank, perform the following under-hood
checks:
1) Engine oil level
2) Coolant level
3) Brake fluid level
4) Windshield washer fluid level
5) Hood latch operation Pull the hood release handle inside the
vehicle. Make sure that you cannot
open the hood all the way without
releasing the secondary latch. Be sure
to close the hood securely after check-
ing for proper latch operation. See the
item “All latches, hinges and locks” of
“CHASSIS AND BODY” in the “Periodic
Maintenance Schedule” section in the
“INSPECTION AND MAINTENANCE”
section for lubrication schedule. Once a month, or each time you fill your
fuel tank, check the tire pressure using a
tire pressure gauge. Also check the tire
pressure of the spare tire.
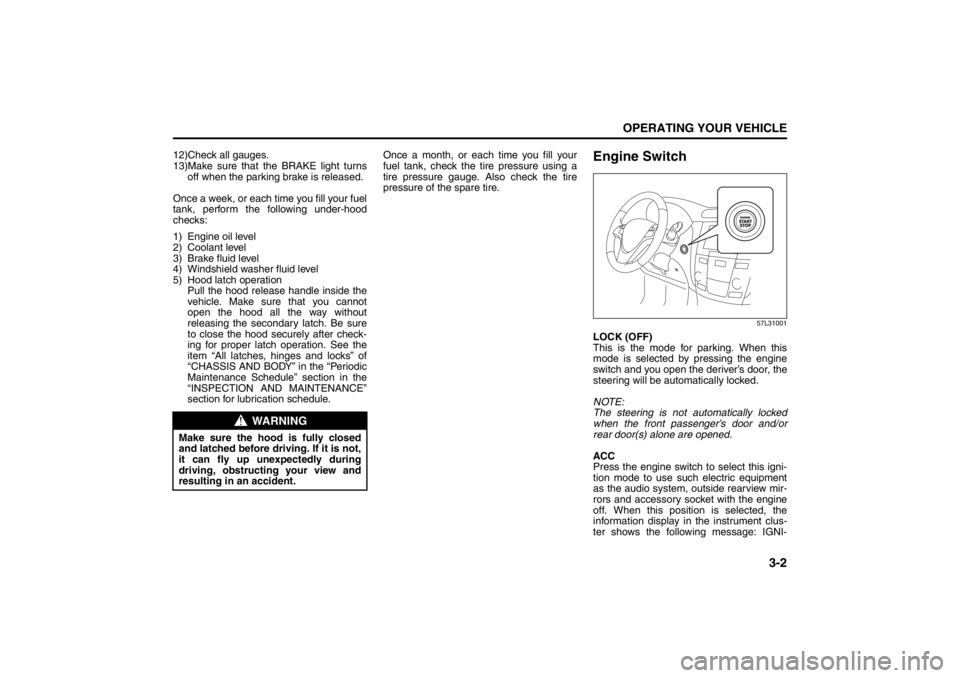
Engine Switch
57L31001
LOCK (OFF)
This is the mode for parking. When this
mode is selected by pressing the engine
switch and you open the deriver’s door, the
steering will be automatically locked.
NOTE:
The steering is not automatically locked
when the front passenger’s door and/or
rear door(s) alone are opened.
ACC
Press the engine switch to select this igni-
tion mode to use such electric equipment
as the audio system, outside rearview mir-
rors and accessory socket with the engine
off. When this position is selected, the
information display in the instrument clus-
ter shows the following message: IGNI-
WARNING
Make sure the hood is fully closed
and latched before driving. If it is not,
it can fly up unexpectedly during
driving, obstructing your view and
resulting in an accident.
Ignition Switch: 8
Page 135 of 388
3-4
OPERATING YOUR VEHICLE
57L20-03E
Keyless Push Start SystemProvided the keyless start system remote
controller is within the “interior workable
area” (Refer to the related explanation in
this section), you can use the engine
switch for starting the engine and selecting
a power supply mode (“ACC” or “ON”). In
addition, the following functions can be
used:
Keyless entry function. Refer to “KeylessStart System Remote Controller” in the
“Before Driving” section for details.
Locking and unlocking doors using a request switch. Refer to “Keyless Start
System Remote Controller” in the
“Before Driving” section for details.
Opening the trunk lid from outside using the trunk lid request switch.
Immobilizer (anti-theft) function. Refer to “Immobilizer System” in the “Before Driv-
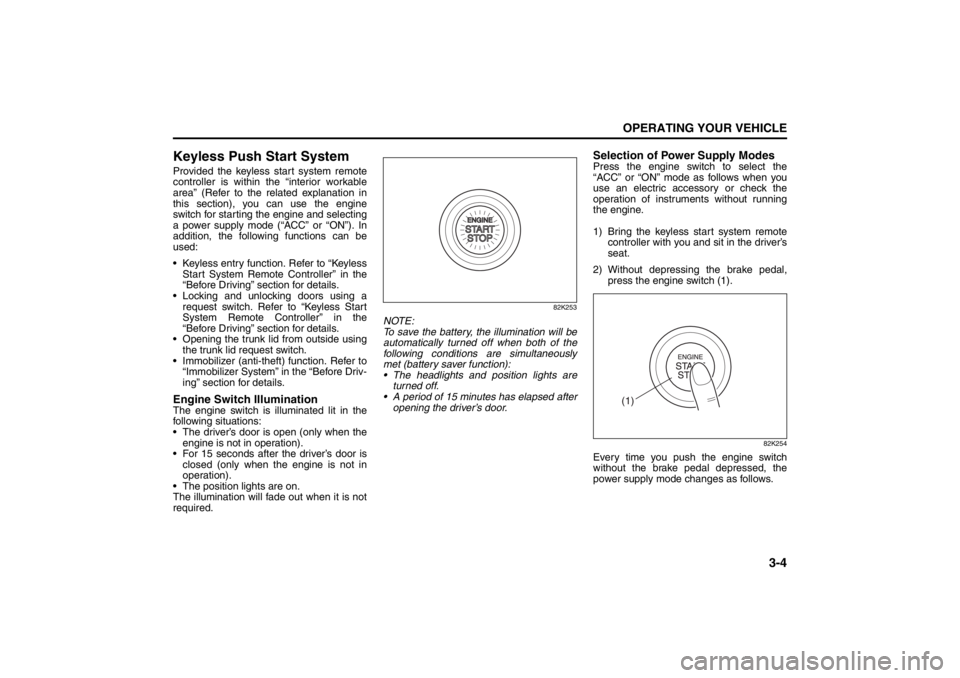
ing” section for details.Engine Switch IlluminationThe engine switch is illuminated lit in the
following situations:
The driver’s door is open (only when the
engine is not in operation).
For 15 seconds after the driver’s door is closed (only when the engine is not in
operation).
The position lights are on.
The illumination will fade out when it is not
required.
82K253
NOTE:
To save the battery, the illumination will be
automatically turned off when both of the
following conditions are simultaneously
met (battery saver function):
The headlights and position lights are turned off.
A period of 15 minutes has elapsed after opening the driver’s door.
Selection of Power Supply ModesPress the engine switch to select the
“ACC” or “ON” mode as follows when you
use an electric accessory or check the
operation of instruments without running
the engine.
1) Bring the keyless start system remote controller with you and sit in the driver’s
seat.
2) Without depressing the brake pedal, press the engine switch (1).
82K254
Every time you push the engine switch
without the brake pedal depressed, the
power supply mode changes as follows.
(1)
Lighting/Turn Signal Control Lever: 8
Windshield Wiper and Washer Lever: 8
Page 161 of 388
3-30
OPERATING YOUR VEHICLE
57L20-03E
How the ABS WorksA computer continuously monitors wheel
speed. The computer compares the
changes in wheel speed when braking. If
the wheels slow suddenly, indicating a
skidding situation, the computer will
change braking pressure several times
each second to prevent the wheels from
locking. When you start your vehicle or
when you accelerate after a hard stop, you
may hear a momentary motor or clicking
noise as the system resets or checks itself.
WARNING
If the ABS warning light (1) on the
instrument panel comes on and stays
on while driving, there may be a prob-
lem with the ABS system.
If this happens:
1) Pull off the road and stop care-
fully.
2) Press the engine switch to change
the ignition mode to “LOCK”
(OFF) and then start the engine
again.
If the warning light comes on briefly
then turns off, the system is normal.
If the warning light still stays on,
have the system inspected by your
SUZUKI dealer immediately. If the
ABS system becomes inoperative,
the brake system will function as an
ordinary brake system that has no
ABS.
WARNING
If the ABS warning light (1) and the
Brake system warning light (2) on the
instrument panel simultaneously stay
on or come on when driving, both
anti-lock function and rear brake
force control function (proportioning
valve function) of the ABS system
may have failed. This could cause the
rear wheels to skid or the vehicle to
spin during braking on a slippery
road or hard braking on a dry paved
road. If both warning lights come on,
drive carefully, avoiding hard braking
as much as possible, and ask your
SUZUKI dealer to inspect the ABS
system immediately.
WARNING
The ABS may not work properly if
tires or wheels other than those
specified in the owner’s manual are
used. This is because the ABS works
by comparing changes in wheel
speed. When replacing tires or
wheels, use only the size and type
specified in this owner’s manual.
Page 166 of 388
3-35OPERATING YOUR VEHICLE
57L20-03E
Low Tire Pressure Warning Light
52D305
WARNING
Each tire, including the spare (if pro-
vided), should be checked monthly
when cold and inflated to the inflation
pressure recommended by the vehi-
cle manufacturer on the vehicle plac-
ard or tire inflation pressure label. (If
your vehicle has tires of a different
size than the size indicated on the
vehicle placard or tire inflation pres-
sure label, you should determine the
proper tire inflation pressure for
those tires.)
As an added safety feature, your
vehicle has been equipped with a tire
pressure monitoring system (TPMS)
that illuminates a low tire pressure
telltale when one or more of your
tires is significantly under-inflated.
Accordingly, when the low tire pres-
sure telltale illuminates, you should
stop and check your tires as soon as
possible, and inflate them to the
proper pressure.
(Continued)
WARNING
(Continued)
Driving on a significantly under-
inflated tire causes the tire to over-
heat and can lead to tire failure.
Under-inflation also reduces fuel effi-
ciency and tire tread life, and may
affect the vehicle’s handling and
stopping ability.
Please note that the TPMS is not a
substitute for proper tire mainte-
nance, and it is the driver’s responsi-
bility to maintain correct tire
pressure, even if under-inflation has
not reached the level to trigger illumi-
nation of the TPMS low tire pressure
telltale.
WARNING
The tire pressure monitoring system
is not a substitute for regular tire
pressure inspections. Check tire
inflation pressures monthly when
cold and set to the recommended
inflation pressure as specified on the
vehicle’s tire information placard and
in the owner’s manual. Refer to
“Tires” in the “INSPECTION AND
MAINTENANCE” section.
WARNING
If the low tire pressure warning light
does not come on when you press
the engine switch to change the igni-
tion mode to “ON”, or comes on and
blinks while driving there may be a
problem with the tire pressure moni-
toring system. Have your vehicle
inspected by an authorized SUZUKI
dealer. Even if the light turns off after
blinking, indicating that the monitor-
ing system has recovered, make sure
to have an authorized SUZUKI dealer
check the system.
WARNING
The load rating of your tires is
reduced at lower inflation pressures.
If your tires become even moderately
under-inflated, the vehicle load may
exceed the load rating of the tires,
which can lead to tire failure. The low
tire pressure warning light will not
alert you of this condition. The warn-
ing light will only come on when one
or more of your tires become signifi-
cantly under-inflated. Check and
adjust your tire inflation pressure at
least once a month. Refer to “Tires”
in the “INSPECTION AND MAINTE-
NANCE” section.
Page 168 of 388
3-37OPERATING YOUR VEHICLE
57L20-03E
should add 1 psi to the recommended
cold tire inflation pressure for every 10°F
difference between garage temperature
and outside temperature.
For tire inflation pressure information, refer
to “Tire Inflation Pressure” in the “INSPEC-
TION AND MAINTENANCE” section.
To make the low tire pressure warning light
turn off, the vehicle must be driven for
longer and faster than the specified thresh-
olds after adjusting the tire pressure.
Please ask an authorized SUZUKI dealer
for details.
TPMS Malfunction Indicator
The TPMS malfunction indicator is not
reset even after the engine is turned off; it
remains in the on state until the normal
conditions are restored.
WARNING
Your vehicle has also been equipped
with a TPMS malfunction indicator to
indicate when the system is not oper-
ating properly.
WARNING
The TPMS malfunction indicator is
combined with the low tire pressure
telltale. When the system detects a
malfunction, the telltale will flash for
approximately one minute and then
remain continuously illuminated.
This sequence will continue upon
subsequent vehicle start-ups as long
as the malfunction exists.
WARNING
When the malfunction indicator is
illuminated, the system may not be
able to detect or signal low tire pres-
sure as intended. TPMS malfunctions
may occur for a variety of reasons,
including the installation of replace-
ment or alternate tires or wheels on
the vehicle that prevent the TPMS
from functioning properly. Always
check the TPMS malfunction telltale
after replacing one or more tires or
wheels on your vehicle to ensure that
the replacement or alternate tires and
wheels allow the TPMS to continue to
function properly.
Page 281 of 388
6-2
VEHICLE LOADING AND TOWING
57L20-03E
Trailer Towing
54G639
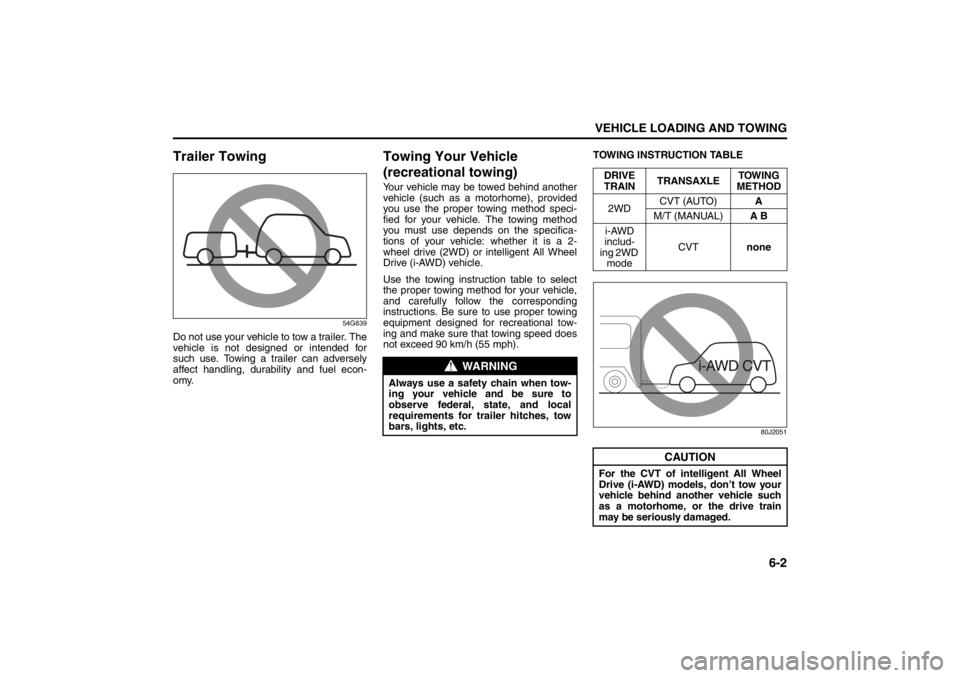
Do not use your vehicle to tow a trailer. The
vehicle is not designed or intended for
such use. Towing a trailer can adversely
affect handling, durability and fuel econ-
omy.
Towing Your Vehicle
(recreational towing)Your vehicle may be towed behind another
vehicle (such as a motorhome), provided
you use the proper towing method speci-
fied for your vehicle. The towing method
you must use depends on the specifica-
tions of your vehicle: whether it is a 2-
wheel drive (2WD) or intelligent All Wheel
Drive (i-AWD) vehicle.
Use the towing instruction table to select
the proper towing method for your vehicle,
and carefully follow the corresponding
instructions. Be sure to use proper towing
equipment designed for recreational tow-
ing and make sure that towing speed does
not exceed 90 km/h (55 mph).TOWING INSTRUCTION TABLE
80J2051
WARNING
Always use a safety chain when tow-
ing your vehicle and be sure to
observe federal, state, and local
requirements for trailer hitches, tow
bars, lights, etc.
DRIVE
TRAINTRANSAXLETOWING
METHOD
2WDCVT (AUTO)A
M/T (MANUAL)A B
i-AWD
includ-
ing 2WD
modeCVTnone
CAUTION
For the CVT of intelligent All Wheel
Drive (i-AWD) models, don’t tow your
vehicle behind another vehicle such
as a motorhome, or the drive train
may be seriously damaged.
Daily Inspection Checklist: NO
Starting the Engine: 1
Page 310 of 388
7-25INSPECTION AND MAINTENANCE
57L20-03E
6) The handle of the CVT fluid dipstick is
colored red or orange for easy identifi-
cation.
Remove the dipstick, clean it and push
it back in until the cap seats. Pull out
the dipstick and read the fluid level.
The fluid level should be between the
two marks in the “HOT” range on the
dipstick.
7) Add just enough specified fluid through
the dipstick hole to fill the transaxle to
the proper level. It takes only 0.6 liters
(1.27 US pt) for CVT to raise the level
from “LOW” to “FULL”.Deterioration Checking or Chang-
ing FluidSince special procedures, materials and
tools are required to check the deteriora-
tion of CVT fluid or change, it is recom-
mended that you trust this job to your
authorized SUZUKI dealer.
BrakesBrake Fluid
57L71010
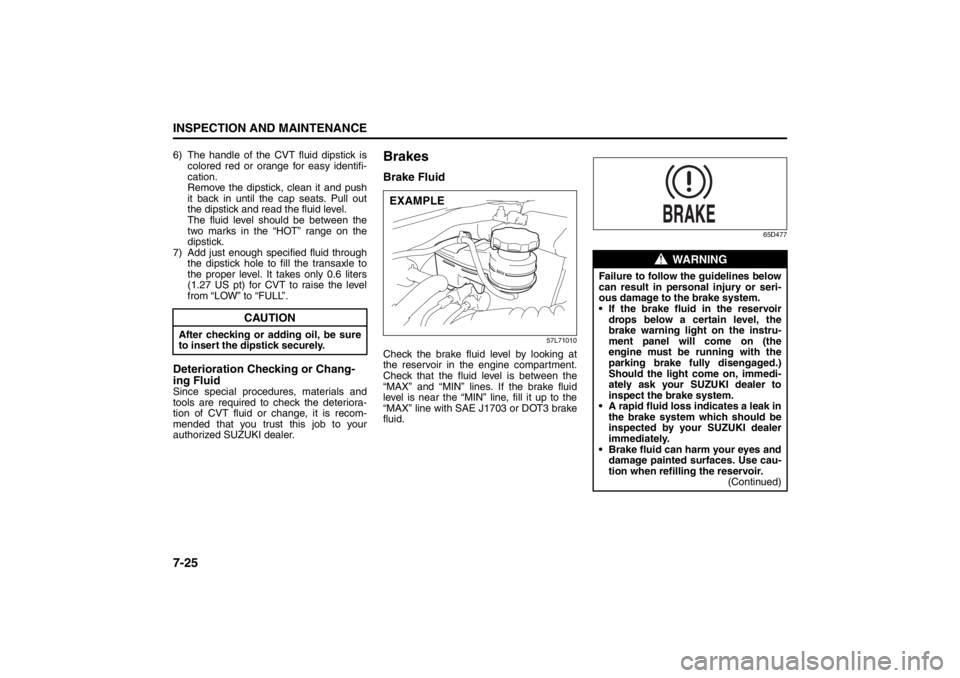
Check the brake fluid level by looking at
the reservoir in the engine compartment.
Check that the fluid level is between the
“MAX” and “MIN” lines. If the brake fluid
level is near the “MIN” line, fill it up to the
“MAX” line with SAE J1703 or DOT3 brake
fluid.
65D477
CAUTION
After checking or adding oil, be sure
to insert the dipstick securely.
EXAMPLE
WARNING
Failure to follow the guidelines below
can result in personal injury or seri-
ous damage to the brake system.
If the brake fluid in the reservoir
drops below a certain level, the
brake warning light on the instru-
ment panel will come on (the
engine must be running with the
parking brake fully disengaged.)
Should the light come on, immedi-
ately ask your SUZUKI dealer to
inspect the brake system.
A rapid fluid loss indicates a leak in
the brake system which should be
inspected by your SUZUKI dealer
immediately.
Brake fluid can harm your eyes and
damage painted surfaces. Use cau-
tion when refilling the reservoir.
(Continued)