wheel SUZUKI KIZASHI 2010 1.G User Guide
[x] Cancel search | Manufacturer: SUZUKI, Model Year: 2010, Model line: KIZASHI, Model: SUZUKI KIZASHI 2010 1.GPages: 388, PDF Size: 4.94 MB
Page 124 of 388
2-105BEFORE DRIVING
57L20-03E
NOTE:
Be sure to turn the headlights on at night
or at any time of the day when driving or
weather conditions require the headlights
to operate at full brightness and the tail-
lights to be on.
Lights “On” reminder
A buzzer sounds to remind you to turn off
the lights if they are left on when you press
the engine switch to change the ignition
mode to “LOCK” (OFF) and the driver’s
door is opened.
NOTE:
The warning and indicator message and
the illumination indicator light (2) will be
shown on the information display when this
reminder is activated.
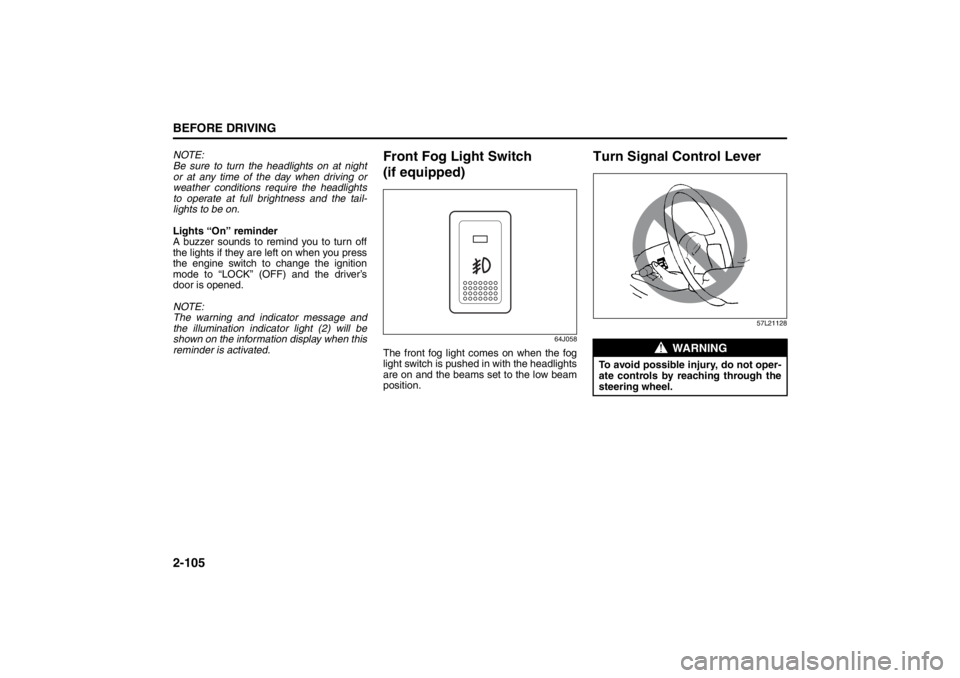
Front Fog Light Switch
(if equipped)
64J058
The front fog light comes on when the fog
light switch is pushed in with the headlights
are on and the beams set to the low beam
position.
Turn Signal Control Lever
57L21128
WARNING
To avoid possible injury, do not oper-
ate controls by reaching through the
steering wheel.
Page 126 of 388
2-107BEFORE DRIVING
57L20-03E
Rain-sensing Wipers and
Washer Lever
65D611
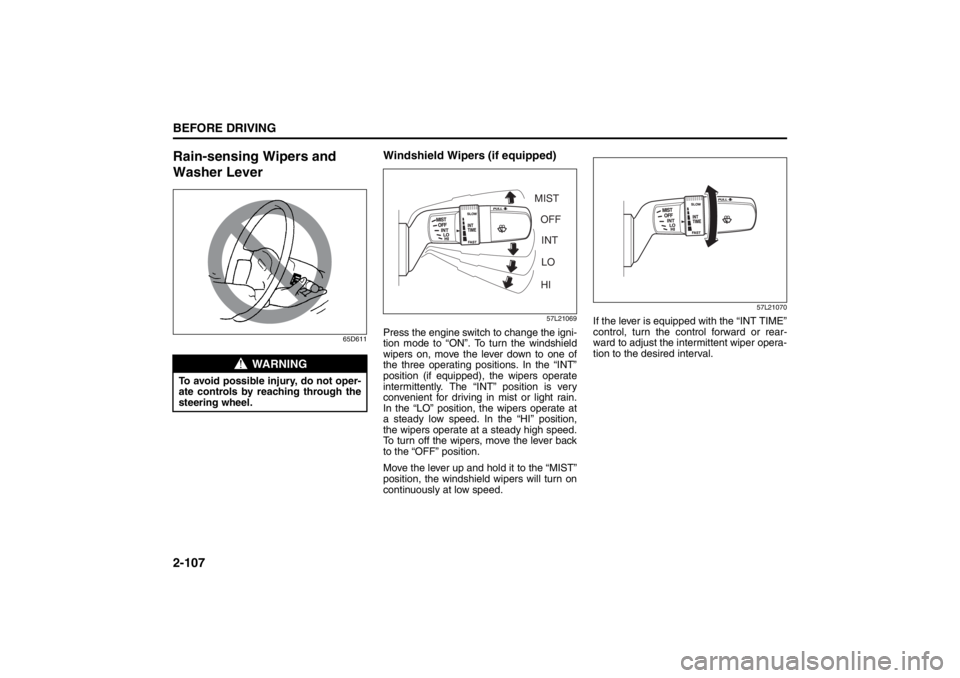
Windshield Wipers (if equipped)
57L21069
Press the engine switch to change the igni-
tion mode to “ON”. To turn the windshield
wipers on, move the lever down to one of
the three operating positions. In the “INT”
position (if equipped), the wipers operate
intermittently. The “INT” position is very
convenient for driving in mist or light rain.
In the “LO” position, the wipers operate at
a steady low speed. In the “HI” position,
the wipers operate at a steady high speed.
To turn off the wipers, move the lever back
to the “OFF” position.
Move the lever up and hold it to the “MIST”
position, the windshield wipers will turn on
continuously at low speed.
57L21070
If the lever is equipped with the “INT TIME”
control, turn the control forward or rear-
ward to adjust the intermittent wiper opera-
tion to the desired interval.
WARNING
To avoid possible injury, do not oper-
ate controls by reaching through the
steering wheel.
MIST
OFF
INT
LO
HI
Page 129 of 388
2-110
BEFORE DRIVING
57L20-03E
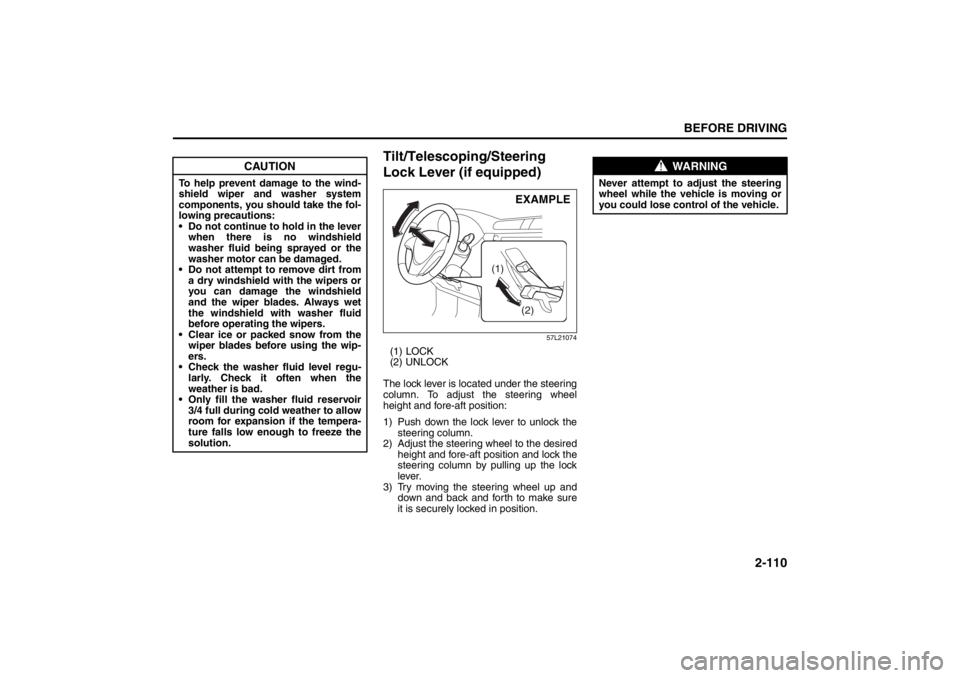
Tilt/Telescoping/Steering
Lock Lever (if equipped)
57L21074
(1) LOCK
(2) UNLOCK
The lock lever is located under the steering
column. To adjust the steering wheel
height and fore-aft position:
1) Push down the lock lever to unlock the
steering column.
2) Adjust the steering wheel to the desired
height and fore-aft position and lock the
steering column by pulling up the lock
lever.
3) Try moving the steering wheel up and
down and back and forth to make sure
it is securely locked in position.
CAUTION
To help prevent damage to the wind-
shield wiper and washer system
components, you should take the fol-
lowing precautions:
Do not continue to hold in the lever
when there is no windshield
washer fluid being sprayed or the
washer motor can be damaged.
Do not attempt to remove dirt from
a dry windshield with the wipers or
you can damage the windshield
and the wiper blades. Always wet
the windshield with washer fluid
before operating the wipers.
Clear ice or packed snow from the
wiper blades before using the wip-
ers.
Check the washer fluid level regu-
larly. Check it often when the
weather is bad.
Only fill the washer fluid reservoir
3/4 full during cold weather to allow
room for expansion if the tempera-
ture falls low enough to freeze the
solution.
(1)
(2)
EXAMPLE
WARNING
Never attempt to adjust the steering
wheel while the vehicle is moving or
you could lose control of the vehicle.
Page 130 of 388
2-111BEFORE DRIVING
57L20-03E
Horn
57L21119
Press the horn pad on the steering wheel
to sound the horn. The horn will sound with
the engine switch in any ignition mode.
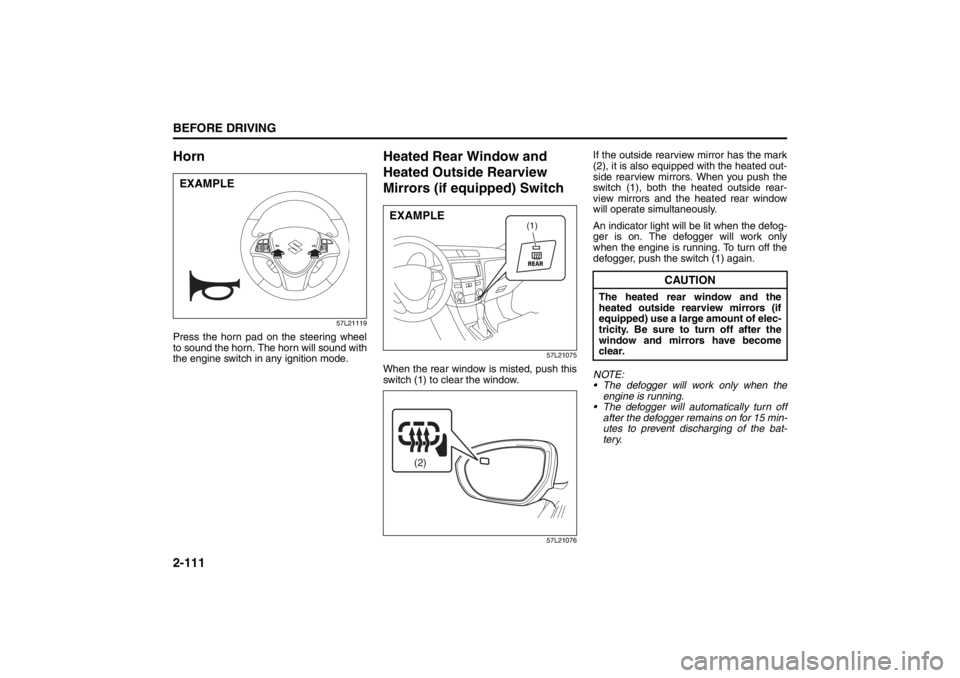
Heated Rear Window and
Heated Outside Rearview
Mirrors (if equipped) Switch
57L21075
When the rear window is misted, push this
switch (1) to clear the window.
57L21076
If the outside rearview mirror has the mark
(2), it is also equipped with the heated out-
side rearview mirrors. When you push the
switch (1), both the heated outside rear-
view mirrors and the heated rear window
will operate simultaneously.
An indicator light will be lit when the defog-
ger is on. The defogger will work only
when the engine is running. To turn off the
defogger, push the switch (1) again.
NOTE:
The defogger will work only when the
engine is running.
The defogger will automatically turn off
after the defogger remains on for 15 min-
utes to prevent discharging of the bat-
tery.
EXAMPLE
(1)
EXAMPLE
(2)
CAUTION
The heated rear window and the
heated outside rearview mirrors (if
equipped) use a large amount of elec-
tricity. Be sure to turn off after the
window and mirrors have become
clear.
Page 131 of 388
OPERATING YOUR VEHICLE
3
57L20-03E
60G408
OPERATING YOUR VEHICLEExhaust Gas Warning ......................................................... 3-1
Daily Inspection Checklist .................................................. 3-1
Engine Switch ...................................................................... 3-2
Keyless Push Start System ................................................ 3-4
Starting the Engine ............................................................. 3-7
Parking Brake Lever ........................................................... 3-10
Pedals ................................................................................... 3-11
Engine Block Heater (if equipped) ..................................... 3-12
Using the Transaxle ............................................................ 3-13
Using the 2WD/i-AWD (intelligent All Wheel Drive)
Switch (if equipped) ............................................................ 3-19
Cruise Control (if equipped) ............................................... 3-21
Parking Sensors (if equipped) ........................................... 3-23
Braking ................................................................................. 3-28
Electronic Stability Program (ESP
®) (if equipped) ........... 3-31
Tire Pressure Monitoring System (TPMS) (if equipped) .. 3-34
Page 132 of 388
3-1OPERATING YOUR VEHICLE
57L20-03E
Exhaust Gas Warning
52D334
Daily Inspection ChecklistBefore Driving1) Make sure that windows, mirrors, lights
and reflectors are clean and unob-
structed.
2) Visually check the tires for the following
points:
– the depth of the tread groove
– abnormal wear, cracks and damage
– loose wheel nuts
– existence of foreign material such as
nails, stones, etc.
Refer to “Tires” in “INSPECTION AND
MAINTENANCE” section for details.
3) Look for fluid, oil leaks.
NOTE:
It is normal for water to drip from the air
conditioning system after use.
4) Make sure the hood is fully closed and
latched.
5) Check the headlights, turn signal lights,
brake lights and horn for proper opera-
tion.
6) Lock all doors.
7) Adjust the seat and adjustable head
restraints (if equipped).
8) Check the brake pedal.
9) Adjust the mirrors.
10)Make sure that you and all passengers
have properly fastened your seat belts.
11)Make sure that all warning lights come
on as the ignition mode is changed to
“ON” by pressing the engine switch.
WARNING
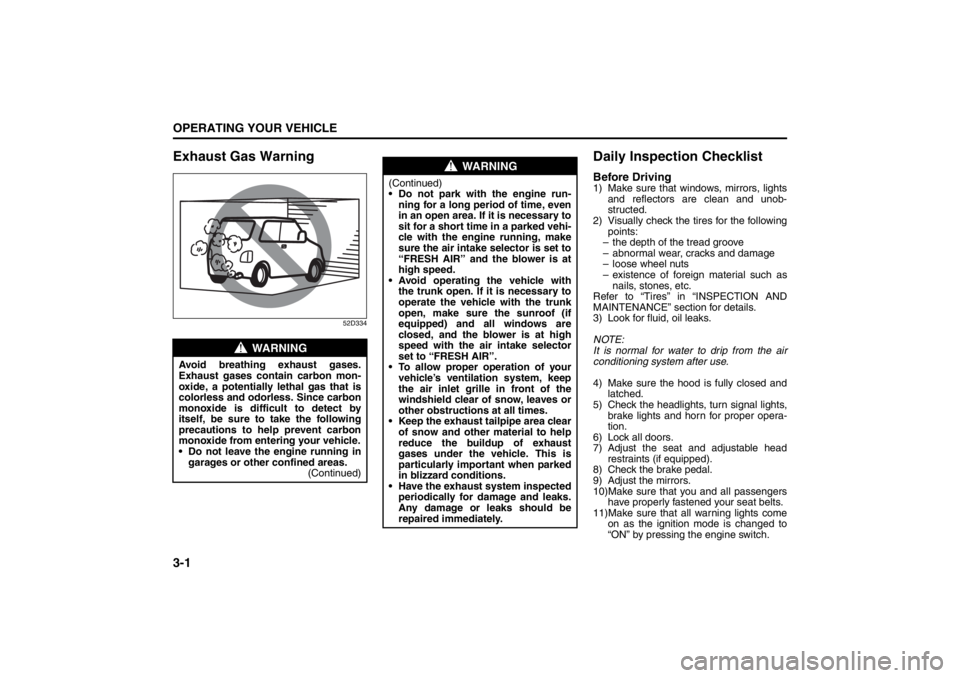
Avoid breathing exhaust gases.
Exhaust gases contain carbon mon-
oxide, a potentially lethal gas that is
colorless and odorless. Since carbon
monoxide is difficult to detect by
itself, be sure to take the following
precautions to help prevent carbon
monoxide from entering your vehicle.
Do not leave the engine running in
garages or other confined areas.
(Continued)
WARNING
(Continued)
Do not park with the engine run-
ning for a long period of time, even
in an open area. If it is necessary to
sit for a short time in a parked vehi-
cle with the engine running, make
sure the air intake selector is set to
“FRESH AIR” and the blower is at
high speed.
Avoid operating the vehicle with
the trunk open. If it is necessary to
operate the vehicle with the trunk
open, make sure the sunroof (if
equipped) and all windows are
closed, and the blower is at high
speed with the air intake selector
set to “FRESH AIR”.
To allow proper operation of your
vehicle’s ventilation system, keep
the air inlet grille in front of the
windshield clear of snow, leaves or
other obstructions at all times.
Keep the exhaust tailpipe area clear
of snow and other material to help
reduce the buildup of exhaust
gases under the vehicle. This is
particularly important when parked
in blizzard conditions.
Have the exhaust system inspected
periodically for damage and leaks.
Any damage or leaks should be
repaired immediately.
Ignition Switch: 8
Page 134 of 388
3-3OPERATING YOUR VEHICLE
57L20-03E
TION SWITCH POSITION “ACC”. Refer to
“Information Display” in the “Before Driv-
ing” section for details.
ON
• With the engine off You can use such electric equipment as
the power windows and wipers with the
engine off. When this ignition mode is
selected by pressing the engine switch,
the information display in the instrument
cluster shows the following message:
IGNITION SWITCH POSITION “ON”.
With the engine on All electric equipment is operational. The
vehicle can be driven when you have
selected this ignition mode by pressing
the engine switch.
START
CVT – Provided you have the keyless start
system remote controller with you, the
engine automatically starts when you
press the engine switch to select this igni-
tion mode after placing the gearshift lever
in the “P” position and depressing the
brake pedal. (If you need to re-start the
engine while the vehicle is moving, shift
into “N”.)
Manual Transaxle – Provided you have the
keyless start system remote controller with
you, the engine automat ically starts when
you press the engine switch to select this
ignition mode after shifting to “N” (Neutral) and depressing the brake and clutch ped-
als.
NOTE:
You do not need to keep the engine switch
pressed to start the engine.
NOTE:
The steering lock may not be released if
some load is acting on the steering
wheel. If this happens, turn the steering
wheel to the right or left to relieve it from
the load before you press the engine
switch again to change to the desired
ignition mode.
In the presence of strong radio signals or
noise, you may not be able to change
the ignition mode to “ACC” or “ON” or to
start the engine using the engine switch.
In this case, the information display on
the instrument cluster will show the fol-
lowing message: KEY FOB NOT
DETECTED.
Unreleased Steering Lock WarningIf the steering lock remains engaged when
you press the engine switch to change the
ignition mode to “ON”, the information dis-
play in the instrument cluster will show a
message to alert you to that condition.
Refer to “Information display” in the “Before
Driving” section for details.
CAUTION
Do not leave the engine switch in the
“ACC” or “ON” mode when the
engine is not running. Avoid using
the radio or other electric accesso-
ries for a long time when the engine
switch is in the “ACC” or “ON” mode
when the engine is not running, oth-
erwise the battery may discharge.
Lighting/Turn Signal Control Lever: 8
Page 142 of 388
3-11OPERATING YOUR VEHICLE
57L20-03E
Parking Brake Reminder Buzzer
If you start the vehicle without releasing
the parking brake, the interior buzzer
warns you by repeated triple beeps.
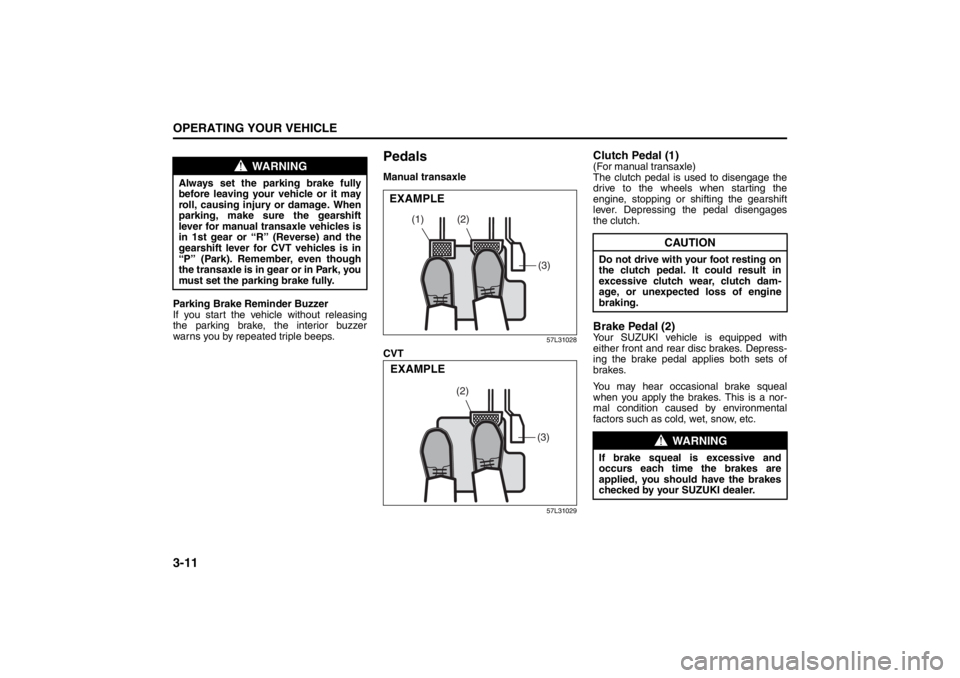
PedalsManual transaxle
57L31028
CVT
57L31029
Clutch Pedal (1)(For manual transaxle)
The clutch pedal is used to disengage the
drive to the wheels when starting the
engine, stopping or shifting the gearshift
lever. Depressing the pedal disengages
the clutch.Brake Pedal (2)Your SUZUKI vehicle is equipped with
either front and rear disc brakes. Depress-
ing the brake pedal applies both sets of
brakes.
You may hear occasional brake squeal
when you apply the brakes. This is a nor-
mal condition caused by environmental
factors such as cold, wet, snow, etc.
WARNING
Always set the parking brake fully
before leaving your vehicle or it may
roll, causing injury or damage. When
parking, make sure the gearshift
lever for manual transaxle vehicles is
in 1st gear or “R” (Reverse) and the
gearshift lever for CVT vehicles is in
“P” (Park). Remember, even though
the transaxle is in gear or in Park, you
must set the parking brake fully.
(2)
(1)
(3)
EXAMPLE
(3)
(2)
EXAMPLE
CAUTION
Do not drive with your foot resting on
the clutch pedal. It could result in
excessive clutch wear, clutch dam-
age, or unexpected loss of engine
braking.
WARNING
If brake squeal is excessive and
occurs each time the brakes are
applied, you should have the brakes
checked by your SUZUKI dealer.
Page 147 of 388

3-16
OPERATING YOUR VEHICLE
57L20-03E
Use the gearshift lever positions as follows:
P (Park)
Use this position to lock the transaxle
when the vehicle is parked or when start-
ing the engine. Shift into Park only when
the vehicle is completely stationary.
R (Reverse)
Use this position to reverse the vehicle
from stop. Make sure that vehicle is com-
pletely stationary before shifting into
Reverse.
N (Neutral)
Use this position for starting the engine if
the engine stalls and you need to restart it
while the vehicle is moving. You may also
shift into Neutral and depress the brake
pedal to hold the vehicle stationary during
idling.D (Drive)
Use this position for all normal driving.
With the gearshift lever in “D” range you
can get an automatic downshift by press-
ing the accelerator pedal. The higher the
vehicle speed is, the more you need to
press the accelerator pedal to get a down-
shift.
M (manual mode)
Use this position for driving in the manual
mode.
Refer to “Manual mode” later in this section
for details on how to use the manual mode.Manual mode
The CVT can shift gears automatically.
When using the manual mode, you can
shift gears in the same manner as conven-
tional manual transaxle.
To use the manual mode, shift the gearshift
lever from “D” to “M”.
57L31011
57L31012
(1) Manual mode indicator
(2) Gear position
The information display shows the manual
mode indicator (1) and the current gear
position (2).
CAUTION
Do not shift the gearshift lever into
“R” while moving forward, or the
transaxle may be damaged. If you
shift into “R” when the vehicle speed
is over 6mph (10km/h), the transaxle
will not shift into reverse.
CAUTION
Be sure to take the following precau-
tions to help avoid damage to the
CVT:
Make sure that the vehicle is com-
pletely stationary before shifting
into “P” or “R”.
Do not shift from “P” or “N” to “R”,
“D” or “M” when the engine is run-
ning above idle speed.
Do not rev the engine with the tran-
saxle in a drive position (“R”, “D”
or “M”) and the front wheels not
moving.
Do not use the accelerator to hold
the vehicle on a hill. Use the vehi-
cle’s brakes.
(1)(2)
Page 148 of 388
3-17OPERATING YOUR VEHICLE
57L20-03E
NOTE:
The indicated gear position on the infor-
mation display when you shift from “D” to
“M” is the gear position that was selected
automatically when the gearshift lever
was in “D”.
You can change to the manual mode
temporarily by pulling the shift paddle (if
equipped) on the steering wheel toward
you when the gearshift lever is in “D”.
Shifting in the manual mode
You can shift gears from 1st to 6th depend-
ing on driving speed.
NOTE:
If the CVT fluid becomes hot such as
when driving uphill, the transaxle will
automatically shift up in order to protect
itself and the engine regardless of your
gear shifting operation.
When the driving speed becomes slow,
the gear shifts down automatically, and
when the vehicle stops, the gear position
will be in 1st gear without shifting the
gearshift lever.
If you depress the accelerator pedal a
certain amount, the gear shifts down
automatically even if the gearshift lever
is in the manual mode.NOTE:
When you change gear, sometimes the
transaxle may not shift to the desired gear
but a buzzer sounds instead. This is to
maintain good drivability and to protect the
transaxle.
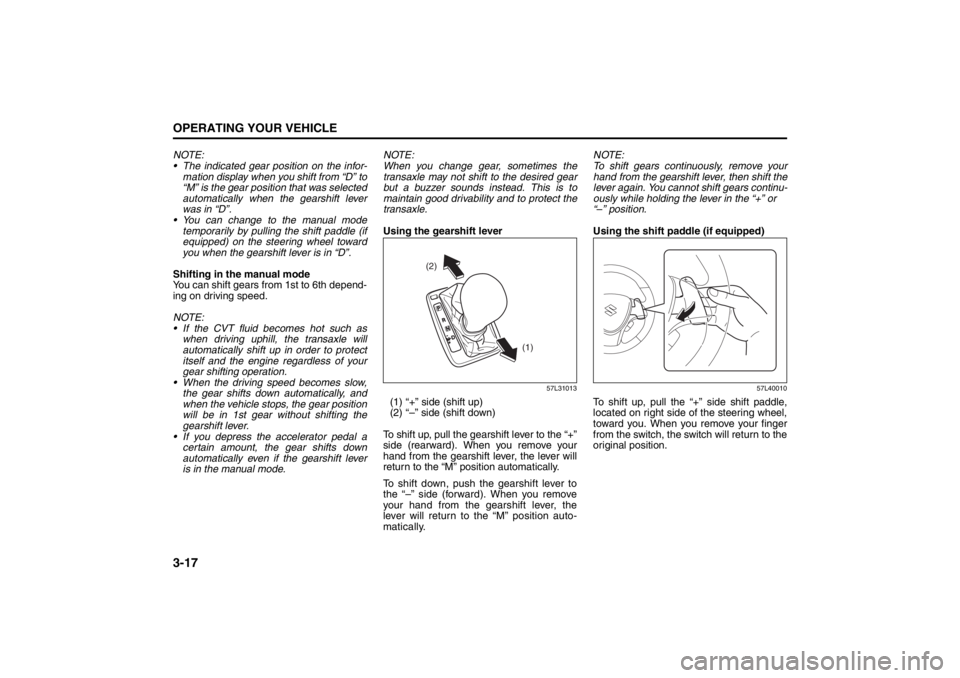
Using the gearshift lever
57L31013
(1) “+” side (shift up)
(2) “–” side (shift down)
To shift up, pull the gearshift lever to the “+”
side (rearward). When you remove your
hand from the gearshift lever, the lever will
return to the “M” position automatically.
To shift down, push the gearshift lever to
the “–” side (forward). When you remove
your hand from the gearshift lever, the
lever will return to the “M” position auto-
matically.NOTE:
To shift gears continuously, remove your
hand from the gearshift lever, then shift the
lever again. You cannot shift gears continu-
ously while holding the lever in the “+” or
“–” position.
Using the shift paddle (if equipped)
57L40010
To shift up, pull the “+” side shift paddle,
located on right side of the steering wheel,
toward you. When you remove your finger
from the switch, the switch will return to the
original position.
(2)
(1)