low beam SUZUKI MARUTI 2005 1.G Owners Manual
[x] Cancel search | Manufacturer: SUZUKI, Model Year: 2005, Model line: MARUTI, Model: SUZUKI MARUTI 2005 1.GPages: 136, PDF Size: 2.93 MB
Page 45 of 136

Downloaded from www.Manualslib.com manuals search engine 4583K
BEFORE DRIVING
4-33
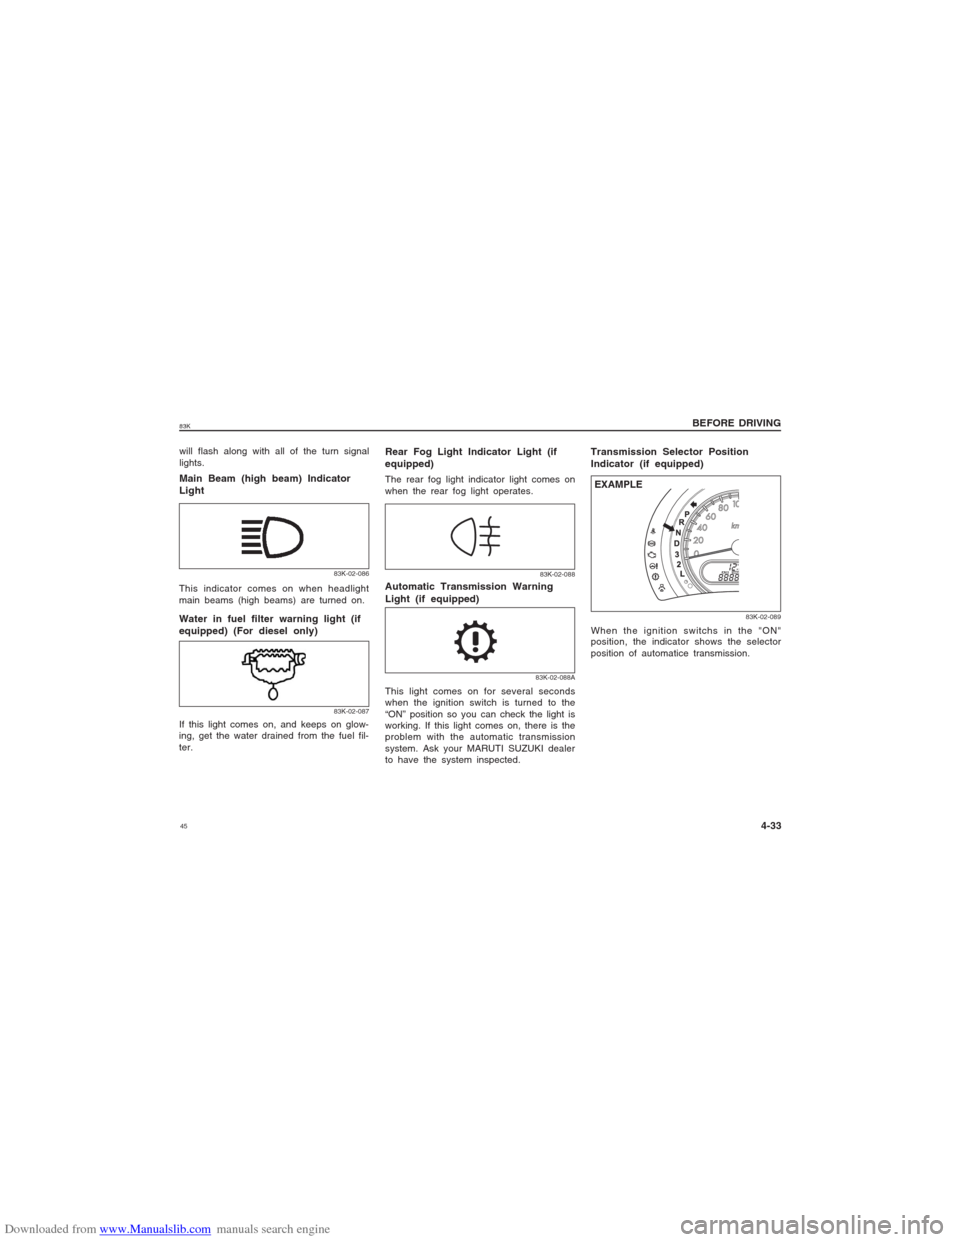
will flash along with all of the turn signal
lights.Main Beam (high beam) Indicator
Light
83K-02-086
This indicator comes on when headlight
main beams (high beams) are turned on.
83K-02-087
Water in fuel filter warning light (if
equipped) (For diesel only)If this light comes on, and keeps on glow-
ing, get the water drained from the fuel fil-
ter.
83K-02-08883K-02-088A
Automatic Transmission Warning
Light (if equipped)This light comes on for several seconds
when the ignition switch is turned to the
“ON” position so you can check the light is
working. If this light comes on, there is the
problem with the automatic transmission
system. Ask your MARUTI SUZUKI dealer
to have the system inspected.
Transmission Selector Position
Indicator (if equipped)
83K-02-089
EXAMPLEWhen the ignition switchs in the "ON"
position, the indicator shows the selector
position of automatice transmission.
Rear Fog Light Indicator Light (if
equipped)The rear fog light indicator light comes on
when the rear fog light operates.
Page 51 of 136

Downloaded from www.Manualslib.com manuals search engine 5183KEXAMPLE
83K-02-098
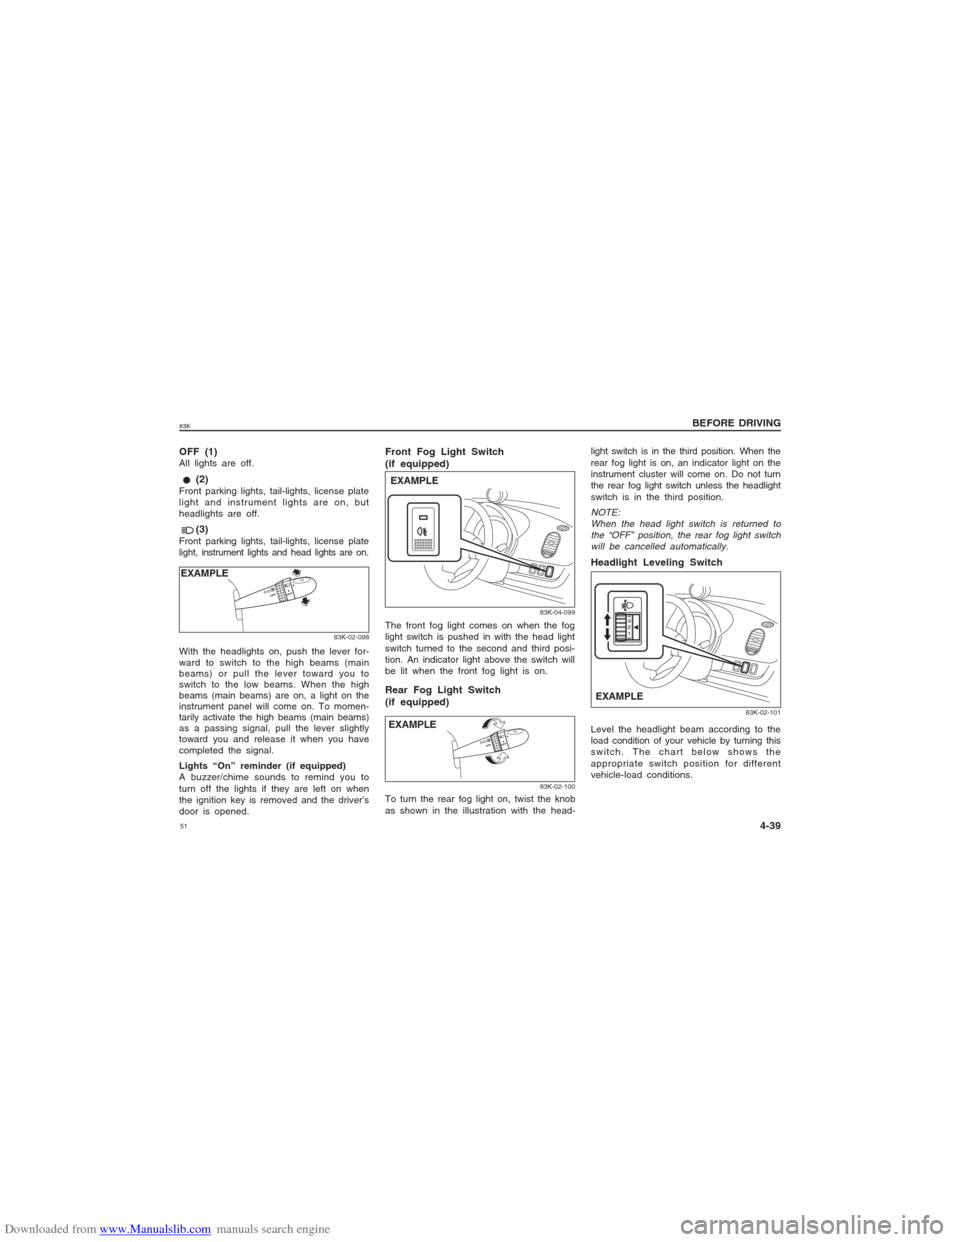
With the headlights on, push the lever for-
ward to switch to the high beams (main
beams) or pull the lever toward you to
switch to the low beams. When the high
beams (main beams) are on, a light on the
instrument panel will come on. To momen-
tarily activate the high beams (main beams)
as a passing signal, pull the lever slightly
toward you and release it when you have
completed the signal.
Lights “On” reminder (if equipped)
A buzzer/chime sounds to remind you to
turn off the lights if they are left on when
the ignition key is removed and the driver’s
door is opened.OFF (1)All lights are off. (2)Front parking lights, tail-lights, license plate
light and instrument lights are on, but
headlights are off. (3)Front parking lights, tail-lights, license plate
light, instrument lights and head lights are on.
Front Fog Light Switch
(if equipped)
83K-04-099
EXAMPLEThe front fog light comes on when the fog
light switch is pushed in with the head light
switch turned to the second and third posi-
tion. An indicator light above the switch will
be lit when the front fog light is on.Rear Fog Light Switch
(if equipped)
83K-02-100
To turn the rear fog light on, twist the knob
as shown in the illustration with the head-
light switch is in the third position. When the
rear fog light is on, an indicator light on the
instrument cluster will come on. Do not turn
the rear fog light switch unless the headlight
switch is in the third position.NOTE:
When the head light switch is returned to
the “OFF” position, the rear fog light switch
will be cancelled automatically.Headlight Leveling Switch
83K-02-101
EXAMPLELevel the headlight beam according to the
load condition of your vehicle by turning this
switch. The chart below shows the
appropriate switch position for different
vehicle-load conditions.
BEFORE DRIVING
4-39 EXAMPLE
Page 73 of 136

Downloaded from www.Manualslib.com manuals search engine 7383K
83K-04-01483K-04-015
other drivers. For that, observe the
following.
Drive at a safe speed.
Maintain a sufficient distance between
your vehicle and the vehicle ahead.
Don’t force yourself to overtake other
vehicles.
Don’t make quick start, hard steering or
sudden stops.
Allow an ample time in the driving
schedule.
Observe traffic rules and regulations.
CONCLUSION
A perfect driver does not exist. The
endeavour of every motorist should be to
strive for perfection. Safety consciousness
not only ensures your safety and the safety
of other road users, it also helps reduce the
wear and tear on your vehicle, prolongs its
life, gives more mileage and ensures a
comfortable driving experience.
Follow the do’s and don’ts listed, and
driving will never be the same again.
MARGIN FOR SAFETY
It is important to allow yourself a margin for
safety during driving so that you can cope
with erroneous or unexpected driving of
DRIVING TIPS
6-7
83K-04-013
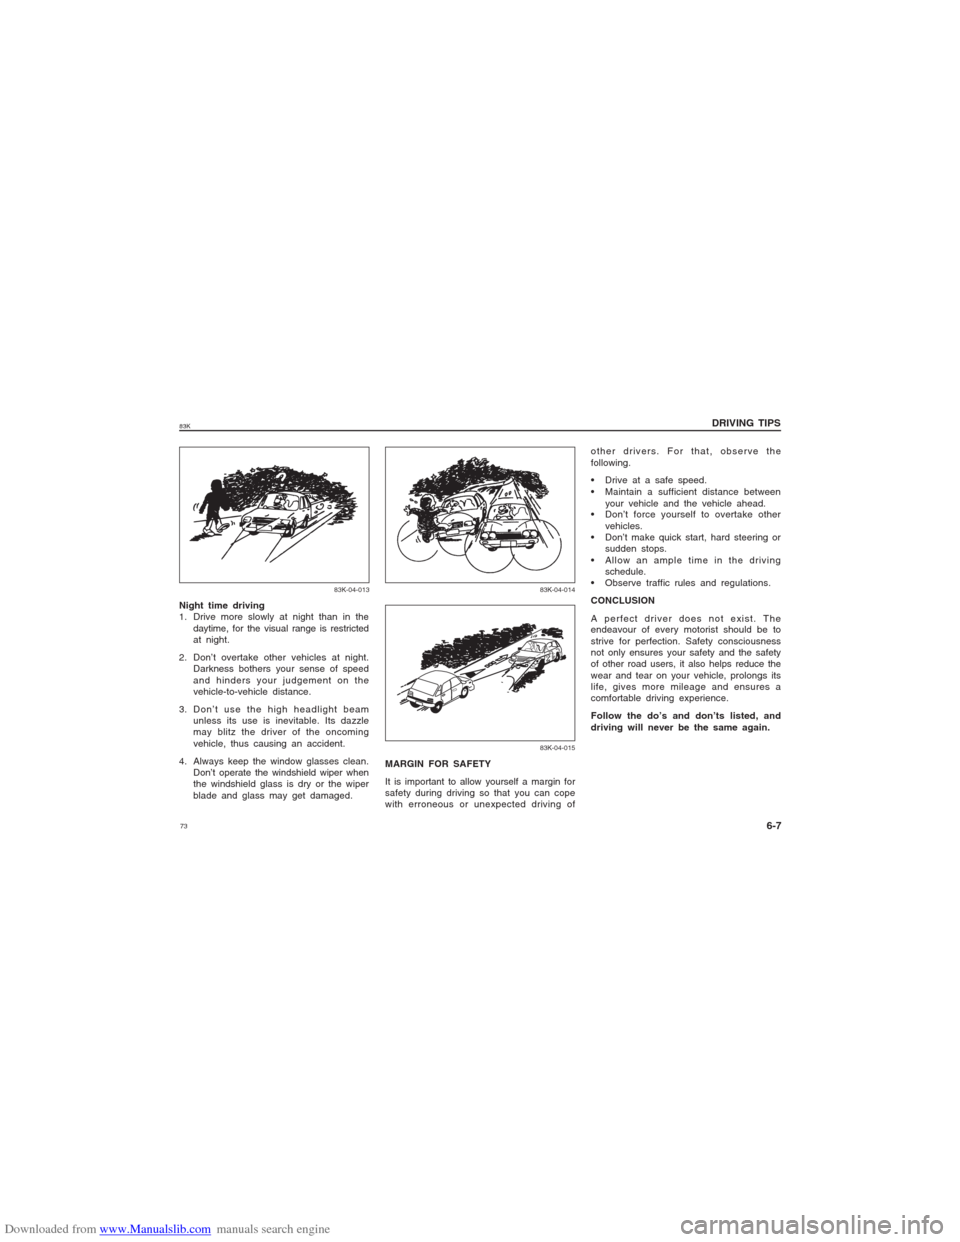
Night time driving
1. Drive more slowly at night than in the
daytime, for the visual range is restricted
at night.
2. Don’t overtake other vehicles at night.
Darkness bothers your sense of speed
and hinders your judgement on the
vehicle-to-vehicle distance.
3. Don’t use the high headlight beam
unless its use is inevitable. Its dazzle
may blitz the driver of the oncoming
vehicle, thus causing an accident.
4. Always keep the window glasses clean.
Don’t operate the windshield wiper when
the windshield glass is dry or the wiper
blade and glass may get damaged.
Page 123 of 136

Downloaded from www.Manualslib.com manuals search engine 12383K
EMERGENCY SERVICE
10-2
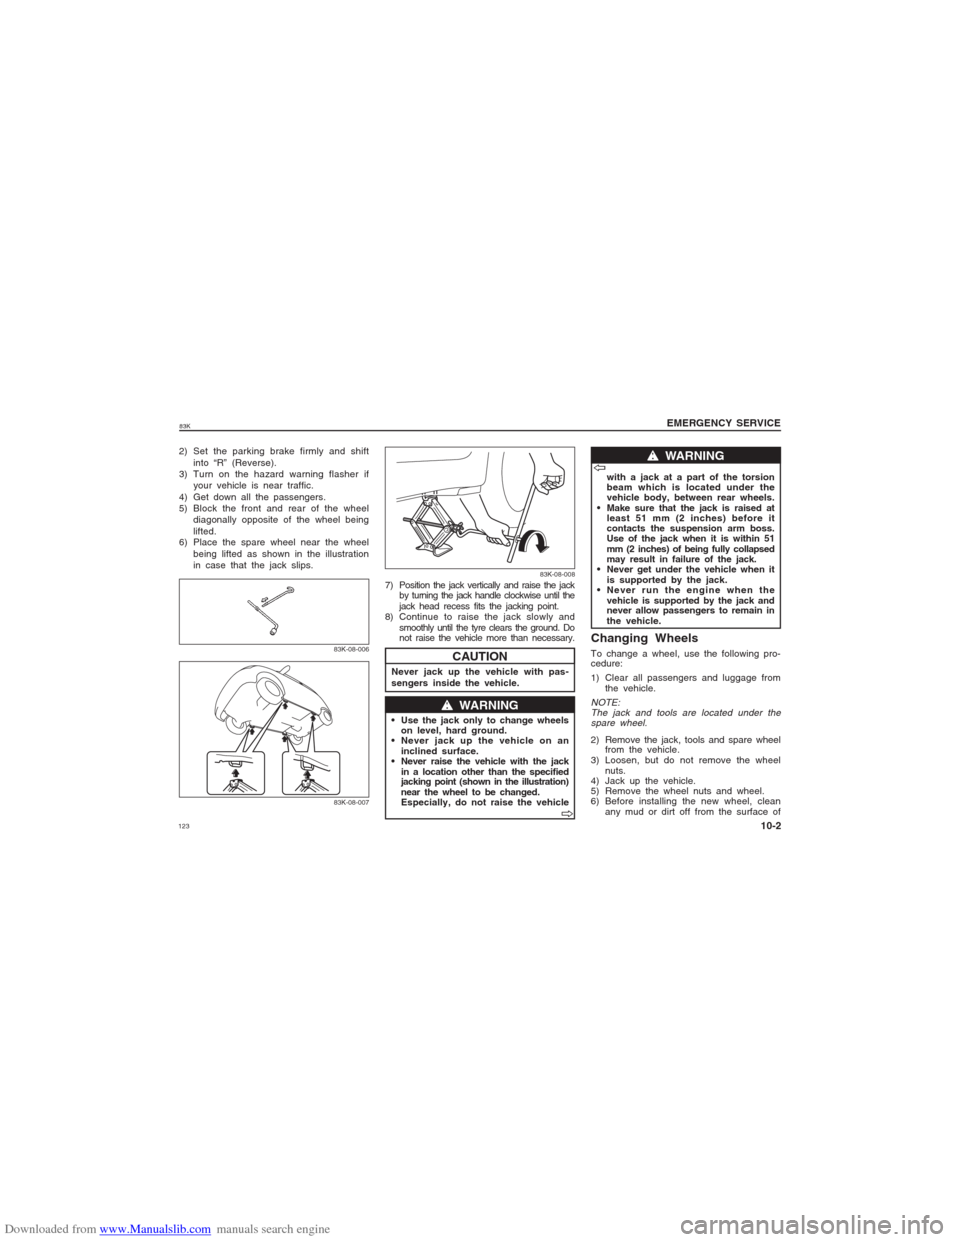
2) Set the parking brake firmly and shift
into “R” (Reverse).
3) Turn on the hazard warning flasher if
your vehicle is near traffic.
4) Get down all the passengers.
5) Block the front and rear of the wheel
diagonally opposite of the wheel being
lifted.
6) Place the spare wheel near the wheel
being lifted as shown in the illustration
in case that the jack slips.
83K-08-00683K-08-007
CAUTION
Never jack up the vehicle with pas-
sengers inside the vehicle. 7) Position the jack vertically and raise the jack
by turning the jack handle clockwise until the
jack head recess fits the jacking point.
8) Continue to raise the jack slowly and
smoothly until the tyre clears the ground. Do
not raise the vehicle more than necessary.
w ww w
w WARNING
Use the jack only to change wheels
on level, hard ground.
Never jack up the vehicle on an
inclined surface.
Never raise the vehicle with the jack
in a location other than the specified
jacking point (shown in the illustration)
near the wheel to be changed.
Especially, do not raise the vehiclewith a jack at a part of the torsion
beam which is located under the
vehicle body, between rear wheels.
Make sure that the jack is raised at
least 51 mm (2 inches) before it
contacts the suspension arm boss.
Use of the jack when it is within 51
mm (2 inches) of being fully collapsed
may result in failure of the jack.
Never get under the vehicle when it
is supported by the jack.
Never run the engine when the
vehicle is supported by the jack and
never allow passengers to remain in
the vehicle.
V VV V
V
w ww w
w WARNING
V VV V
V
Changing WheelsTo change a wheel, use the following pro-
cedure:
1) Clear all passengers and luggage from
the vehicle.NOTE:
The jack and tools are located under the
spare wheel.2) Remove the jack, tools and spare wheel
from the vehicle.
3) Loosen, but do not remove the wheel
nuts.
4) Jack up the vehicle.
5) Remove the wheel nuts and wheel.
6) Before installing the new wheel, clean
any mud or dirt off from the surface of
83K-08-008