tailgate SUZUKI SWIFT 2017 5.G User Guide
[x] Cancel search | Manufacturer: SUZUKI, Model Year: 2017, Model line: SWIFT, Model: SUZUKI SWIFT 2017 5.GPages: 336, PDF Size: 6.24 MB
Page 86 of 336
3-1OPERATING YOUR VEHICLE
74LH0-74E
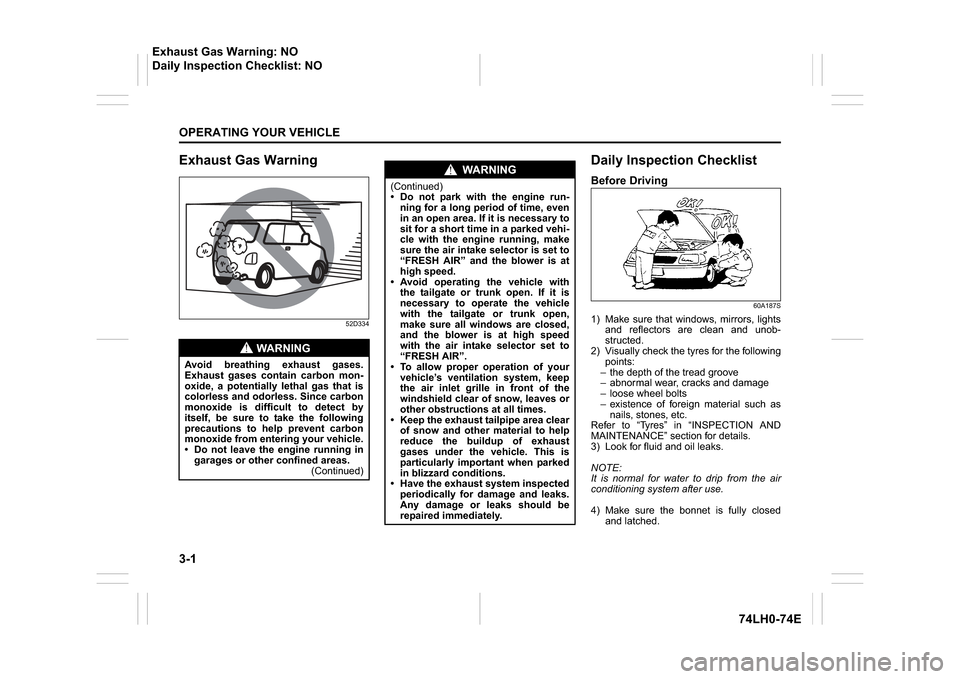
Exhaust Gas Warning
52D334
Daily Inspection ChecklistBefore Driving
60A187S
1) Make sure that windows, mirrors, lightsand reflectors are clean and unob-
structed.
2) Visually check the tyres for the following points:
– the depth of the tread groove
– abnormal wear, cracks and damage
– loose wheel bolts
– existence of foreign material such as nails, stones, etc.
Refer to “Tyres” in “INSPECTION AND
MAINTENANCE” section for details.
3) Look for fluid and oil leaks.
NOTE:
It is normal for water to drip from the air
conditioning system after use.
4) Make sure the bonnet is fully closed and latched.
WA R N I N G
Avoid breathing exhaust gases.
Exhaust gases contain carbon mon-
oxide, a potentially lethal gas that is
colorless and odorless. Since carbon
monoxide is difficult to detect by
itself, be sure to take the following
precautions to help prevent carbon
monoxide from entering your vehicle.
Do not leave the engine running in garages or other confined areas. (Continued)
WA R N I N G
(Continued)
Do not park with the engine run-ning for a long period of time, even
in an open area. If it is necessary to
sit for a short time in a parked vehi-
cle with the engine running, make
sure the air intake selector is set to
“FRESH AIR” and the blower is at
high speed.
Avoid operating the vehicle with the tailgate or trunk open. If it is
necessary to operate the vehicle
with the tailgate or trunk open,
make sure all windows are closed,
and the blower is at high speed
with the air intake selector set to
“FRESH AIR”.
To allow proper operation of your
vehicle’s ventilation system, keep
the air inlet grille in front of the
windshield clear of snow, leaves or
other obstructions at all times.
Keep the exhaust tailpipe area clear of snow and other material to help
reduce the buildup of exhaust
gases under the vehicle. This is
particularly important when parked
in blizzard conditions.
Have the exhaust system inspected periodically for damage and leaks.
Any damage or leaks should be
repaired immediately.
Exhaust Gas Warning: NO
Daily Inspection Checklist: NO
Page 176 of 336
5-49OTHER CONTROLS AND EQUIPMENT
74LH0-74E
Vanity mirror (if equipped)
74LHT0532
(2) Vanity mirror
Interior Light Front Overhead Light
(if equipped)
64J104
Push the switch to turn on the light and
push it again to turn off the light.Center Overhead Light (if equipped)
64J104
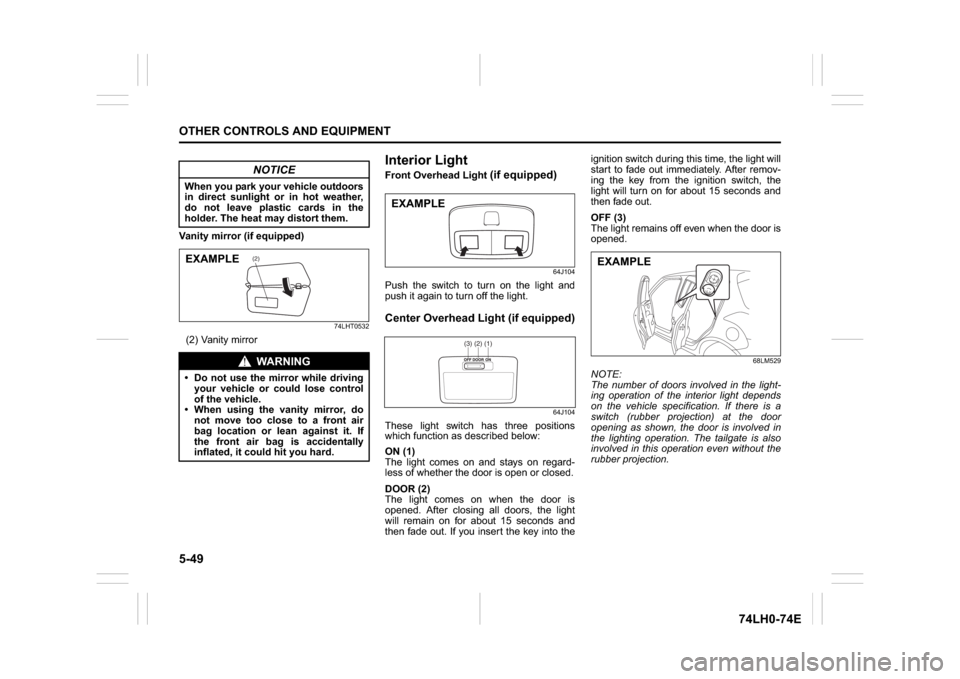
These light switch has three positions
which function as described below:
ON (1)
The light comes on and stays on regard-
less of whether the door is open or closed.
DOOR (2)
The light comes on when the door is
opened. After closing all doors, the light
will remain on for about 15 seconds and
then fade out. If you insert the key into theignition switch during this time, the light will
start to fade out immediately. After remov-
ing the key from the ignition switch, the
light will turn on for about 15 seconds and
then fade out.
OFF (3)
The light remains off even when the door is
opened.
68LM529
NOTE:
The number of doors involved in the light-
ing operation of the interior light depends
on the vehicle specification. If there is a
switch (rubber projection) at the door
opening as shown, the door is involved in
the lighting operation. The tailgate is also
involved in this operation even without the
rubber projection.
NOTICE
When you park your vehicle outdoors
in direct sunlight or in hot weather,
do not leave plastic cards in the
holder. The heat may distort them.
WA R N I N G
Do not use the mirror while driving
your vehicle or could lose control
of the vehicle.
When using the vanity mirror, do
not move too close to a front air
bag location or lean against it. If
the front air bag is accidentally
inflated, it could hit you hard.
(2)
EXAMPLE
EXAMPLE
(1)(2)(3)
EXAMPLE
Page 177 of 336
5-50
OTHER CONTROLS AND EQUIPMENT
74LH0-74E
Trim Partition (if equipped)Luggage Compartment Light
(if equipped)
71LMT0505
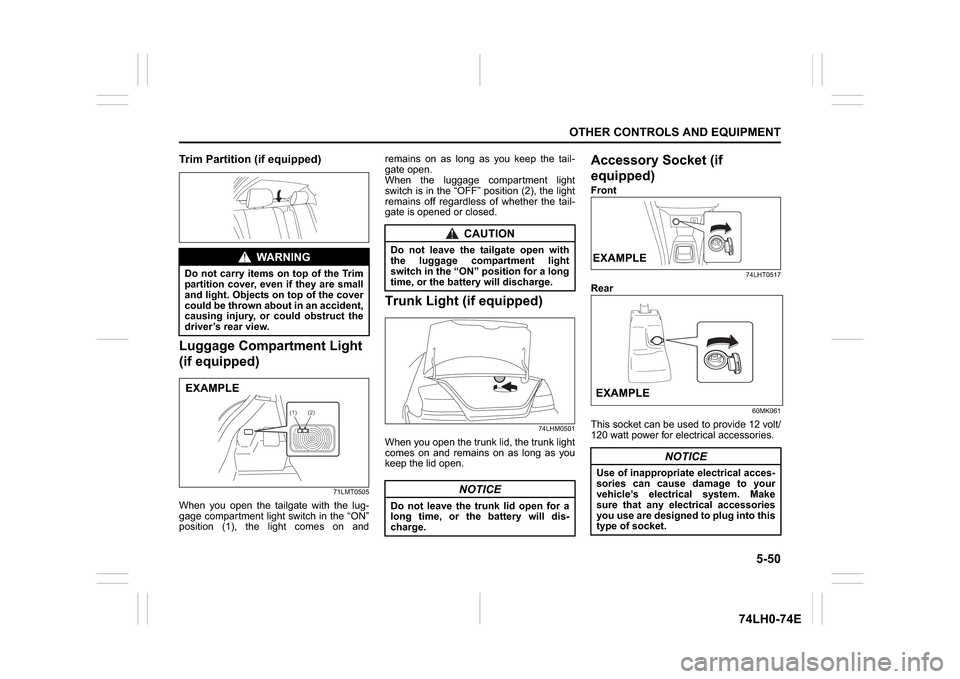
When you open the tailgate with the lug-
gage compartment light switch in the “ON”
position (1), the light comes on andremains on as long as you keep the tail-
gate open.
When the luggage compartment light
switch is in the “OFF” position (2), the light
remains off regardless of whether the tail-
gate is opened or closed.
Trunk Light (if equipped)
74LHM0501
When you open the trunk lid, the trunk light
comes on and remains on as long as you
keep the lid open.
Accessory Socket (if
equipped)Front
74LHT0517
Rear
60MK061
This socket can be used to provide 12 volt/
120 watt power for electrical accessories.
WA R N I N G
Do not carry items on top of the Trim
partition cover, even if they are small
and light. Objects on top of the cover
could be thrown about in an accident,
causing injury, or could obstruct the
driver’s rear view.EXAMPLE
(1) (2)
CAUTION
Do not leave the tailgate open with
the luggage compartment light
switch in the “ON” position for a long
time, or the battery will discharge.
NOTICE
Do not leave the trunk lid open for a
long time, or the battery will dis-
charge.
NOTICE
Use of inappropriate electrical acces-
sories can cause damage to your
vehicle’s electrical system. Make
sure that any electrical accessories
you use are designed to plug into this
type of socket.EXAMPLEEXAMPLE
Page 218 of 336
7-27INSPECTION AND MAINTENANCE
74LH0-74E
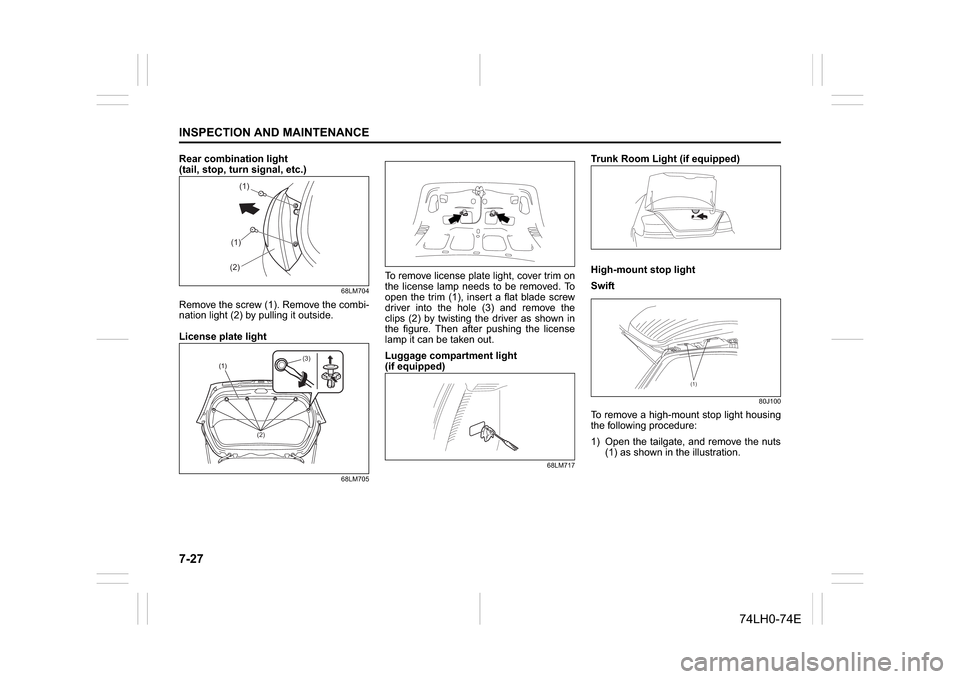
Rear combination light
(tail, stop, turn signal, etc.)
68LM704
Remove the screw (1). Remove the combi-
nation light (2) by pulling it outside.
License plate light
68LM705
To remove license plate light, cover trim on
the license lamp needs to be removed. To
open the trim (1), insert a flat blade screw
driver into the hole (3) and remove the
clips (2) by twisting the driver as shown in
the figure. Then after pushing the license
lamp it can be taken out.
Luggage compartment light
(if equipped)
68LM717
Trunk Room Light (if equipped)
High-mount stop light
Swift
80J100
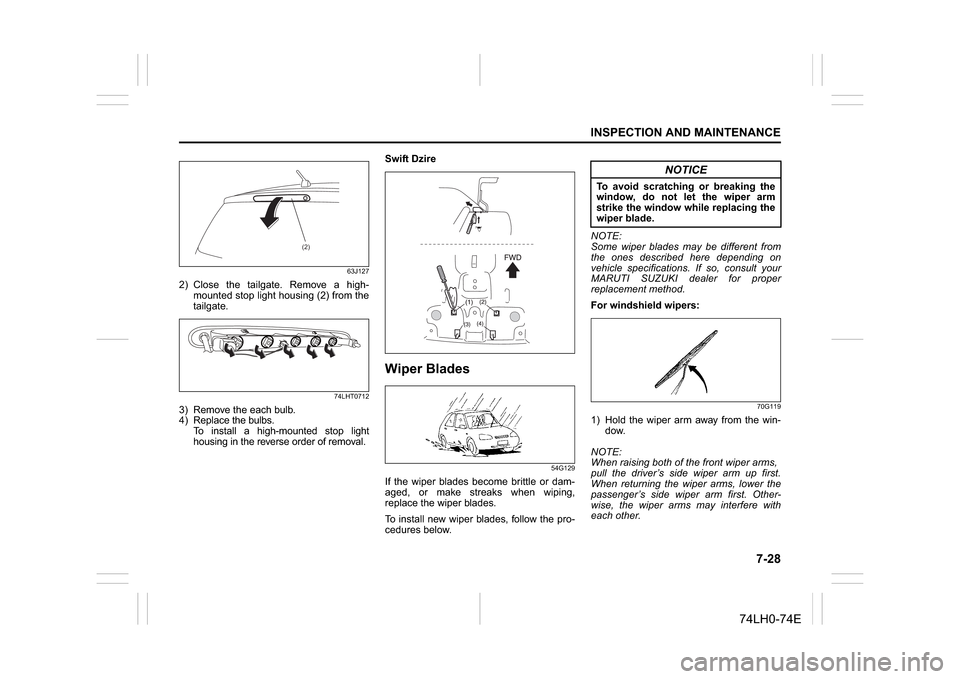
To remove a high-mount stop light housing
the following procedure:
1) Open the tailgate, and remove the nuts
(1) as shown in the illustration.
(1)(1)
(2)
(2)(3)
(1)
Page 219 of 336
7-28
INSPECTION AND MAINTENANCE
74LH0-74E
63J127
2) Close the tailgate. Remove a high-
mounted stop light housing (2) from the
tailgate.
74LHT0712
3) Remove the each bulb.
4) Replace the bulbs.
To install a high-mounted stop light
housing in the reverse order of removal.Swift Dzire
Wiper Blades
54G129
If the wiper blades become brittle or dam-
aged, or make streaks when wiping,
replace the wiper blades.
To install new wiper blades, follow the pro-
cedures below.NOTE:
Some wiper blades may be different from
the ones described here depending on
vehicle specifications. If so, consult your
MARUTI SUZUKI dealer for proper
replacement method.
For windshield wipers:
70G119
1) Hold the wiper arm away from the win-
dow.
NOTE:
When raising both of the front wiper arms,
pull the driver’s side wiper arm up first.
When returning the wiper arms, lower the
passenger’s side wiper arm first. Other-
wise, the wiper arms may interfere with
each other.
(2)
NOTICE
To avoid scratching or breaking the
window, do not let the wiper arm
strike the window while replacing the
wiper blade.