service indicator SUZUKI SWIFT 2017 5.G Owners Manual
[x] Cancel search | Manufacturer: SUZUKI, Model Year: 2017, Model line: SWIFT, Model: SUZUKI SWIFT 2017 5.GPages: 336, PDF Size: 6.24 MB
Page 67 of 336

2-48
BEFORE DRIVING
74LH0-74E
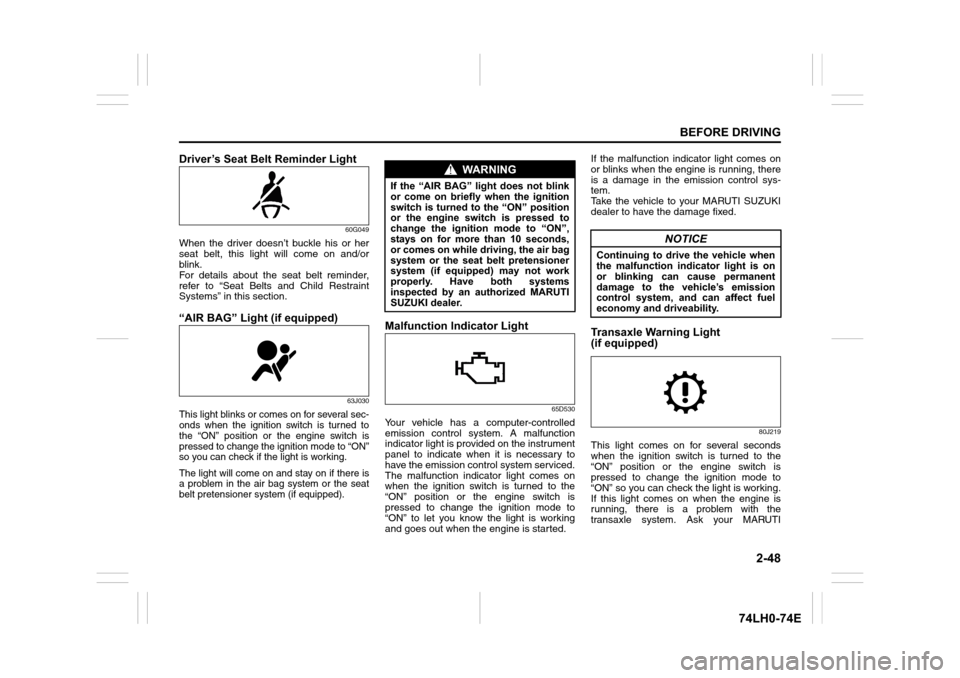
Driver’s Seat Belt Reminder Light
60G049
When the driver doesn’t buckle his or her
seat belt, this light will come on and/or
blink.
For details about the seat belt reminder,
refer to “Seat Belts and Child Restraint
Systems” in this section.
“AIR BAG” Light (if equipped)
63J030
This light blinks or comes on for several sec-
onds when the ignition switch is turned to
the “ON” position or the engine switch is
pressed to change the ignition mode to “ON”
so you can check if the light is working.
The light will come on and stay on if there is
a problem in the air bag system or the seat
belt pretensioner system (if equipped).
Malfunction Indicator Light
65D530
Your vehicle has a computer-controlled
emission control system. A malfunction
indicator light is provided on the instrument
panel to indicate when it is necessary to
have the emission control system serviced.
The malfunction indicator light comes on
when the ignition switch is turned to the
“ON” position or the engine switch is
pressed to change the ignition mode to
“ON” to let you know the light is working
and goes out when the engine is started. If the malfunction indicator light comes on
or blinks when the engine is running, there
is a damage in the emission control sys-
tem.
Take the vehicle to your MARUTI SUZUKI
dealer to have the damage fixed.
Transaxle Warning Light
(if equipped)
80J219
This light comes on for several seconds
when the ignition switch is turned to the
“ON” position or the engine switch is
pressed to change the ignition mode to
“ON” so you can check the light is working.
If this light comes on when the engine is
running, there is a problem with the
transaxle system. Ask your MARUTI
WA R N I N G
If the “AIR BAG” light does not blink
or come on briefly when the ignition
switch is turned to the “ON” position
or the engine switch is pressed to
change the ignition mode to “ON”,
stays on for more than 10 seconds,
or comes on while driving, the air bag
system or the seat belt pretensioner
system (if equipped) may not work
properly. Have both systems
inspected by an authorized MARUTI
SUZUKI dealer.
NOTICE
Continuing to drive the vehicle when
the malfunction indicator light is on
or blinking can cause permanent
damage to the vehicle’s emission
control system, and can affect fuel
economy and driveability.
Page 71 of 336

2-52
BEFORE DRIVING
74LH0-74E
When the low fuel warning light (1) comes
on, a ding sounds once to remind you to fill
the fuel.
If you do not fill the fuel, a ding sounds
every time when the ignition switch is
turned to “ON” position.
NOTE:
The activation point of the low fuel warning
light (1) varies depending on road condi-
tions (for example, slope or curve) and
driving conditions because of fuel moving
in the tank.
The mark (2) indicates that the fuel filler
door is located on the left side of the vehi-
cle.
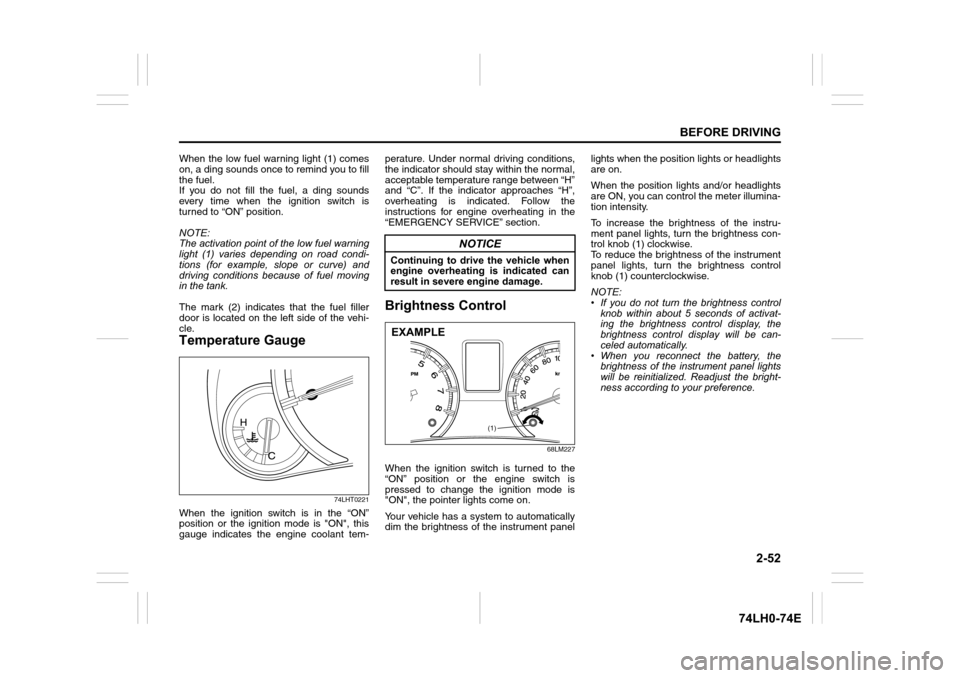
Temperature Gauge
74LHT0221
When the ignition switch is in the “ON”
position or the ignition mode is "ON", this
gauge indicates the engine coolant tem-perature. Under normal driving conditions,
the indicator should stay within the normal,
acceptable temperature range between “H”
and “C”. If the indicator approaches “H”,
overheating is indicated. Follow the
instructions for engine overheating in the
“EMERGENCY SERVICE” section.
Brightness Control
68LM227
When the ignition switch is turned to the
“ON” position or the engine switch is
pressed to change the ignition mode is
"ON", the pointer lights come on.
Your vehicle has a system to automatically
dim the brightness of the instrument panellights when the position lights or headlights
are on.
When the position lights and/or headlights
are ON, you can control the meter illumina-
tion intensity.
To increase the brightness of the instru-
ment panel lights, turn the brightness con-
trol knob (1) clockwise.
To reduce the brightness of the instrument
panel lights, turn the brightness control
knob (1) counterclockwise.
NOTE:
• If you do not turn the brightness control
knob within about 5 seconds of activat-
ing the brightness control display, the
brightness control display will be can-
celed automatically.
• When you reconnect the battery, the
brightness of the instrument panel lights
will be reinitialized. Readjust the bright-
ness according to your preference.
NOTICE
Continuing to drive the vehicle when
engine overheating is indicated can
result in severe engine damage.
(1)
EXAMPLE
Page 75 of 336

2-56
BEFORE DRIVING
74LH0-74E
• When you reconnect the negative (–)
terminal to the battery, the unit of the
average fuel consumption will be reini-
tialized. Change the unit again to your
preference.
Driving range
If you selected driving range the last time
you drove the vehicle, the display indicates
“---” for a few seconds and then indicates
the current driving range when the ignition
switch is turned to the “ON” position or the
engine switch is pressed to change the
ignition mode is “ON”.
The driving range shown in the display is
the approximate distance you can drive
until the fuel gauge indicates “E”, based on
current driving conditions.
When the low fuel warning light comes on,
the display “---” will appear.
If the low fuel warning light comes on, fill
the fuel tank immediately regardless of the
value of driving range shown in the display.
As the driving range after refueling is cal-
culated based on the most recent driving
condition, the value is different each time
you refuel.
NOTE:
• If you refuel when the ignition switch is in
the “ON” position or the ignition mode is
"ON", the driving range may not indicate
the correct value.
• When you reconnect the negative (–)
terminal to the battery, the value of driv-ing range will be shown after driving for a
while.
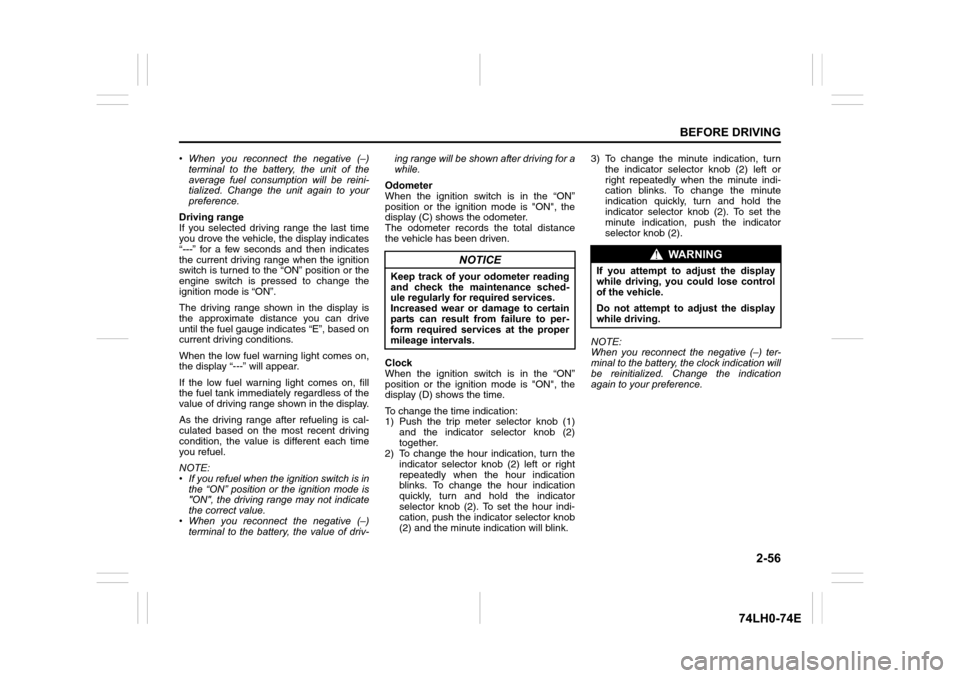
Odometer
When the ignition switch is in the “ON”
position or the ignition mode is "ON", the
display (C) shows the odometer.
The odometer records the total distance
the vehicle has been driven.
Clock
When the ignition switch is in the “ON”
position or the ignition mode is "ON", the
display (D) shows the time.
To change the time indication:
1) Push the trip meter selector knob (1)
and the indicator selector knob (2)
together.
2) To change the hour indication, turn the
indicator selector knob (2) left or right
repeatedly when the hour indication
blinks. To change the hour indication
quickly, turn and hold the indicator
selector knob (2). To set the hour indi-
cation, push the indicator selector knob
(2) and the minute indication will blink.3) To change the minute indication, turn
the indicator selector knob (2) left or
right repeatedly when the minute indi-
cation blinks. To change the minute
indication quickly, turn and hold the
indicator selector knob (2). To set the
minute indication, push the indicator
selector knob (2).
NOTE:
When you reconnect the negative (–) ter-
minal to the battery, the clock indication will
be reinitialized. Change the indication
again to your preference.
NOTICE
Keep track of your odometer reading
and check the maintenance sched-
ule regularly for required services.
Increased wear or damage to certain
parts can result from failure to per-
form required services at the proper
mileage intervals.
WA R N I N G
If you attempt to adjust the display
while driving, you could lose control
of the vehicle.
Do not attempt to adjust the display
while driving.
Page 211 of 336

7-20
INSPECTION AND MAINTENANCE
74LH0-74E
Temporary Spare Tire (if equipped)Your vehicle comes equipped with the tem-
porary spare tire. It is only intended for
temporary emergency use, until the con-
ventional tire can be repaired or replaced.
The inflation pressure of the temporary
spare tire should be checked at least
monthly. At the same time, check that the
tire is stored securely. If it is not, tighten it.
Note that two or more temporary spare
tires should not be used on one vehicle
simultaneously.
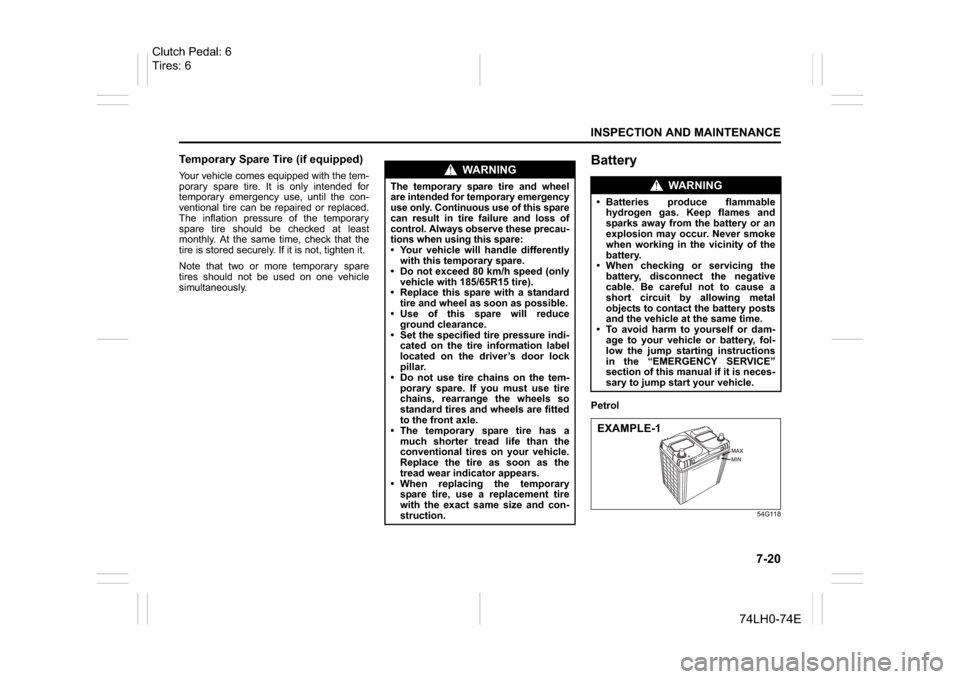
BatteryPetrol
54G118
WA R N I N G
The temporary spare tire and wheel
are intended for temporary emergency
use only. Continuous use of this spare
can result in tire failure and loss of
control. Always observe these precau-
tions when using this spare: Your vehicle will handle differently
with this temporary spare.
Do not exceed 80 km/h speed (only
vehicle with 185/65R15 tire).
Replace this spare with a standard
tire and wheel as soon as possible.
Use of this spare will reduce
ground clearance.
Set the specified tire pressure indi-
cated on the tire information label
located on the driver’s door lock
pillar.
Do not use tire chains on the tem-
porary spare. If you must use tire
chains, rearrange the wheels so
standard tires and wheels are fitted
to the front axle.
The temporary spare tire has a
much shorter tread life than the
conventional tires on your vehicle.
Replace the tire as soon as the
tread wear indicator appears.
When replacing the temporary
spare tire, use a replacement tire
with the exact same size and con-
struction.
WA R N I N G
Batteries produce flammable
hydrogen gas. Keep flames and
sparks away from the battery or an
explosion may occur. Never smoke
when working in the vicinity of the
battery.
When checking or servicing the
battery, disconnect the negative
cable. Be careful not to cause a
short circuit by allowing metal
objects to contact the battery posts
and the vehicle at the same time.
To avoid harm to yourself or dam-
age to your vehicle or battery, fol-
low the jump starting instructions
in the “EMERGENCY SERVICE”
section of this manual if it is neces-
sary to jump start your vehicle.EXAMPLE-1
Clutch Pedal: 6
Tires: 6