auto TESLA MODEL 3 2018 Service Manual
[x] Cancel search | Manufacturer: TESLA, Model Year: 2018, Model line: MODEL 3, Model: TESLA MODEL 3 2018Pages: 165, PDF Size: 8.63 MB
Page 111 of 165
If the charge port light turns red while
charging, a fault is detected. Check the touchscreen for a message describing the
fault. A fault can occur due to something as
common as a power outage. If a power outage
occurs, charging resumes automatically when power is restored.
Note: When charging, particularly at high
currents, the refrigerant compressor and fan
operate as needed to keep the Battery cool.
Therefore, it is normal to hear sounds during charging.
Note: Air conditioning performance is
generally not
affected by charging. However,
under certain circumstances (for example, you
are charging at high currents during a
particularly warm day), the air coming from
the vents may not be as cool as expected and
a message displays on the touchscreen. This is
normal behavior and ensures that the Battery stays within an optimum temperature range
while charging to support longevity and optimum performance.
Warning: Never spray liquid at a high
velocity (for example, if using a pressure
washer) towards the charge port while
charging. Failure to follow these
instructions can result in serious injury or
damage to the vehicle, charging
equipment, or property.
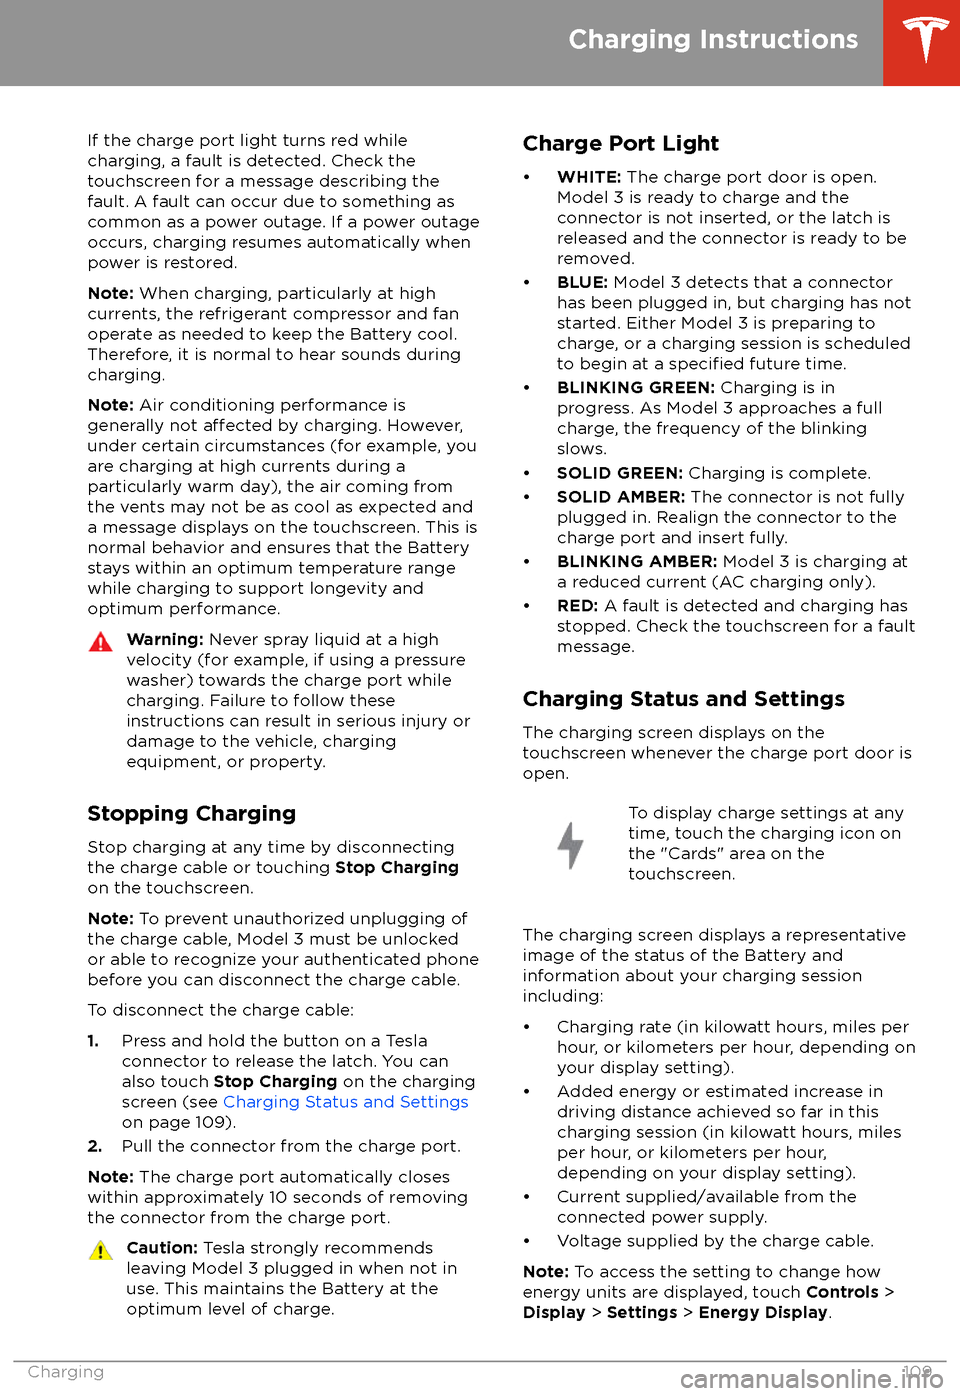
Stopping Charging
Stop charging at any time by disconnecting
the charge cable or touching Stop Charging
on the touchscreen.
Note: To prevent unauthorized unplugging of
the charge cable, Model 3 must be unlocked
or able to recognize your authenticated phone before you can disconnect the charge cable.
To disconnect the charge cable:
1. Press and hold the button on a Tesla
connector to release the latch. You can
also touch Stop Charging on the charging
screen (see Charging Status and Settings
on page 109).
2. Pull the connector from the charge port.
Note: The charge port automatically closes
within approximately 10 seconds of removing
the connector from the charge port.
Caution: Tesla strongly recommends
leaving Model 3 plugged in when not in use. This maintains the Battery at the
optimum level of charge.Charge Port Light
Page 112 of 165
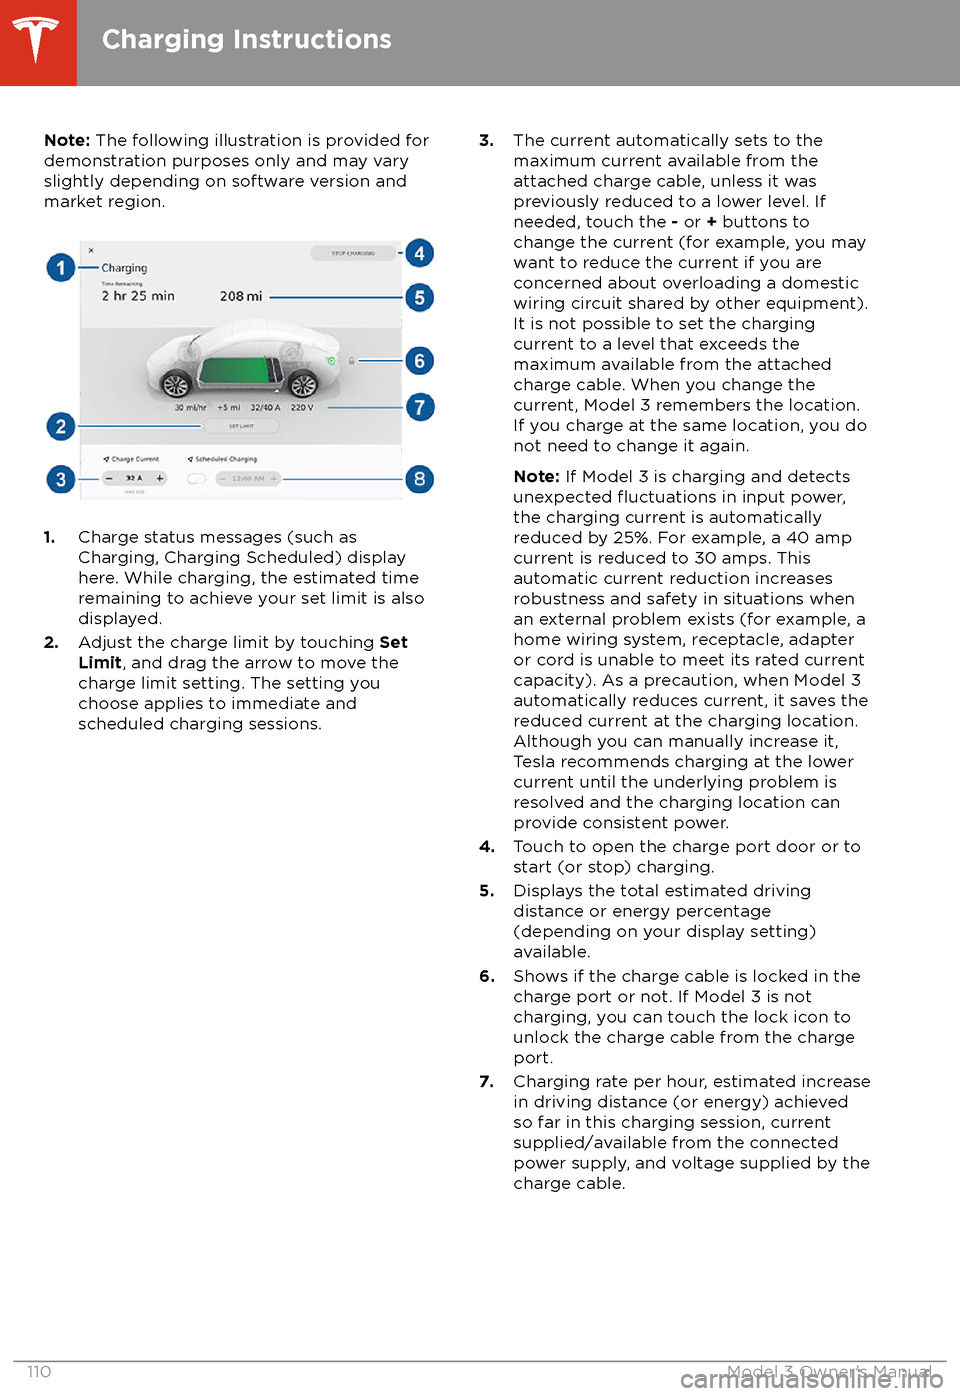
Note: The following illustration is provided for
demonstration purposes only and may vary
slightly depending on software version and
market region.
1. Charge status messages (such as
Charging, Charging Scheduled) display
here. While charging, the estimated time
remaining to achieve your set limit is also
displayed.
2. Adjust the charge limit by touching Set
Limit , and drag the arrow to move the
charge limit setting. The setting you
choose applies to immediate and
scheduled charging sessions.
3. The current automatically sets to the
maximum current available from the
attached charge cable, unless it was
previously reduced to a lower level. If
needed, touch the - or + buttons to
change the current (for example, you may
want to reduce the current if you are
concerned about overloading a domestic
wiring circuit shared by other equipment).
It is not possible to set the charging current to a level that exceeds the
maximum available from the attached
charge cable. When you change the
current, Model 3 remembers the location.
If you charge at the same location, you do
not need to change it again.
Note: If Model 3 is charging and detects
unexpected
Page 113 of 165
8.Set a recurring charging schedule for the
location. When you set a scheduled
charging time, Model 3 displays the set
time when you are parked at the
scheduled location. If, at the scheduled
time, Model 3 is not plugged in at the location, charging starts as soon as you
plug it in, provided you plug it in within six
hours of the scheduled time. If plugged in
after six hours, charging does not start
until the scheduled time on the next day.
To override this setting, touch Start
Charging or Stop Charging (see item 4).
Note: If charging at a Tesla Supercharger, the
charging screen also displays information
about your previous or current Supercharger session (see Supercharger Usage Fees and
Idle Fees on page 111).
Supercharger Usage Fees and Idle Fees
When charging using a Tesla supercharger,
PAID SUPERCHARGING information displays
at the bottom of the charging screen. This
information includes the location, the time
that charging started, and an estimate of how
much the session will cost. When you stop
charging, the
final cost displays until a new
Supercharging session begins.
When charging at a Tesla supercharger, you
are subject to idle fees. Idle fees are designed to encourage drivers to move their vehiclefrom the Supercharger when charging iscomplete and are in
effect whenever at least
half of the Superchargers at a site are
occupied. The Tesla mobile app
notifies you
when charging nears completion, and again when charging is complete. Additional
notifications are sent if idle fees are incurred.
Idle fees are waived if you move your vehicle
within
five minutes of charging completion.
Log into your Tesla Account to view fees and
details about Supercharger sessions, set up a payment method, and make payments. Once a
payment method is saved, fees are
automatically paid from your account.
Charging Instructions
Charging111
Page 117 of 165
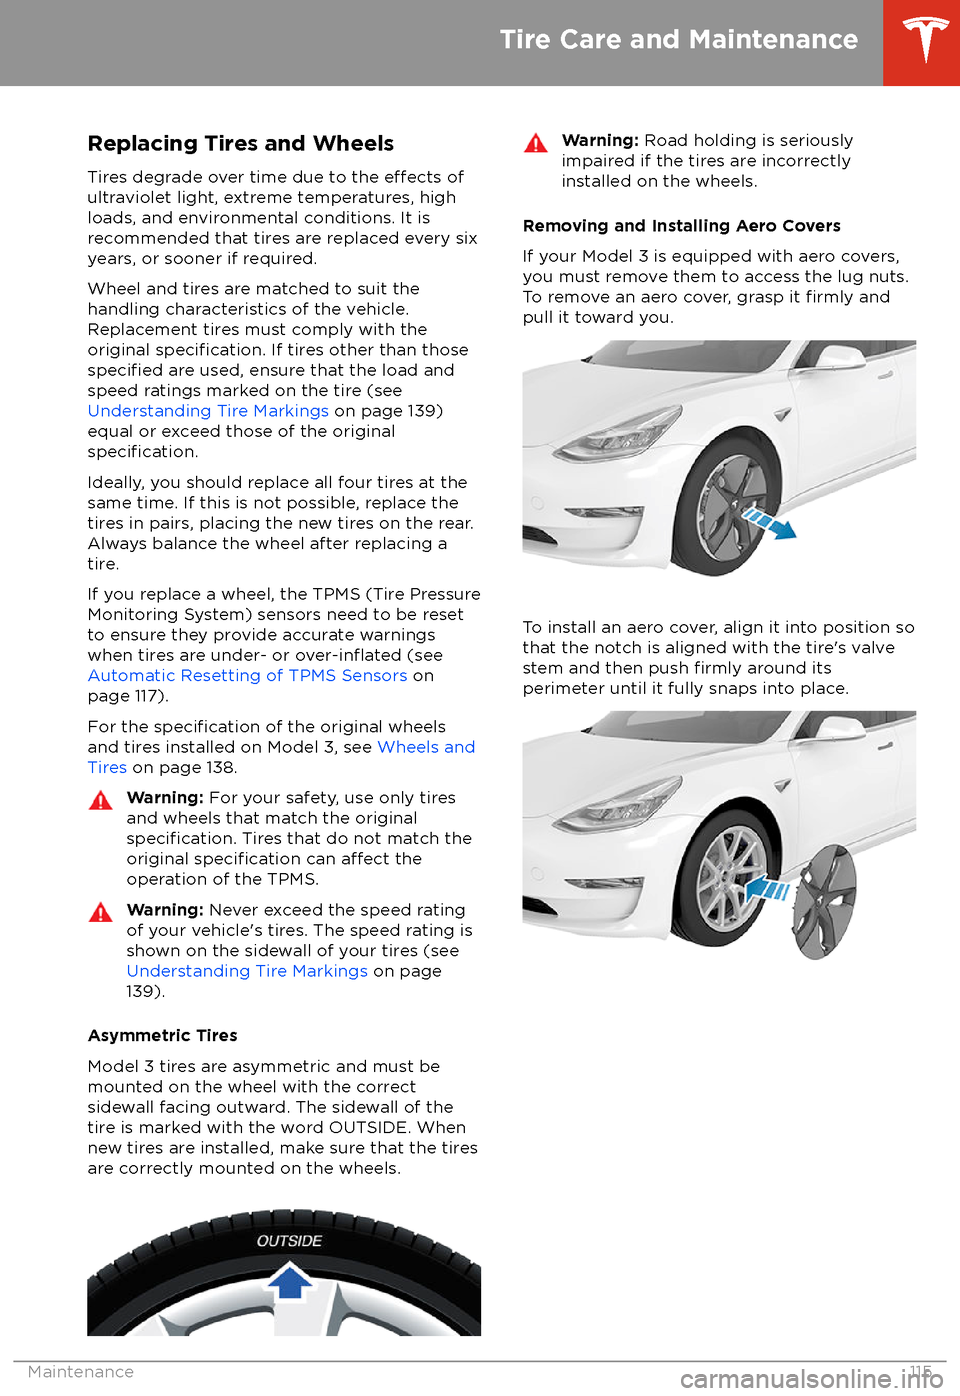
Replacing Tires and Wheels
Tires degrade over time due to the
effects of
ultraviolet light, extreme temperatures, high
loads, and environmental conditions. It is
recommended that tires are replaced every six
years, or sooner if required.
Wheel and tires are matched to suit thehandling characteristics of the vehicle.
Replacement tires must comply with the
original
specification. If tires other than thosespecified are used, ensure that the load and
speed ratings marked on the tire (see Understanding Tire Markings on page 139)
equal or exceed those of the original
specification.
Ideally, you should replace all four tires at the same time. If this is not possible, replace the
tires in pairs, placing the new tires on the rear.
Always balance the wheel after replacing a
tire.
If you replace a wheel, the TPMS (Tire Pressure
Monitoring System) sensors need to be reset to ensure they provide accurate warnings
when tires are under- or
over-inflated (see
Automatic Resetting of TPMS Sensors on
page 117).
For the
specification of the original wheels
and tires installed on Model 3, see Wheels and
Tires on page 138.
Warning:
For your safety, use only tires
and wheels that match the original
specification. Tires that do not match the
original specification can affect the
operation of the TPMS.
Warning: Never exceed the speed rating
of your vehicle
Page 121 of 165
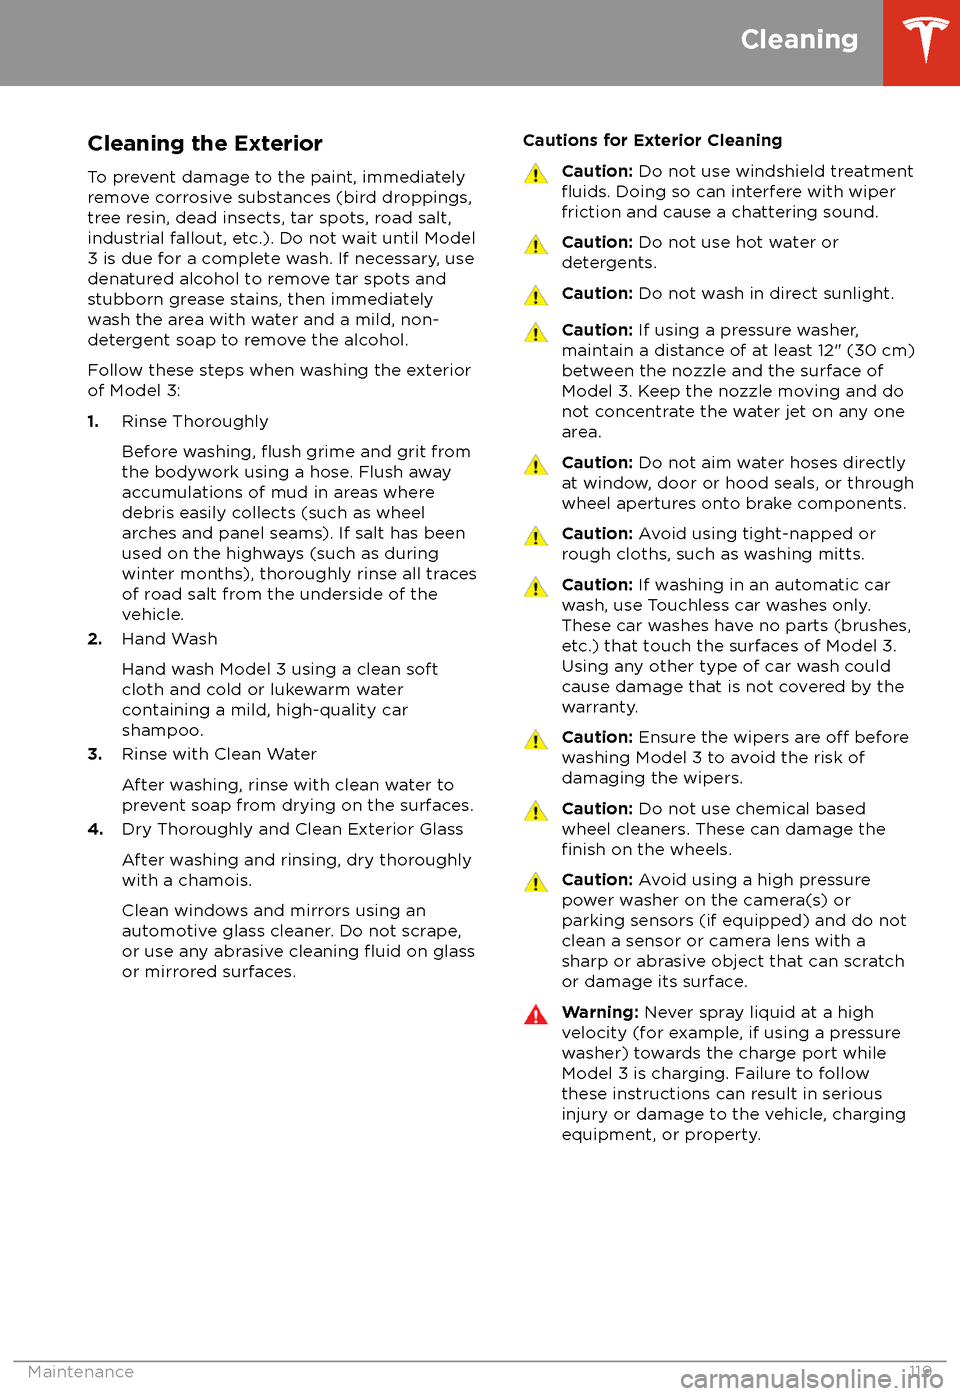
Cleaning the ExteriorTo prevent damage to the paint, immediately
remove corrosive substances (bird droppings, tree resin, dead insects, tar spots, road salt,
industrial fallout, etc.). Do not wait until Model
3 is due for a complete wash. If necessary, use
denatured alcohol to remove tar spots and
stubborn grease stains, then immediately wash the area with water and a mild, non-detergent soap to remove the alcohol.
Follow these steps when washing the exterior
of Model 3:
1. Rinse Thoroughly
Before washing,
flush grime and grit from
the bodywork using a hose. Flush away
accumulations of mud in areas where
debris easily collects (such as wheel
arches and panel seams). If salt has been
used on the highways (such as during
winter months), thoroughly rinse all traces
of road salt from the underside of the vehicle.
2. Hand Wash
Hand wash Model 3 using a clean soft
cloth and cold or lukewarm water
containing a mild, high-quality car
shampoo.
3. Rinse with Clean Water
After washing, rinse with clean water to
prevent soap from drying on the surfaces.
4. Dry Thoroughly and Clean Exterior Glass
After washing and rinsing, dry thoroughly
with a chamois.
Clean windows and mirrors using an automotive glass cleaner. Do not scrape,
or use any abrasive cleaning
fluid on glass
or mirrored surfaces.
Cautions for Exterior CleaningCaution: Do not use windshield treatmentfluids. Doing so can interfere with wiper
friction and cause a chattering sound.Caution: Do not use hot water or
detergents.Caution: Do not wash in direct sunlight.Caution: If using a pressure washer,
maintain a distance of at least 12" (30 cm)
between the nozzle and the surface of
Model 3. Keep the nozzle moving and do not concentrate the water jet on any one
area.Caution: Do not aim water hoses directly
at window, door or hood seals, or through
wheel apertures onto brake components.Caution: Avoid using tight-napped or
rough cloths, such as washing mitts.Caution: If washing in an automatic car
wash, use Touchless car washes only. These car washes have no parts (brushes,
etc.) that touch the surfaces of Model 3.
Using any other type of car wash could
cause damage that is not covered by the
warranty.Caution: Ensure the wipers are off before
washing Model 3 to avoid the risk of damaging the wipers.Caution: Do not use chemical based
wheel cleaners. These can damage the
finish on the wheels.
Caution: Avoid using a high pressure
power washer on the camera(s) or
parking sensors (if equipped) and do not
clean a sensor or camera lens with a
sharp or abrasive object that can scratch
or damage its surface.Warning: Never spray liquid at a high
velocity (for example, if using a pressure
washer) towards the charge port while
Model 3 is charging. Failure to follow
these instructions can result in serious
injury or damage to the vehicle, charging
equipment, or property.
Cleaning
Maintenance119
Page 124 of 165
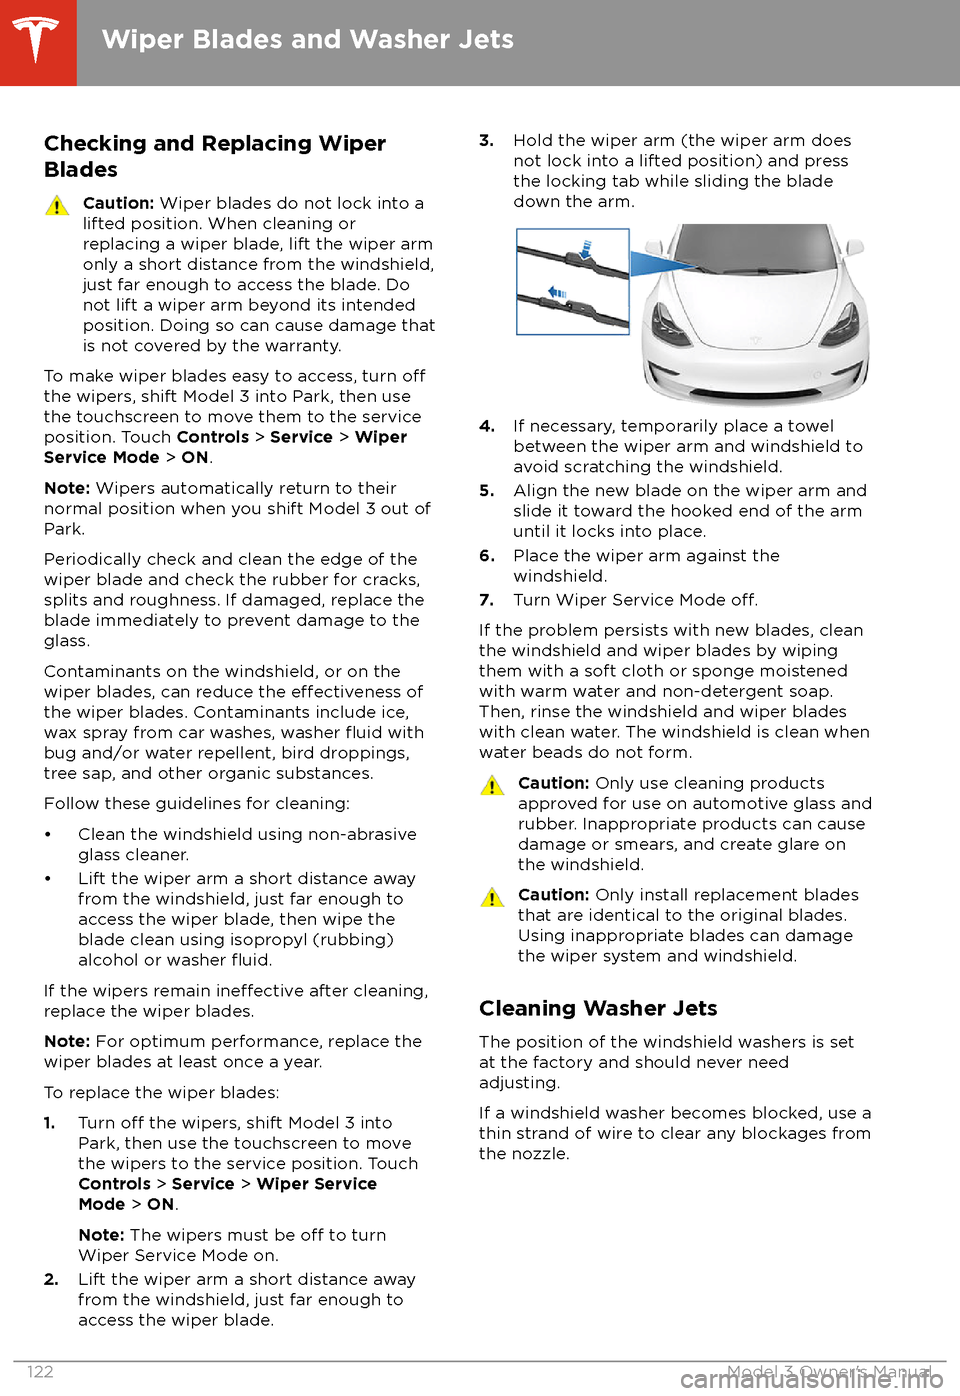
Checking and Replacing WiperBladesCaution: Wiper blades do not lock into a
lifted position. When cleaning or
replacing a wiper blade, lift the wiper arm
only a short distance from the windshield,
just far enough to access the blade. Do
not lift a wiper arm beyond its intended
position. Doing so can cause damage that
is not covered by the warranty.
To make wiper blades easy to access, turn offthe wipers, shift Model 3 into Park, then use the touchscreen to move them to the service
position. Touch Controls > Service > Wiper
Service Mode > ON .
Note: Wipers automatically return to their
normal position when you shift Model 3 out of Park.
Periodically check and clean the edge of the wiper blade and check the rubber for cracks,
splits and roughness. If damaged, replace the blade immediately to prevent damage to the
glass.
Contaminants on the windshield, or on the wiper blades, can reduce the
effectiveness of
the wiper blades. Contaminants include ice,
wax spray from car washes, washer
fluid with
bug and/or water repellent, bird droppings,
tree sap, and other organic substances.
Follow these guidelines for cleaning:
Page 146 of 165
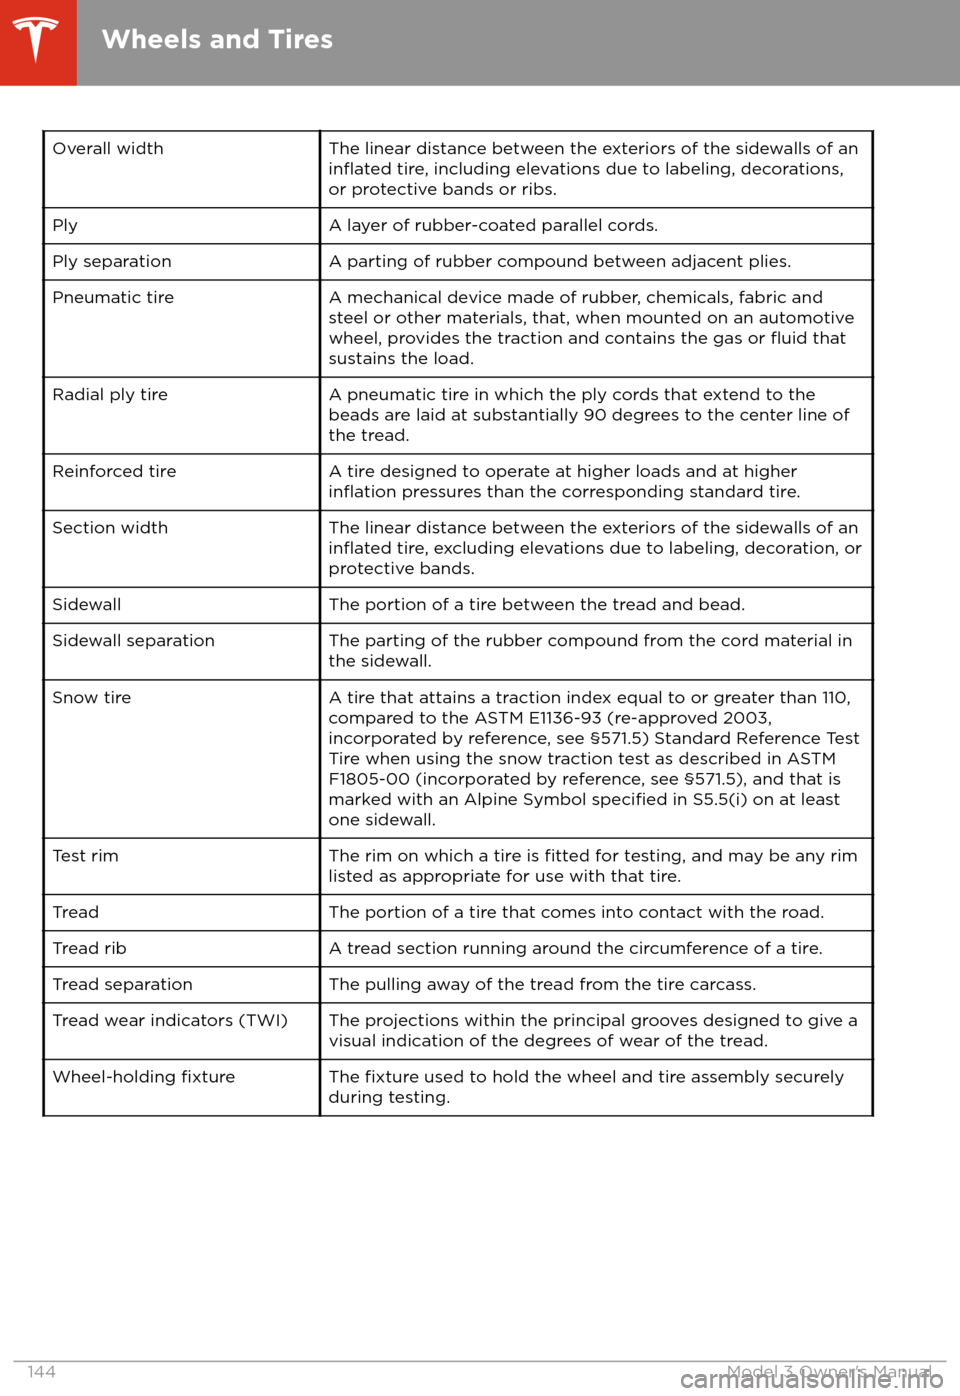
Overall widthThe linear distance between the exteriors of the sidewalls of aninflated tire, including elevations due to labeling, decorations,
or protective bands or ribs.PlyA layer of rubber-coated parallel cords.Ply separationA parting of rubber compound between adjacent plies.Pneumatic tireA mechanical device made of rubber, chemicals, fabric and steel or other materials, that, when mounted on an automotive
wheel, provides the traction and contains the gas or
fluid that
sustains the load.
Radial ply tireA pneumatic tire in which the ply cords that extend to the
beads are laid at substantially 90 degrees to the center line of the tread.Reinforced tireA tire designed to operate at higher loads and at higherinflation pressures than the corresponding standard tire.Section widthThe linear distance between the exteriors of the sidewalls of aninflated tire, excluding elevations due to labeling, decoration, or
protective bands.SidewallThe portion of a tire between the tread and bead.Sidewall separationThe parting of the rubber compound from the cord material in
the sidewall.Snow tireA tire that attains a traction index equal to or greater than 110,
compared to the ASTM E1136-93 (re-approved 2003,
incorporated by reference, see
Page 149 of 165
Caution: Transport Mode automatically
cancels and the parking brake is applied if
Model 3 is rolled faster than 5 mph
(8 km/h), 12V power is low, or if Transport
Mode has been continuously enabled for
20 minutes. Model 3 sounds its horn to warn you that Transport Mode is about tocancel.
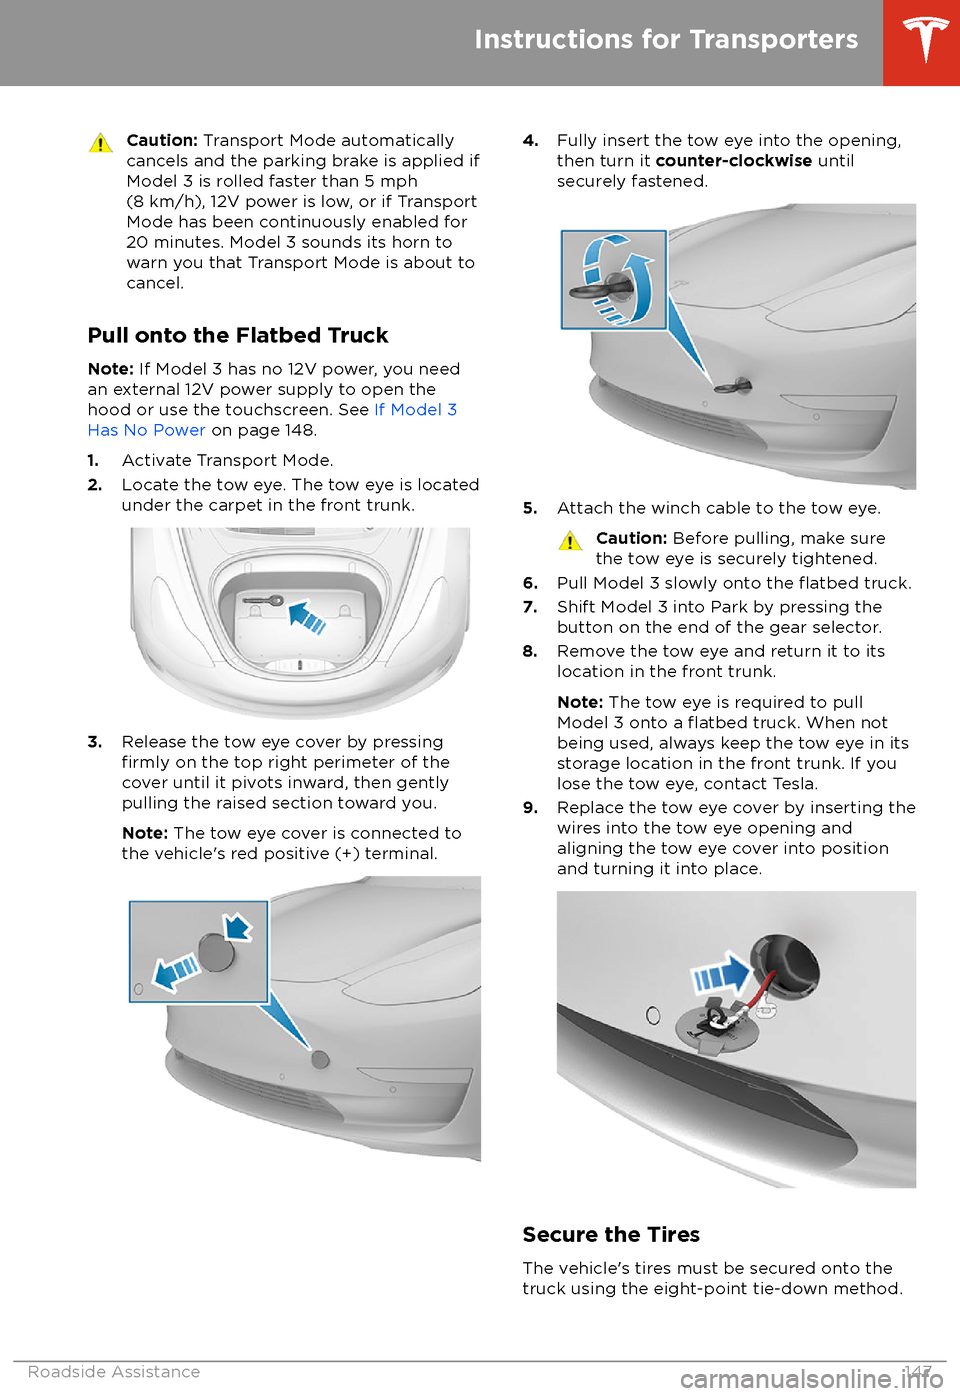
Pull onto the Flatbed Truck
Note: If Model 3 has no 12V power, you need
an external 12V power supply to open the
hood or use the touchscreen. See If Model 3
Has No Power on page 148.
1. Activate Transport Mode.
2. Locate the tow eye. The tow eye is located
under the carpet in the front trunk.
3. Release the tow eye cover by pressingfirmly on the top right perimeter of the
cover until it pivots inward, then gently pulling the raised section toward you.
Note: The tow eye cover is connected to
the vehicle
Page 160 of 165
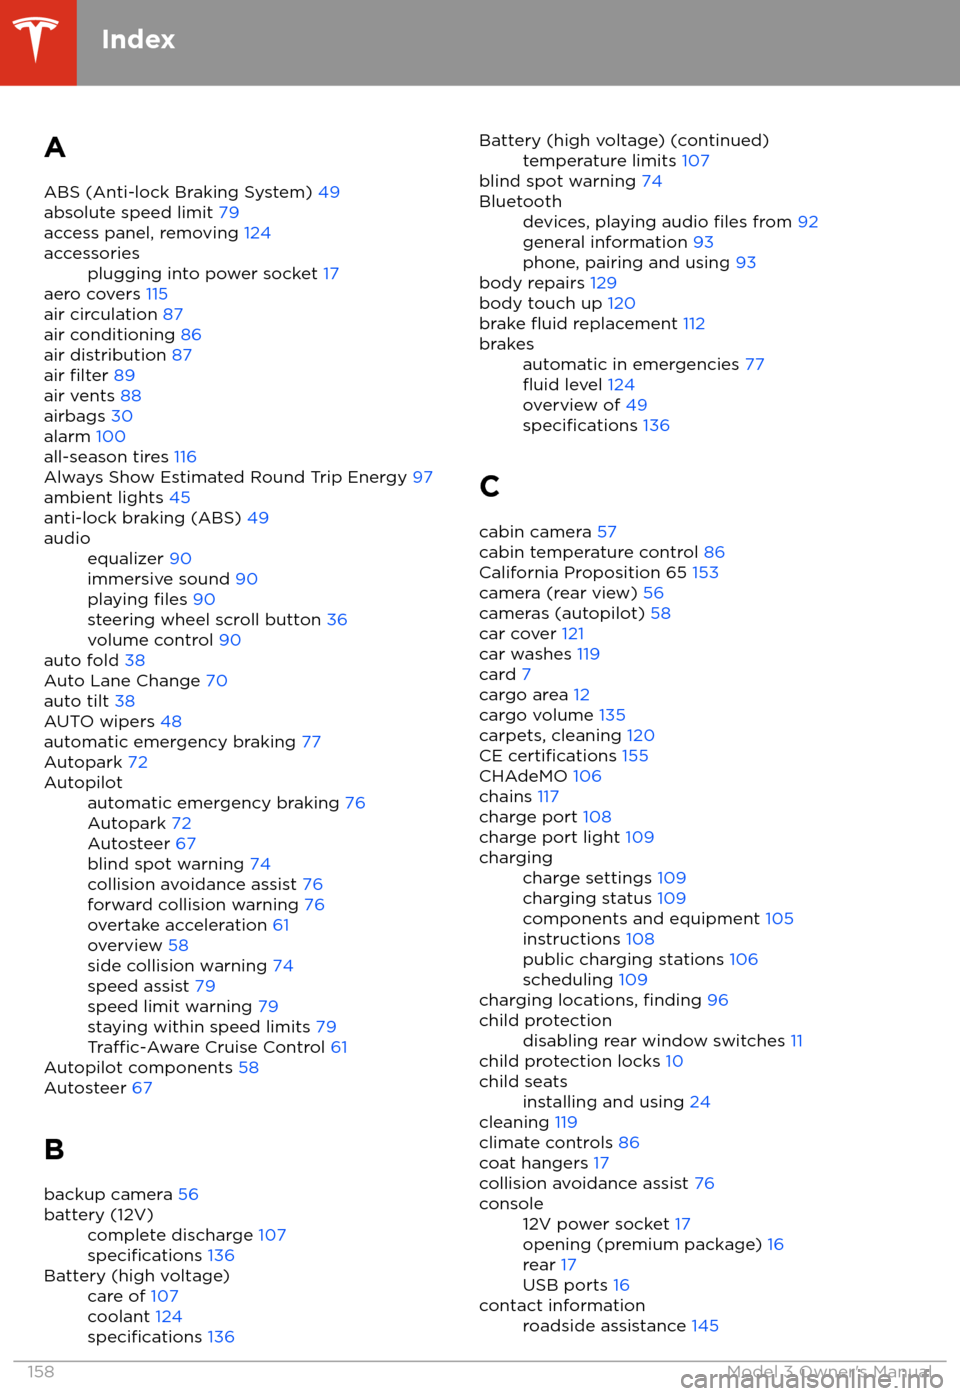
AABS (Anti-lock Braking System) 49
absolute speed limit 79
access panel, removing 124accessoriesplugging into power socket 17
aero covers 115
air circulation 87
air conditioning 86
air distribution 87
air
filter 89
air vents 88
airbags 30
alarm 100
all-season tires 116
Always Show Estimated Round Trip Energy 97
ambient lights 45
anti-lock braking (ABS) 49
audioequalizer 90
immersive sound 90
playing
files 90
steering wheel scroll button 36
volume control 90
auto fold
38
Auto Lane Change 70
auto tilt 38
AUTO wipers 48
automatic emergency braking 77
Autopark 72
Autopilotautomatic emergency braking 76
Autopark 72
Autosteer 67
blind spot warning 74
collision avoidance assist 76
forward collision warning 76
overtake acceleration 61
overview 58
side collision warning 74
speed assist 79
speed limit warning 79
staying within speed limits 79
Traffic-Aware Cruise Control 61
Autopilot components 58
Autosteer 67
B backup camera 56
battery (12V)complete discharge 107specifications 136Battery (high voltage)care of 107
coolant 124
specifications 136
Battery (high voltage) (continued)temperature limits 107
blind spot warning 74
Bluetoothdevices, playing audio files from 92
general information 93
phone, pairing and using 93
body repairs 129
body touch up 120
brake
fluid replacement 112
brakesautomatic in emergencies 77fluid level 124
overview of 49
specifications 136
C
cabin camera 57
cabin temperature control 86
California Proposition 65 153
camera (rear view) 56
cameras (autopilot) 58
car cover 121
car washes 119
card 7
cargo area 12
cargo volume 135
carpets, cleaning 120
CE
certifications 155
CHAdeMO 106
chains 117
charge port 108
charge port light 109
chargingcharge settings 109
charging status 109
components and equipment 105
instructions 108
public charging stations 106
scheduling 109
charging locations, finding 96
child protectiondisabling rear window switches 11
child protection locks 10
child seatsinstalling and using 24
cleaning 119
climate controls 86
coat hangers 17
collision avoidance assist 76
console12V power socket 17
opening (premium package) 16
rear 17
USB ports 16contact informationroadside assistance 145
Index
158Model 3 Owner
Page 162 of 165
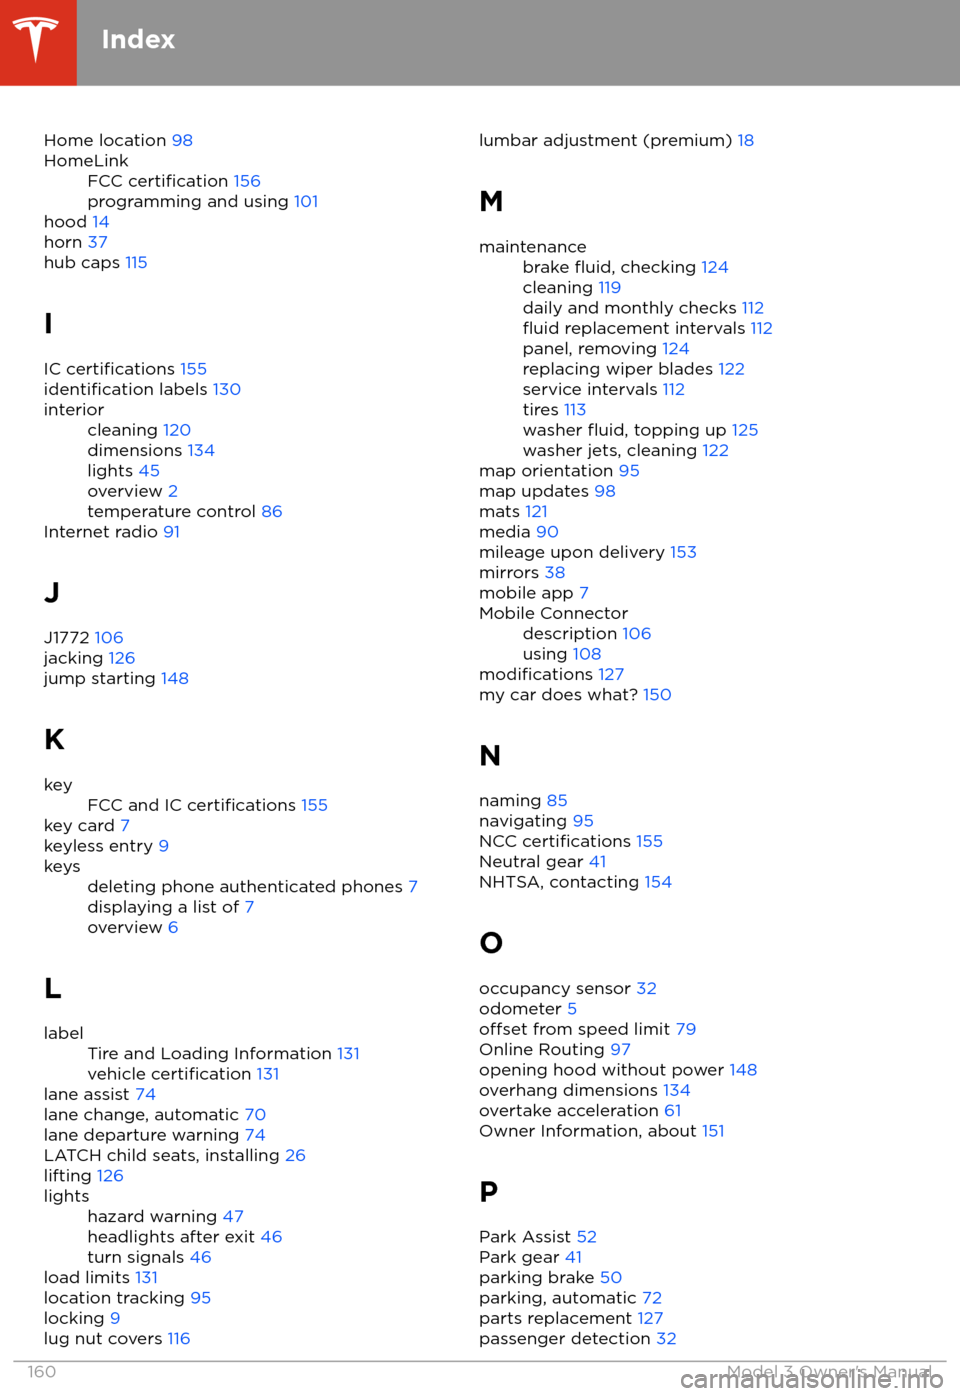
Home location 98HomeLinkFCC certification 156
programming and using 101
hood 14
horn 37
hub caps 115
I
IC
certifications 155identification labels 130
interiorcleaning 120
dimensions 134
lights 45
overview 2
temperature control 86
Internet radio 91
J
J1772 106
jacking 126
jump starting 148
K
keyFCC and IC certifications 155
key card 7
keyless entry 9
keysdeleting phone authenticated phones 7
displaying a list of 7
overview 6
L
labelTire and Loading Information 131
vehicle certification 131
lane assist 74
lane change, automatic 70
lane departure warning 74
LATCH child seats, installing 26
lifting 126
lightshazard warning 47
headlights after exit 46
turn signals 46
load limits 131
location tracking 95
locking 9
lug nut covers 116
lumbar adjustment (premium)
18
Mmaintenancebrake fluid, checking 124
cleaning 119
daily and monthly checks 112
fluid replacement intervals 112
panel, removing 124
replacing wiper blades 122
service intervals 112
tires 113
washer
fluid, topping up 125
washer jets, cleaning 122
map orientation 95
map updates 98
mats 121
media 90
mileage upon delivery 153
mirrors 38
mobile app 7
Mobile Connectordescription 106
using 108
modifications 127
my car does what? 150
N naming 85
navigating 95
NCC
certifications 155
Neutral gear 41
NHTSA, contacting 154
O occupancy sensor 32
odometer 5
offset from speed limit 79
Online Routing 97
opening hood without power 148
overhang dimensions 134
overtake acceleration 61
Owner Information, about 151
P Park Assist 52
Park gear 41
parking brake 50
parking, automatic 72
parts replacement 127
passenger detection 32
Index
160Model 3 Owner