ECU TESLA MODEL 3 2020 s User Guide
[x] Cancel search | Manufacturer: TESLA, Model Year: 2020, Model line: MODEL 3, Model: TESLA MODEL 3 2020Pages: 220, PDF Size: 9.65 MB
Page 136 of 220

For security reasons, if you sell Model 3, it is
recommended that you delete your Home and
Work Locations. You can delete these
individually or you can perform a factory reset to erase all personal data (see Erasing
Personal Data on page 124).
Map Updates
As updated maps become available, they are
automatically sent to Model 3 over Wi-Fi. To
ensure you receive them, periodically connect Model 3 to a Wi-Fi network (see Connecting
to Wi-Fi on page 150). The touchscreen
displays a message informing you when new
maps are installed.
Maps and Navigation
Using the Touchscreen135
Page 144 of 220
Security Settings
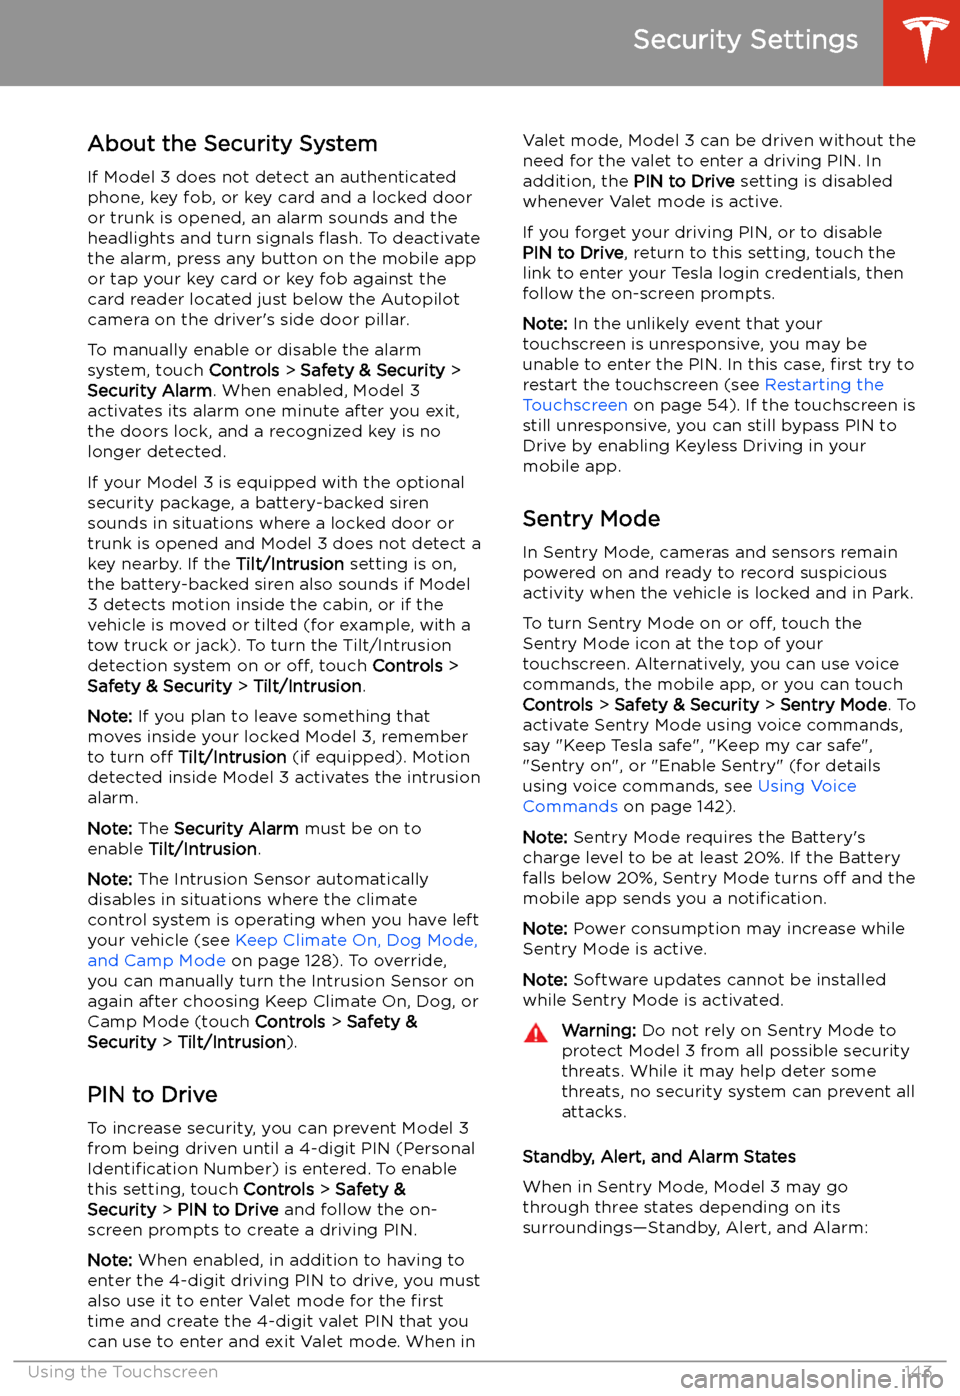
About the Security System
If Model 3 does not detect an authenticated
phone, key fob, or key card and a locked door
or trunk is opened, an alarm sounds and the
headlights and turn signals
Page 169 of 220
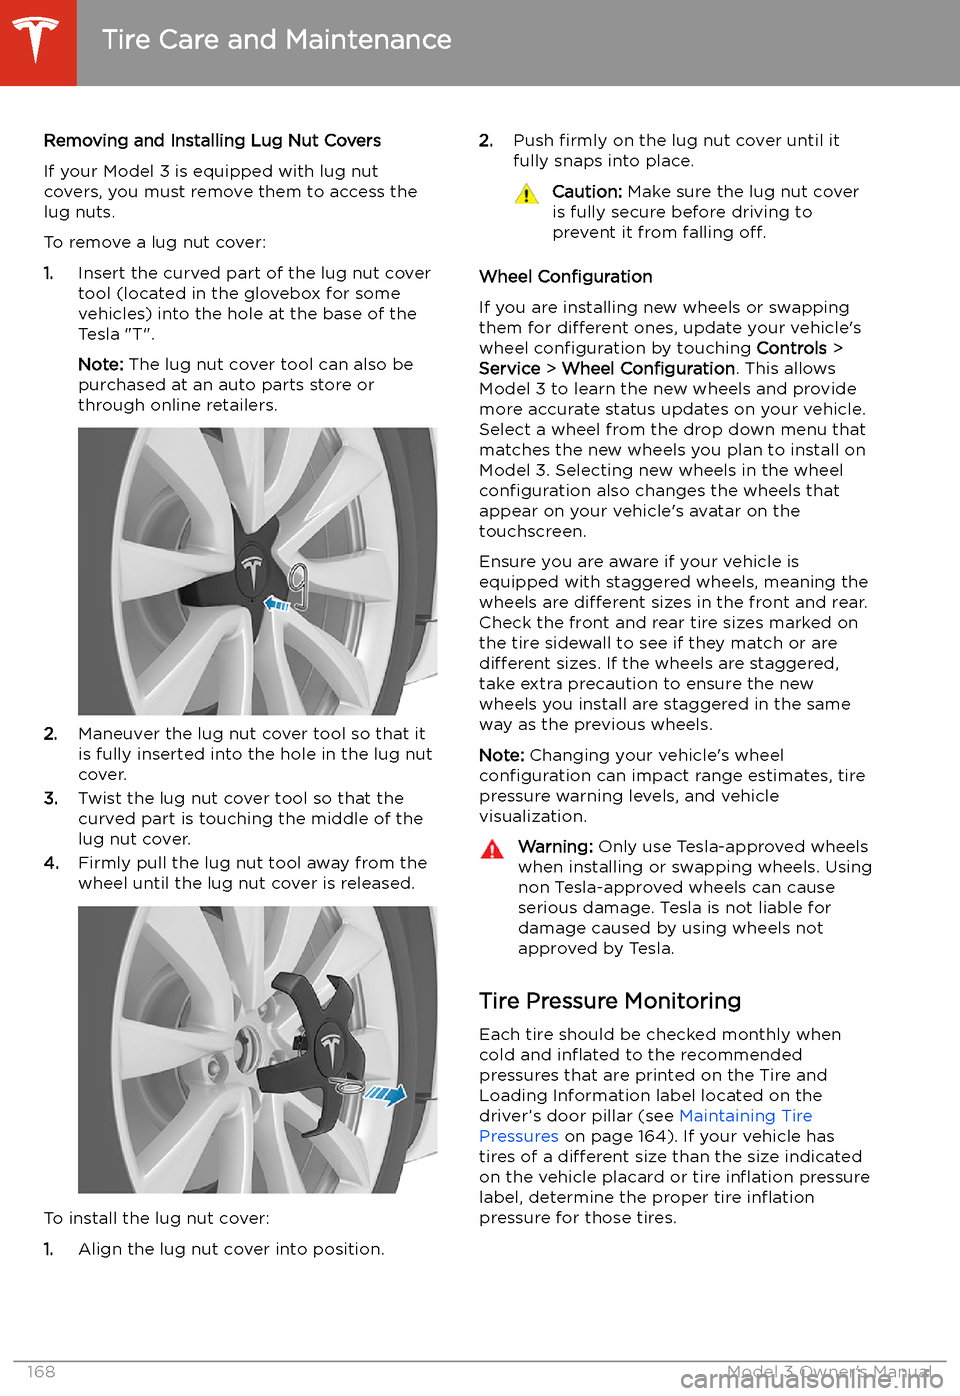
Removing and Installing Lug Nut Covers
If your Model 3 is equipped with lug nut covers, you must remove them to access the
lug nuts.
To remove a lug nut cover:
1. Insert the curved part of the lug nut cover
tool (located in the glovebox for some
vehicles) into the hole at the base of the
Tesla "T".
Note: The lug nut cover tool can also be
purchased at an auto parts store or
through online retailers.
2. Maneuver the lug nut cover tool so that it
is fully inserted into the hole in the lug nut
cover.
3. Twist the lug nut cover tool so that the
curved part is touching the middle of the
lug nut cover.
4. Firmly pull the lug nut tool away from the
wheel until the lug nut cover is released.
To install the lug nut cover:
1. Align the lug nut cover into position.
2.
Push firmly on the lug nut cover until it
fully snaps into place.Caution: Make sure the lug nut cover
is fully secure before driving to
prevent it from falling off.
Wheel Configuration
If you are installing new wheels or swapping
them for different ones, update your vehicle
Page 183 of 220
1.Get isopropyl alcohol and test it on a non-
visible painted surface of your vehicle to
confirm that it does not damage or
remove the paint.
2. Clean the mounting site with isopropyl
alcohol and allow to dry for at least one
minute.
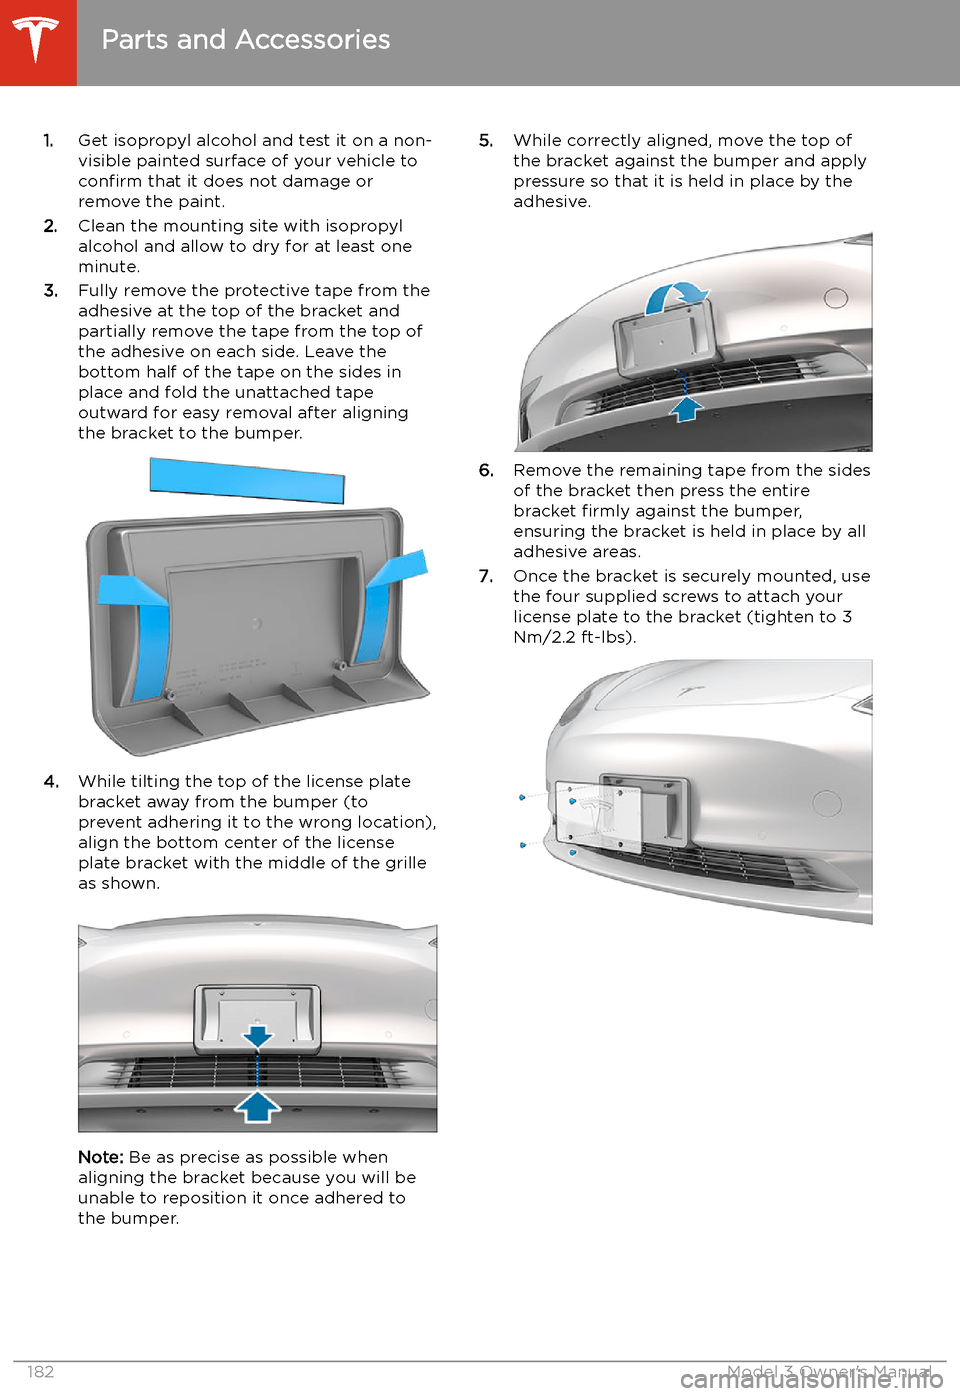
3. Fully remove the protective tape from the
adhesive at the top of the bracket and
partially remove the tape from the top of
the adhesive on each side. Leave the
bottom half of the tape on the sides in
place and fold the unattached tape
outward for easy removal after aligning
the bracket to the bumper.
4. While tilting the top of the license plate
bracket away from the bumper (to prevent adhering it to the wrong location),
align the bottom center of the license
plate bracket with the middle of the grille
as shown.
Note: Be as precise as possible when
aligning the bracket because you will be
unable to reposition it once adhered to
the bumper.
5. While correctly aligned, move the top of
the bracket against the bumper and applypressure so that it is held in place by the
adhesive.
6. Remove the remaining tape from the sides
of the bracket then press the entire
bracket firmly against the bumper,
ensuring the bracket is held in place by all
adhesive areas.
7. Once the bracket is securely mounted, use
the four supplied screws to attach your
license plate to the bracket (tighten to 3
Nm/2.2 ft-lbs).
Parts and Accessories
182Model 3 Owner
Page 203 of 220

7.When external 12V power is no longer
required, disconnect both cables from the
terminals on the 12V battery, beginning
with the black negative (-) cable.
8. Replace the cabin intake trim panel by
placing it back in its original location and
pressing down until it is secure.
9. Replace the maintenance panel by placing
it back in its original location and pressing
down until it is secure.
10. Close the hood.
Instructions for Transporters
202Model 3 Owner
Page 217 of 220
Mobile Connector (continued)description 154
using 157
modifications 179
motor specifications 188
my car does what? 203
N
naming 123
Navigate on Autopilot 96
navigating 130, 131
NCC certifications 209
Neutral gear 56
NHTSA, contacting 208
O
Obstacle-Aware Acceleration 111
occupancy sensor 43
occupant classification 45
odometer 8
offset from speed limit 114
Online Routing 133
opening hood without power 201
overhang dimensions 186
overtake acceleration 87
Owner Information, about 204
P Park Assist 70
Park gear 56
parking brake 67
parking, using Autopark 100
parking, using Summon 102
parts replacement 179
passenger detection 43
passenger front airbag 43
pedestrian warning 79
personal data, erasing 124
phoneadding as a key 12
authenticating as a key 9
removing as a key 12
using 139
phone app 140
phone key 9
PIN 49
PIN to Drive 143
power cycling 54
power socket 26
power windows 18
powering on and off 54
Proposition 65 207
public charging stations 154
R
radar 84
radio 136
Radio Frequency information 209rangedriving tips to maximize 74
regenerative braking 66
range assurance 74
Re-route 133
rear seats, folding and raising 29
rear view camera 75
rear window switches, disabling 18
recent (Media Player) 137
Recents (navigation) 131
regenerative braking 66
relative speed limit 114
release notes 152
restarting the touchscreen 54
Reverse gear 56
RFID transponders 179
roadside assistance 198
roof racks 185
rotating tires 165
Round Trip Energy (navigating) 133
S safety defects, reporting 208
safety informationairbags 47
child seats 39
seat belts 33
scheduled charging 160
scheduled departureusing 160seat beltscleaning 173
in a collision 32
overview of 31
pre-tensioners 32
wearing when pregnant 32
seat covers 30
seat heaters 125, 127
seating capacity 184
seatsadjusting 28
heaters 125
security settings 143
sensors 84
Sentry Mode 143
service data recording 206
service intervals 162
Settings, erasing 124
shifting gears 56
Show Calendar Upon Entry 141
Side Clearance (Summon) 102
side collision warning 108
Index
216Model 3 Owner