ECO mode TESLA MODEL 3 2020 s Owner's Guide
[x] Cancel search | Manufacturer: TESLA, Model Year: 2020, Model line: MODEL 3, Model: TESLA MODEL 3 2020Pages: 220, PDF Size: 9.65 MB
Page 147 of 220
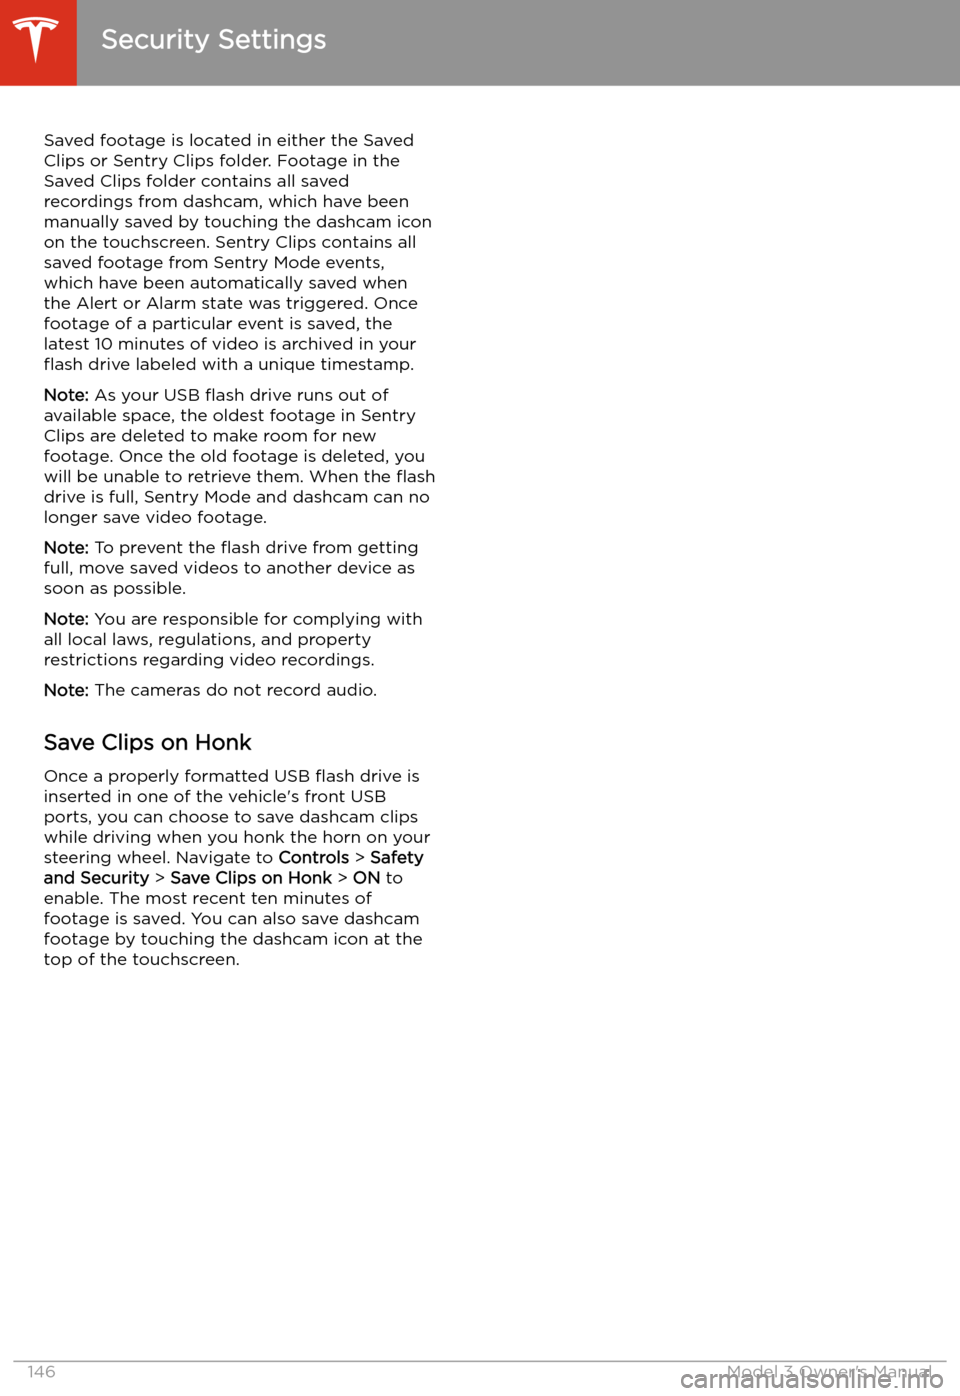
Saved footage is located in either the Saved
Clips or Sentry Clips folder. Footage in the
Saved Clips folder contains all saved
recordings from dashcam, which have been
manually saved by touching the dashcam icon on the touchscreen. Sentry Clips contains all
saved footage from Sentry Mode events,
which have been automatically saved when
the Alert or Alarm state was triggered. Once
footage of a particular event is saved, the latest 10 minutes of video is archived in your
Page 151 of 220
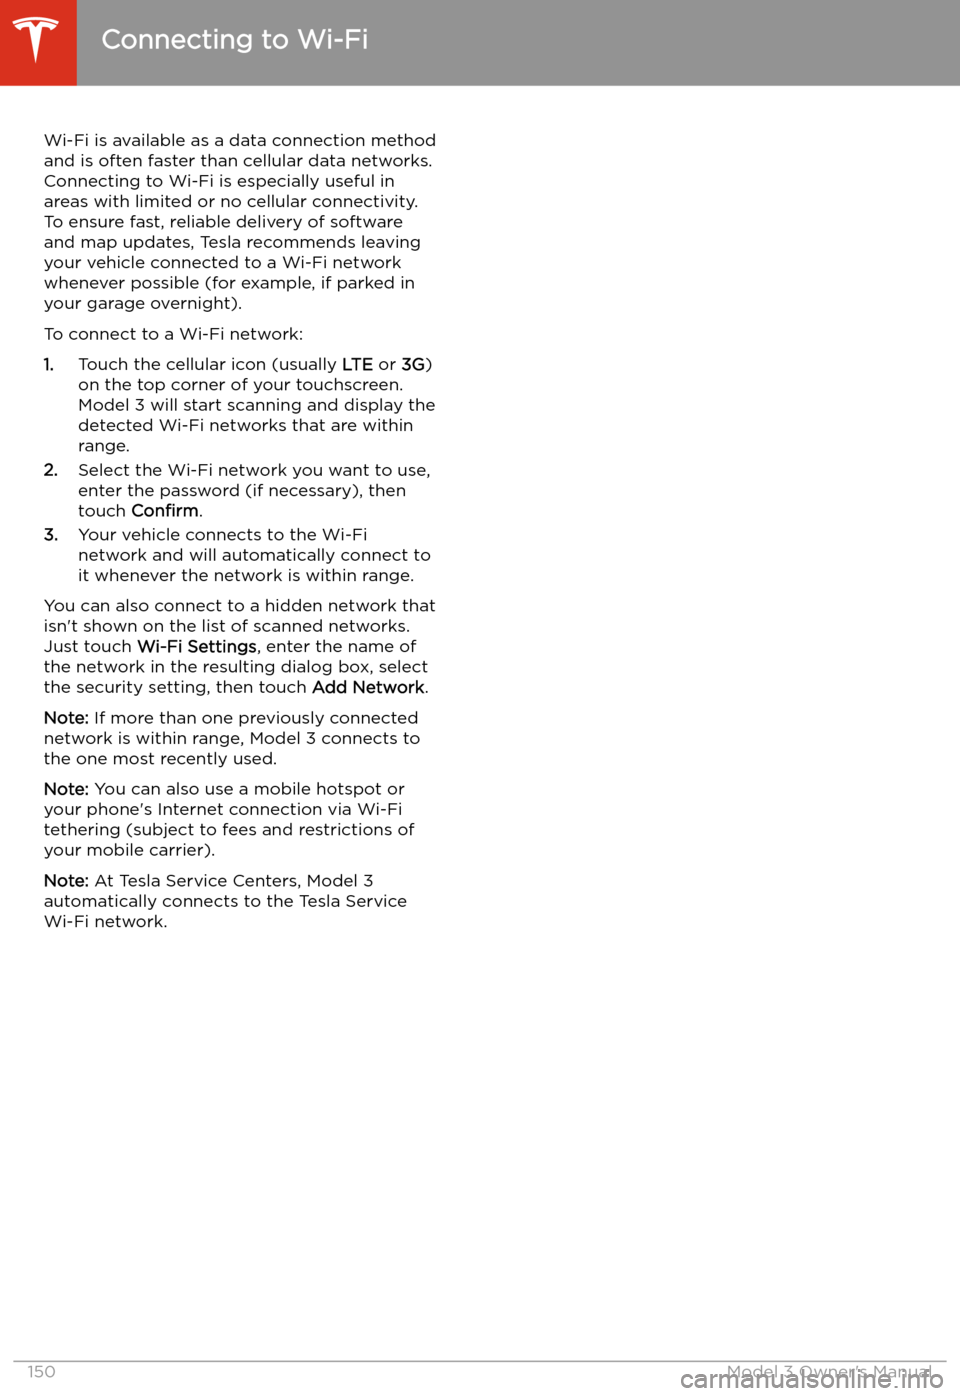
Connecting to Wi-Fi
Wi-Fi is available as a data connection method and is often faster than cellular data networks.
Connecting to Wi-Fi is especially useful in areas with limited or no cellular connectivity.
To ensure fast, reliable delivery of software
and map updates, Tesla recommends leaving your vehicle connected to a Wi-Fi network
whenever possible (for example, if parked in
your garage overnight).
To connect to a Wi-Fi network:
1. Touch the cellular icon (usually LTE or 3G)
on the top corner of your touchscreen.
Model 3 will start scanning and display the
detected Wi-Fi networks that are within
range.
2. Select the Wi-Fi network you want to use,
enter the password (if necessary), then
touch Confirm .
3. Your vehicle connects to the Wi-Fi
network and will automatically connect to it whenever the network is within range.
You can also connect to a hidden network that
isn
Page 155 of 220
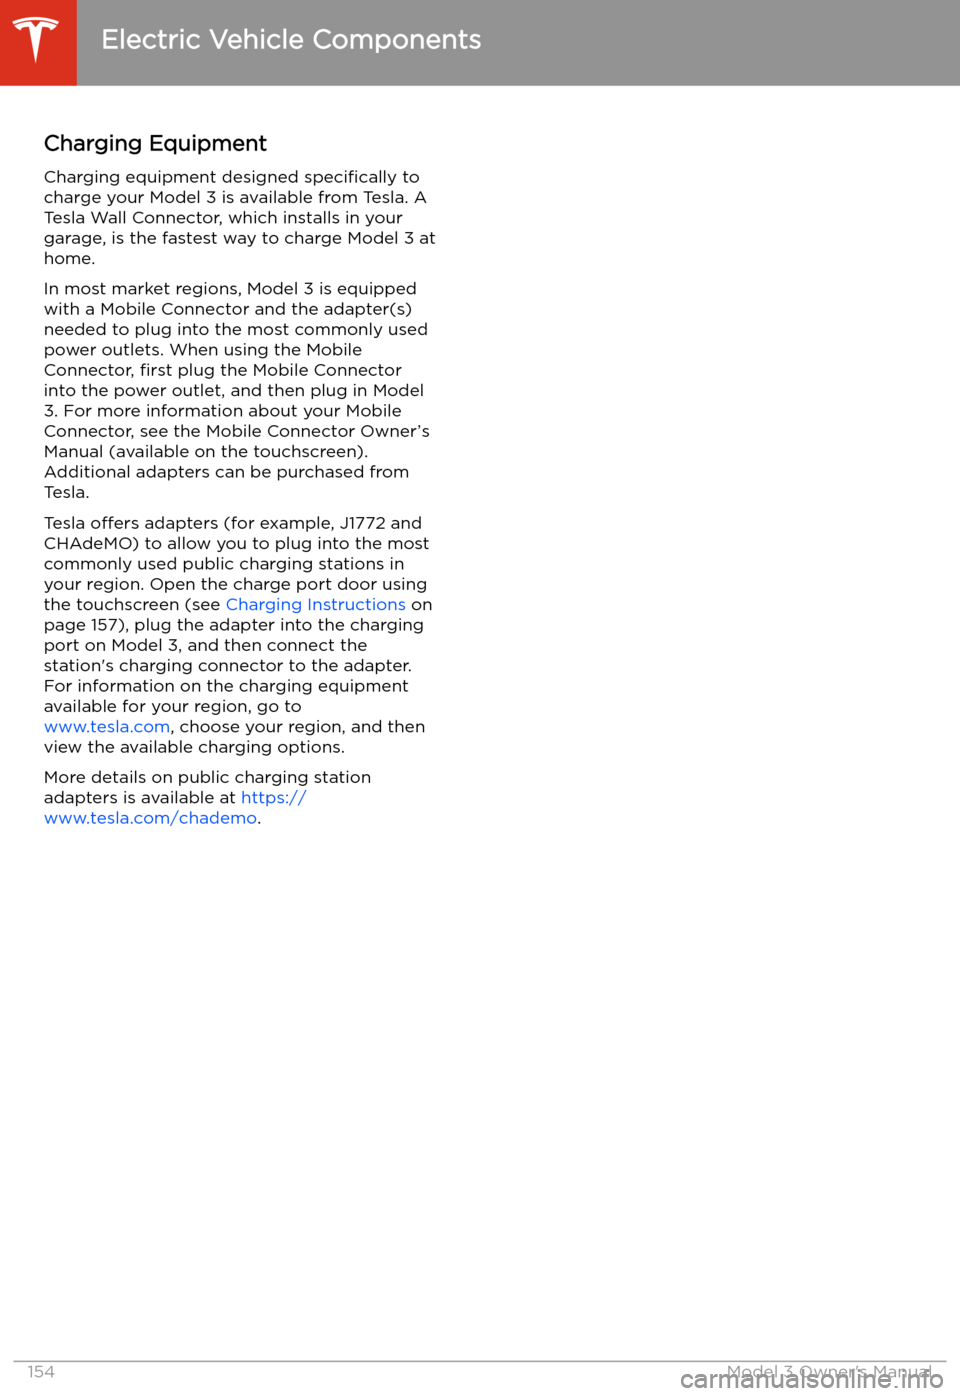
Charging Equipment
Charging equipment designed specifically to
charge your Model 3 is available from Tesla. A
Tesla Wall Connector, which installs in your
garage, is the fastest way to charge Model 3 at
home.
In most market regions, Model 3 is equipped with a Mobile Connector and the adapter(s)
needed to plug into the most commonly used power outlets. When using the MobileConnector, first plug the Mobile Connector
into the power outlet, and then plug in Model 3. For more information about your Mobile
Connector, see the Mobile Connector Owner’s
Manual (available on the touchscreen).
Additional adapters can be purchased from
Tesla.
Tesla offers adapters (for example, J1772 and
CHAdeMO) to allow you to plug into the most commonly used public charging stations in
your region. Open the charge port door using the touchscreen (see Charging Instructions on
page 157), plug the adapter into the charging
port on Model 3, and then connect the
station
Page 156 of 220
Battery Information
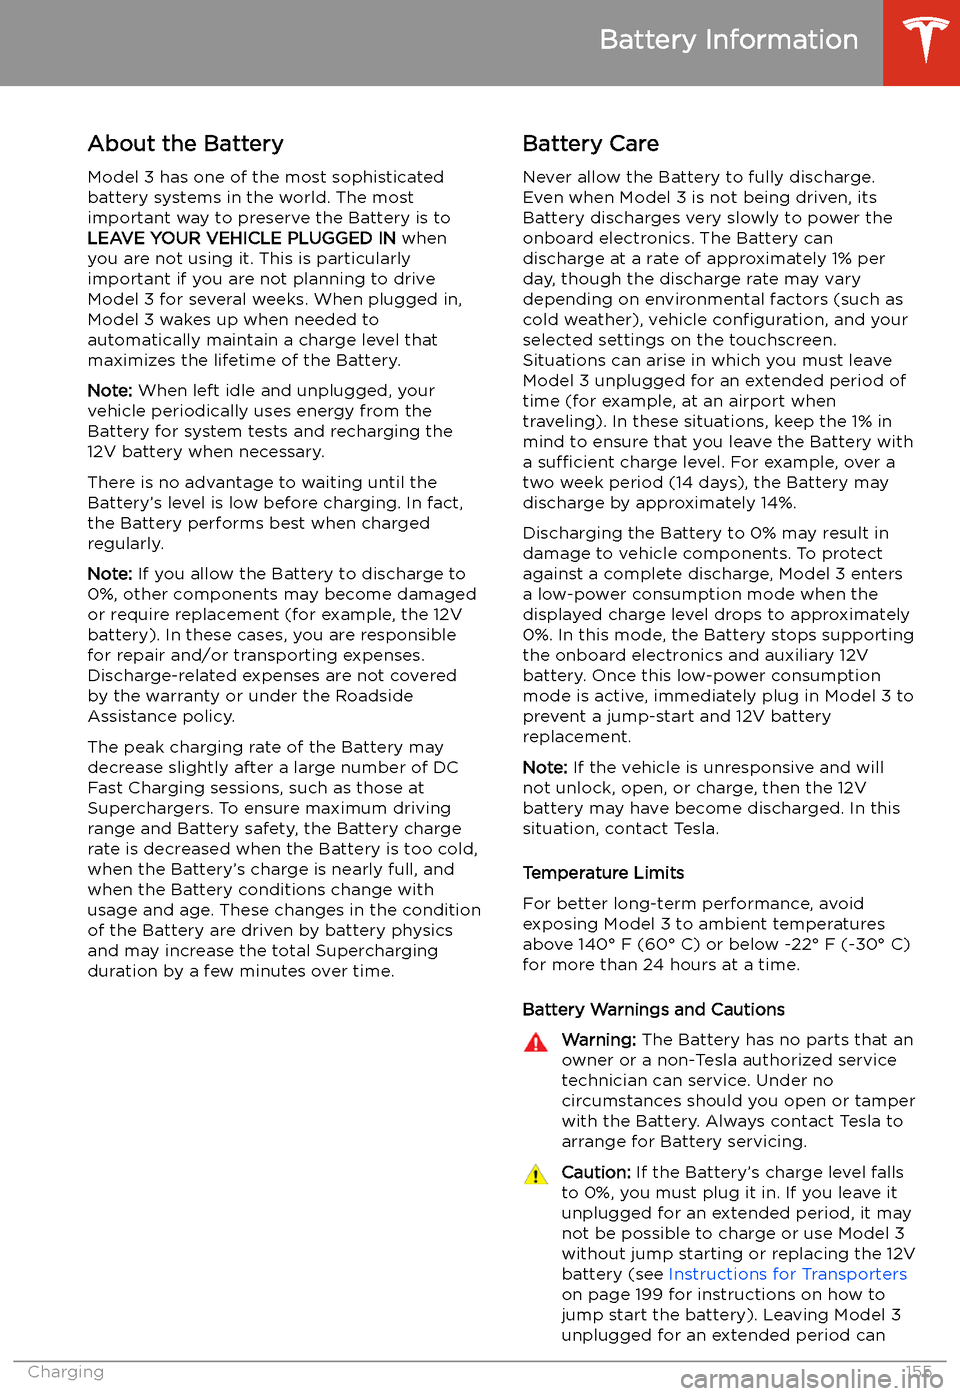
About the Battery
Model 3 has one of the most sophisticated
battery systems in the world. The most
important way to preserve the Battery is to LEAVE YOUR VEHICLE PLUGGED IN when
you are not using it. This is particularly important if you are not planning to drive
Model 3 for several weeks. When plugged in,
Model 3 wakes up when needed to
automatically maintain a charge level that
maximizes the lifetime of the Battery.
Note: When left idle and unplugged, your
vehicle periodically uses energy from the Battery for system tests and recharging the
12V battery when necessary.
There is no advantage to waiting until the
Battery’s level is low before charging. In fact, the Battery performs best when charged
regularly.
Note: If you allow the Battery to discharge to
0%, other components may become damaged
or require replacement (for example, the 12V
battery). In these cases, you are responsible for repair and/or transporting expenses.
Discharge-related expenses are not covered
by the warranty or under the Roadside
Assistance policy.
The peak charging rate of the Battery may
decrease slightly after a large number of DC
Fast Charging sessions, such as those at
Superchargers. To ensure maximum driving
range and Battery safety, the Battery charge
rate is decreased when the Battery is too cold,
when the Battery’s charge is nearly full, and when the Battery conditions change with
usage and age. These changes in the condition of the Battery are driven by battery physics
and may increase the total Supercharging
duration by a few minutes over time.
Battery Care
Never allow the Battery to fully discharge.
Even when Model 3 is not being driven, its
Battery discharges very slowly to power the
onboard electronics. The Battery can
discharge at a rate of approximately 1% per day, though the discharge rate may vary
depending on environmental factors (such as
cold weather), vehicle configuration, and your
selected settings on the touchscreen.
Situations can arise in which you must leave
Model 3 unplugged for an extended period of time (for example, at an airport when
traveling). In these situations, keep the 1% in
mind to ensure that you leave the Battery with a sufficient charge level. For example, over a
two week period (14 days), the Battery may
discharge by approximately 14%.
Discharging the Battery to 0% may result in
damage to vehicle components. To protect
against a complete discharge, Model 3 enters
a low-power consumption mode when the
displayed charge level drops to approximately
0%. In this mode, the Battery stops supporting
the onboard electronics and auxiliary 12V
battery. Once this low-power consumption
mode is active, immediately plug in Model 3 to
prevent a jump-start and 12V battery
replacement.
Note: If the vehicle is unresponsive and will
not unlock, open, or charge, then the 12V
battery may have become discharged. In this
situation, contact Tesla.
Temperature Limits
For better long-term performance, avoid
exposing Model 3 to ambient temperatures
above 140
Page 159 of 220
wall outlet instead of using energy stored in
the Battery. For example, if you are sitting in
Model 3 and using the touchscreen while
parked and plugged in, Model 3 draws energy
from the wall outlet instead of the Battery.Caution: The connector end of the charge
cable can damage the paint if dropped
onto the vehicle.
During Charging
During charging, the charge port light (the Tesla "T" logo) pulses green, and thetouchscreen displays the charging status. The
frequency at which the charge port light
pulses slows down as the charge level
approaches full. When charging is complete,
the light stops pulsing and is solid green.
Note: If Model 3 is locked, the charge port
light does not light up.
If the charge port light turns red while
charging, a fault is detected. Check the
touchscreen for a message describing the
fault. A fault can occur due to something as
common as a power outage. If a power outage
occurs, charging resumes automatically when
power is restored.
Note: When charging, particularly at high
currents, the refrigerant compressor and fan
operate as needed to keep the Battery cool.
Therefore, it is normal to hear sounds during charging.
Note: Air conditioning performance is
generally not affected by charging. However,
under certain circumstances (for example, you
are charging at high currents during a
particularly warm day), the air coming from
the vents may not be as cool as expected and
a message displays on the touchscreen. This is
normal behavior and ensures that the Battery stays within an optimum temperature range
while charging to support longevity and optimum performance.
Warning: Never spray liquid at a high
velocity (for example, if using a pressure
washer) towards the charge port while
charging. Failure to follow these
instructions can result in serious injury or
damage to the vehicle, charging
equipment, or property.
Stopping Charging
Stop charging at any time by disconnecting
the charge cable or touching Stop Charging
on the touchscreen.
Note: To prevent unauthorized unplugging of
the charge cable, the charge cable latch remains locked and Model 3 must be unlockedor able to recognize your authenticated phone
before you can disconnect the charge cable.
However, in cold ambient temperatures below
41
Page 163 of 220
Maintenance
Maintenance Schedule
Service Intervals
Your vehicle should generally be serviced on an as-needed basis. However, Tesla
recommends the following maintenance items
and intervals, as applicable to your vehicle, to ensure continued reliability and efficiency of
your Model 3.
Page 166 of 220
Checking and Adjusting Tire PressuresFollow these steps when tires are cold andModel 3 has been stationary for over three
hours:
1. Refer to the Tire and Loading Information
label located on the driver’s center door
pillar for the target tire pressure.
2. Remove the valve cap.
3. Firmly press an accurate tire pressure
gauge onto the valve to measure pressure.
4. If required, add or remove air to reach the
recommended pressure.
Note: You can release air by pressing the
metal stem in the center of the valve.
5. Re-check pressure using the accurate tire
gauge.
6. Repeat steps 3 and 4 as necessary until
the tire pressure is correct.
7. Reinstall the valve cap to prevent dirt from
entering. Periodically check the valve for
damage and leaks.Inspecting and Maintaining Tires
Regularly inspect the tread and side walls for
any sign of distortion (bulges), foreign objects,
cuts or wear.Warning: Do not drive Model 3 if a tire is
damaged, excessively worn, or in
Page 171 of 220
TPMS malfunctions can occur for a variety of
reasons, including installing replacement or
alternate tires or wheels that prevent the
TPMS from functioning properly. Always check
the TPMS malfunction indicator light after replacing one or more tires or wheels on yourvehicle to ensure that the replacement tires or
wheels allow the TPMS to continue to function
properly.
Note: If a tire has been replaced or repaired
using a different tire sealant than the one
available from Tesla, and a low tire pressure is
detected, it is possible that the tire sensor has
been damaged. Contact Tesla to have the fault repaired as soon as possible.Seasonal Tire Types
Summer Tires
Your vehicle may be originally equipped with high performance summer tires or all season
tires. Tesla recommends using winter tires if
driving in cold temperatures or on roads
where snow or ice may be present. Contact
Tesla for winter tire recommendations.Warning: In cold temperatures or on snow
or ice, summer tires do not provide
adequate traction. Selecting and installing the appropriate tires for winter conditions
is important to ensure the safety and
optimum performance of your Model 3.
All-Season Tires
Your Model 3 may be originally equipped with all-season tires. These tires are designed to
provide adequate traction in most conditions
year-round, but may not provide the same level of traction as winter tires in snowy or icy
conditions. All-season tires can be identified
by “ALL SEASON" and/or "M+S” (mud and
snow) on the tire sidewall.
Winter Tires
Use winter tires to increase traction in snowy
or icy conditions. When installing winter tires,
always install a complete set of four tires at
the same time. Winter tires must be the same
diameter, brand, construction and tread
pattern on all four wheels. Contact Tesla for
winter tire recommendations.
Winter tires can be identified by a
mountain/snow
Page 172 of 220
Driving in Low Temperatures
Tire performance is reduced in low ambient
temperatures, resulting in reduced grip and an
increased susceptibility to damage from
impacts. Performance tires can temporarily
harden when cold, causing you to hear rotational noise for the first few miles
(kilometers) until the tires warm up.
Using Tire Chains
Tesla has tested and approved the following tire chains to increase traction in snowy
conditions. Tire chains should only be installed
on the rear tires.Tire SizeRecommended
Chain18"PEWAG SERVO
SPORT RSS 7619"PEWAG SERVO RS
7720"MAGGI TRAK SP214Caution: If your Model 3 is equipped with
aero covers, you must remove them before installing tire chains (see Removing and Installing Aero Covers on
page 167). Failure to do so can cause
damage not covered by the warranty.
When installing tire chains, follow the
instructions and warnings provided by the tire
chain manufacturer. Mount them evenly and as
tight as possible.
When using tire chains:
Page 181 of 220
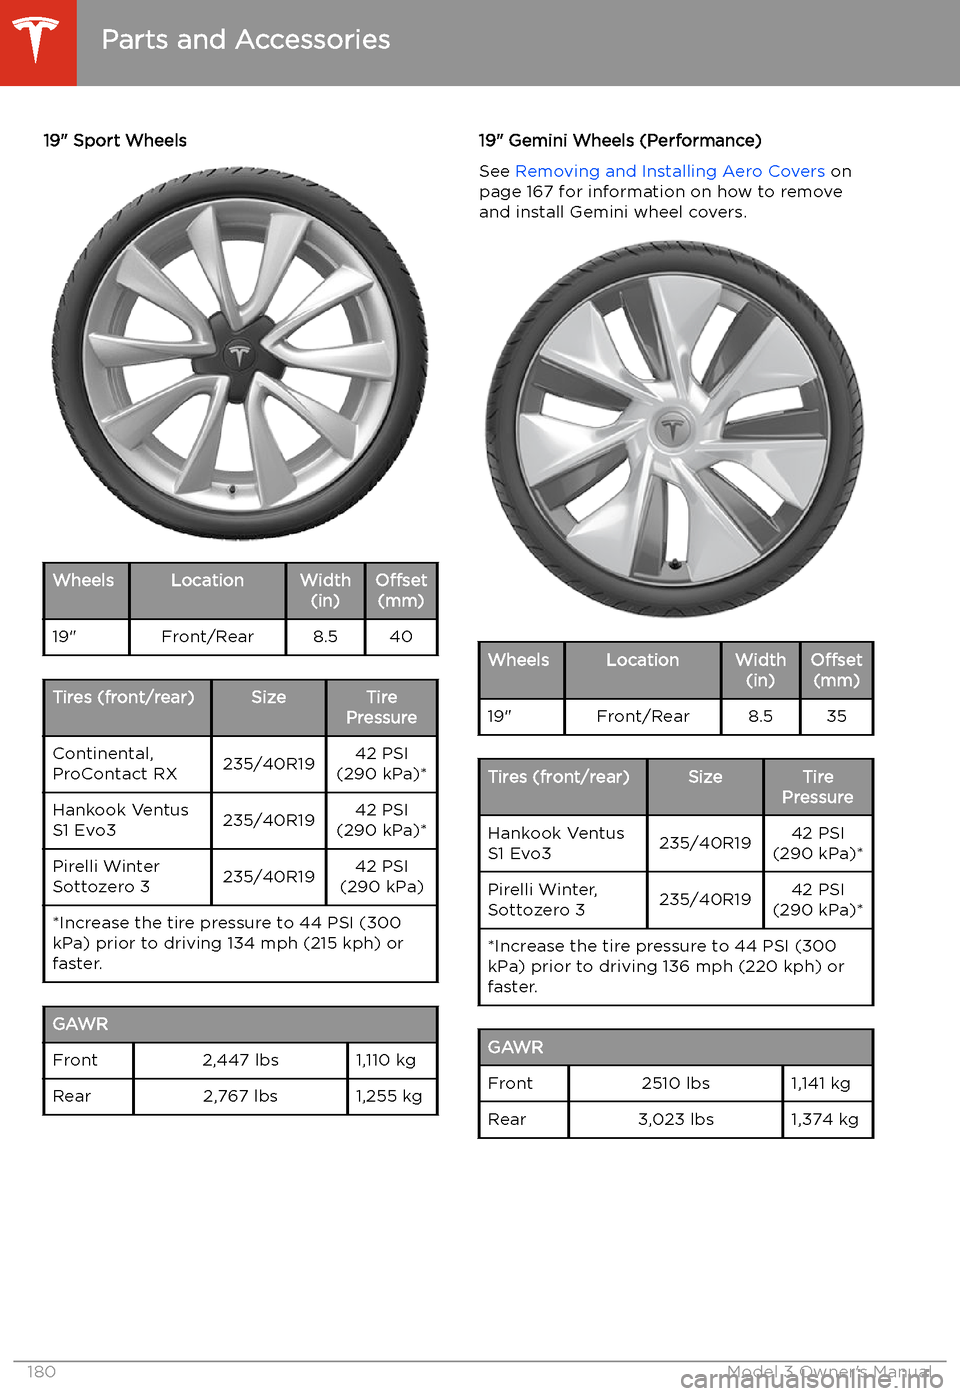
19" Sport WheelsWheelsLocationWidth(in)Offset(mm)19"Front/Rear8.540Tires (front/rear)SizeTire
PressureContinental,
ProContact RX235/40R1942 PSI
(290 kPa)*Hankook Ventus
S1 Evo3235/40R1942 PSI
(290 kPa)*Pirelli Winter
Sottozero 3235/40R1942 PSI
(290 kPa)*Increase the tire pressure to 44 PSI (300
kPa) prior to driving 134 mph (215 kph) or
faster.GAWRFront2,447 lbs1,110 kgRear2,767 lbs1,255 kg19" Gemini Wheels (Performance)
See Removing and Installing Aero Covers on
page 167 for information on how to remove
and install Gemini wheel covers.WheelsLocationWidth (in)Offset(mm)19"Front/Rear8.535Tires (front/rear)SizeTire
PressureHankook Ventus
S1 Evo3235/40R1942 PSI
(290 kPa)*Pirelli Winter,
Sottozero 3235/40R1942 PSI
(290 kPa)**Increase the tire pressure to 44 PSI (300
kPa) prior to driving 136 mph (220 kph) or faster.GAWRFront2510 lbs1,141 kgRear3,023 lbs1,374 kg
Parts and Accessories
180Model 3 Owner