display TESLA MODEL S 2016 Owner's Guide
[x] Cancel search | Manufacturer: TESLA, Model Year: 2016, Model line: MODEL S, Model: TESLA MODEL S 2016Pages: 190, PDF Size: 4.85 MB
Page 78 of 190
midway through the lane change, both
Auto Lane Change and Autosteer will cancel. The instrument panel displays a
message instructing you to take over the
steering wheel immediately.
When Auto Lane Change is active, it is
important to monitor its performance by
watching the driving path in front of you. Stay
prepared to take over steering at any time. On the instrument panel, the lane you are crossing
over displays as a dashed blue line and once in your new lane, the lane markings display as
solid blue lines.
In situations where Auto Lane Change is
unable to operate at optimal performance, or
can not operate due to inadequate data, the
instrument panel displays a series of warnings.
Therefore, when using Auto Lane Change,
always pay attention to the instrument panel
and be prepared to manually steer Model S.
Warning: When Auto Lane Change is
actively steering Model S, the steering
wheel moves accordingly. Any
significantrestriction of the steering wheel
Page 86 of 190
alert and always pay attention to the area
in front of Model S so you can anticipate whether any action is required.Warning: Forward Collision Warning does
not operate when Model S is traveling less than 4 mph (7 km/h).Warning: Forward Collision Warning does
not provide a warning when the driver is already applying the brake.
Automatic Emergency Braking
The forward looking camera and the radar
sensor are designed to determine the distance
from any object (vehicle, motorcycle, bicycle,
or pedestrian) traveling in front of Model S.
When a frontal collision is considered
unavoidable, Automatic Emergency Braking is designed to automatically apply the brakes to
reduce the severity of the impact.
When Automatic Emergency Braking applies
the brakes, the instrument panel displays a visual warning and you
Page 88 of 190
How Speed Assist Works
If Model S is equipped with Autopilot
components (see About Driver Assistance on
page 65), the forward looking camera detects
speed limit signs. The signs are then analyzed
and compared against GPS data to determine
the speed limit at your current driving
location. For routes where no signs are
present, speed limits are determined using
GPS data (if available). Instead of determining
the speed limit based on signs and GPS data,
you can also manually enter an arbitrary speed limit.
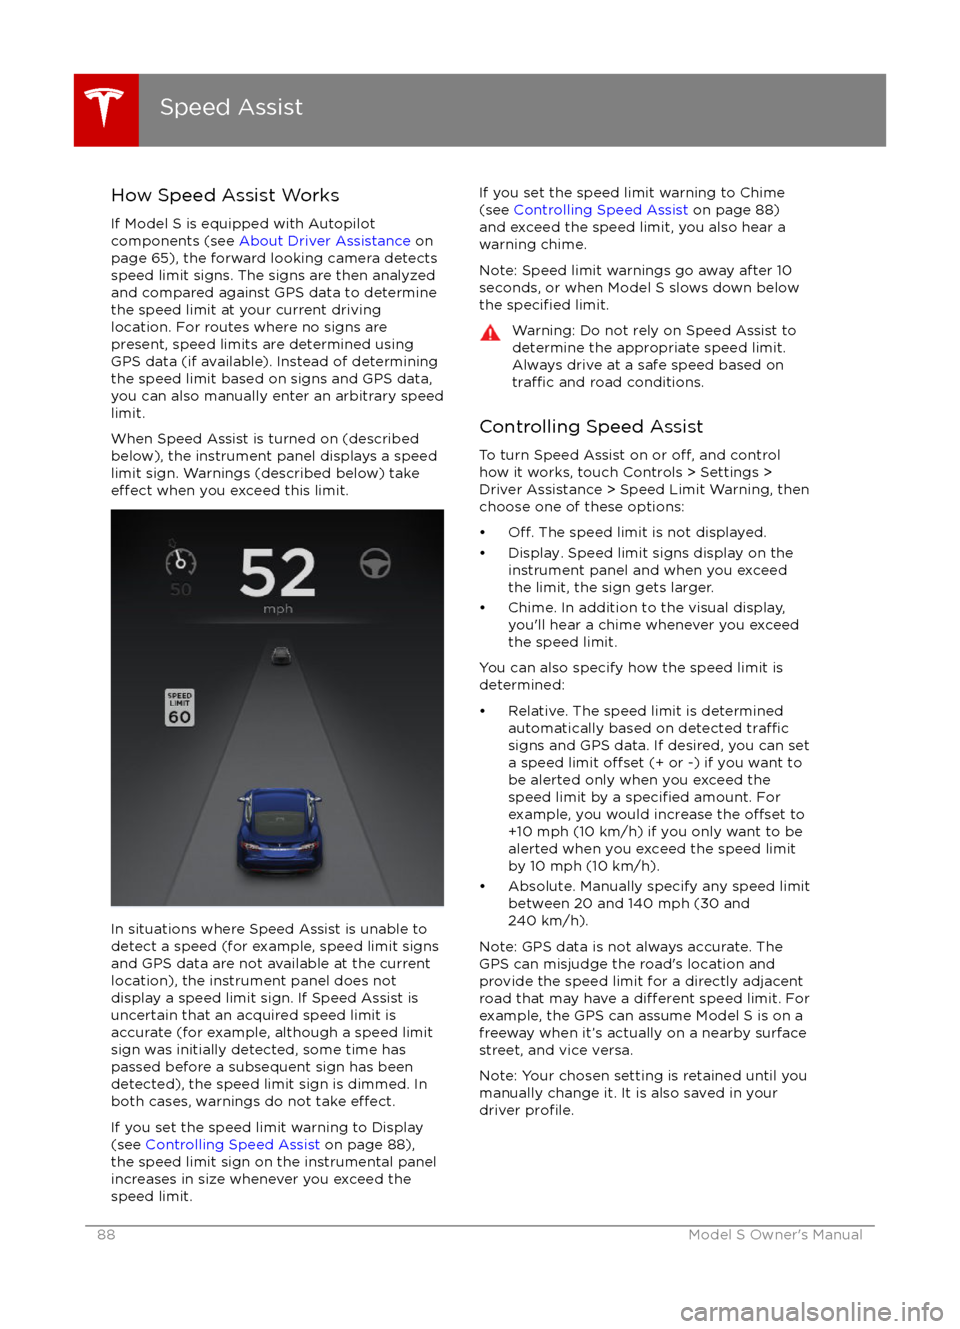
When Speed Assist is turned on (described
below), the instrument panel displays a speed
limit sign. Warnings (described below) take
effect when you exceed this limit.
In situations where Speed Assist is unable to
detect a speed (for example, speed limit signs
and GPS data are not available at the current
location), the instrument panel does not display a speed limit sign. If Speed Assist is
uncertain that an acquired speed limit is
accurate (for example, although a speed limit sign was initially detected, some time has
passed before a subsequent sign has been
detected), the speed limit sign is dimmed. In both cases, warnings do not take
effect.
If you set the speed limit warning to Display
(see Controlling Speed Assist on page 88),
the speed limit sign on the instrumental panel
increases in size whenever you exceed the speed limit.
If you set the speed limit warning to Chime
(see Controlling Speed Assist on page 88)
and exceed the speed limit, you also hear a warning chime.
Note: Speed limit warnings go away after 10
seconds, or when Model S slows down below
the
specified limit.
Warning: Do not rely on Speed Assist to
determine the appropriate speed limit. Always drive at a safe speed based on
traffic and road conditions.
Controlling Speed Assist
To turn Speed Assist on or
off, and control
how it works, touch Controls > Settings > Driver Assistance > Speed Limit Warning, then
choose one of these options:
Page 90 of 190
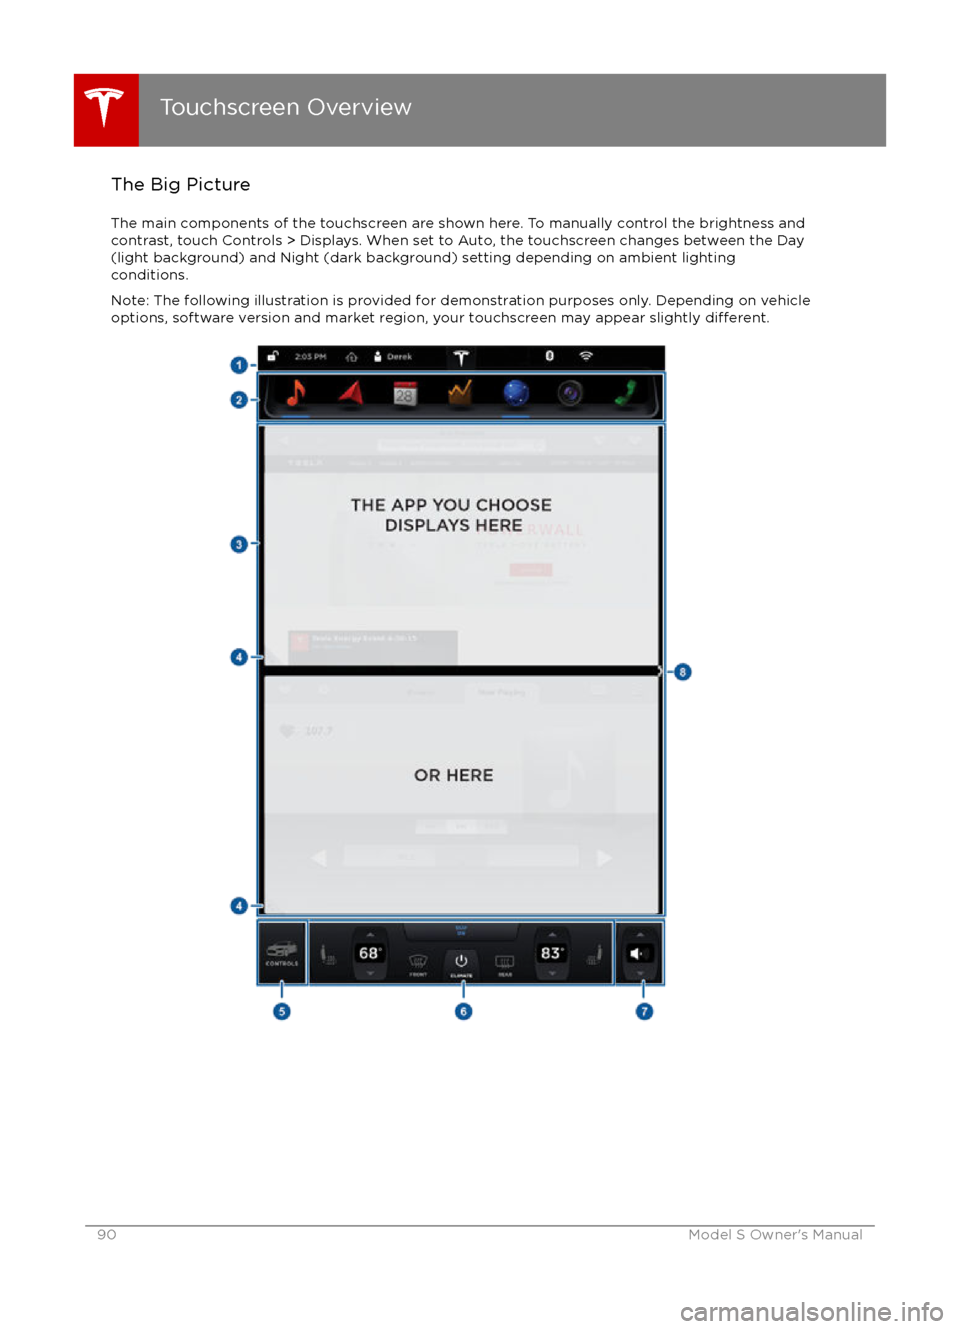
The Big PictureThe main components of the touchscreen are shown here. To manually control the brightness and
contrast, touch Controls > Displays. When set to Auto, the touchscreen changes between the Day
(light background) and Night (dark background) setting depending on ambient lighting
conditions.
Note: The following illustration is provided for demonstration purposes only. Depending on vehicle
options, software version and market region, your touchscreen may appear slightly
different.
Touchscreen Overview
90Model S Owner
Page 91 of 190
1. Status barThe top line displays provides shortcuts to lock/unlock Model S, to access HomeLink andDriver
Profiles, display vehicle information (the Tesla “T”), download software updates, display
network strength and Bluetooth
Page 92 of 190
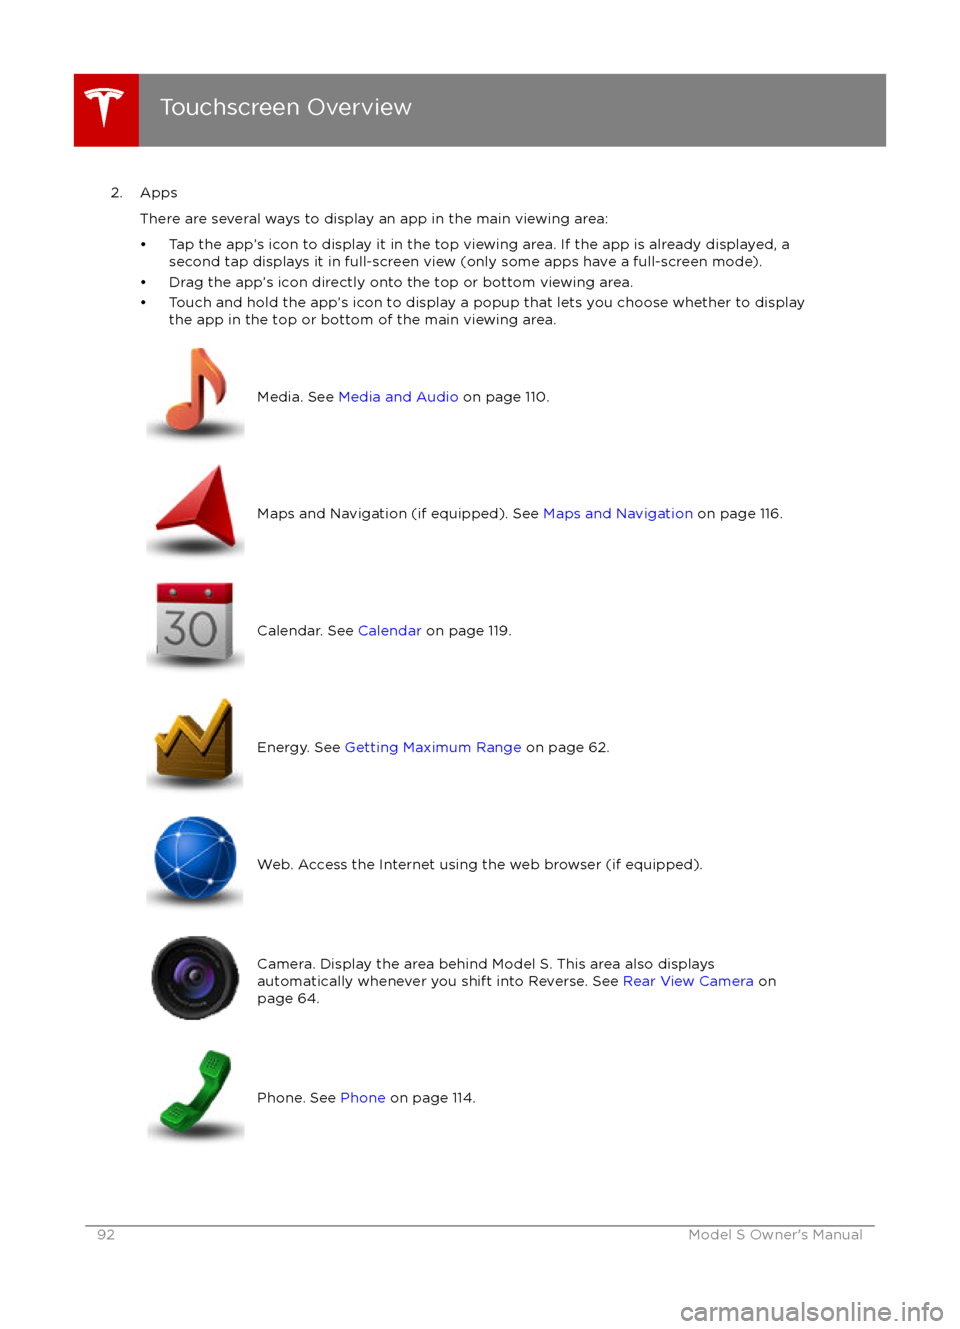
2. AppsThere are several ways to display an app in the main viewing area:
Page 93 of 190
3. Main viewing areaThe main viewing area changes depending on the app you have chosen (in the example, the
Nav and Media apps are displayed). For some apps (such as Nav and Web), you can zoom in and out using standard touchscreen
finger gestures.
4. Maximize/minimize app
Touch the small rectangle to expand the associated app to
fill the entire main viewing area
(some apps are not expandable). Touch again to display two apps in half-screen view.
5. Controls
Touch to access all Model S controls and settings (doors, locks, lights, etc).
6. Climate controls (see Climate Controls on page 104).
7. Volume control
Touch the up and down arrows to increase or decrease the volume of the speakers. You can
also adjust the volume using the scroll wheel on the left side of the steering wheel.
8. Reverse the position of the two currently displayed apps.
Warning: Paying attention to road and traffic conditions must always be the driver
Page 98 of 190
5. Cold WeatherIf Model S is equipped with the optional cold weather package, you can control all seat
heaters as well as the heated wipers and steering wheel. Heaters that are turned on are displayed in red. To turn
off all seat heaters, touch All Off. Note that you can also control the
front driver and passenger seats using the main climate control panel located on the bottom
of the touchscreen (see Climate Controls on page 104).
6. Trips
View and reset the trip meters that summarize how far you have driven (see Trip Information
on page 61).
7. Displays
Manually control the brightness and the Day (light background) or Night (dark background)setting of the touchscreen and instrument panel. When set to Auto, the brightness changes
automatically between day and night brightness based on ambient lighting conditions. When
Auto-adjust is checked, the displays are further adjusted based on both the surroundings and
by learning your preferences (i.e. it remembers the type of manual adjustments you make).
To disable the touchscreen momentarily for cleaning purposes, touch Clean Mode.You can also put Model S into an energy saving mode so it consumes less energy when not inuse (see Getting Maximum Range on page 62).
Note: The Displays settings can also be accessed from the Settings screen.
8. E-Brake & Power
Off
You can manually:
Page 100 of 190
1. Adjust settings associated with installed apps (applications). Settings associated with appsthat are either unavailable on your Model S, or have no settings that you can adjust at this
time, are grayed out.
2. Manage driver
profiles (see Driver Profiles on page 35).
3. Units & Format
Adjust how Model S displays:
Page 102 of 190
6. DisplaysManually control the brightness and the Day (light background) or Night (dark background)setting of the touchscreen and instrument panel. When set to Auto, the brightness changes
automatically between day and night brightness based on ambient lighting conditions. When
Auto-adjust is checked, the displays are further adjusted based on both the surroundings and by learning your preferences (i.e. it remembers the type of manual adjustments you make).
To disable the touchscreen momentarily for cleaning purposes, touch Clean Mode.You can also put Model S into an energy saving mode so it consumes less energy when not in
use (see Getting Maximum Range on page 62).
Note: The Displays settings can also be accessed from the Controls screen.
7. HomeLink
If the HomeLink feature is available in your region, use it to control RF-enabled garage doors,lights, or security systems (see HomeLink