ECO mode TESLA MODEL X 2017 Owner's Manual (UK)
[x] Cancel search | Manufacturer: TESLA, Model Year: 2017, Model line: MODEL X, Model: TESLA MODEL X 2017Pages: 202, PDF Size: 4.82 MB
Page 5 of 202
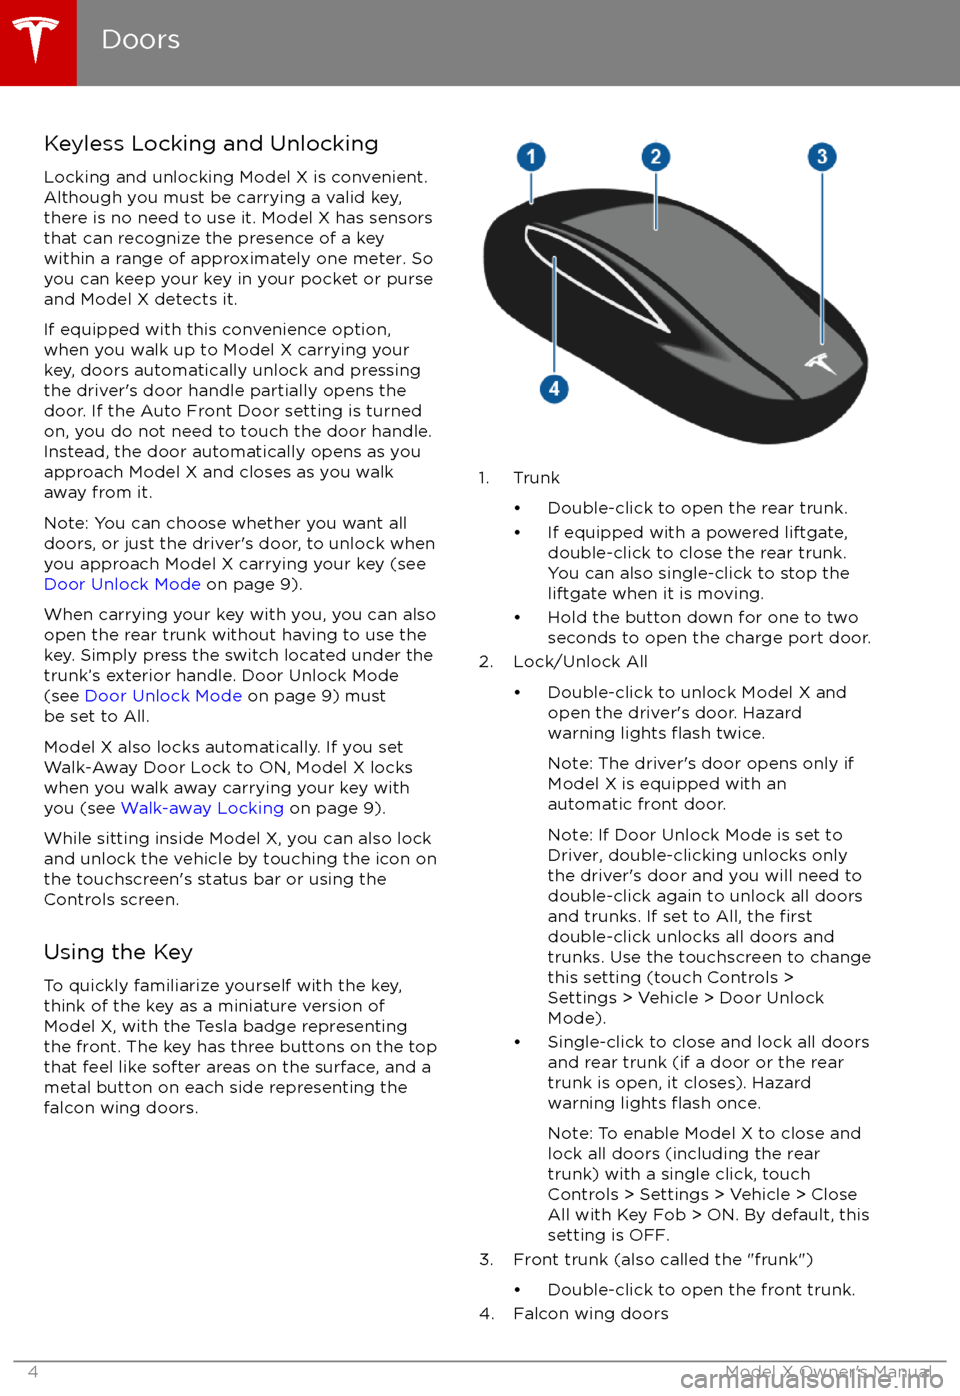
Keyless Locking and UnlockingLocking and unlocking Model X is convenient.
Although you must be carrying a valid key,
there is no need to use it. Model X has sensors
that can recognize the presence of a key
within a range of approximately one meter. So you can keep your key in your pocket or purse
and Model X detects it.
If equipped with this convenience option,
when you walk up to Model X carrying your
key, doors automatically unlock and pressing the driver
Page 9 of 202
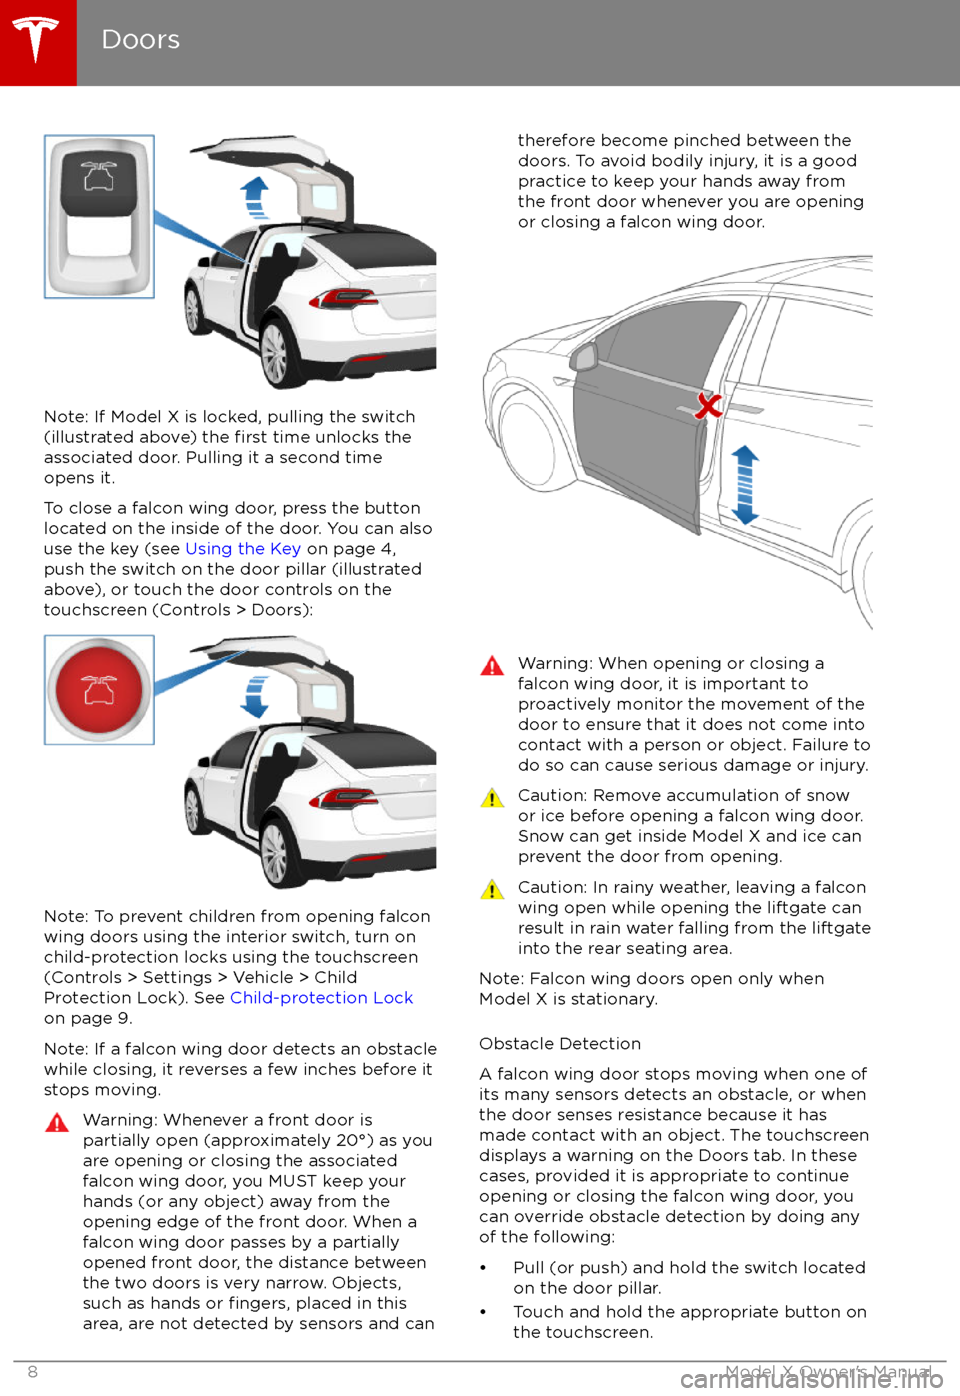
Note: If Model X is locked, pulling the switch(illustrated above) the first time unlocks the
associated door. Pulling it a second time
opens it.
To close a falcon wing door, press the button located on the inside of the door. You can also
use the key (see Using the Key on page 4,
push the switch on the door pillar (illustrated
above), or touch the door controls on the touchscreen (Controls > Doors):
Note: To prevent children from opening falcon
wing doors using the interior switch, turn on
child-protection locks using the touchscreen (Controls > Settings > Vehicle > Child
Protection Lock). See Child-protection Lock
on page 9.
Note: If a falcon wing door detects an obstacle
while closing, it reverses a few inches before it
stops moving.
Warning: Whenever a front door is
partially open (approximately 20
Page 20 of 202

Adjusting Second Row MonopostSeats
A Model X equipped with monopost seating
can accommodate either two or three
passengers in the second row, depending on
the option chosen at time of purchase. There
are two ways to adjust the position of these
seats:
Page 21 of 202

Accessing Third Row SeatsModel X makes it easy for passengers to enterand exit the third row seating positions (if
equipped). Press the Easy Entry button located on the backrest of each second row
outside seat. The associated outside seat
Page 27 of 202

Choosing a Child Safety SeatRefer to the tables below for guidelines on the type of seat belt installed and ISOFIX installed
child restraint you should use based on the weight of the child.
Seat Belt Installed Child Restraints
Monopost Seats:Mass GroupFront PassengerSecond RowThird RowGroup 0up to 10 kgXUUGroup 0+up to 13 kgL*UUGroup I9 - 18 kgUF*U, UFU, UFGroup II15 - 25 kgUF*U, UFU, UFGroup III22 - 36 kgUF*U, UFU, UF* Seat must be placed in rearmost and highest position.
U: Suitable for universal child restraints approved for use in this mass group.
UF: Suitable for universal forward-facing child restraints approved for use in this mass group.
L: Suitable for these particular child restraints - Maxi-Cosi
Cabrio/Cabriofix E4 04443517 or
Takata Mini E4 04443717.
X: Seating position is not suitable for children in this mass group.
Bench Seats (5-seat vehicles only):
Mass GroupFront
PassengerRear
Outboard (60%)Rear CenterRear
Outboard (40%)Group 0up to 10 kgXUUUGroup 0+up to 13 kgL*UUUGroup I9 - 18 kgUF*U, UFU, UFU, UFGroup II15 - 25 kgUF*U, UFU, UFU, UFGroup III22 - 36 kgUF*U, UFU, UFU, UF* Seat must be placed in the rearmost position with the seatback in the most upright position
(full rear and full up only).
U: Suitable for universal child restraints approved for use in this mass group.
UF: Suitable for universal forward-facing child restraints approved for use in this mass group.
L: Suitable for these particular child restraints - Maxi-Cosi
Cabrio/Cabriofix E4 04443517 or
Takata Mini E4 04443717.
X: Seating position is not suitable for children in this mass group.
Child Safety Seats
26Model X Owner
Page 33 of 202

Once installed, test the security of theinstallation before seating a child. Attempt to twist the child safety seat from side to side
and try to pull it away from the seat, then
check that the anchors are still securely in
place.
Attaching Upper Tether Straps
If an upper tether strap is provided, attach its
hook to the anchor point located on the back
of the second and third row seats.
For dual-strap tethers, position a strap on each side of the head restraint.
The method you use to run a single-strap
tether over a second row seat depends on
whether Model X is equipped with monopost
or bench seats:
Page 55 of 202
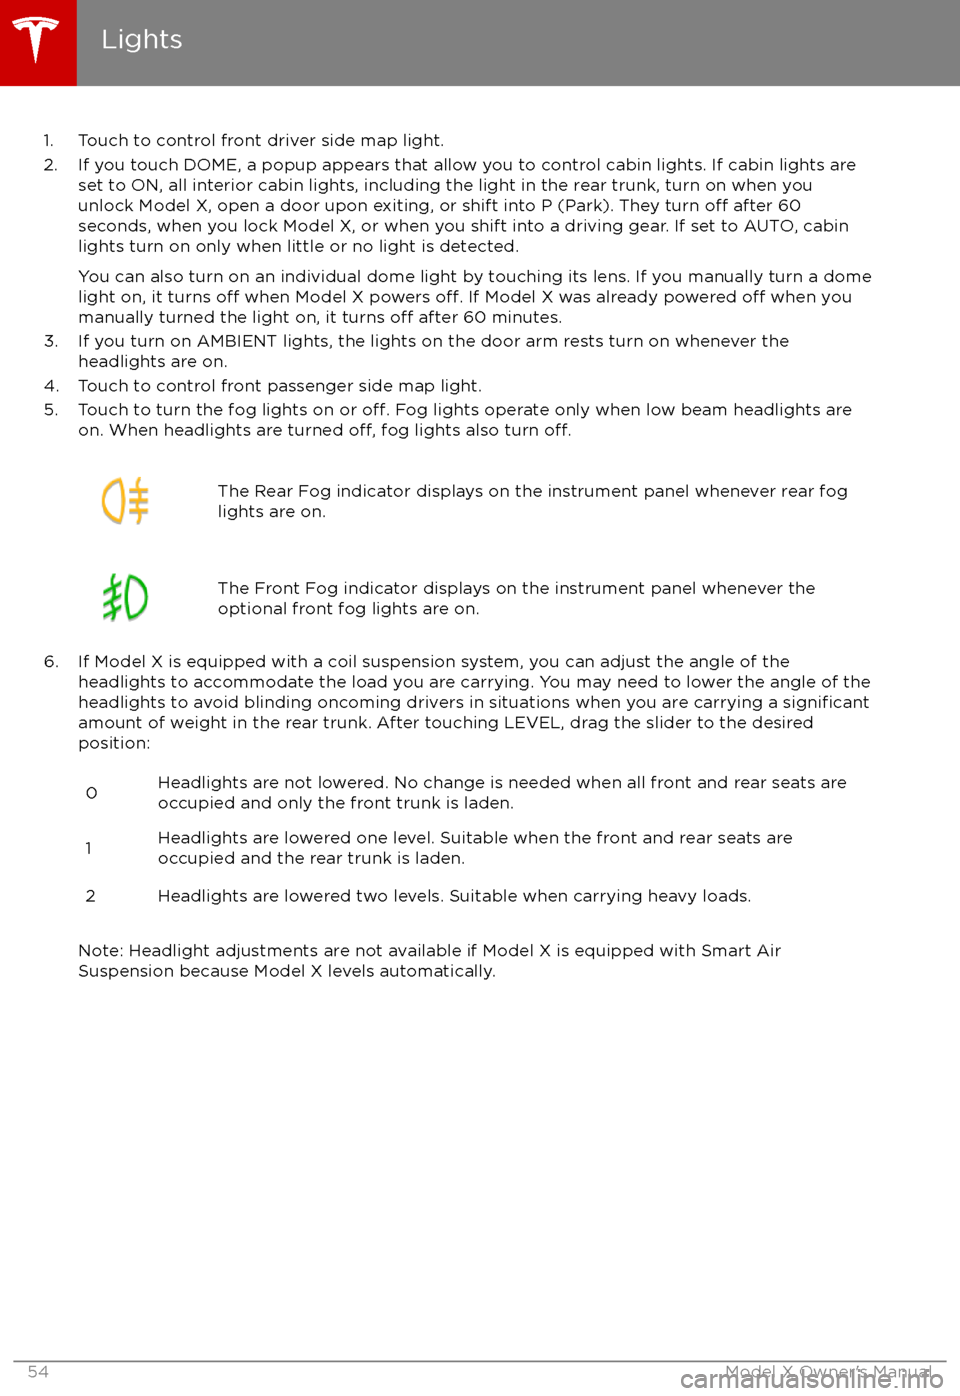
1. Touch to control front driver side map light.
2. If you touch DOME, a popup appears that allow you to control cabin lights. If cabin lights are set to ON, all interior cabin lights, including the light in the rear trunk, turn on when youunlock Model X, open a door upon exiting, or shift into P (Park). They turn
off after 60
seconds, when you lock Model X, or when you shift into a driving gear. If set to AUTO, cabin lights turn on only when little or no light is detected.
You can also turn on an individual dome light by touching its lens. If you manually turn a domelight on, it turns
off when Model X powers off. If Model X was already powered off when you
manually turned the light on, it turns off after 60 minutes.
3. If you turn on AMBIENT lights, the lights on the door arm rests turn on whenever the headlights are on.
4. Touch to control front passenger side map light.
5. Touch to turn the fog lights on or
off. Fog lights operate only when low beam headlights are
on. When headlights are turned off, fog lights also turn off.
The Rear Fog indicator displays on the instrument panel whenever rear fog
lights are on.The Front Fog indicator displays on the instrument panel whenever the
optional front fog lights are on.
6. If Model X is equipped with a coil suspension system, you can adjust the angle of the headlights to accommodate the load you are carrying. You may need to lower the angle of theheadlights to avoid blinding oncoming drivers in situations when you are carrying a
significantamount of weight in the rear trunk. After touching LEVEL, drag the slider to the desired position:
0Headlights are not lowered. No change is needed when all front and rear seats are
occupied and only the front trunk is laden.1Headlights are lowered one level. Suitable when the front and rear seats are occupied and the rear trunk is laden.2Headlights are lowered two levels. Suitable when carrying heavy loads.
Note: Headlight adjustments are not available if Model X is equipped with Smart Air
Suspension because Model X levels automatically.
Lights
54Model X Owner
Page 83 of 202

Note: It may take a few seconds for Model X
to reach the new cruising speed.
Note: The maximum set speed is 150 km/h.
Overtake Acceleration When following a vehicle with
Traffic-AwareCruise Control active, engaging the turn signal
to indicate a move into the passing lane brieflyaccelerates Model X towards the vehicle
ahead. By momentarily holding the turn signal
lever up or down (depending on the region
you are driving in), you can quickly accelerate up to your set speed without having to press
the accelerator pedal. The turn signal
accelerates Model X only when the following
conditions are met:
Page 87 of 202
Restricted Speed
Autosteer is intended for use on freeways and
highways where access is limited by entry and
exit ramps. When using Autosteer on residential roads, a road without a centerdivider, or a road where access is not limited,
Autosteer limits the driving speed. The
maximum driving speed is calculated based
on the detected speed limit plus 10 km/h. In situations where the speed limit cannot be
detected, speed is limited to 70 km/h. When
Autosteer is engaged in these situations, it
reduces your driving speed and your set
speed to be within these limits. You can
manually accelerate to exceed the limited speed, but when you release the accelerator
pedal, Autosteer slows Model X to the limited
speed. When you leave the road, or disengage
Autosteer by using the steering wheel, you can increase your set speed again, if desired.
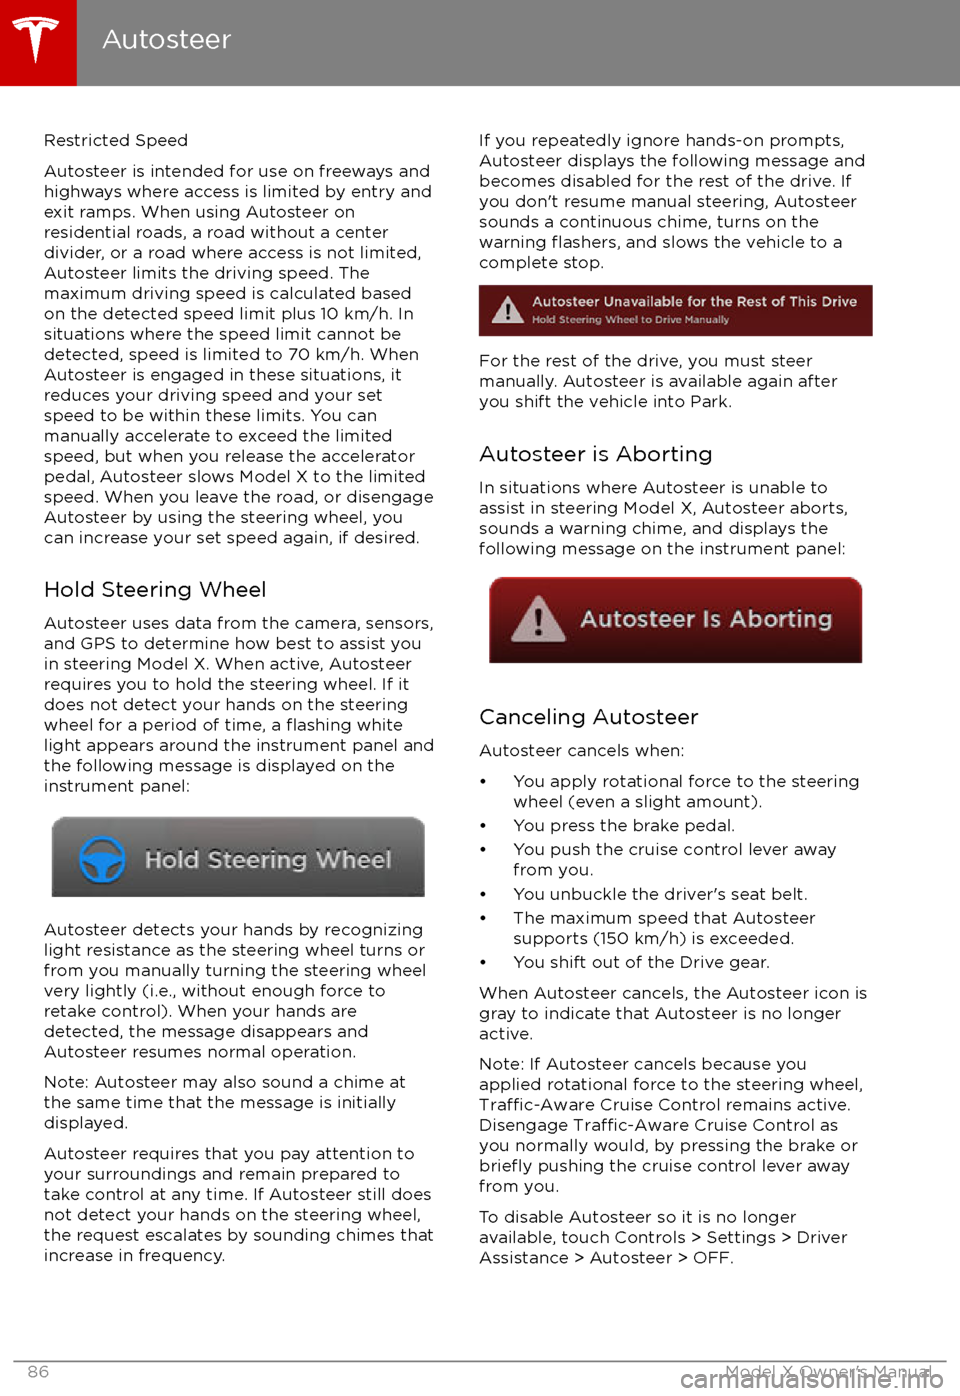
Hold Steering Wheel Autosteer uses data from the camera, sensors,and GPS to determine how best to assist you
in steering Model X. When active, Autosteer requires you to hold the steering wheel. If itdoes not detect your hands on the steering
wheel for a period of time, a
flashing white
light appears around the instrument panel and
the following message is displayed on the
instrument panel:
Autosteer detects your hands by recognizing
light resistance as the steering wheel turns or
from you manually turning the steering wheel very lightly (i.e., without enough force toretake control). When your hands are
detected, the message disappears and Autosteer resumes normal operation.
Note: Autosteer may also sound a chime at
the same time that the message is initially
displayed.
Autosteer requires that you pay attention to your surroundings and remain prepared totake control at any time. If Autosteer still doesnot detect your hands on the steering wheel,the request escalates by sounding chimes that
increase in frequency.
If you repeatedly ignore hands-on prompts,
Autosteer displays the following message and
becomes disabled for the rest of the drive. If
you don
Page 101 of 202
How Speed Assist Works
If Model X is equipped with Autopilot
components (see About Driver Assistance on
page 77), the forward looking camera detects
speed limit signs. The signs are then analyzed
and compared against GPS data to determine
the speed limit at your current driving
location. For routes where no signs are
present, speed limits are determined using GPS data (if available). Instead of determining
the speed limit based on signs and GPS data,
you can also manually enter an arbitrary speed limit.
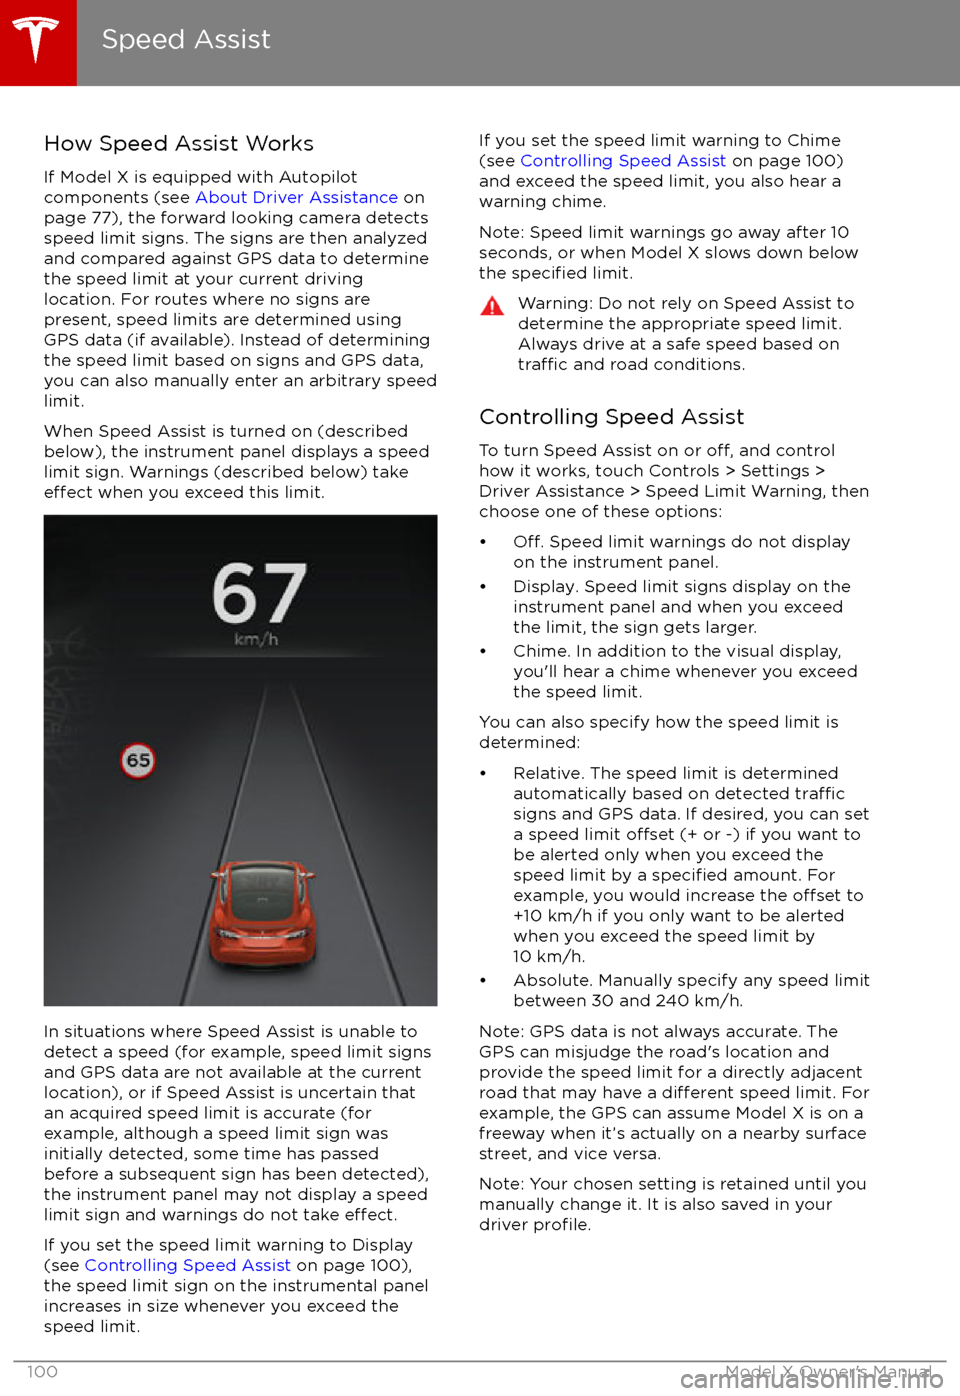
When Speed Assist is turned on (described
below), the instrument panel displays a speed
limit sign. Warnings (described below) take
effect when you exceed this limit.
In situations where Speed Assist is unable to
detect a speed (for example, speed limit signs
and GPS data are not available at the current
location), or if Speed Assist is uncertain that
an acquired speed limit is accurate (for
example, although a speed limit sign was
initially detected, some time has passed
before a subsequent sign has been detected), the instrument panel may not display a speed
limit sign and warnings do not take
effect.
If you set the speed limit warning to Display
(see Controlling Speed Assist on page 100),
the speed limit sign on the instrumental panel
increases in size whenever you exceed the
speed limit.
If you set the speed limit warning to Chime (see Controlling Speed Assist on page 100)
and exceed the speed limit, you also hear a warning chime.
Note: Speed limit warnings go away after 10 seconds, or when Model X slows down below
the
specified limit.
Warning: Do not rely on Speed Assist to
determine the appropriate speed limit. Always drive at a safe speed based on
traffic and road conditions.
Controlling Speed Assist
To turn Speed Assist on or
off, and control
how it works, touch Controls > Settings > Driver Assistance > Speed Limit Warning, then
choose one of these options: