driver TESLA MODEL Y 2022 Owner´s Manual
[x] Cancel search | Manufacturer: TESLA, Model Year: 2022, Model line: MODEL Y, Model: TESLA MODEL Y 2022Pages: 250, PDF Size: 8.4 MB
Page 94 of 250

initiate Autosteer at any speed, even when stationary,
provided
Model Y is at least 5 feet (150 cm) behind the
detected vehicle.
NOTE: The maximum cruising speed is 90 mph (150
km/h). It is the driver
Page 110 of 250
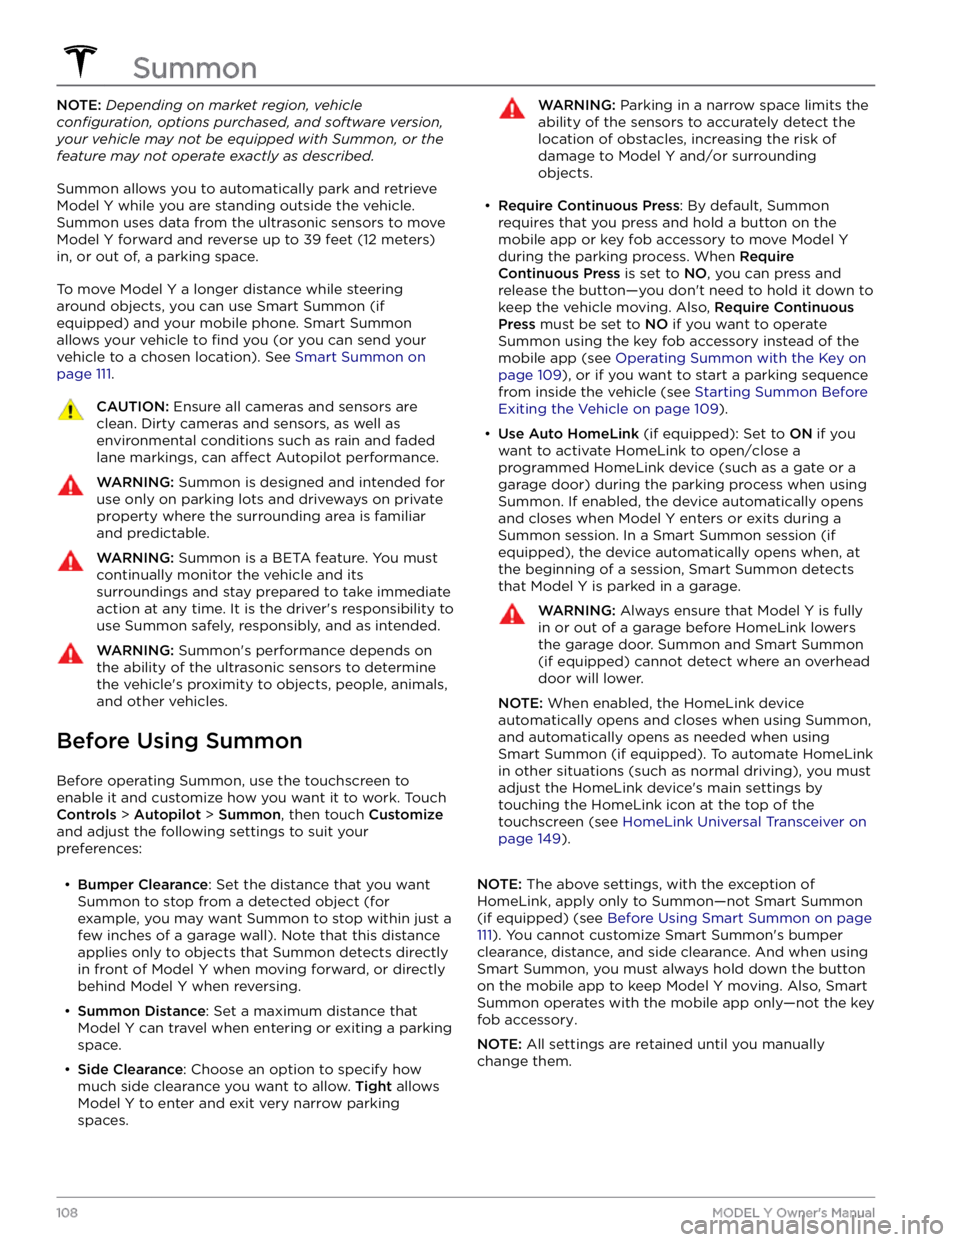
NOTE: Depending on market region, vehicle
configuration, options purchased, and software version,
your vehicle may not be equipped with Summon, or the
feature may not operate exactly as described.
Summon allows you to automatically park and retrieve
Model Y while you are standing outside the vehicle.
Summon uses data from the ultrasonic sensors to move
Model Y forward and reverse up to 39 feet (12 meters)
in, or out of, a parking space.
To move Model Y a longer distance while steering
around objects, you can use Smart Summon
(if
equipped) and your mobile phone. Smart Summon
allows your vehicle to
find you (or you can send your
vehicle to a chosen location). See
Smart Summon on
page 111.
CAUTION: Ensure all cameras and sensors are
clean. Dirty cameras and sensors, as well as
environmental conditions such as rain and faded
lane markings, can affect Autopilot performance.
WARNING: Summon is designed and intended for
use only on parking lots and driveways on private
property where the surrounding area is familiar
and predictable.
WARNING: Summon is a BETA feature. You must
continually monitor the vehicle and its
surroundings and stay prepared to take immediate
action at any time. It is the driver
Page 120 of 250
WARNING: Forward Collision Warning may
provide a warning in situations where the
likelihood of collision may not exist. Stay alert and
always pay attention to the area in front of Model
Y so you can anticipate whether any action is
required.
Forward Collision Warning operates only when driving between approximately
3 mph (5 km/h) and 90 mph
(150 km/h).
WARNING: Forward Collision Warning does not
provide a warning when the driver is already
applying the brake.
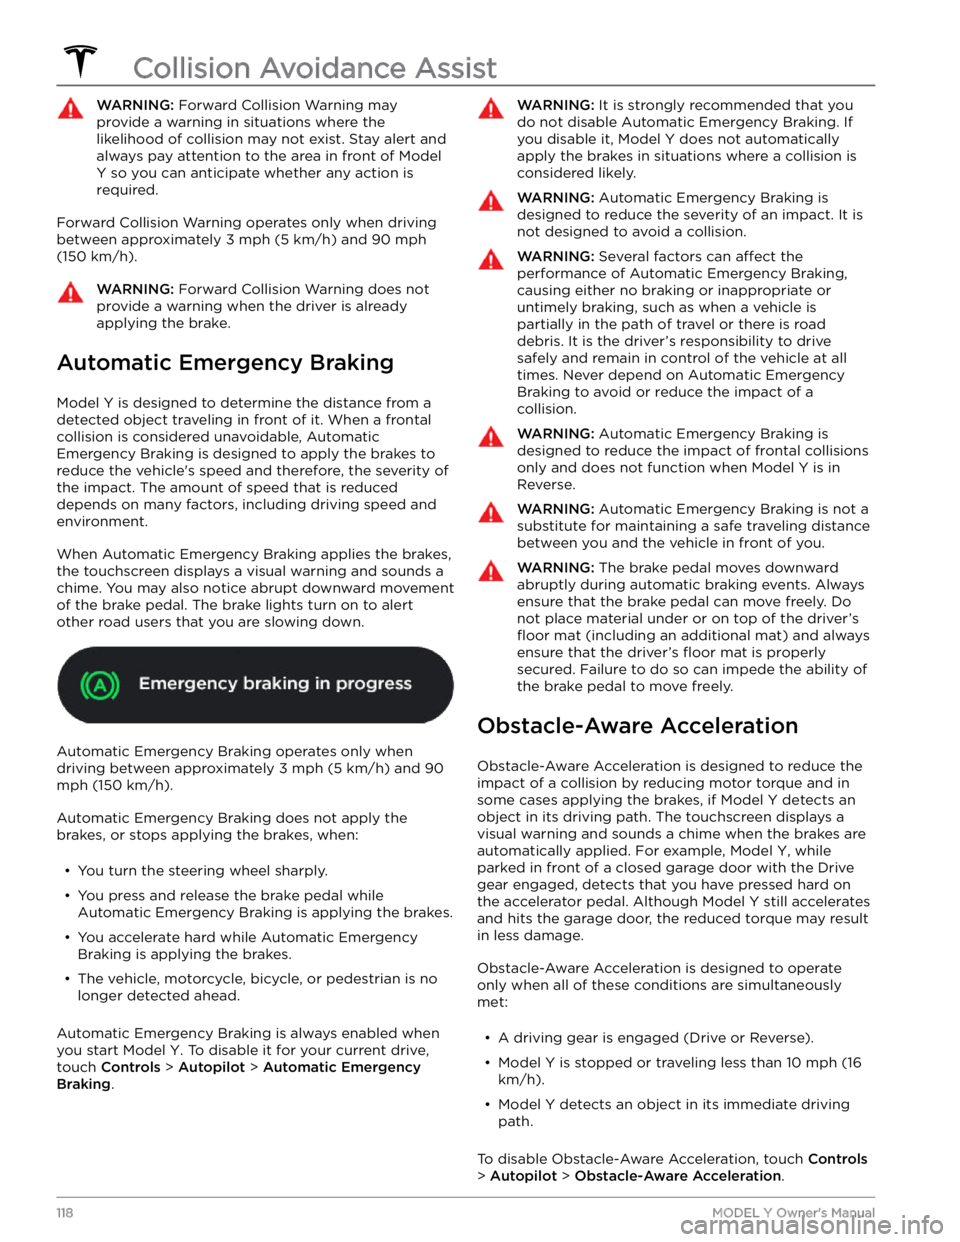
Automatic Emergency Braking
Model Y is designed to determine the distance from a
detected object traveling in front of it. When a frontal collision is considered unavoidable, Automatic Emergency Braking is designed to apply the brakes to
reduce the vehicle
Page 121 of 250
WARNING: Obstacle-Aware Acceleration is
designed to reduce the severity of an impact. It is
not designed to avoid a collision.
WARNING: Obstacle-Aware Acceleration may not
limit torque in all situations. Several factors,
including environmental conditions, distance from
an obstacle, and a driver
Page 129 of 250

NOTE: If you forget the PIN, you can disable Speed Limit
Mode by entering the login credentials for your Tesla
Account.
NOTE: When Speed Limit Mode is enabled, the
acceleration setting (
Controls > Driving > Acceleration)
is automatically set to
Chill.
WARNING: Driving downhill can increase driving
speed, causing the vehicle to exceed your chosen
maximum speed.
WARNING: Speed Limit Mode is not a replacement
for good judgment, driver training, and the need to
closely monitor roadway speed limits and driving
conditions. Accidents can occur at any speed.
Erasing Personal Data
You can erase all personal data (saved addresses, music favorites,
HomeLink programming, etc.) and restore all
customized settings to their factory defaults. This is useful when transferring ownership of
Model Y. Touch
Controls > Service > FACTORY RESET. Before erasing,
Model Y verifies your credentials by prompting you to
enter the user name and password associated with your Tesla Account.
Controls
127Using the Touchscreen
Page 131 of 250
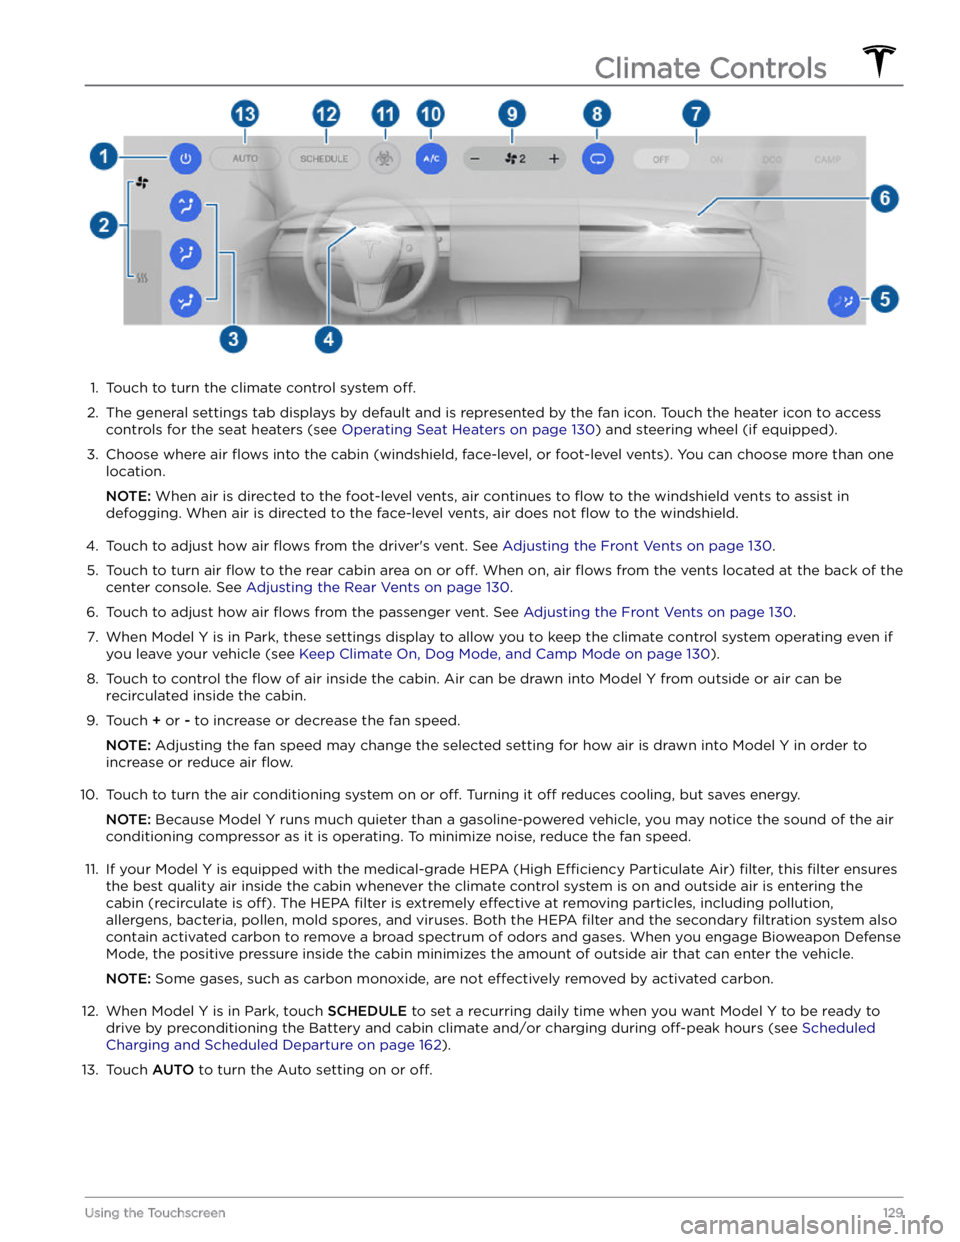
1.
Touch to turn the climate control system off.
2.
The general settings tab displays by default and is represented by the fan icon. Touch the heater icon to access
controls for the seat heaters (see
Operating Seat Heaters on page 130) and steering wheel (if equipped).
3.
Choose where air flows into the cabin (windshield, face-level, or foot-level vents). You can choose more than one
location.
NOTE: When air is directed to the foot-level vents, air continues to flow to the windshield vents to assist in
defogging. When air is directed to the face-level vents, air does not
flow to the windshield.
4.
Touch to adjust how air flows from the driver
Page 132 of 250
Operating Seat Heaters
To control the front seat heaters for the driver and passenger, touch the corresponding control on the main climate
control area at the bottom of the touchscreen.
To control the rear seat heaters (if equipped) or access duplicate
controls for the front seat heaters, touch the fan icon, then touch the seat heater icon followed by the seat for which
you want to adjust heating. Seat heaters operate at three setting levels from 3 (highest) to 1 (lowest). When
operating, the associated seat icon displays twisting lines that turn red to indicate the setting level. You can touch
All
Off to turn off all seat heaters simultaneously.
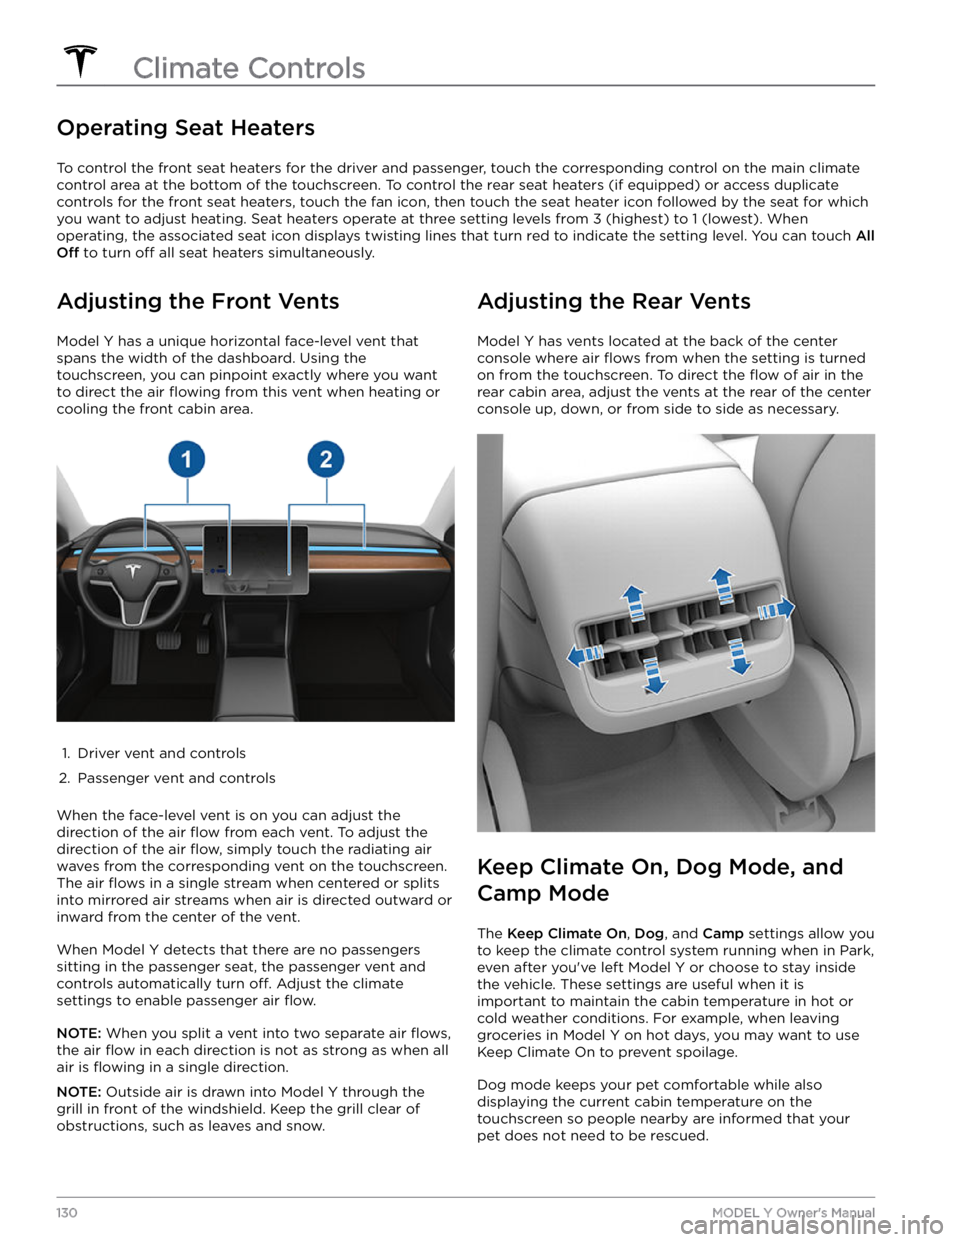
Adjusting the Front Vents
Model Y has a unique horizontal face-level vent that
spans the width of the dashboard. Using the
touchscreen, you can pinpoint exactly where you want to direct the air
flowing from this vent when heating or
cooling the front cabin area.
1.
Driver vent and controls
2.
Passenger vent and controls
When the face-level vent is on you can adjust the direction of the air
flow from each vent. To adjust the
direction of the air
flow, simply touch the radiating air
waves from the corresponding vent on the touchscreen.
The air
flows in a single stream when centered or splits
into mirrored air streams when air is directed outward or inward from the center of the vent.
When Model Y detects that there are no passengers
sitting in the passenger seat, the passenger vent and controls automatically turn
off. Adjust the climate
settings to enable passenger air
flow.
NOTE: When you split a vent into two separate air flows,
the air flow in each direction is not as strong as when all
air is
flowing in a single direction.
NOTE: Outside air is drawn into Model Y through the
grill in front of the windshield. Keep the grill clear of
obstructions, such as leaves and snow.
Adjusting the Rear Vents
Model Y has vents located at the back of the center
console where air
flows from when the setting is turned
on from the touchscreen. To direct the
flow of air in the
rear cabin area, adjust the vents at the rear of the center console up, down, or from side to side as necessary.
Keep Climate On, Dog Mode, and
Camp Mode
The Keep Climate On, Dog, and Camp settings allow you
to keep the climate control system running when in Park,
even after you
Page 147 of 250
About the Security System
If Model Y does not detect an authenticated phone, key
fob, or key card and a locked door or trunk is opened, an alarm sounds and the headlights and turn signals
flash.
To deactivate the alarm, press any button on the mobile
app or tap your key card or key fob against the card reader located
approximately one third the way up of
the driver
Page 170 of 250
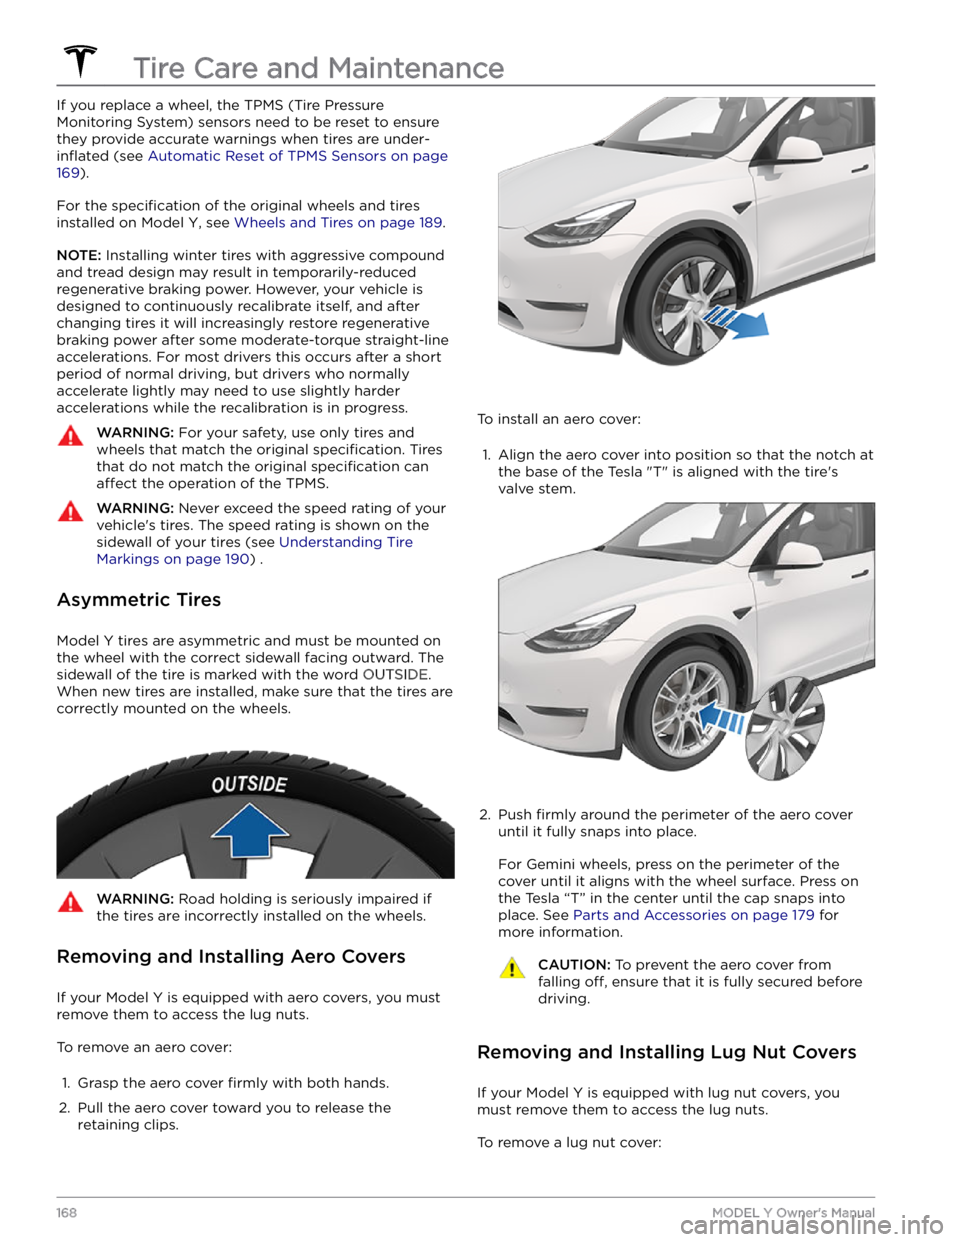
If you replace a wheel, the TPMS (Tire Pressure Monitoring System) sensors need to be reset to ensure they provide accurate warnings when tires are
under-
inflated (see Automatic Reset of TPMS Sensors on page
169).
For the specification of the original wheels and tires
installed on
Model Y, see Wheels and Tires on page 189.
NOTE: Installing winter tires with aggressive compound
and tread design may result in temporarily-reduced regenerative braking power. However, your vehicle is
designed to continuously recalibrate itself, and after changing tires it will increasingly restore regenerative
braking power after some moderate-torque straight-line accelerations. For most drivers this occurs after a short period of normal driving, but drivers who normally accelerate lightly may need to use slightly harder accelerations while the recalibration is in progress.
WARNING: For your safety, use only tires and
wheels that match the original specification. Tires
that do not match the original specification can
affect the operation of the TPMS.
WARNING: Never exceed the speed rating of your
vehicle
Page 171 of 250
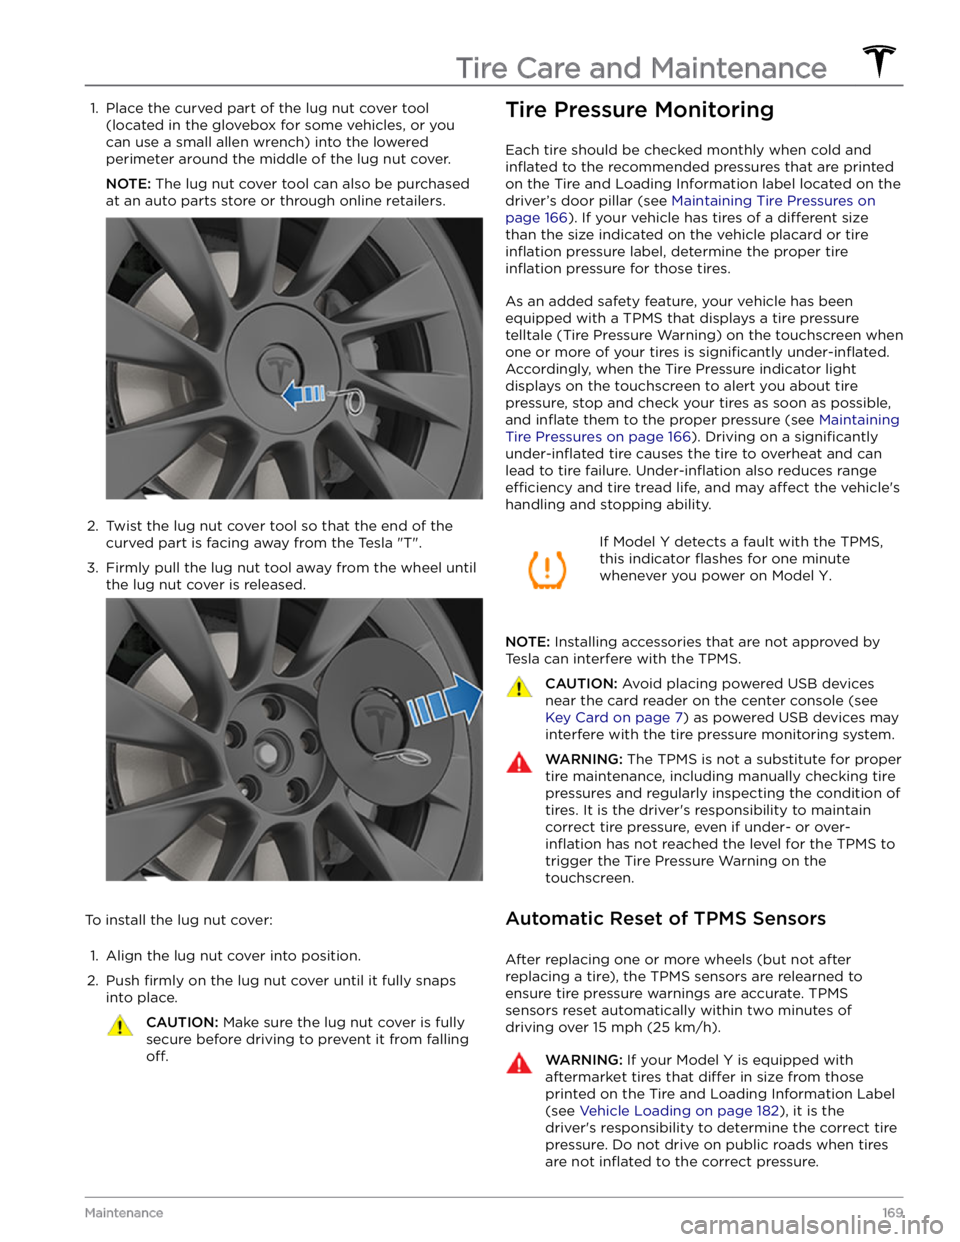
1. Place the curved part of the lug nut cover tool (located in the glovebox for some vehicles, or you can use a small allen wrench) into the lowered
perimeter around the middle of the lug nut cover.
NOTE: The lug nut cover tool can also be purchased
at an auto parts store or through online retailers.
2.
Twist the lug nut cover tool so that the end of the curved part is facing away from the Tesla "T".
3.
Firmly pull the lug nut tool away from the wheel until the lug nut cover is released.
To install the lug nut cover:
1.
Align the lug nut cover into position.
2.
Push firmly on the lug nut cover until it fully snaps
into place.
CAUTION: Make sure the lug nut cover is fully
secure before driving to prevent it from falling
off.
Tire Pressure Monitoring
Each tire should be checked monthly when cold and
inflated to the recommended pressures that are printed
on the Tire and Loading Information label located on the
driver