maintenance TESLA MODEL Y 2023 Owners Manual
[x] Cancel search | Manufacturer: TESLA, Model Year: 2023, Model line: MODEL Y, Model: TESLA MODEL Y 2023Pages: 298, PDF Size: 10.28 MB
Page 3 of 298

Overview................................................................3
Exterior Overview............................................................................3
Interior Overview.............................................................................4
Touchscreen Overview..................................................................5
Opening and Closing.......................................10
Keys.....................................................................................................10
Doors..................................................................................................14
Windows............................................................................................17
Rear Trunk.........................................................................................18
Front Trunk......................................................................................20
Interior Storage and Electronics..............................................23
Seating and Safety Restraints.....................27
Front and Rear Seats...................................................................27
Seat Belts.........................................................................................33
Child Safety Seats.........................................................................36
Airbags..............................................................................................43
Driving..................................................................50
Driver Profiles.................................................................................50
Steering Wheel...............................................................................52
Mirrors...............................................................................................54
Starting and Powering Off.........................................................55
Shifting..............................................................................................56
Lights.................................................................................................58
Car Status..........................................................................................61
Wipers and Washers....................................................................64
Braking and Stopping..................................................................65
Traction Control.............................................................................69
Park Assist.......................................................................................70
Vehicle Hold....................................................................................72
Acceleration Modes......................................................................73
Track Mode......................................................................................74
Trip Information.............................................................................76
Rear Facing Camera(s)...............................................................77
Pedestrian Warning System......................................................78
Towing and Accessories.............................................................79
Cold Weather Best Practices....................................................85
Autopilot..............................................................88
About Autopilot.............................................................................88
Traffic-Aware Cruise Control.....................................................91
Autosteer.........................................................................................96
Navigate on Autopilot................................................................101
Traffic Light and Stop Sign Control.....................................104
Autopark...........................................................................................111
Summon...........................................................................................113
Smart Summon..............................................................................116
Active Safety Features...................................119
Lane Assist......................................................................................119
Collision Avoidance Assist........................................................122
Speed Assist..................................................................................125
Cabin Camera................................................................................126
Using the Touchscreen..................................127
Climate Controls...........................................................................127
Phone, Calendar, and Web Conferencing...........................133
Voice Commands.........................................................................136
Safety & Security Settings.......................................................138
Dashcam.........................................................................................140
Sentry Mode..................................................................................142
USB Drive Requirements for Recording Videos..............144
Smart Garage Connectivity.....................................................145
Connecting to Wi-Fi...................................................................148
Software Updates........................................................................149
Mobile App......................................................................................151
Navigation and Entertainment...................153
Maps and Navigation..................................................................153
Media................................................................................................159
Theater, Arcade, and Toybox...................................................162
Charging and Energy Consumption........165
Electric Vehicle Components..................................................165
High Voltage Battery Information.........................................167
Charging Instructions.................................................................169
Scheduled Charging and Scheduled Departure..............174
Getting Maximum Range..........................................................175
Maintenance......................................................177
Maintenance Service Intervals................................................177
Tire Care and Maintenance......................................................184
Cleaning...........................................................................................191
Windshield Wiper Blades, Jets and Fluid...........................195
Jacking and Lifting......................................................................197
Parts and Accessories................................................................198
Do It Yourself Maintenance....................................................206
Specifications..................................................207
Identification Labels..................................................................207
Vehicle Loading..........................................................................208
Dimensions.....................................................................................210
Subsystems....................................................................................213
Wheels and Tires..........................................................................215
Roadside Assistance.....................................222
Contacting Tesla Roadside Assistance...............................222
Instructions for Transporters..................................................223
Running Out of Range..............................................................226
Jump Starting...............................................................................227
Troubleshooting.............................................229
Troubleshooting Alerts.............................................................229
Contents
Page 179 of 298

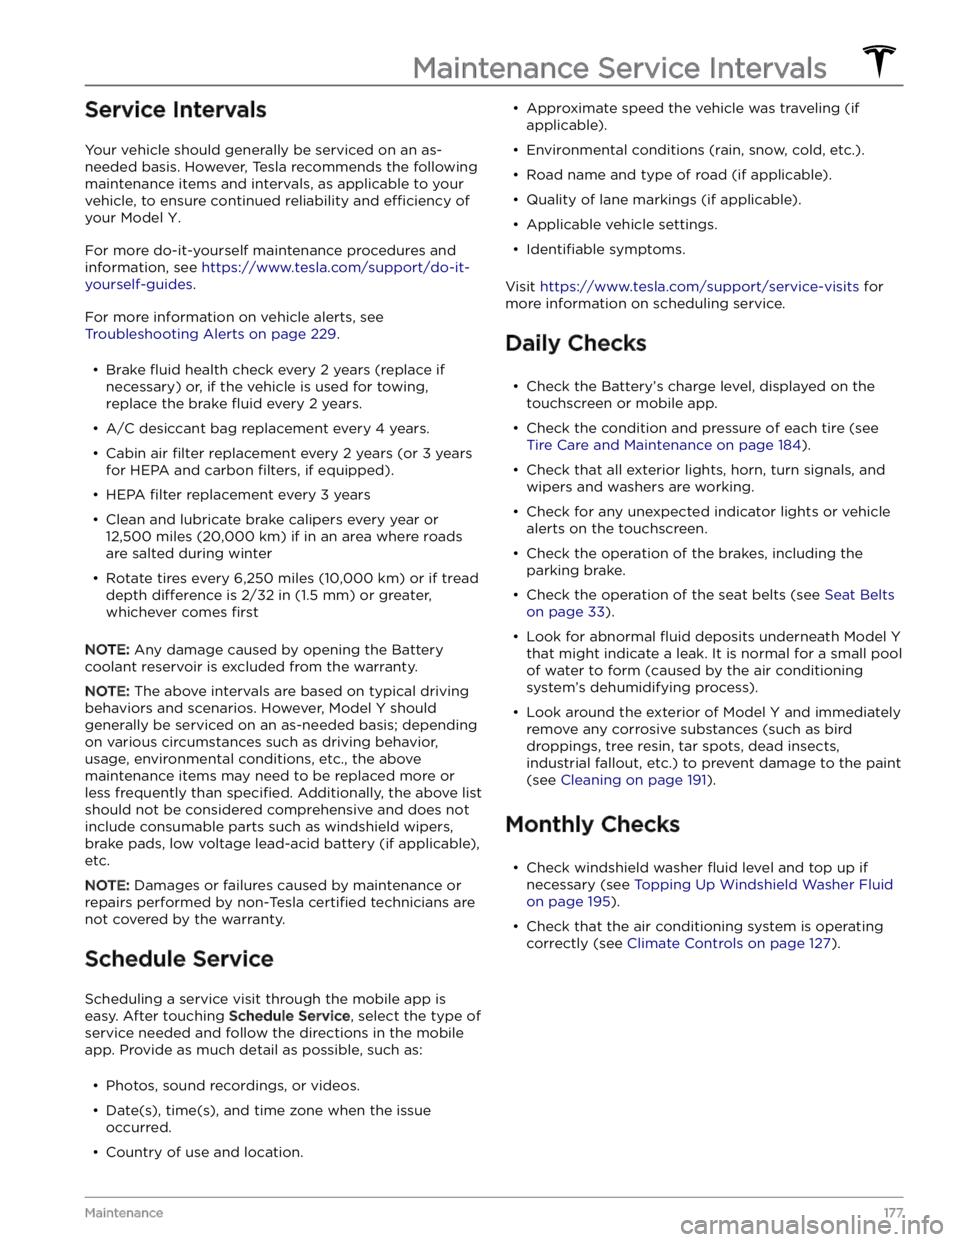
Service Intervals
Your vehicle should generally be serviced on an as-needed basis. However, Tesla recommends the following maintenance items and intervals, as applicable to your
vehicle, to ensure continued reliability and
efficiency of
your
Model Y.
For more do-it-yourself maintenance procedures and information, see
https://www.tesla.com/support/do-it-
yourself-guides.
For more information on vehicle alerts, see
Troubleshooting Alerts on page 229.
Page 181 of 298

3.
If equipped, remove the HEPA filter:
a.
Using a 10mm socket, remove the bolt that attaches the washer
fluid reservoir neck to the
underhood storage unit.
b.
Remove the washer tank neck from the vehicle. If
the windshield washer reservoir is full, some
washer
fluid may leak out.
NOTE: You do not need to remove the hose from
the neck.
c.
With a 10mm socket, remove the bolts (x2) that
attach the HEPA
filter assembly to the vehicle.
d.
Remove the HEPA filter assembly from the vehicle
by tilting the rear edge of the
filter assembly up
past the brake
fluid reservoir. Lift the filter
assembly out of the vehicle, taking care not to
bump into or damage other components.
Maintenance Service Intervals
179Maintenance
Page 182 of 298

4. Power off the vehicle by navigating to Controls >
Safety > Power Off on the touchscreen.
5.
Disconnect the first responder loop by sliding the red
locking tab toward you and pressing the black tab.
6.
With a 10mm socket, loosen the nut that secures the
negative (-) terminal clamp to the negative (-) post on the lead-acid battery. Release the terminal clamp from the negative (-) post.
7.
With a 10mm socket, release the terminal cover and loosen the nut that secures the positive (+) terminal
clamp to the positive (+) post on the lead-acid
battery. Release the terminal clamp from the positive
(+) post and cover the terminal clamp with a dry rag.
CAUTION: Do not allow the positive (+)
terminal clamp to contact nearby components
like the lead-acid battery hold down bracket or
A/C cooling lines.
8.
Unplug the vent tube hose from the negative (-)
terminal side of the lead-acid battery.
9.
Loosen the nut on the battery hold down on the top of the lead-acid battery with a 10mm socket. To
release the battery hold down, unhook and slide the
strap back. If needed, tilt the battery hold down
backward so it does not slip into the vehicle.
10.
Using the battery handle, carefully remove the lead- acid battery, taking care not to touch or damage the surrounding components.
Maintenance Service Intervals
180MODEL Y Owner
Page 183 of 298

WARNING: When lifting out the lead-acid
battery, stand in front of the vehicle and use
proper lifting technique. The lead-acid battery
weighs approximately 25 lb (12 kg). Failure to
do so may cause serious injury.
11.
Inspect the new lead-acid battery to ensure it has a
red plug in the casing on the positive (+) terminal
side. If the new lead-acid battery does not have a red plug, use a small trim tool to transfer the red plug
from the old battery to the new one.
CAUTION: Dispose of the old lead-acid battery
according to local laws, such as dropping it off
at a battery recycling facility. Keep the lead-
acid battery upright and place it on a towel or
piece of cardboard when transporting it.
Installation:
1. Carefully maneuver the new lead-acid battery into
place, taking care not to touch or damage nearby
components.2.
Install the lead-acid battery hold down and use a 10mm socket to tighten the nut that secures it to the 12V battery. Torque the nut to 6 Nm (4.4 ft-lb).
3.
Reconnect the first responder loop.
4.
Remove the protective caps from the positive (+) and negative (-) posts on the new low voltage lead-acid battery.
5.
Connect the positive (+) terminal by positioning the
clamp over the positive (+) post. Using a 10mm socket, torque the nut to 6 Nm (4.4 ft-lb).
Maintenance Service Intervals
181Maintenance
Page 185 of 298

d. Route the hose so that it is secured by the tab.e.
Use a 10mm socket to install the bolt that attaches the washer
fluid reservoir neck to the underhood
storage unit. Torque the bolt to 5 Nm (3.7 ft-lb).
11.
Replace the underhood apron by aligning the clips into their openings in the front trunk. Press down to lock them in place. The clips make an audible clicking
sound when secured.
12.
Close the front trunk. If an alert to replace the low-
voltage battery was previously shown on the
touchscreen, ensure the alert no longer appears.
Maintenance Service Intervals
183Maintenance
Page 203 of 298

9.
Loosen the nut on the battery hold down on the top of the lead-acid battery with a 10mm socket. To
release the battery hold down, unhook and slide the
strap back. If needed, tilt the battery hold down
backward so it does not slip into the vehicle.
10.
Using the battery handle, carefully remove the lead- acid battery, taking care not to touch or damage the surrounding components.
WARNING: When lifting out the lead-acid
battery, stand in front of the vehicle and use
proper lifting technique. The lead-acid battery
weighs approximately 25 lb (12 kg). Failure to
do so may cause serious injury.
11.
Inspect the new lead-acid battery to ensure it has a
red plug in the casing on the positive (+) terminal
side. If the new lead-acid battery does not have a red plug, use a small trim tool to transfer the red plug
from the old battery to the new one.
CAUTION: Dispose of the old lead-acid battery
according to local laws, such as dropping it off
at a battery recycling facility. Keep the lead-
acid battery upright and place it on a towel or
piece of cardboard when transporting it.
Installation:
1.
Carefully maneuver the new lead-acid battery into
place, taking care not to touch or damage nearby
components.
2.
Install the lead-acid battery hold down and use a 10mm socket to tighten the nut that secures it to the 12V battery. Torque the nut to 6 Nm (4.4 ft-lb).
Parts and Accessories
201Maintenance
Page 205 of 298

b.
With a 10mm socket, tighten the bolts (x2) and
torque them to 5 Nm (3.7 ft-lb).
c.
Ensure the O-ring on the washer tank neck is fully seated, then install the washer tank neck by inserting it into the washer tank.
d.
Route the hose so that it is secured by the tab.
e.
Use a 10mm socket to install the bolt that attaches
the washer
fluid reservoir neck to the underhood
storage unit. Torque the bolt to 5 Nm (3.7 ft-lb).
11.
Replace the underhood apron by aligning the clips into their openings in the front trunk. Press down to lock them in place. The clips make an audible clicking
sound when secured.
Parts and Accessories
203Maintenance
Page 207 of 298

5. While correctly aligned, move the top of the bracket
against the bumper and apply pressure so that it is held in place by the adhesive.6.
Remove the remaining tape from the sides of the
bracket then press the entire bracket
firmly against
the bumper, ensuring the bracket is held in place by
all adhesive areas.
7.
Once the bracket is securely mounted, use the four supplied screws to attach your license plate to the bracket (tighten to 3 Nm/2.2 ft-lbs).
Parts and Accessories
205Maintenance
Page 208 of 298

Learn how to perform simple Do It Yourself procedures, such as replacing wiper blades and cabin filters, or installing
the paint protection
film kit. See https://service.tesla.com/docs/Public/diy/index-model-y.html for instructions,
animations, and videos of these procedures.
NOTE: Due to market region or vehicle configuration specifics, some parts and procedures may not be available for
your vehicle. When navigating to
http://www.tesla.com, select your region and language to see an updated list of
parts and accessories available for your region.
CAUTION: Perform each procedure in this guide in
a dry and well-lit area. For your safety, only
perform a procedure if you feel comfortable doing
so, and always follow all provided instructions.Do It Yourself Maintenance
206MODEL Y Owner