bulb TOYOTA 4RUNNER 1996 Owners Manual
[x] Cancel search | Manufacturer: TOYOTA, Model Year: 1996, Model line: 4RUNNER, Model: TOYOTA 4RUNNER 1996Pages: 217, PDF Size: 4.49 MB
Page 55 of 217

52
High-Low beamsÐFor high beams,
turn the headlights on and push the lever away from you (position 1). Pull the lever
toward you (position 2) for low beams.
The headlight high beam indicator light
(blue light) on the instrument panel will tell
you that the high beams are on.
Flashing the high beam headlights
(position 3)ÐPull the lever all the way
back. The high beam headlights turn off
when you release the lever.
You can flash the high beam headlights with the knob turned to OFFº.TURN SIGNAL
To signal a turn, push the headlight/
turn signal lever up or down to posi-
tion 1. The key must be in the ONº position. The lever automatically returns after you make a turn, but you may have to returnit by hand after you change lanes.
To signal a lane change, move the lever
up or down to the pressure point (position2) and hold it.
If the turn signal indicator lights (green
lights) on the instrument panel flash faster
than normal, a front or rear turn signal bulb is burned out.To turn on the emergency flashers,
push the switch.
All the turn signal lights will flash. To turn
them off, push the switch once again.
Turn on the emergency flashers to warn other drivers if your vehicle must be
stopped where it might be a traf fic hazard.
Always pull as far off the road as possible.
The turn signal light switch will not work
when the emergency flashers are operat-ing.
Emergency flashers
Page 67 of 217

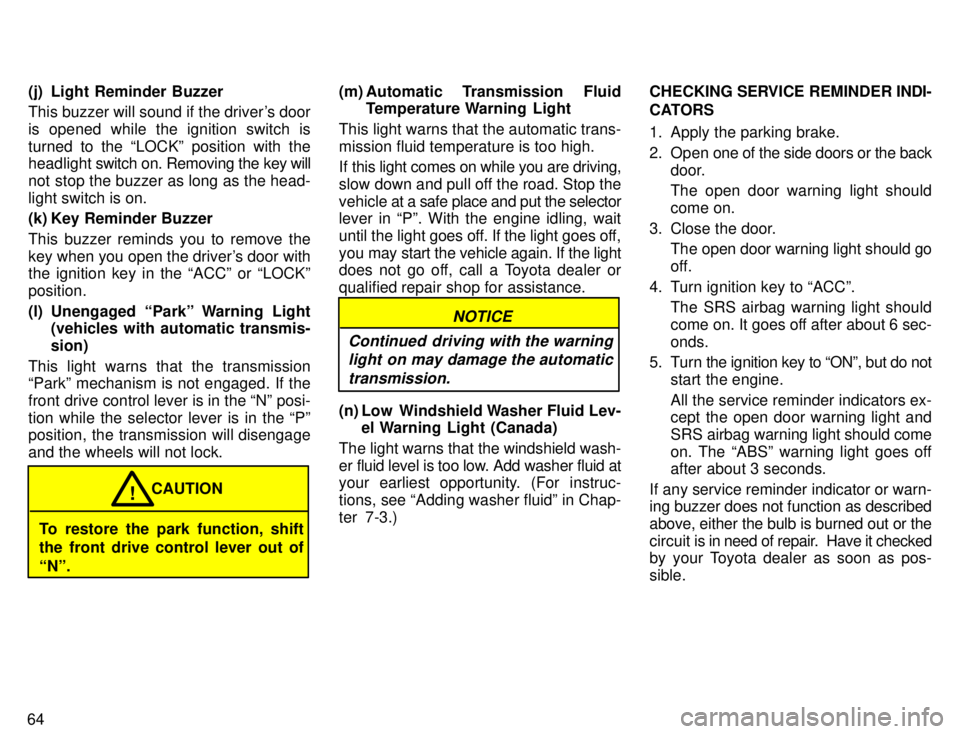
64(j) Light Reminder Buzzer
This buzzer will sound if the driver's door is opened while the ignition switch isturned to the LOCKº position with the
headlight
switch on. Removing the key will
not stop the buzzer as long as the head- light switch is on.
(k) Key Reminder Buzzer
This buzzer reminds you to remove the
key when you open the driver's door with the ignition key in the ACCº or LOCKº position.
(l) Unengaged Parkº Warning Light (vehicles with automatic transmis- sion)
This light warns that the transmission
Parkº mechanism is not engaged. If the
front drive control lever is in the Nº posi-
tion while the selector lever is in the Pº
position, the transmission will disengage
and the wheels will not lock.
To restore the park function, shift
the front drive control lever out of Nº. CAUTION
! (m) Automatic Transmission Fluid
Temperature Warning Light
This light warns that the automatic trans- mission fluid temperature is too high.
If this light comes on while you are driving,
slow down and pull off the road. Stop the
vehicle at a safe place and put the selector
lever in Pº. With the engine idling, wait
until the light goes off. If the light goes off,
you may start the vehicle again. If the light
does not go off, call a Toyota dealer or
qualified repair shop for assistance.
NOTICE
Continued driving with the warning light on may damage the automatic
transmission.
(n) Low Windshield Washer Fluid Lev- el Warning Light (Canada)
The light warns that the windshield wash-
er fluid level is too low. Add washer fluid at
your earliest opportunity. (For instruc-
tions, see Adding washer fluidº in Chap-ter 7-3.) CHECKING SERVICE REMINDER
INDI-
CATORS
1. Apply the parking brake.
2. Open one of the side doors or the back
door.
The open door warning light should come on.
3. Close the door. The open door warning light should go
off.
4. Turn ignition key to ACCº. The SRS airbag warning light should
come on. It goes off after about 6 sec-onds.
5. Turn the ignition key to ONº, but do not start the engine.
All the service reminder indicators ex-
cept the open door warning light and
SRS airbag warning light should come
on. The ABSº warning light goes off
after about 3 seconds.
If any service reminder indicator or warn-
ing buzzer does not function as described above, either the bulb is burned out or the
circuit is in need of repair. Have it checked
by your Toyota dealer as soon as pos-sible.
Page 83 of 217

80
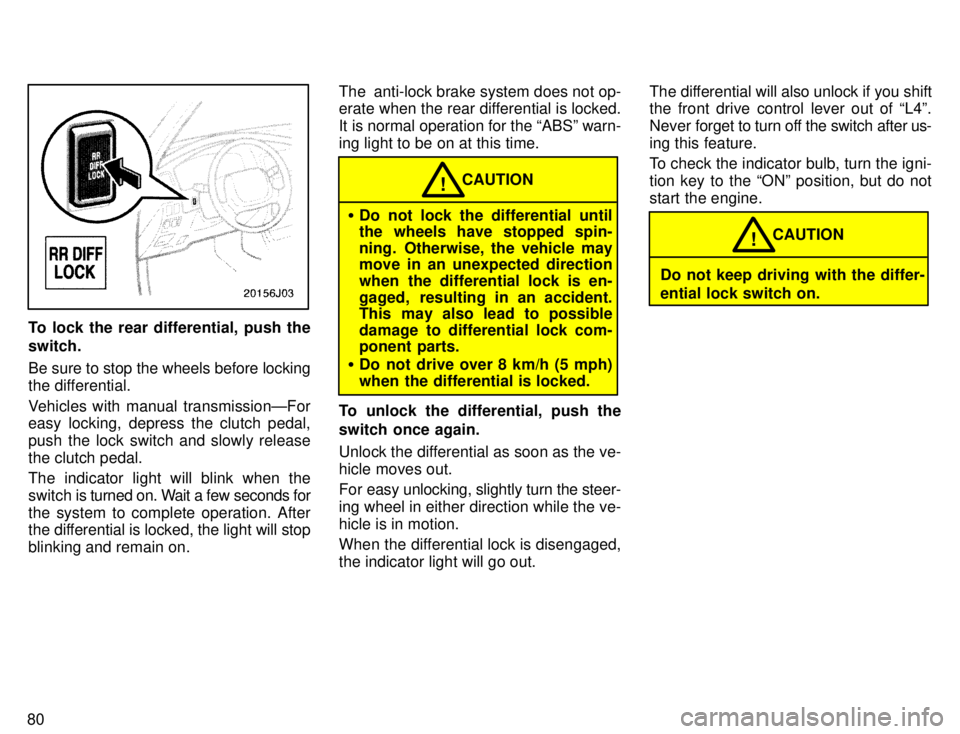
To lock the rear differential, push the switch.
Be sure to stop the wheels before locking
the differential.
Vehicles with manual transmissionÐFor
easy locking, depress the clutch pedal,
push the lock switch and slowly releasethe clutch pedal.
The indicator light will blink when the
switch is turned on. Wait a few seconds for
the system to complete operation. After
the differential is locked, the light will stop
blinking and remain on. The anti-lock brake system does not op-
erate when the rear differential is locked.
It is normal operation for the ABSº warn-
ing light to be on at this time.
�
Do not lock the differential until
the wheels have stopped spin-
ning. Otherwise, the vehicle may
move in an unexpected direction
when the differential lock is en-
gaged, resulting in an accident.
This may also lead to possible
damage to differential lock com-
ponent parts.
� Do not drive over 8 km/h (5 mph)
when the differential is locked. CAUTION
!
To unlock the differential, push the
switch once again.
Unlock the differential as soon as the ve- hicle moves out.
For easy unlocking, slightly turn the steer-
ing wheel in either direction while the ve-hicle is in motion.
When the differential lock is disengaged, the indicator light will go out. The differential will also unlock if you shift
the front drive control lever out of L4º. Never
forget to turn off the switch after us-
ing this feature.
To check the indicator bulb, turn the igni-
tion key to the ONº position, but do not
start the engine.
Do not keep driving with the differ- ential lock switch on. CAUTION
!
Page 188 of 217

185
Checking and replacing fuses Parts (if replacement is necessary): �
Fuse with same amperage rating as original
Tools: � Conventional wrench (for instrument
lower panel nut)
Adding washer fluid Parts: � Water
� Washer fluid containing antifreeze (for winter use)
Tools: � Funnel
Replacing light bulbs Parts: � Bulb with same number and wattage rating as original (See charts in Re-
placing light bulbsº in Chapter 7-3.)
Tools: � Screwdriver
Page 198 of 217

Part 7Checking battery conditionÐ ÐPrecautions
195
DO-IT-YOURSELF MAINTENANCEÐ
Chapter 7-3 Electrical components �
Checking battery condition
�Battery recharging precautions
�Checking and replacing fuses
�Adding washer fluid
�Replacing light bulbs
BATTERY PRECAUTIONS
The battery produces flammable
and explosive hydrogen gas. �
Do not cause a spark from the bat-
tery with tools.
� Do not smoke or light a match near
the battery.
The electrolyte contains poisonous
and corrosive sulfuric acid. � Avoid contact with eyes, skin or clothes.
� Never ingest electrolyte.
� Wear protective safety glasses
when working near the battery.
� Keep children away from the bat-
tery.
EMERGENCY MEASURES � If electrolyte gets in your eyes,
flush your eyes with clean water
for at least 15 minutes and get im-
mediate medical attention. If pos-
sible, continue to apply water with
a sponge or cloth while en route to
the medical office. CAUTION
!�
If electrolyte gets on your skin,
thoroughly wash the contact area.
If you feel pain or burning, get
medical attention immediately.
� If electrolyte gets on your clothes,
there is a possibility of its soaking
through to your skin, so immedi- ately take off the exposed clothing
and follow the procedure above, if
necessary.
� If you happen to swallow electro-
lyte, drink a large quantity of water
or milk. Follow with milk of magne-
sia, beaten raw egg or vegetable
oil. Then go immediately for emer-
gency help.
Page 203 of 217

200If the new fuse immediately blows out, there is a problem with the electrical sys-
tem.
Have your Toyota dealer correct it as
soon as possible.
Never use a fuse with a higher am-
perage rating, or any other object, in
place of a fuse. This may cause ex-tensive damage and possibly a fire. CAUTION
!
If any washer does not work, the wash-
er tank may be empty. Add washer fluid.
You may use plain water as washer fluid.
However, in cold areas where tempera-
tures range below freezing point, use
washer fluid containing antifreeze. This
product is available at your Toyota dealer
and most auto parts stores. Follow the
manufacturer 's directions for how much
to mix with water.
NOTICE
Do not use engine antifreeze or any other substitute because it may
damage your vehicle's paint.
The following illustrations show how to
gain access to the bulbs. When replacing
a bulb, make sure the ignition switch and
light switch are off. Use bulbs with the wattage ratings given in the table.
Halogen bulbs have pressurized
gas inside and require special han-
dling. They can burst or shatter ifscratched or dropped. Hold a bulb
only by its plastic or metal case. Do
not touch the glass part of a bulb
with bare hands. CAUTION
!
NOTICE
Only use a bulb of the listed type.
Adding washer fluid Replacing light bulbsÐ
Page 204 of 217

201
Light bulbs
Bulb
No.WType
HeadlightÐ60/55A
Parking and front side marker lightsÐ5C
Front turn signal lights115627B
Rear turn signal lightsÐ21C
Stop and tail lightsÐ21/5C
Back-up lightsÐ21C
License plate lightÐ5C
High mounted stop light92118C
Interior lightÐ8D
Personal lightsÐ8D
Glovebox lightÐ1.4C
Luggage compart- ment lightÐ8D
A: HB2 halogen bulbs
B: Single end bulbs
C: Wedge base bulbs
D: Double end bulbs
1. Open the hood. Unplug the connec-
tor. Remove the rubber cover. If the connector is tight, wiggle it.2. Release the bulb retaining spring
and remove the bulb. Install a new
bulb and the bulb retaining spring.
To install a bulb, align the tabs of the bulb with the cutouts of the mounting hole.
ÐHeadlights
Page 205 of 217

202
3. Install the rubber cover, and
snuggle on the boss. Inset the connec-
tor.
Make sure the rubber cover fits snugly on
the connector and the headlight body.
Aiming is not necessary after replacing
the bulb. When aiming adjustment is nec-
essary, contact your Toyota dealer.Use a Phillips-head screwdriver.
ÐParking and front side marker lights