CD player TOYOTA AVENSIS 2011 User Guide
[x] Cancel search | Manufacturer: TOYOTA, Model Year: 2011, Model line: AVENSIS, Model: TOYOTA AVENSIS 2011Pages: 772, PDF Size: 34.43 MB
Page 411 of 772
411 3-2. Using the audio system
3
Interior features
AVENSIS_EE (OM20B44E)
Display
P. 402
Error messages
“ERROR”: This indicates a problem either in the CD or inside the
player.
“CD CHECK”: The CD may be dirty, damaged or inserted up-side down.
“NO SUPPORT”: This indicates that the MP3/WMA file is not included in the
CD.
Discs that can be used
Discs with the marks shown below can be used.
Playback may not be possible depending on recording format or disc fea-
tures, or due to scratches, dirt or deterioration.
CD player protection feature
To protect the internal components, playback is automatically stopped when
a problem is detected while the CD player is being used.
If a CD is left inside the CD player or in the ejected position for
extended periods
The CD may be damaged and may not play properly.
Lens cleaners
Do not use lens cleaners. Doing so may damage the CD player.
Page 415 of 772
415 3-2. Using the audio system
3
Interior features
AVENSIS_EE (OM20B44E)
Playback
• To play MP3 file with steady sound quality, we recommend a fixed bit
rate of 128 kbps and a sampling frequency of 44.1 kHz.
• CD-R or CD-RW playback may not be possible in some instances,
depending on the characteristics of the disc.
• There is a wide variety of freeware and other encoding software for
MP3 and WMA files on the market, and depending on the status of the
encoding and the file format, poor sound quality or noise at the start of
playback may result. In some cases, playback may not be possible at
all.
• When files other than MP3 or WMA files are recorded on a disc, it may
take more time to recognize the disc and in some cases, playback may
not be possible at all.
• Microsoft, Windows, and Windows Media are the registered trade-
marks of Microsoft Corporation in the U.S. and other countries.
NOTICE
CDs and adapters that cannot be used (P. 404)
CD player precautions (P. 405)
Page 442 of 772
442
3-2. Using the audio system
AVENSIS_EE (OM20B44E)
Bluetooth® audio/phone
: If equipped
Bluetooth® audio
The Bluetooth
® audio system enables you to enjoy music played
on a portable digital audio player (portable player) from the vehi-
cle speakers via wireless communication.
This audio system supports Bluetooth
®, a wireless data system
capable of playing portable audio music without cables. If your
portable player does not support Bluetooth
®, the Bluetooth®
audio system will not function.
Bluetooth
® phone (hands-free phone system)
This system supports Bluetooth
®, which allows you to make or
receive calls without using cables to connect a cellular phone
and the system, and without operating the cellular phone.
Page 443 of 772
443 3-2. Using the audio system
3
Interior features
AVENSIS_EE (OM20B44E)
Conditions affecting operation
The Bluetooth
® audio/phone may not operate normally in the following situa-
tions:
The portable player does not support Bluetooth
®
The cellular phone is located outside the service area
The Bluetooth
® device is switched off
The Bluetooth
® device has a low battery
The Bluetooth
® device is not connected to the system
The Bluetooth
® device is behind the seat or in the glove box or console
box, or metal material covers or touches the device
When transferring ownership of the vehicle
Be sure to initialize the system to prevent personal data from being improp-
erly accessed. (P. 470)
About Bluetooth
®
Bluetooth is a registered trademark of
Bluetooth SIG. Inc.
Page 444 of 772
444 3-2. Using the audio system
AVENSIS_EE (OM20B44E)
Compatible models
Bluetooth
® specifications:
Ver. 1.1, or higher (recommended: Ver. 2.1 + EDR or higher)
Following Profiles:
• A2DP (Advanced Audio Distribution Profile) Ver. 1.0, or higher (recom-
mended: Ver. 1.2 or higher)
• AVRCP (Audio/Video Remote Control Profile) Ver. 1.0 or higher (rec-
ommended: Ver. 1.3 or higher)
Portable players must correspond to the above specifications in order to be
connected to the Bluetooth
® audio system. However, please note that some
functions may be limited depending on the type of portable player.
Cellular phone
• HFP (Hands Free Profile) Ver. 1.0 or higher (Recommended: Ver. 1.5)
• OPP (Object Push Profile) Ver. 1.1
• PBAP (Phone Book Access Profile) Ver. 1.0
Page 452 of 772
452 3-2. Using the audio system
AVENSIS_EE (OM20B44E)
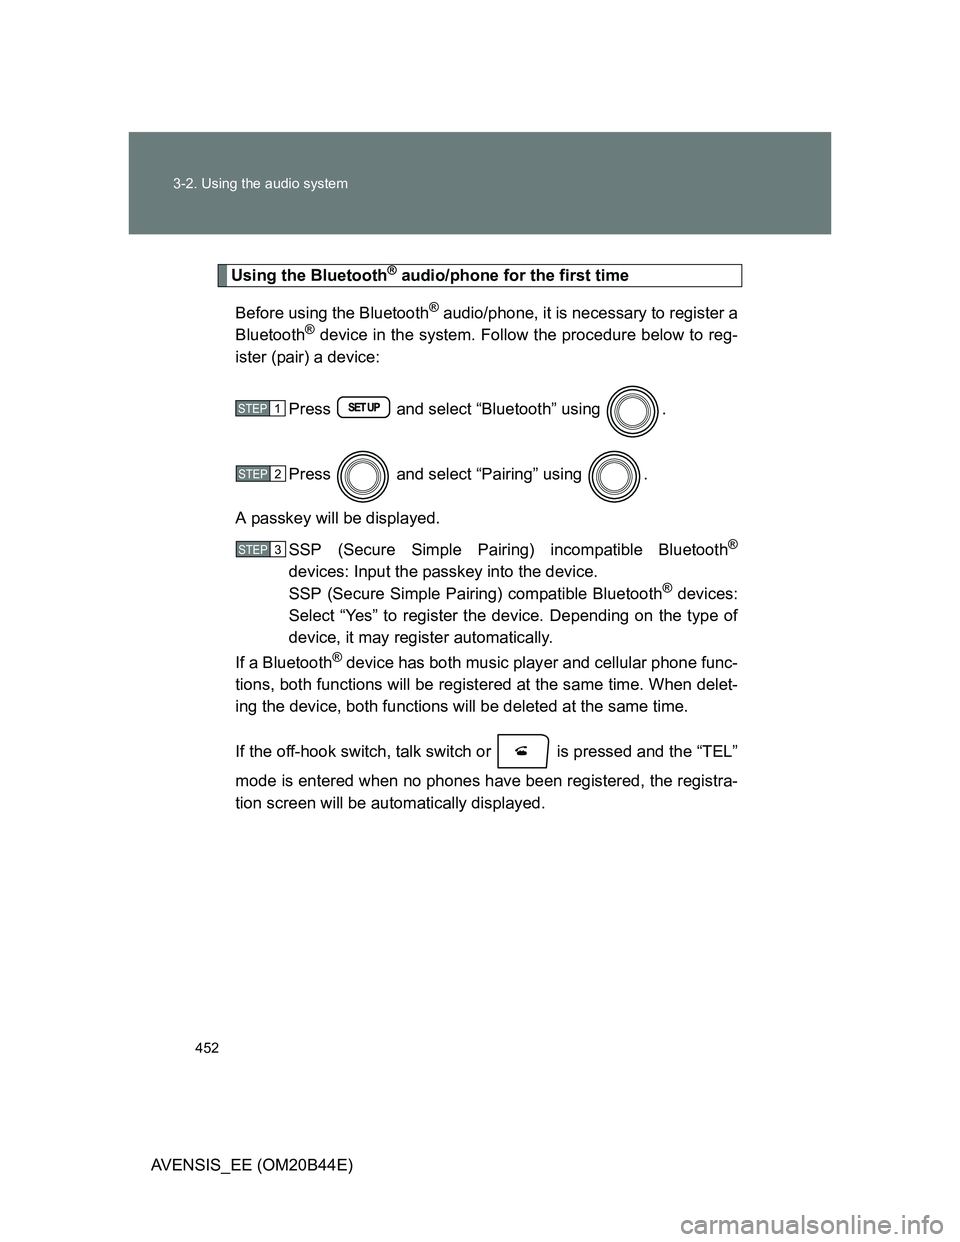
Using the Bluetooth® audio/phone for the first time
Before using the Bluetooth
® audio/phone, it is necessary to register a
Bluetooth® device in the system. Follow the procedure below to reg-
ister (pair) a device:
Press and select “Bluetooth” using .
Press and select “Pairing” using .
A passkey will be displayed.
SSP (Secure Simple Pairing) incompatible Bluetooth
®
devices: Input the passkey into the device.
SSP (Secure Simple Pairing) compatible Bluetooth® devices:
Select “Yes” to register the device. Depending on the type of
device, it may register automatically.
If a Bluetooth
® device has both music player and cellular phone func-
tions, both functions will be registered at the same time. When delet-
ing the device, both functions will be deleted at the same time.
If the off-hook switch, talk switch or is pressed and the “TEL”
mode is entered when no phones have been registered, the registra-
tion screen will be automatically displayed.
STEP1
STEP2
STEP3
Page 453 of 772
453 3-2. Using the audio system
3
Interior features
AVENSIS_EE (OM20B44E)
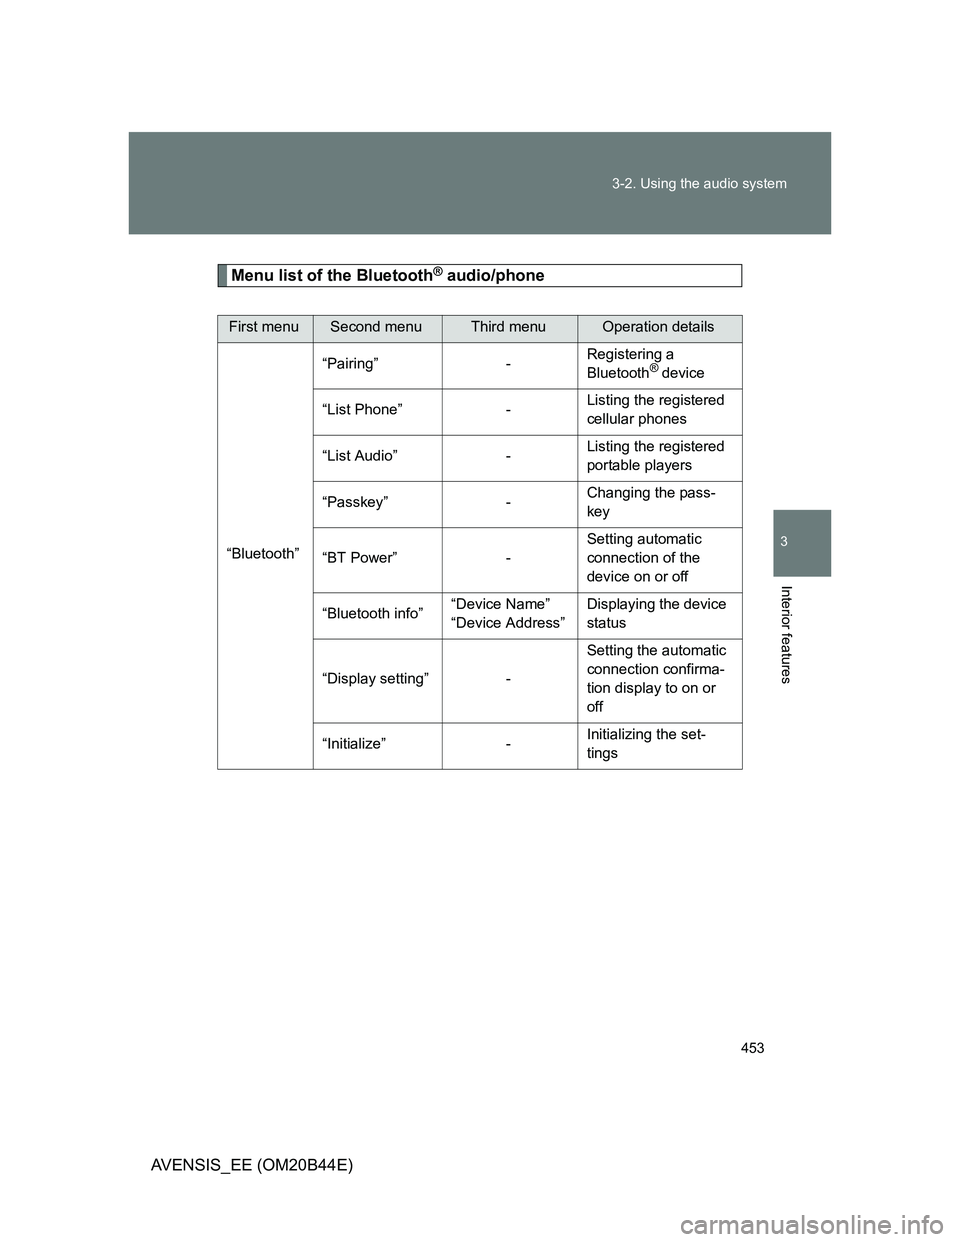
Menu list of the Bluetooth® audio/phone
First menuSecond menuThird menuOperation details
“Bluetooth”“Pairing” -Registering a
Bluetooth
® device
“List Phone” -Listing the registered
cellular phones
“List Audio” -Listing the registered
portable players
“Passkey” -Changing the pass-
key
“BT Power” -Setting automatic
connection of the
device on or off
“Bluetooth info”“Device Name”
“Device Address”Displaying the device
status
“Display setting” -Setting the automatic
connection confirma-
tion display to on or
off
“Initialize” -Initializing the set-
tings
Page 455 of 772
455
3-2. Using the audio system
3
Interior features
AVENSIS_EE (OM20B44E)
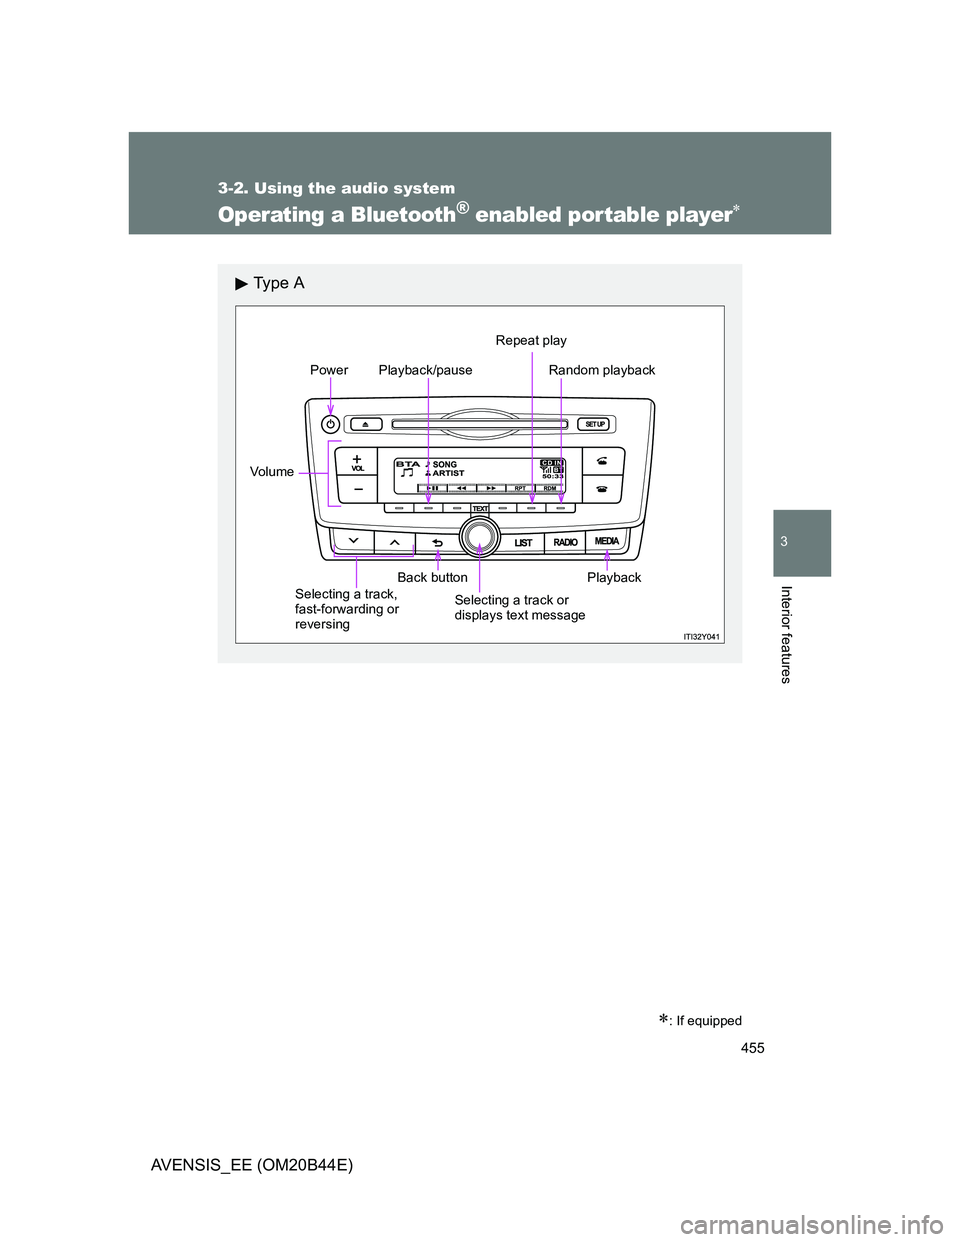
Operating a Bluetooth® enabled portable player
: If equipped
Ty p e A
Power
Vo lu m e
Back buttonPlayback/pauseRepeat play
Random playback
Playback
Selecting a track,
fast-forwarding or
reversingSelecting a track or
displays text message
Page 458 of 772
![TOYOTA AVENSIS 2011 User Guide 458 3-2. Using the audio system
AVENSIS_EE (OM20B44E)
Random playback
Pressing [RDM] changes modes in the following order:
Album randomAll track randomOff.
Playing and pausing tracks
Press ( TOYOTA AVENSIS 2011 User Guide 458 3-2. Using the audio system
AVENSIS_EE (OM20B44E)
Random playback
Pressing [RDM] changes modes in the following order:
Album randomAll track randomOff.
Playing and pausing tracks
Press (](/img/14/59673/w960_59673-457.png)
458 3-2. Using the audio system
AVENSIS_EE (OM20B44E)
Random playback
Pressing [RDM] changes modes in the following order:
Album randomAll track randomOff.
Playing and pausing tracks
Press ( ).
Switching the display
Press (type A) or (type B).
Track title and Artist name are displayed on the display.
To return to the previous display, press
or (type A) or
or [BACK] (type B).
Bluetooth® audio system functions
Depending on the portable player that is connected to the system, certain
functions may not be available.
Page 465 of 772
465
3-2. Using the audio system
3
Interior features
AVENSIS_EE (OM20B44E)
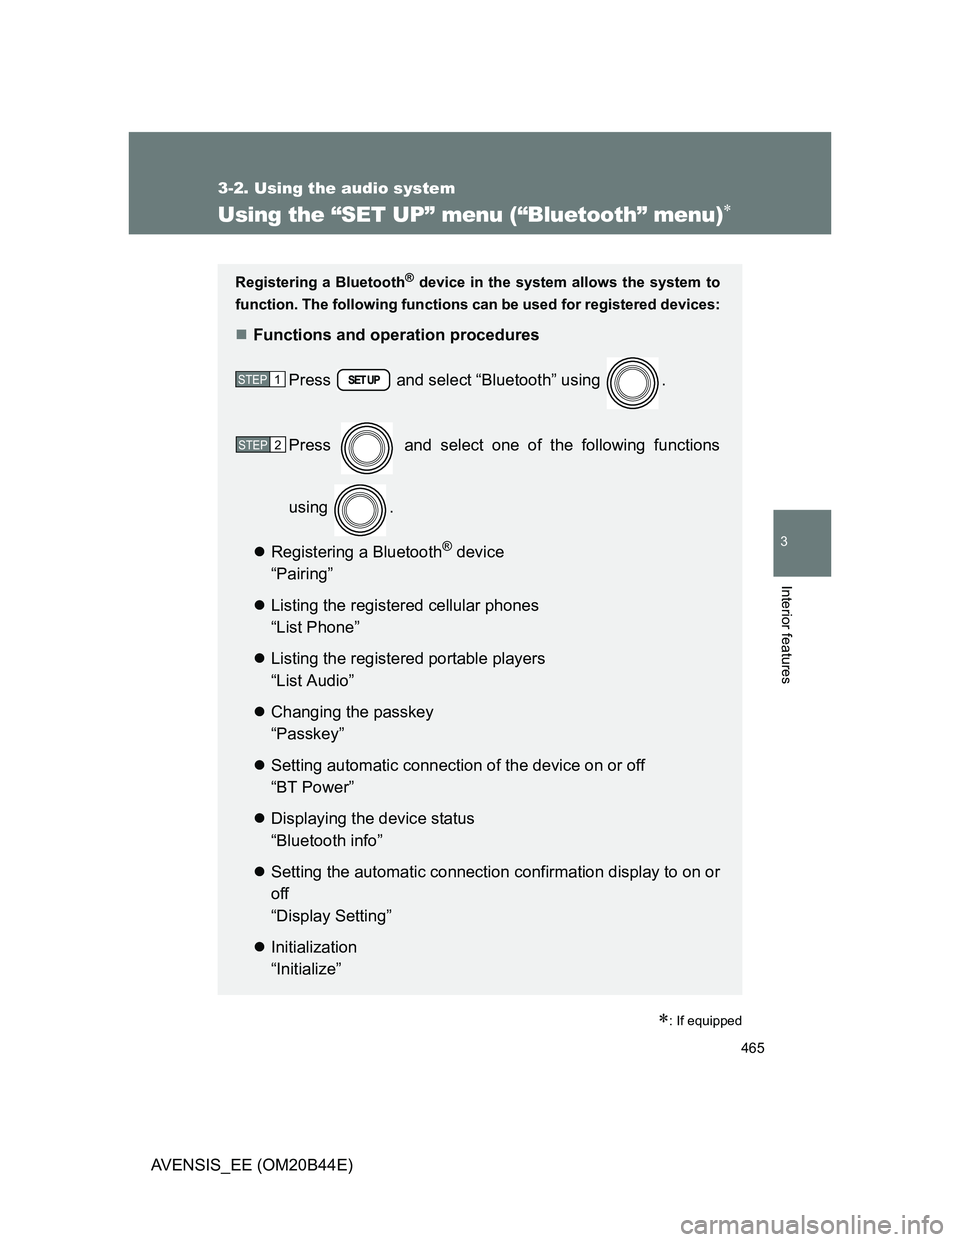
Using the “SET UP” menu (“Bluetooth” menu)
: If equipped
Registering a Bluetooth® device in the system allows the system to
function. The following functions can be used for registered devices:
Functions and operation procedures
Press and select “Bluetooth” using .
Press and select one of the following functions
using .
Registering a Bluetooth
® device
“Pairing”
Listing the registered cellular phones
“List Phone”
Listing the registered portable players
“List Audio”
Changing the passkey
“Passkey”
Setting automatic connection of the device on or off
“BT Power”
Displaying the device status
“Bluetooth info”
Setting the automatic connection confirmation display to on or
off
“Display Setting”
Initialization
“Initialize”
STEP1
STEP2