fuel cap TOYOTA COROLLA CROSS HYBRID 2023 Owners Manual
[x] Cancel search | Manufacturer: TOYOTA, Model Year: 2023, Model line: COROLLA CROSS HYBRID, Model: TOYOTA COROLLA CROSS HYBRID 2023Pages: 516, PDF Size: 15.96 MB
Page 3 of 516
3TABLE OF CONTENTS
1
2
3
4
5
6
7
8
9
10
Turn signal lever.................185
Parking brake ..................... 186
Brake Hold ......................... 189
4-3. Operating the lights and wip- ers
Headlight switch ................. 192
AHB (Automatic High Beam) ......................................... 195
Fog light switch .................. 198
Windshield wipers and washer ......................................... 198
Rear windshield wiper and washer ............................. 200
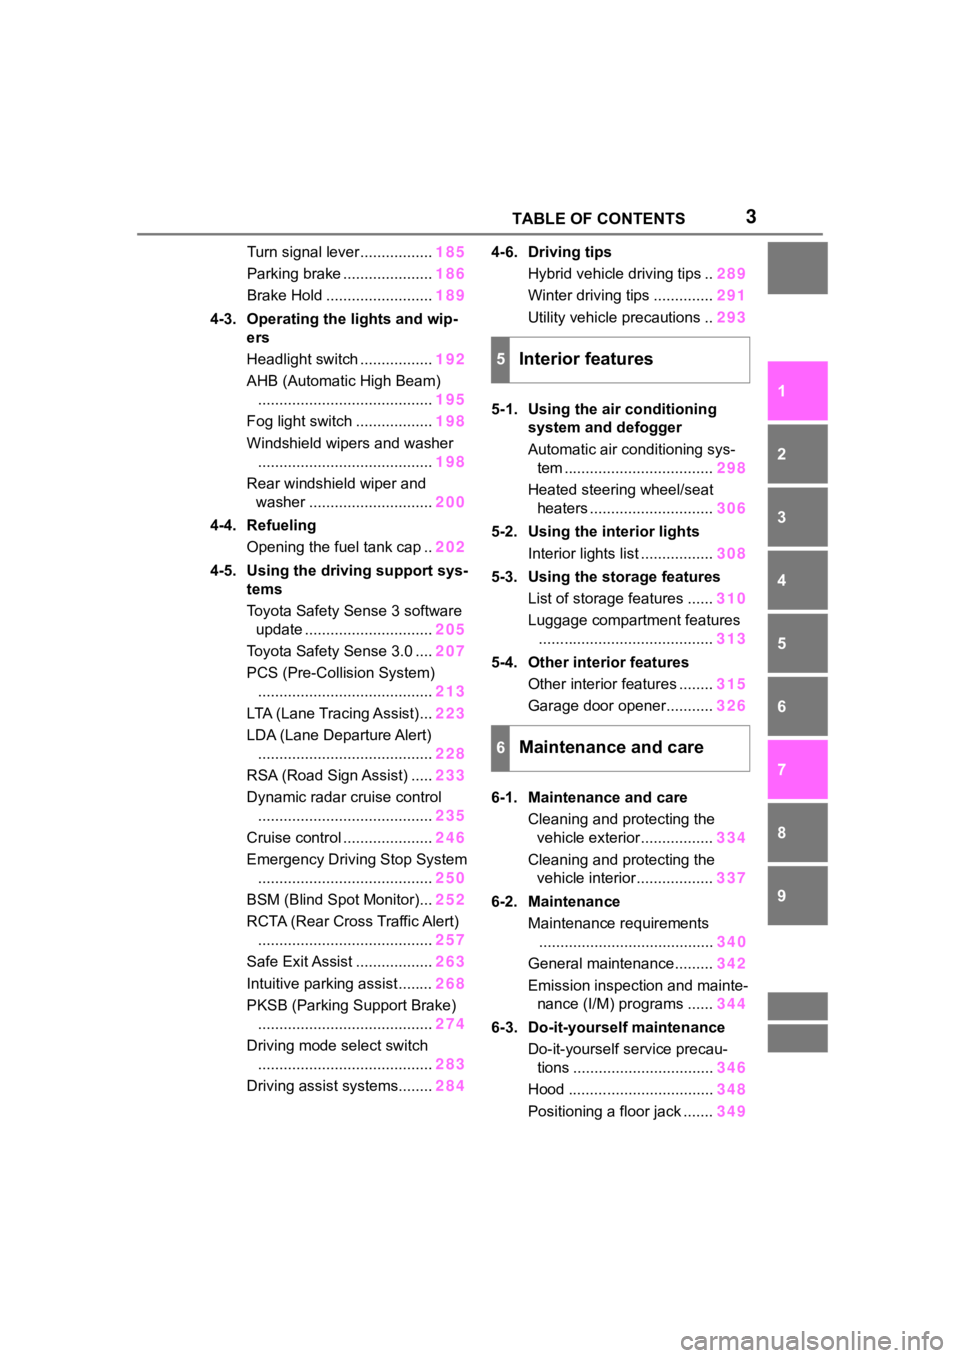
4-4. Refueling Opening the fuel tank cap .. 202
4-5. Using the driving support sys- tems
Toyota Safety Sense 3 software update .............................. 205
Toyota Safety Sense 3.0 .... 207
PCS (Pre-Collision System) ......................................... 213
LTA (Lane Tracing Assist)... 223
LDA (Lane Departure Alert) ......................................... 228
RSA (Road Sign Assist) ..... 233
Dynamic radar cruise control ......................................... 235
Cruise control ..................... 246
Emergency Driving Stop System ......................................... 250
BSM (Blind Spot Monitor)... 252
RCTA (Rear Cross Traffic Alert) ......................................... 257
Safe Exit Assist .................. 263
Intuitive parking assist ........ 268
PKSB (Parking Support Brake) ......................................... 274
Driving mode select switch ......................................... 283
Driving assist systems........ 2844-6. Driving tips
Hybrid vehicle driving tips .. 289
Winter driving tips .............. 291
Utility vehicle precautions .. 293
5-1. Using the air conditioning system and defogger
Automatic air conditioning sys-tem ................................... 298
Heated steering wheel/seat heaters ............................. 306
5-2. Using the interior lights Interior lights list ................. 308
5-3. Using the storage features List of storage features ...... 310
Luggage compartment features ......................................... 313
5-4. Other interior features Other interior features ........ 315
Garage door opener........... 326
6-1. Maintenance and care Cleaning and protecting the vehicle exterior................. 334
Cleaning and protecting the vehicle interior.................. 337
6-2. Maintenance
Maintenance requirements ........ ................................. 34
0
General maintenance......... 342
Emission inspection and mainte- nance (I/M) programs ...... 344
6-3. Do-it-yourself maintenance Do-it-yourself service precau-tions ................................. 346
Hood .................................. 348
Positioning a floor jack ....... 349
5Interior features
6Maintenance and care
Page 14 of 516
14Pictorial index
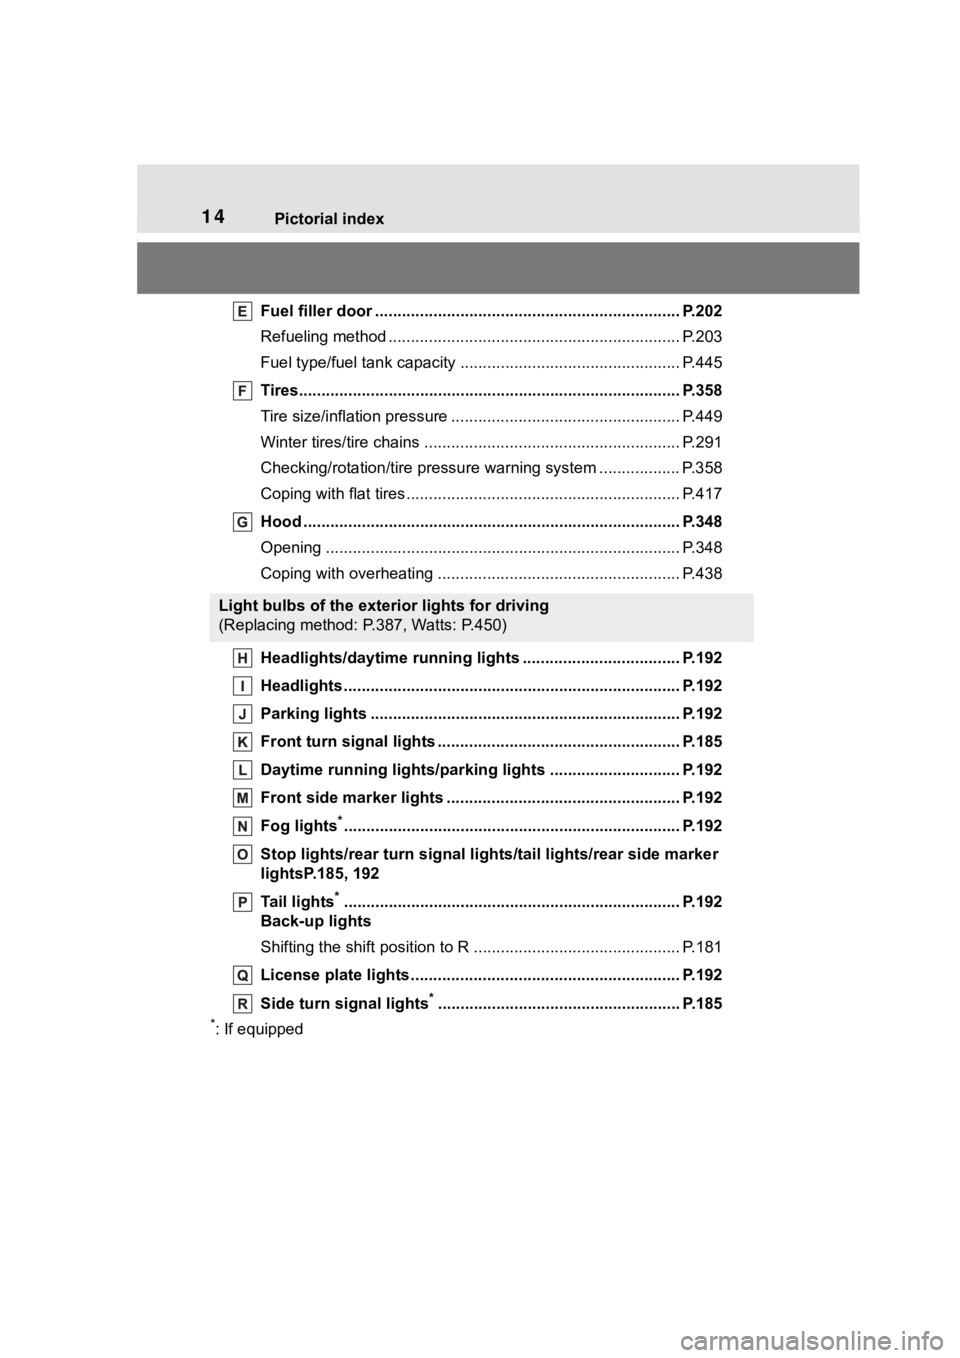
Fuel filler door .................................................................... P.202
Refueling method ............................................... .................. P.203
Fuel type/fuel tan k capacity ................................... .............. P.445
Tires.......................................................... ........................... P.358
Tire size/inflation pressure ................................... ................ P.449
Winter tires/tire chains ....................................... .................. P.291
Checking/rotation/tire pressur e warning system ..................P.358
Coping with flat tires......................................... .................... P.417
Hood ........................................................... ......................... P.348
Opening ............................................................................... P.348
Coping with overheating ...................................................... P.438
Headlights/daytime running lights .............................. ..... P.192
Headlights..................................................... ...................... P.192
Parking lights ................................................. .................... P.192
Front turn signal lights ....................................... ............... P.185
Daytime running lights/parking lights ............................. P.192
Front side marker lights ....................................... ............. P.192
Fog lights
*............................................................... ............ P.192
Stop lights/rear turn signal lig hts/tail lights/rear side marker
lightsP.185, 192
Tail lights
*............................................................... ............ P.192
Back-up lights
Shifting the shift position to R ............................... ............... P.181
License plate lights........................................... ................. P.192
Side turn signal lights
*...................................................... P.185
*: If equipped
Light bulbs of the exterior lights for driving
(Replacing method: P.387, Watts: P.450)
Page 151 of 516
151
4
4
Driving
Driving
.4-1. Before drivingDriving the vehicle....... 153
Cargo and luggage ..... 160
Vehicle load limits ....... 163
Trailer towing............... 164
Dinghy towing ............. 173
4-2. Driving procedures Power (ignition) switch.................................. 174
EV drive mode ............ 179
Hybrid transmission .... 181
Turn signal lever.......... 185
Parking brake .............. 186
Brake Hold .................. 189
4-3. Operating the lights and wipers
Headlight switch .......... 192
AHB (Automatic High Beam)........................ 195
Fog light switch ........... 198
Windshield wipers and washer....................... 198
Rear windshield wiper and washer....................... 200
4-4. Refueling Opening the fuel tank cap.................................. 202
4-5. Using the driving support
systems
Toyota Safety Sense 3 soft- ware update .............. 205Toyota Safety Sense 3.0
.................................. 207
PCS (Pre-Collision System) .................................. 213
LTA (Lane Tracing Assist) .................................. 223
LDA (Lane Departure Alert) .................................. 228
RSA (Road Sign Assist) .................................. 233
Dynamic radar cruise con- trol ............................. 235
Cruise control .............. 246
Emergency Driving Stop System ...................... 250
BSM (Blind Spot Monitor) .................................. 252
RCTA (Rear Cross Traffic Alert) .......................... 257
Safe Exit Assist ........... 263
Intuitive parking assist . 268
PKSB (Parking Support Brake) ........................ 274
Driving mode select switch .................................. 283
Driving assist systems .................................. 284
4-6. Driving tips Hybrid vehicle driving tips.................................. 289
Winter driving tips........ 291
Page 202 of 516
2024-4. Refueling
4-4.Refueling
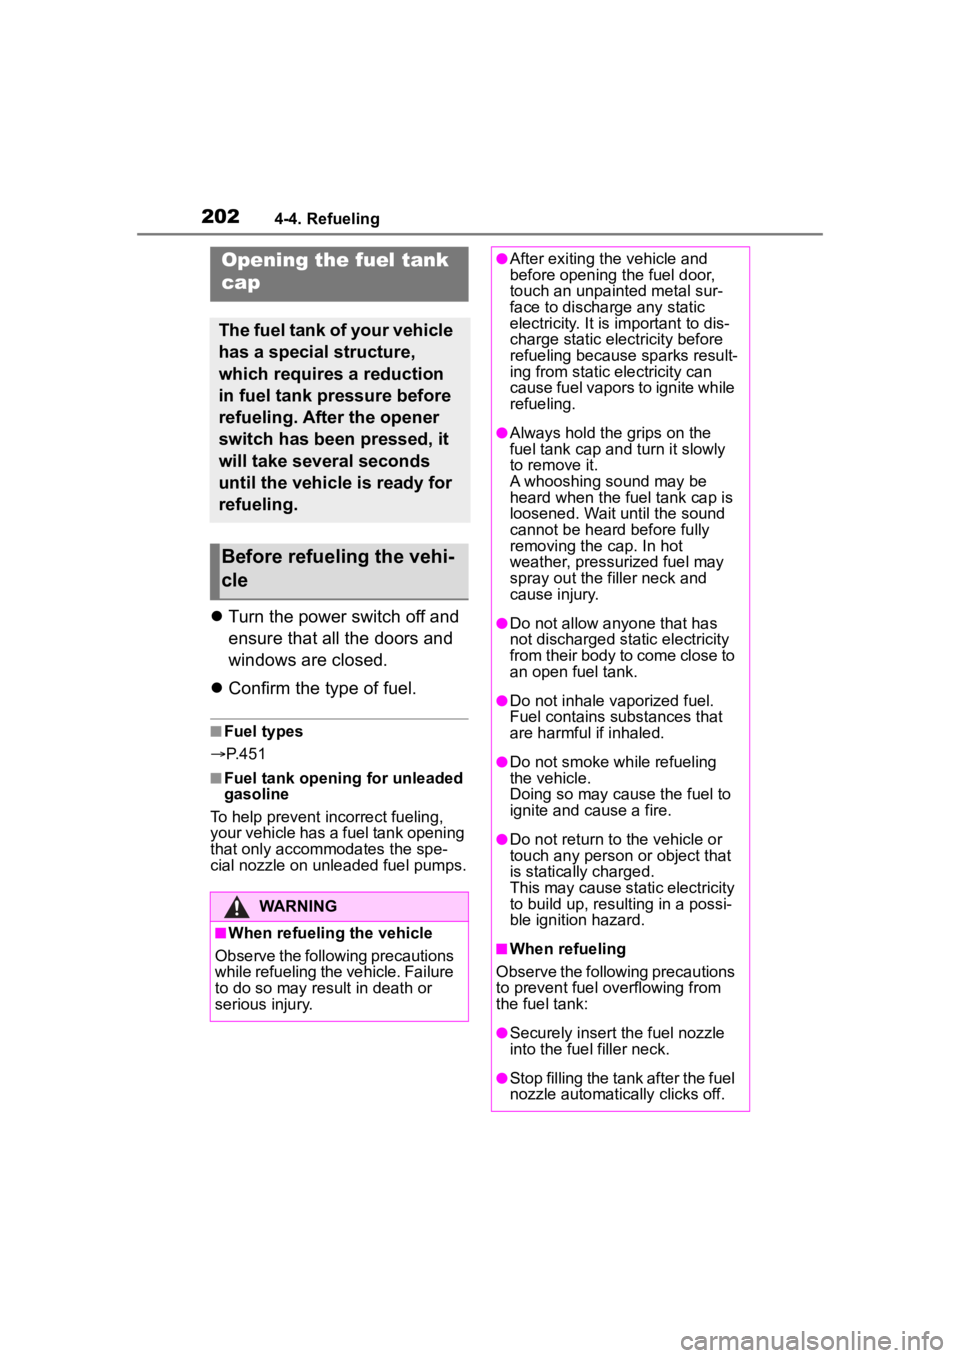
Turn the power switch off and
ensure that all the doors and
windows are closed.
Confirm the type of fuel.
■Fuel types
P. 4 5 1
■Fuel tank opening for unleaded
gasoline
To help prevent incorrect fueling,
your vehicle has a fuel tank opening
that only accommodates the spe-
cial nozzle on unle aded fuel pumps.
Opening the fuel tank
cap
The fuel tank of your vehicle
has a special structure,
which requires a reduction
in fuel tank pressure before
refueling. After the opener
switch has been pressed, it
will take several seconds
until the vehicle is ready for
refueling.
Before refueling the vehi-
cle
WARNING
■When refueling the vehicle
Observe the following precautions
while refueling the vehicle. Failure
to do so may result in death or
serious injury.
●After exiting the vehicle and
before opening the fuel door,
touch an unpainted metal sur-
face to discharge any static
electricity. It is important to dis-
charge static electricity before
refueling because sparks result-
ing from static electricity can
cause fuel vapors to ignite while
refueling.
●Always hold the grips on the
fuel tank cap and turn it slowly
to remove it.
A whooshing sound may be
heard when the f uel tank cap is
loosened. Wait until the sound
cannot be heard before fully
removing the cap. In hot
weather, pressurized fuel may
spray out the filler neck and
cause injury.
●Do not allow anyone that has
not discharged static electricity
from their body to come close to
an open fuel tank.
●Do not inhale vaporized fuel.
Fuel contains substances that
are harmful if inhaled.
●Do not smoke while refueling
the vehicle.
Doing so may cause the fuel to
ignite and cause a fire.
●Do not return to the vehicle or
touch any person or object that
is statically charged.
This may cause static electricity
to build up, resulting in a possi-
ble ignition hazard.
■When refueling
Observe the following precautions
to prevent fuel overflowing from
the fuel tank:
●Securely insert the fuel nozzle
into the fuel filler neck.
●Stop filling the tank after the fuel
nozzle automatically clicks off.
Page 203 of 516
2034-4. Refueling
4
Driving
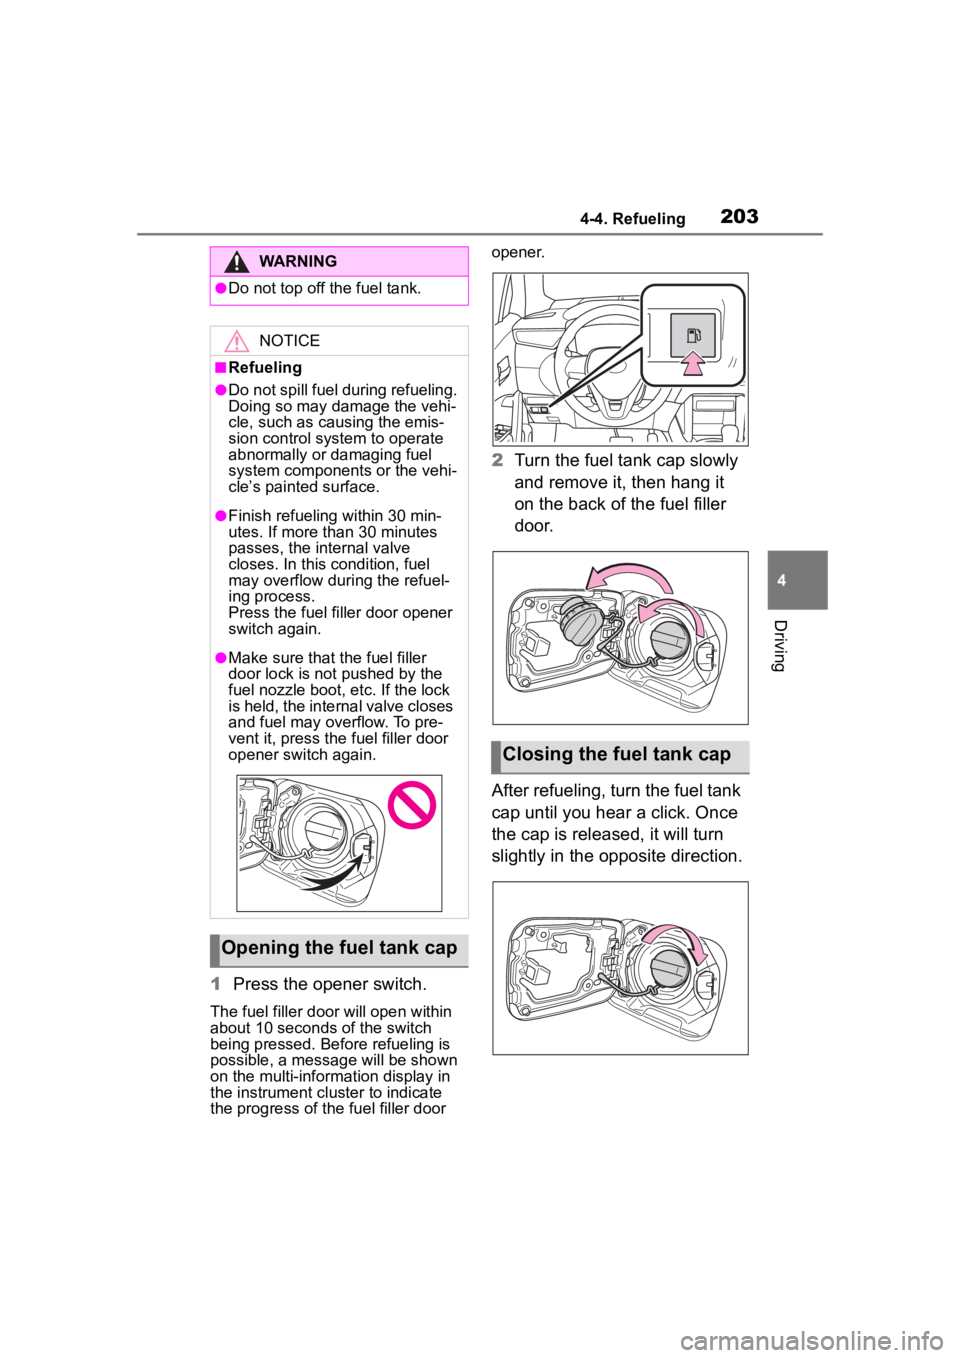
1Press the opener switch.
The fuel filler doo r will open within
about 10 seconds of the switch
being pressed. Before refueling is
possible, a message will be shown
on the multi-information display in
the instrument cluster to indicate
the progress of the fuel filler door opener.
2
Turn the fuel tank cap slowly
and remove it, then hang it
on the back of the fuel filler
door.
After refueling, turn the fuel tank
cap until you hear a click. Once
the cap is released, it will turn
slightly in the opposite direction.
WARNING
●Do not top off the fuel tank.
NOTICE
■Refueling
●Do not spill fuel during refueling.
Doing so may damage the vehi-
cle, such as causing the emis-
sion control system to operate
abnormally or damaging fuel
system components or the vehi-
cle’s painted surface.
●Finish refueling within 30 min-
utes. If more than 30 minutes
passes, the internal valve
closes. In this condition, fuel
may overflow during the refuel-
ing process.
Press the fuel filler door opener
switch again.
●Make sure that the fuel filler
door lock is not pushed by the
fuel nozzle boot, etc. If the lock
is held, the internal valve closes
and fuel may overflow. To pre-
vent it, press the fuel filler door
opener switch again.
Opening the fuel tank cap
Closing the fuel tank cap
Page 204 of 516
2044-4. Refueling
■When “Check Fuel Cap” is dis-
played on the multi-information
display
The fuel tank cap may be unfas-
tened or loose. Turn the power
switch off, check the cap and tighten
it securely. If the message remains,
wait a few seconds and then turn
the power switch off once again.
WARNING
■When replacing the fuel tank
cap
Do not use anything but a genu-
ine Toyota fuel tank cap designed
for your vehicle. Doing so may
cause a fire or other incident
which may result in death or seri-
ous injury.
Page 344 of 516
3446-2. Maintenance
The OBD system determines
that a problem exists some-
where in the emission control
system. Your vehicle may not
pass the I/M test and may need
to be repaired. Contact your
Toyota dealer to service the
vehicle.
When the 12-volt battery is
disconnected or discharged
Readiness codes that are set
during ordinary driving are erased.
Also, depending on your driving
habits, the readiness codes may
not be completely set.
When the fuel tank cap is
loose
Fluid leaks
There should not
be any signs of
fluid leakage after
the vehicle has
been parked.
Tires
• Is the tire infla-
tion pressure
correct?
• The tires should not be damaged
or excessively
worn.
• Have the tires been rotated
according to the
maintenance
schedule?
• The wheel nuts should not be
loose.
Windshield
wipers/rear
window wiper
(if equipped)
• The wiper blades should not show
any signs of
cracking, split-
ting, wear, con-
tamination or
deformation.
• The wiper blades should clear the
windshield/rear
window without
streaking or skip-
ping.
ItemsCheck pointsEmission inspection
and maintenance (I/M)
programs
Some states have vehicle
emission inspection pro-
grams which include OBD
(On Board Diagnostics)
checks. The OBD system
monitors the operation of
the emission control sys-
tem.
If the malfunction indica-
tor lamp comes on
Your vehicle may not pass
the I/M test in the follow-
ing situations:
Page 375 of 516
3756-3. Do-it-yourself maintenance
6
Maintenance and care
Tire pressure gauge
1 Remove the tire valve cap.
2 Press the tip of the tire pres-
sure gauge onto the tire
valve.
3 Read the pressure using the
gauge gradations.
4 If the tire inflation pressure is
not at the recommended
level, adjust the pressure.
If you add too much air, press
the center of the valve to
deflate.
5 After completing the tire infla-
tion pressure measurement
and adjustment, apply soapy
water to the valve and check
for leakage.
6 Put the tire valve cap back
on.
■Tire inflation pressure check
interval
You should check tire inflation pres-
sure every two weeks, or at least
once a month. Do not forget to
check the spare.
■Effects of incorrect tire inflation
pressure
Driving with incorrect tire inflation
pressure may result in the following:
●Reduced fuel economy
●Reduced driving comfort and poor
handling
●Reduced tire life due to wear
●Reduced safety
●Damage to the drive train
If a tire needs frequent inflating,
have it checked by your Toyota
dealer.
■Instructions for checking tire
inflation pressure
When checking tire inflation pres-
sure, observe the following:
●Check only when the tires are
cold.
If your vehicle has been parked for
at least 3 hours or has not been
driven for more than 1 mile or 1.5
km, you will get an accurate cold
tire inflation pressure reading.
●Always use a tire pressure gauge.
It is difficult to j udge if a tire is
properly inflated based only on its
appearance.
●It is normal for the tire inflation
pressure to be higher after driving
as heat is generated in the tire. Do
not reduce tire inflation pressure
after driving.
●Never exceed the vehicle capacity
weight.
Passengers and luggage weight
should be placed so that the vehi-
cle is balanced.
WARNING
■Proper inflation is critical to
save tire performance
Keep your tires properly inflated.
If the tires are not properly
inflated, the following conditions
may occur which could lead to an
accident resulting in death or seri-
ous injury:
●Excessive wear
●Uneven wear
●Poor handling
●Possibility of blowouts resulting
from overheated tires
●Air leaking from between tire
and wheel
●Wheel deformation and/or tire
damage
Page 430 of 516
4307-2. Steps to take in an emergency
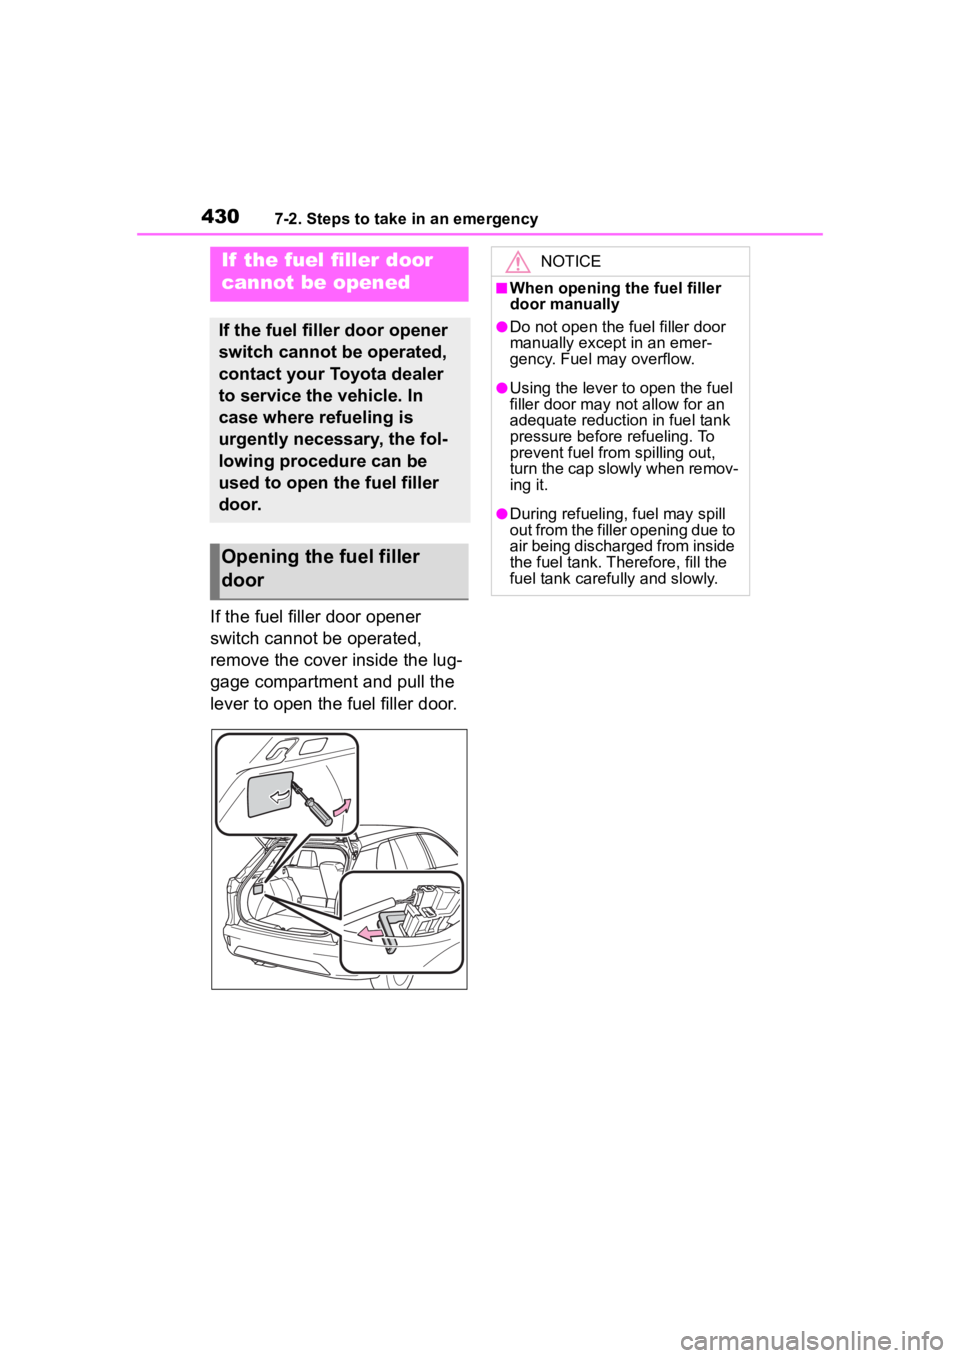
If the fuel filler door opener
switch cannot be operated,
remove the cover inside the lug-
gage compartment and pull the
lever to open the fuel filler door.
If the fuel filler door
cannot be opened
If the fuel filler door opener
switch cannot be operated,
contact your Toyota dealer
to service the vehicle. In
case where refueling is
urgently necessary, the fol-
lowing procedure can be
used to open the fuel filler
door.
Opening the fuel filler
door
NOTICE
■When opening the fuel filler
door manually
●Do not open the fuel filler door
manually except in an emer-
gency. Fuel may overflow.
●Using the lever to open the fuel
filler door may not allow for an
adequate reduction in fuel tank
pressure before refueling. To
prevent fuel from spilling out,
turn the cap slowly when remov-
ing it.
●During refueling, fuel may spill
out from the filler opening due to
air being discharged from inside
the fuel tank. Therefore, fill the
fuel tank carefully and slowly.
Page 444 of 516
4448-1. Specifications
8-1.Specifications
*1: Unladen vehicles
*2: LE or XLE grade vehicles
*3: S, SE or XSE grade vehicles
*4: Vehicles with 215/65R17 tires
*5: Vehicles with 225/55R18 tires
■Vehicle identification num-
berThe vehicle identification num-
ber (VIN) is the legal identifier
Maintenance data (fuel, oil level, etc.)
Dimensions and weight
Overall length175.6 in. (4460 mm)*2
176.8 in. (4490 mm)*3
Overall width71.9 in. (1825 mm)
Overall height*164.8 in. (1645 mm)
Wheelbase103.9 in. (2640 mm)
Tread*1
Front61.7 in. (1566 mm)*4
61.3 in. (1556 mm)*5
Rear
61.7 in. (1567 mm)*2,4
61.7 in. (1568 mm)*3,4
61.3 in. (1557 mm)*2,5
61.3 in. (1558 mm)*3,5
Vehicle capacity weight
(Occupants + luggage)940 lb. (425 kg)
Trailer Weight Rating
(Trailer weight + cargo weight)1500 lb. (680 kg)
Seating capacity
Seating capacity5 (Front 2, Rear 3)
Vehicle identification