audio TOYOTA GR86 2022 Owners Manual (in English)
[x] Cancel search | Manufacturer: TOYOTA, Model Year: 2022, Model line: GR86, Model: TOYOTA GR86 2022Pages: 582, PDF Size: 86.38 MB
Page 16 of 582
14Pictorial index
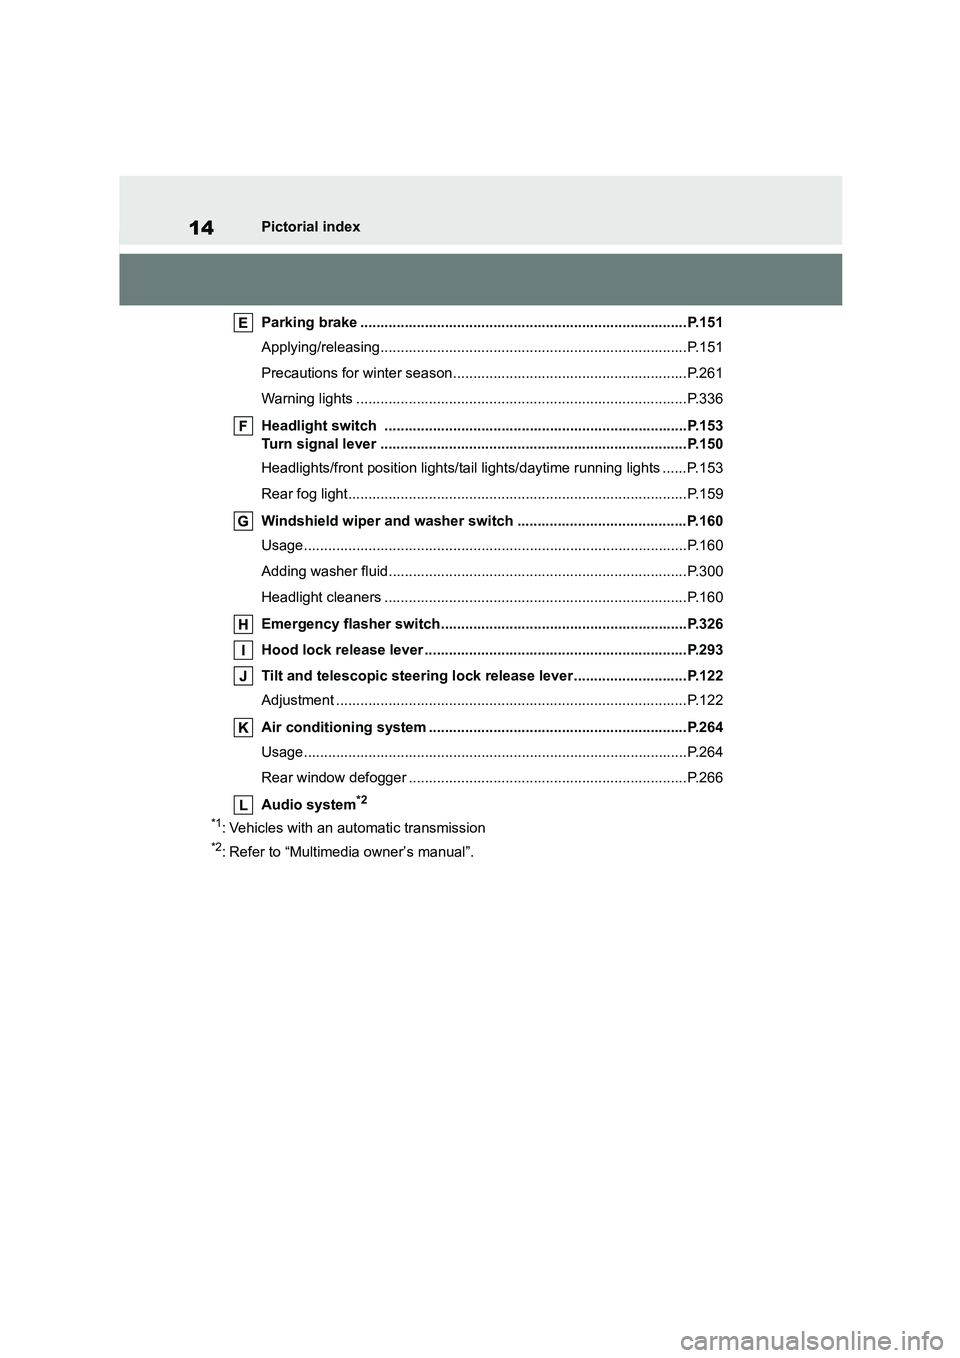
Parking brake .................................................................................P.151
Applying/releasing............................................................................P.151
Precautions for winter season..........................................................P.261
Warning lights ..................................................................................P.336
Headlight switch ...........................................................................P.153
Turn signal lever ............................................................................P.150
Headlights/front position lights/tail lights/daytime running lights ......P.153
Rear fog light....................................................................................P.159
Windshield wiper and washer switch ..........................................P.160
Usage...............................................................................................P.160
Adding washer fluid..........................................................................P.300
Headlight cleaners ...........................................................................P.160
Emergency flasher switch.............................................................P.326
Hood lock release lever .................................................................P.293
Tilt and telescopic steering lock release lever ............................P.122
Adjustment .......................................................................................P.122
Air conditioning system ................................................................P.264
Usage...............................................................................................P.264
Rear window defogger .....................................................................P.266
Audio system*2
*1: Vehicles with an automatic transmission
*2: Refer to “Multimedia owner’s manual”.
Page 18 of 582
16Pictorial index
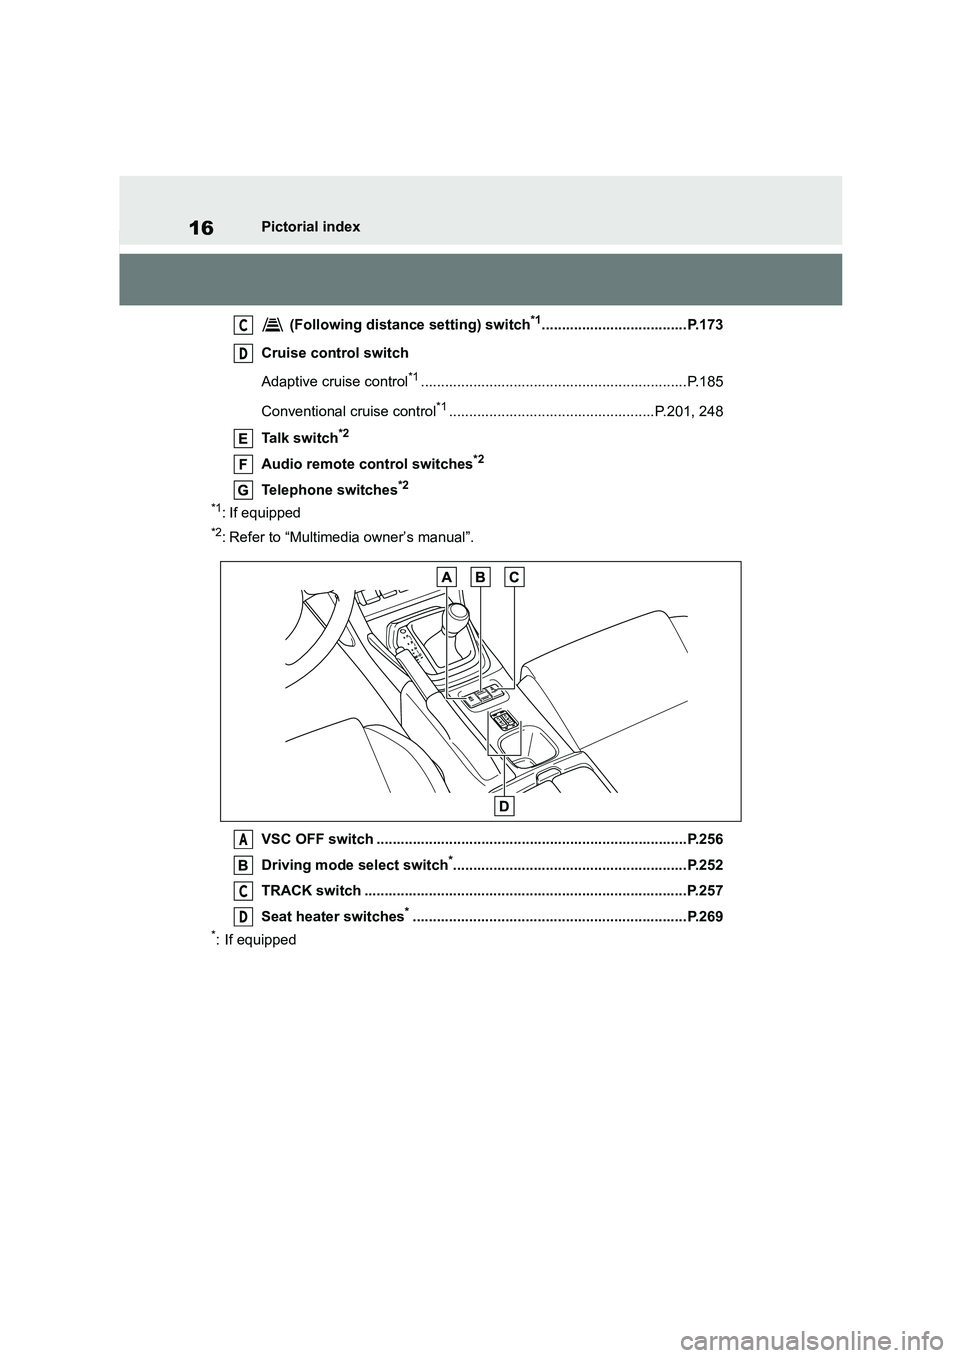
(Following distance setting) switch*1....................................P.173
Cruise control switch
Adaptive cruise control*1..................................................................P.185
Conventional cruise control*1...................................................P.201, 248
Talk switch*2
Audio remote control switches*2
Telephone switches*2
*1: If equipped
*2: Refer to “Multimedia owner’s manual”.
VSC OFF switch .............................................................................P.256
Driving mode select switch*..........................................................P.252
TRACK switch .............. ..................................................................P.257
Seat heater switches*....................................................................P.269
*: If equipped
C
D
A
C
D
Page 22 of 582
20Pictorial index
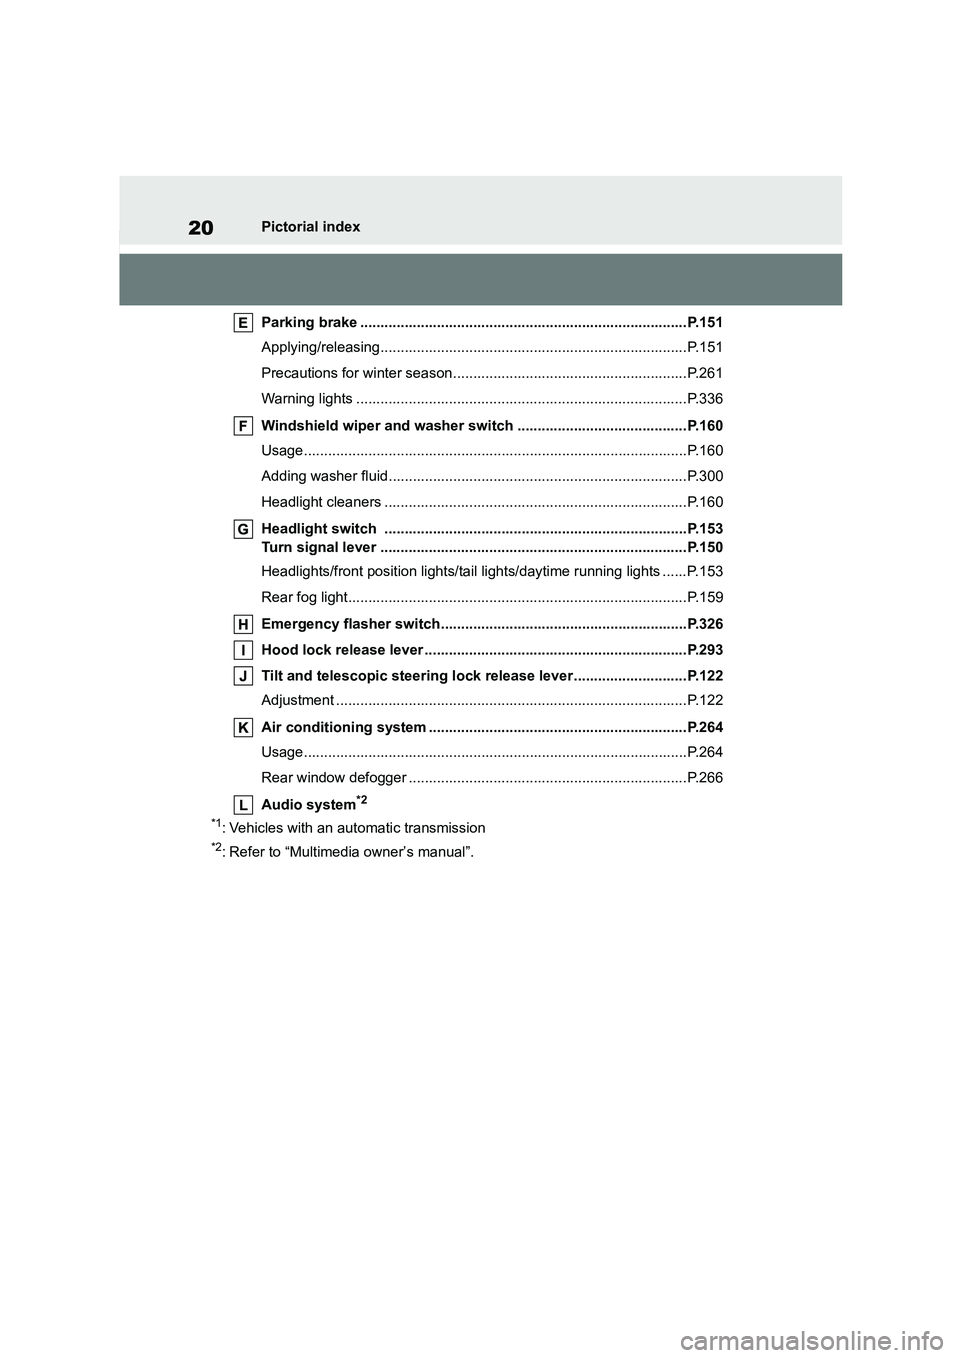
Parking brake .................................................................................P.151
Applying/releasing............................................................................P.151
Precautions for winter season..........................................................P.261
Warning lights ..................................................................................P.336
Windshield wiper and washer switch ..........................................P.160
Usage...............................................................................................P.160
Adding washer fluid..........................................................................P.300
Headlight cleaners ...........................................................................P.160
Headlight switch ...........................................................................P.153
Turn signal lever ............................................................................P.150
Headlights/front position lights/tail lights/daytime running lights ......P.153
Rear fog light....................................................................................P.159
Emergency flasher switch.............................................................P.326
Hood lock release lever .................................................................P.293
Tilt and telescopic steering lock release lever ............................P.122
Adjustment .......................................................................................P.122
Air conditioning system ................................................................P.264
Usage...............................................................................................P.264
Rear window defogger .....................................................................P.266
Audio system*2
*1: Vehicles with an automatic transmission
*2: Refer to “Multimedia owner’s manual”.
Page 24 of 582
22Pictorial index
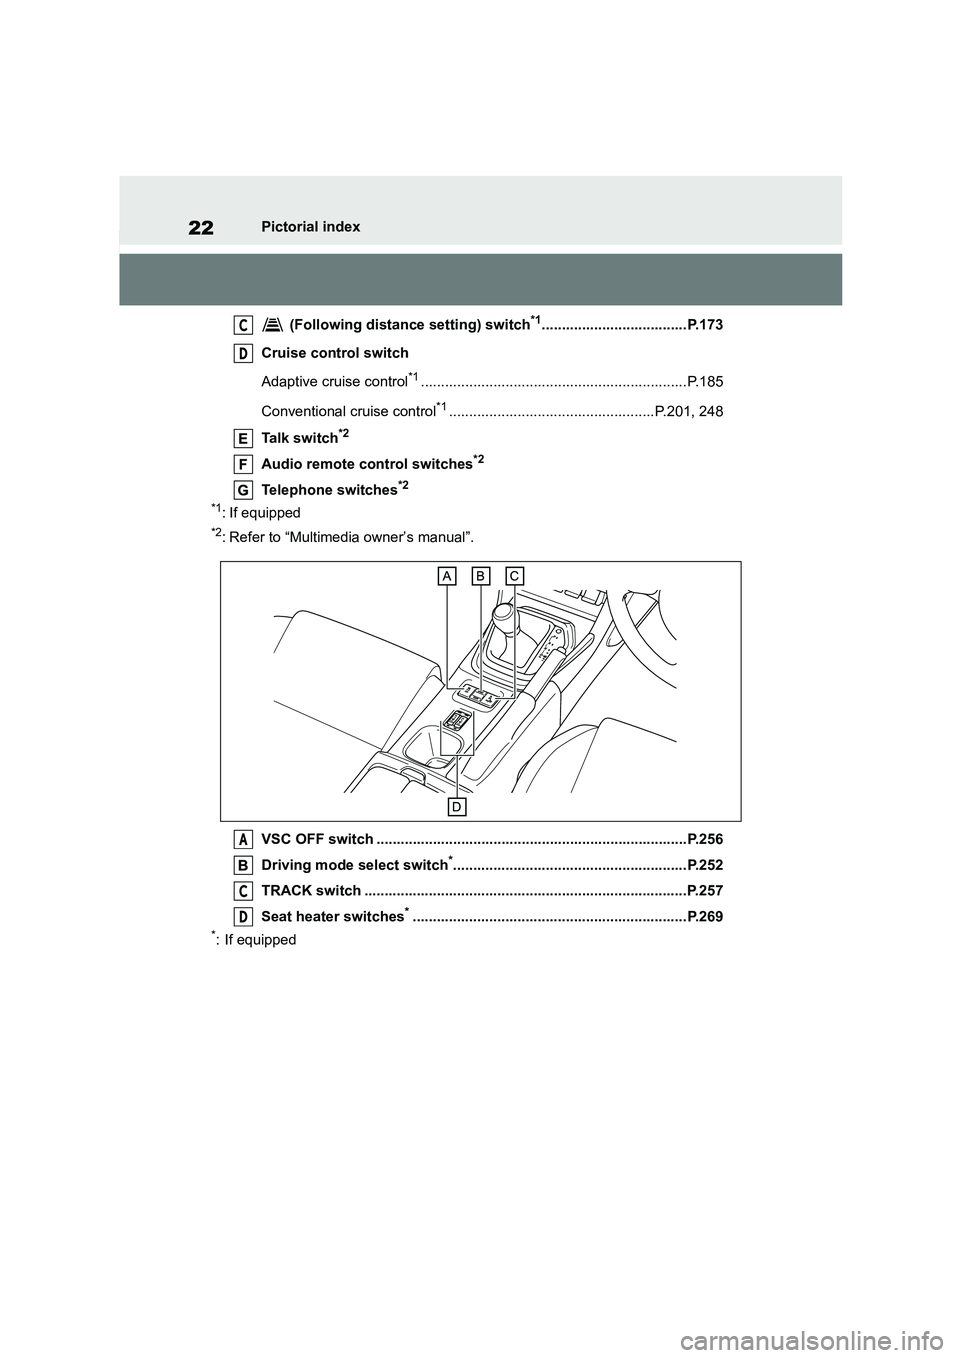
(Following distance setting) switch*1....................................P.173
Cruise control switch
Adaptive cruise control*1..................................................................P.185
Conventional cruise control*1...................................................P.201, 248
Talk switch*2
Audio remote control switches*2
Telephone switches*2
*1: If equipped
*2: Refer to “Multimedia owner’s manual”.
VSC OFF switch .............................................................................P.256
Driving mode select switch*..........................................................P.252
TRACK switch .............. ..................................................................P.257
Seat heater switches*....................................................................P.269
*: If equipped
C
D
A
C
D
Page 50 of 582
481-1. For safe use
WA R N I N G
■When a small adult is seated in
the front passenger’s seat
When a small adult is seated in the front passenger’s seat, the SRS fron-
tal airbag system may or may not acti-
vate the front passenger’s SRS frontal airbag depending on the occu-
pant’s seating posture. If the OFF
indicator remains illuminated while
the ON indicator turns off when a small adult is seated in the front pas-
senger's seat, refer to P.46.
■General Precautions regarding
occupant detection system
Do not kick the front passenger seat or subject it to severe impact. Other-
wise, the SRS warning light may illu-
minate to indicate a malfunction of the front passenger occupant detection
system. In this case, we recommend
that you contact your Toyota dealer immediately.
■After deployment
Do not touch the SRS airbag system
components with bare hands right
after deployment. Doing so can cause burns because the components can
be very hot as a result of deployment.
NOTICE
■Front passenger’s SRS frontal
airbag
Observe the following precautions.
Failure to do so may prevent the front
passenger’s SRS frontal airbag from functioning co rrectly or cause the sys-
tem to fail.
●Do not apply any strong impact to
the front passenger’s seat such as
by kicking.
●Do not let rear passengers rest their
feet between the front seatback and seat cushion.
●Do not spill liquid on the front pas-senger’s seat. If liquid is spilled,
wipe it off immediately.
●Do not remove or disassemble the
front passenger’s seat.
●Do not install any accessory (such
as an audio amplifier) other than a
genuine Toyota accessory under the front passenger’s seat.
●Do not place anything (shoes, umbrella, etc.) under the front pas-
senger’s seat.
●Do not place any objects (books,
etc.) around the front passenger’s
seat.
●Do not use the front passenger’s
seat with the head restraint removed.
●Do not leave any articles on the front passenger’s seat or the
seatbelt tongue and buckle
engaged when you leave your vehi- cle.
●Do not put sharp object(s) on the seat or pierce the seat upholstery.
●Do not place a magnet near the seatbelt buckle and the seatbelt
retractor.
●Do not use front seats with their for-
ward-backward position adjuster
and seatback adjuster not being locked into place securely. If any of
them are not locked securely, adjust
them again. For adjusting proce- dure, refer to P.117.
■When using a child restraint sys-
tem
Observe the following precautions as
it increase the load on the front pas-
senger's seat and not work properly.
●Do not install any accessory such
as a table or TV onto the seatback.
Page 95 of 582
93
2
2-1. Instrument cluster
Vehicle status information and indicators
( P.183)
Warning or advice pop-up displays
are also displayed in certain situa-
tions.
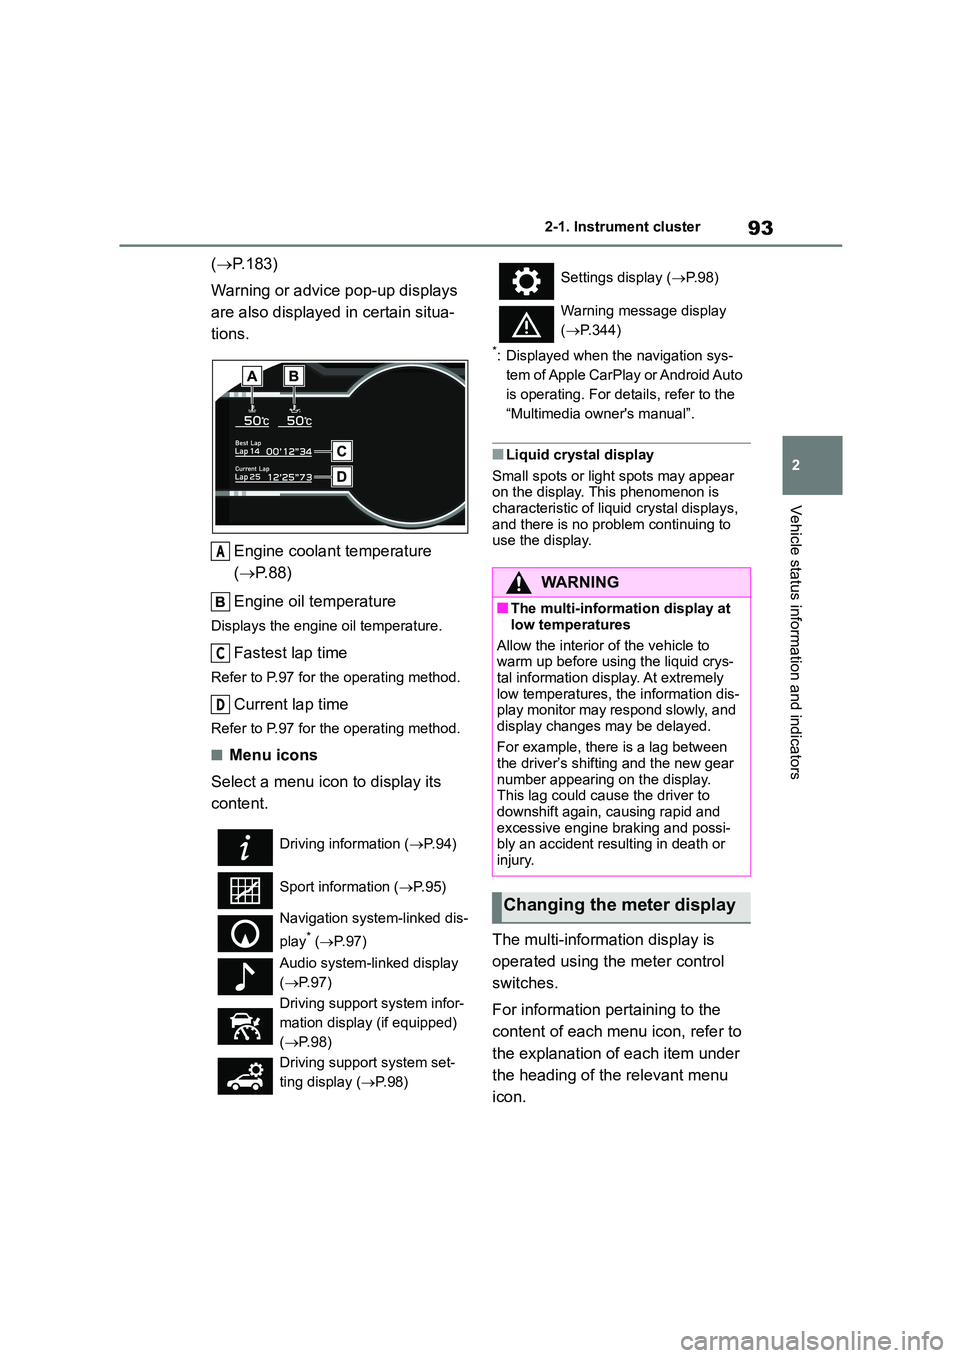
Engine coolant temperature
( P.88)
Engine oil temperature
Displays the engine oil temperature.
Fastest lap time
Refer to P.97 for the operating method.
Current lap time
Refer to P.97 for the operating method.
■Menu icons
Select a menu icon to display its
content.
*: Displayed when the navigation sys-
tem of Apple CarPlay or Android Auto
is operating. For details, refer to the
“Multimedia owner's manual”.
■Liquid crystal display
Small spots or light spots may appear on the display. This phenomenon is
characteristic of liq uid crystal displays,
and there is no problem continuing to use the display.
The multi-information display is
operated using the meter control
switches.
For information pertaining to the
content of each menu icon, refer to
the explanation of each item under
the heading of the relevant menu
icon.
Driving information ( P. 9 4 )
Sport information ( P. 9 5 )
Navigation system-linked dis-
play* ( P. 9 7 )
Audio system-linked display
( P. 9 7 )
Driving suppor t system infor-
mation display (if equipped)
( P. 9 8 )
Driving support system set-
ting display ( P. 9 8 )
A
C
D
Settings display (P. 9 8 )
Warning message display
( P.344)
WA R N I N G
■The multi-information display at
low temperatures
Allow the interior of the vehicle to warm up before using the liquid crys-
tal information display. At extremely
low temperatures, the information dis- play monitor may respond slowly, and
display changes may be delayed.
For example, there is a lag between the driver’s shifting and the new gear
number appearing on the display.
This lag could cause the driver to downshift again, causing rapid and
excessive engine braking and possi-
bly an accident resulting in death or injury.
Changing the meter display
Page 99 of 582
97
2
2-1. Instrument cluster
Vehicle status information and indicators
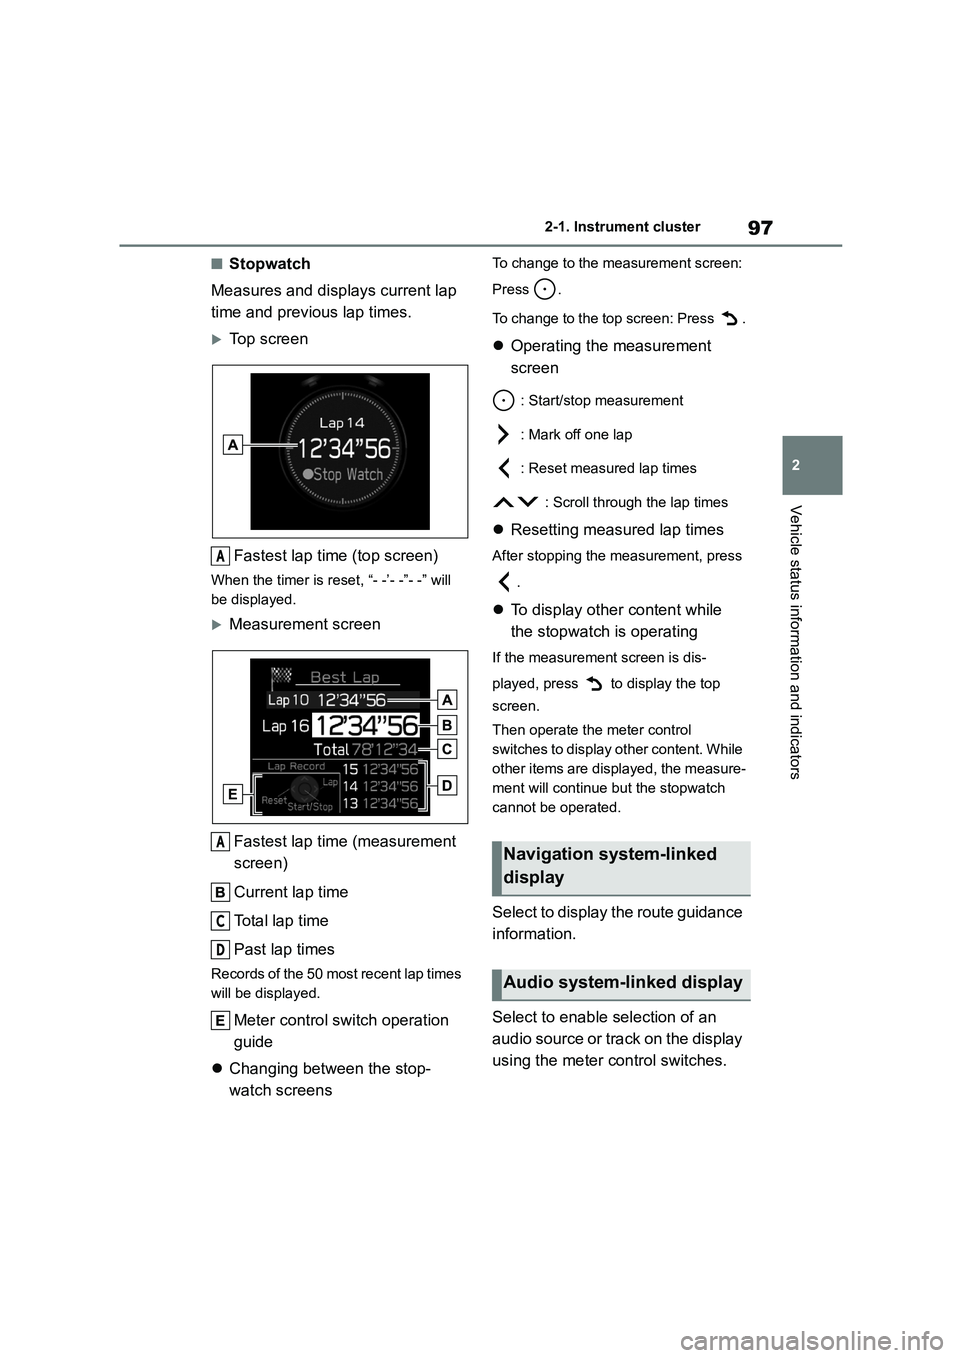
■Stopwatch
Measures and displays current lap
time and previous lap times.
Top screen
Fastest lap time (top screen)
When the timer is reset, “- -’- -”- -” will
be displayed.
Measurement screen
Fastest lap time (measurement
screen)
Current lap time
To t a l l a p t i m e
Past lap times
Records of the 50 most recent lap times
will be displayed.
Meter control switch operation
guide
Changing between the stop-
watch screens
To change to the measurement screen:
Press .
To change to the top screen: Press .
Operating the measurement
screen
: Start/stop measurement
: Mark off one lap
: Reset measured lap times
: Scroll through the lap times
Resetting measured lap times
After stopping the measurement, press
.
To display other content while
the stopwatch is operating
If the measurement screen is dis-
played, press to display the top
screen.
Then operate the meter control
switches to display other content. While
other items are displayed, the measure-
ment will continue but the stopwatch
cannot be operated.
Select to display the route guidance
information.
Select to enable selection of an
audio source or track on the display
using the meter control switches.
A
A
C
D
Navigation system-linked
display
Audio system-linked display
Page 103 of 582

101
3
3-1. Key information
Before driving
The electronic keys are equipped
with the following wireless remote
control:
Locks the doors ( P.103)
Closes the windows* ( P.103)
Unlocks the doors ( P.103)
Opens the windows* ( P.103)
Opens the trunk ( P.108)
*: These settings must be customized
at any authorized Toyota retailer or
Toyota authorized repairer, or any
reliable repairer.
To take out the mechanical key,
push the release button and take
the key out.
The mechanical key can only be
inserted in one direction, as the key
only has grooves on one side. If the key
cannot be inserted in a lock cylinder,
turn it over and re-attempt to insert it.
After using the mechanical key, store it
in the electronic key. Carry the mechan-
ical key together with the electronic key.
If the electronic key battery is depleted
or the entry function does not operate
properly, you will need the mechanical
key. ( P.357)
NOTICE
●Do not get the keys wet or wash
them in an ultrasonic washer etc.
●Do not attach metallic or magnetic
materials to the keys or place the
keys close to such materials.
●Do not disassemble the keys.
●Do not attach a sticker or anything else to the surface of the electronic
key.
●Do not place the keys near objects
that produce magnetic fields, such
as TVs, audio systems and induc- tion cookers.
■Carrying the electronic key on your person
Carry the electronic key 10 cm (3.9
in.) or more away from electric appli- ances that are turned on. Radio
waves emitted from electric appli-
ances within 10 cm (3.9 in.) of the electronic key may interfere with the
key, causing the key to not function
properly.
■In case of a smart entry & start
system malfunction or other key-related problems
P. 3 5 7
■When an electronic key is lost
P. 3 5 6
Wireless remote control
Using the mechanical key
A
C
D
Page 113 of 582
111
3
3-2. Opening, closing and locking the doors and trunk
Before driving
• The smart entry & start system has
not been used for 5 days or longer.
●If the smart entry & start system has
not been used for 14 days or longer, the doors cannot be unlocked at the
passenger door. In this case, take
hold of the driver’s door handle, or use the wireless remote control or
mechanical key, to unlock the doors.
■Electronic Key Battery-Saving
Function
When battery-saving mode is set, bat-
tery depletion is minimized by stopping
the electronic key from receiving radio waves.
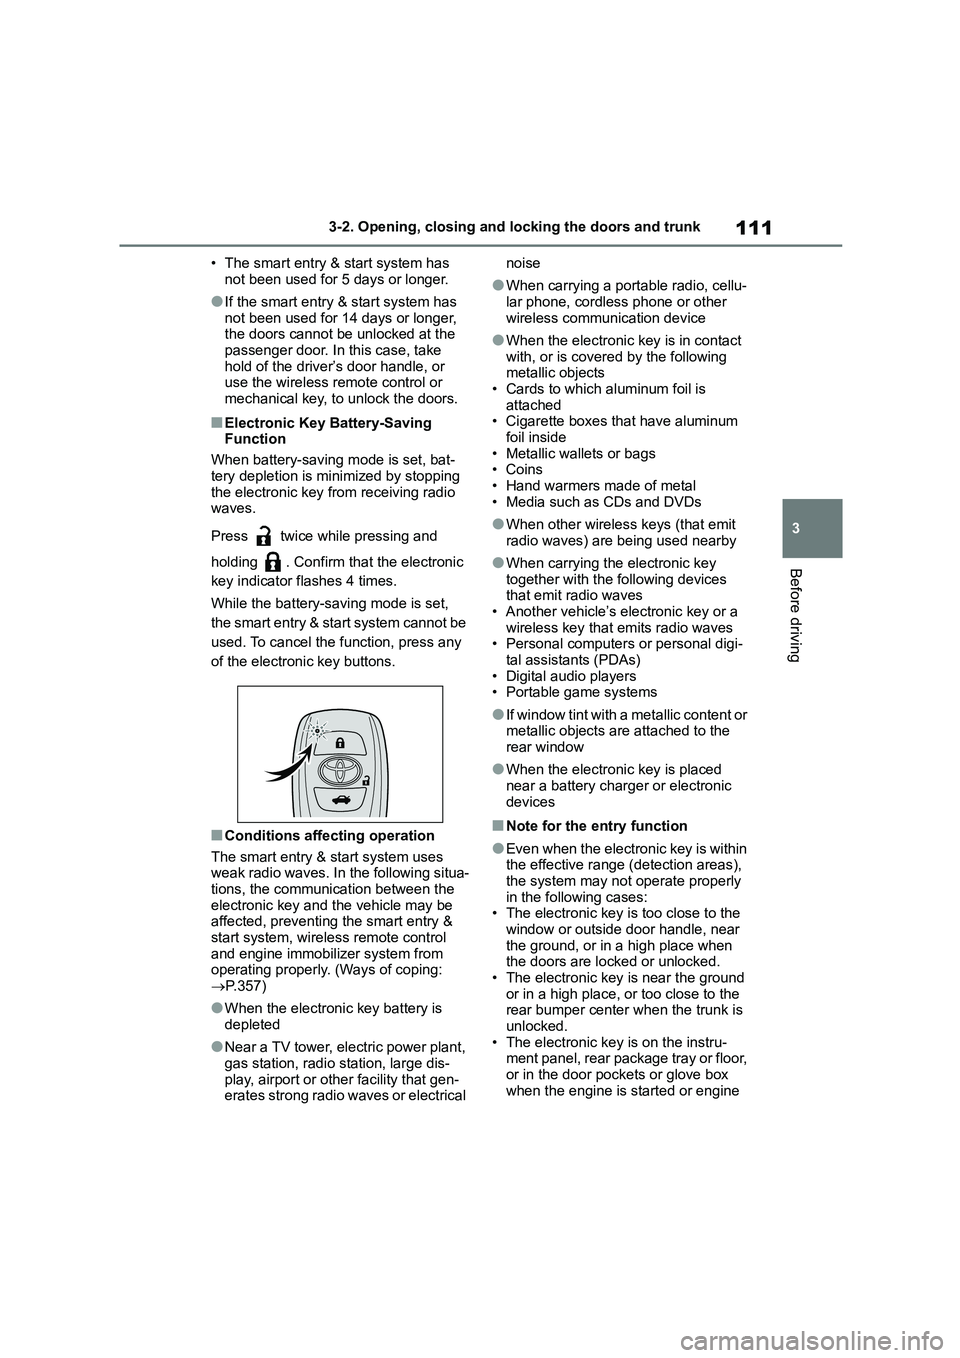
Press twice while pressing and
holding . Confirm that the electronic
key indicator flashes 4 times.
While the battery-saving mode is set,
the smart entry & start system cannot be
used. To cancel the function, press any
of the electronic key buttons.
■Conditions affecting operation
The smart entry & start system uses
weak radio waves. In the following situa- tions, the communication between the
electronic key and the vehicle may be
affected, preventing the smart entry &
start system, wireless remote control and engine immobilizer system from
operating properly. (Ways of coping:
P.357)
●When the electronic key battery is
depleted
●Near a TV tower, electric power plant,
gas station, radio station, large dis- play, airport or other facility that gen-
erates strong radio waves or electrical
noise
●When carrying a portable radio, cellu-
lar phone, cordless phone or other
wireless communication device
●When the electronic key is in contact
with, or is covered by the following metallic objects
• Cards to which aluminum foil is
attached • Cigarette boxes that have aluminum
foil inside
• Metallic wallets or bags •Coins
• Hand warmers made of metal
• Media such as CDs and DVDs
●When other wirele ss keys (that emit
radio waves) are being used nearby
●When carrying the electronic key
together with the following devices that emit radio waves
• Another vehicle’s electronic key or a
wireless key that emits radio waves • Personal computers or personal digi-
tal assistants (PDAs)
• Digital audio players • Portable game systems
●If window tint with a metallic content or metallic objects are attached to the
rear window
●When the electronic key is placed
near a battery charger or electronic
devices
■Note for the entry function
●Even when the electronic key is within
the effective range (detection areas), the system may not operate properly
in the following cases:
• The electronic key is too close to the window or outside door handle, near
the ground, or in a high place when
the doors are locked or unlocked.
• The electronic key is near the ground or in a high place, or too close to the
rear bumper center when the trunk is
unlocked. • The electronic key is on the instru-
ment panel, rear package tray or floor,
or in the door pockets or glove box when the engine is started or engine
Page 144 of 582
1424-2. Driving procedures
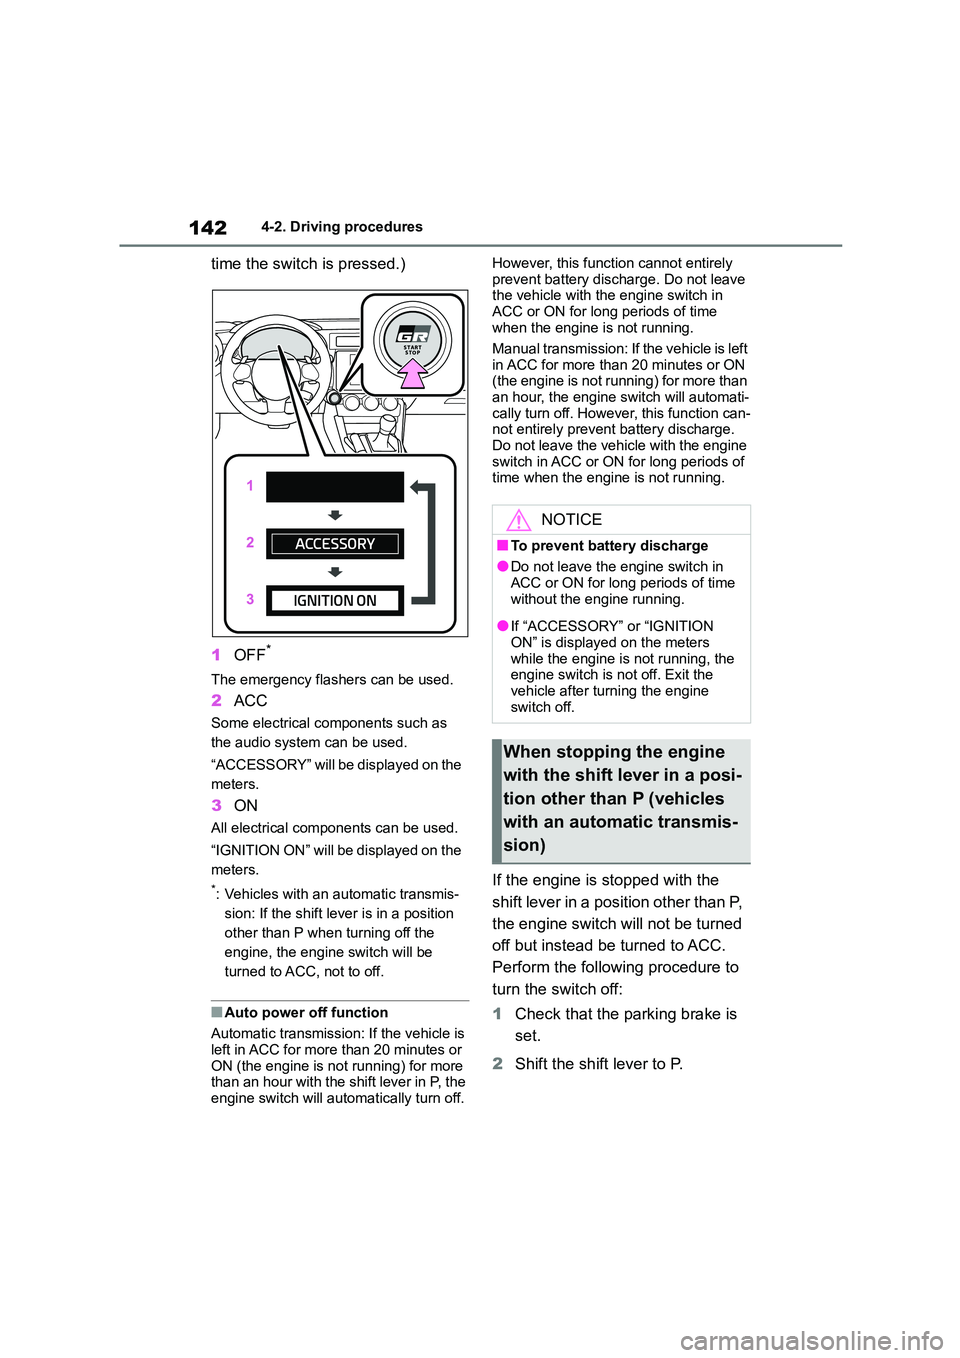
time the switch is pressed.)
1 OFF*
The emergency flashers can be used.
2ACC
Some electrical components such as
the audio system can be used.
“ACCESSORY” will be displayed on the
meters.
3 ON
All electrical components can be used.
“IGNITION ON” will be displayed on the
meters.
*: Vehicles with an automatic transmis-
sion: If the shift lever is in a position
other than P when turning off the
engine, the engine switch will be
turned to ACC, not to off.
■Auto power off function
Automatic transmission: If the vehicle is
left in ACC for more than 20 minutes or
ON (the engine is not running) for more than an hour with the shift lever in P, the
engine switch will automatically turn off.
However, this function cannot entirely
prevent battery discharge. Do not leave the vehicle with the engine switch in
ACC or ON for long periods of time
when the engine is not running.
Manual transmission: If the vehicle is left
in ACC for more than 20 minutes or ON
(the engine is not running) for more than an hour, the engine switch will automati-
cally turn off. However, this function can-
not entirely prevent battery discharge. Do not leave the vehicle with the engine
switch in ACC or ON for long periods of
time when the engine is not running.
If the engine is stopped with the
shift lever in a position other than P,
the engine switch will not be turned
off but instead be turned to ACC.
Perform the following procedure to
turn the switch off:
1 Check that the parking brake is
set.
2 Shift the shift lever to P.
NOTICE
■To prevent battery discharge
●Do not leave the engine switch in
ACC or ON for long periods of time
without the engine running.
●If “ACCESSORY” or “IGNITION
ON” is displayed on the meters while the engine is not running, the
engine switch is not off. Exit the
vehicle after turning the engine switch off.
When stopping the engine
with the shift lever in a posi-
tion other than P (vehicles
with an automatic transmis-
sion)