TOYOTA PRIUS 2007 2.G Owners Manual
PRIUS 2007 2.G
TOYOTA
TOYOTA
https://www.carmanualsonline.info/img/14/6578/w960_6578-0.png
TOYOTA PRIUS 2007 2.G Owners Manual
Trending: warning, air conditioning, instrument cluster, maintenance schedule, oil reset, boot, clock reset
Page 241 of 458
241
OPERATION OF INSTRUMENTS AND
CONTROLS
Audio system
Reference242
. . . . . . . . . . . . . . . . . . . . . . . . . . . . . . . . . . . . .\
. . . . . . . . . . . .
Using your audio system 246
. . . . . . . . . . . . . . . . . . . . . . . . . . . . . . . . . . . . \
Radio operation 252
. . . . . . . . . . . . . . . . . . . . . . . . . . . . . . . . . . . . \
. . . . . . . .
Radio operation (XMr satellite radio br oadcast)260
. . . . . . . . . . . . . . . .
Compact disc player operation (Type 1 and Type 2) 266
. . . . . . . . . . . .
Compact disc player operation (Type 3) 271
. . . . . . . . . . . . . . . . . . . . . . .
MP3/WMA player operation 273
. . . . . . . . . . . . . . . . . . . . . . . . . . . . . . . . . .
Audio remote controls 277
. . . . . . . . . . . . . . . . . . . . . . . . . . . . . . . . . . . . \
. . .
AUX adapter 278
. . . . . . . . . . . . . . . . . . . . . . . . . . . . . . . . . . . . \
. . . . . . . . . . .
Audio system operating hints 279
. . . . . . . . . . . . . . . . . . . . . . . . . . . . . . . .
SECTION 2– 8
Page 242 of 458
242
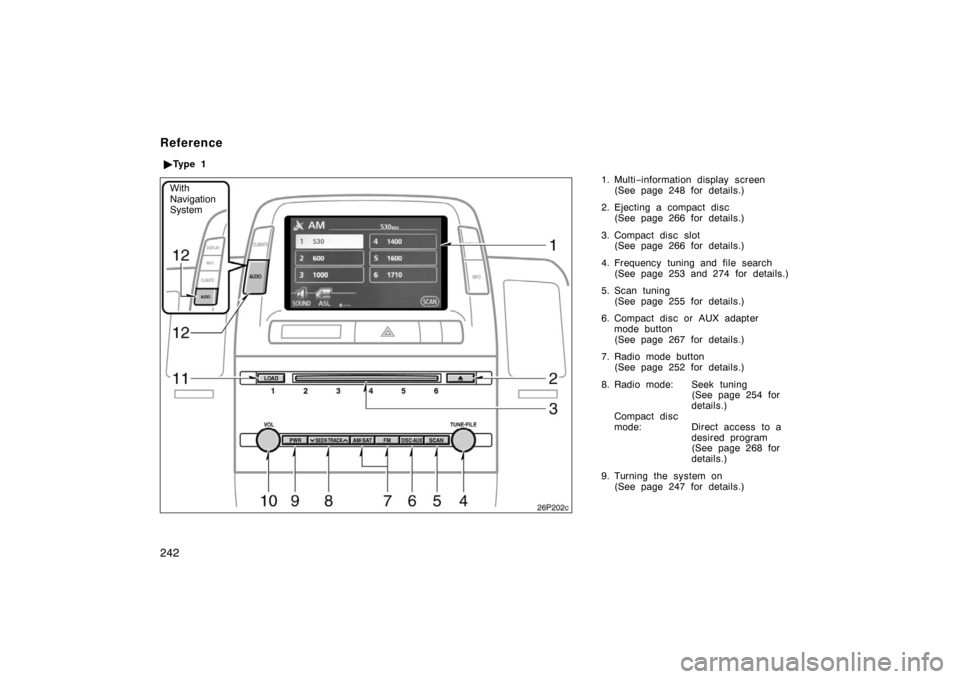
1. Multi−information display screen
(See page 248 for details.)
2. Ejecting a compact disc (See page 266 for details.)
3. Compact disc slot (See page 266 for details.)
4. Frequency tuning and file search (See page 253 and 274 for details.)
5. Scan tuning (See page 255 for details.)
6. Compact disc or AUX adapter mode button
(See page 267 for details.)
7. Radio mode button (See page 252 for details.)
8. Radio mode: Seek tuning (See page 254 for
details.)
Compact disc
mode: Direct access to a desired program
(See page 268 for
details.)
9. Turning the system on (See page 247 for details.)
Reference
�Ty p e 1
26p202c
With
Navigation
System
Page 243 of 458
243
10. Adjusting the volume(See page 247 for details.)
11. Compact disc load button (See page 266 for details.)
12. Audio operation screen display button (See page 248 for details.)
Page 244 of 458
244
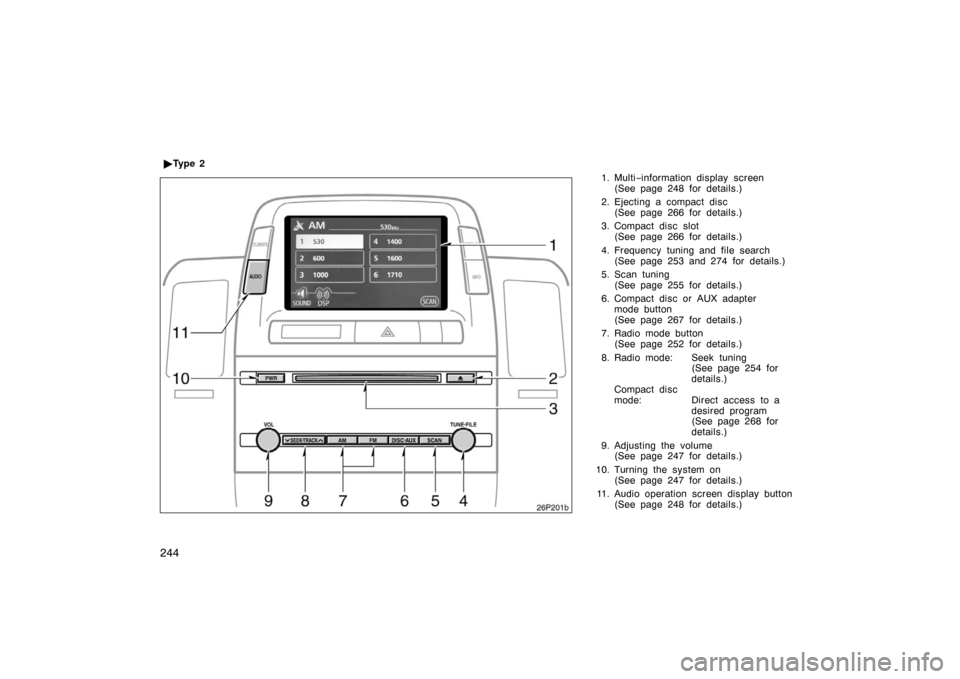
1. Multi−information display screen
(See page 248 for details.)
2. Ejecting a compact disc (See page 266 for details.)
3. Compact disc slot (See page 266 for details.)
4. Frequency tuning and file search (See page 253 and 274 for details.)
5. Scan tuning (See page 255 for details.)
6. Compact disc or AUX adapter mode button
(See page 267 for details.)
7. Radio mode button (See page 252 for details.)
8. Radio mode: Seek tuning (See page 254 for
details.)
Compact disc
mode: Direct access to a desired program
(See page 268 for
details.)
9. Adjusting the volume (See page 247 for details.)
10. Turning the system on (See page 247 for details.)
11. Audio operation screen display button (See page 248 for details.)
�
Ty p e 2
26p201b
Page 245 of 458
245
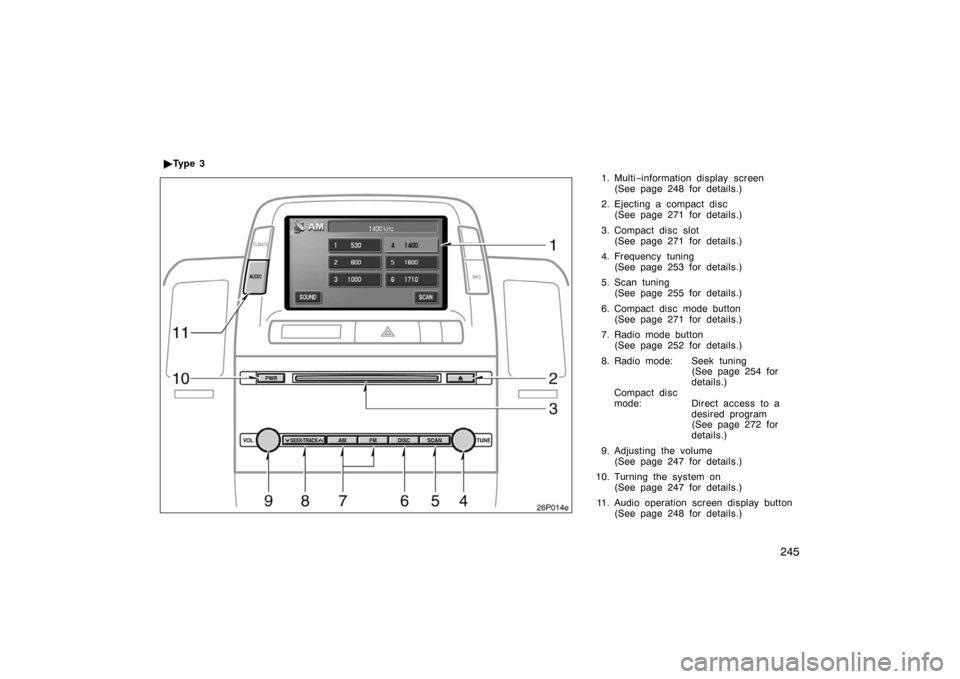
1. Multi−information display screen
(See page 248 for details.)
2. Ejecting a compact disc (See page 271 for details.)
3. Compact disc slot (See page 271 for details.)
4. Frequency tuning (See page 253 for details.)
5. Scan tuning (See page 255 for details.)
6. Compact disc mode button (See page 271 for details.)
7. Radio mode button (See page 252 for details.)
8. Radio mode: Seek tuning (See page 254 for
details.)
Compact disc
mode: Direct access to a desired program
(See page 272 for
details.)
9. Adjusting the volume (See page 247 for details.)
10. Turning the system on (See page 247 for details.)
11. Audio operation screen display button (See page 248 for details.)
�
Ty p e 3
26p014e
Page 246 of 458
246
This section describes some of the basic
features of the Toyota audio system.
Some information may not pertain to your
system.
Your audio system works when the hybrid
system is in “ACC” or “IG−ON”.
NOTICE
To prevent the battery from being
discharged, do not leave the audio on
longer than necessary when the
hybrid system is not running.
26p195a
Ty p e 1
Type 2 and Type 3
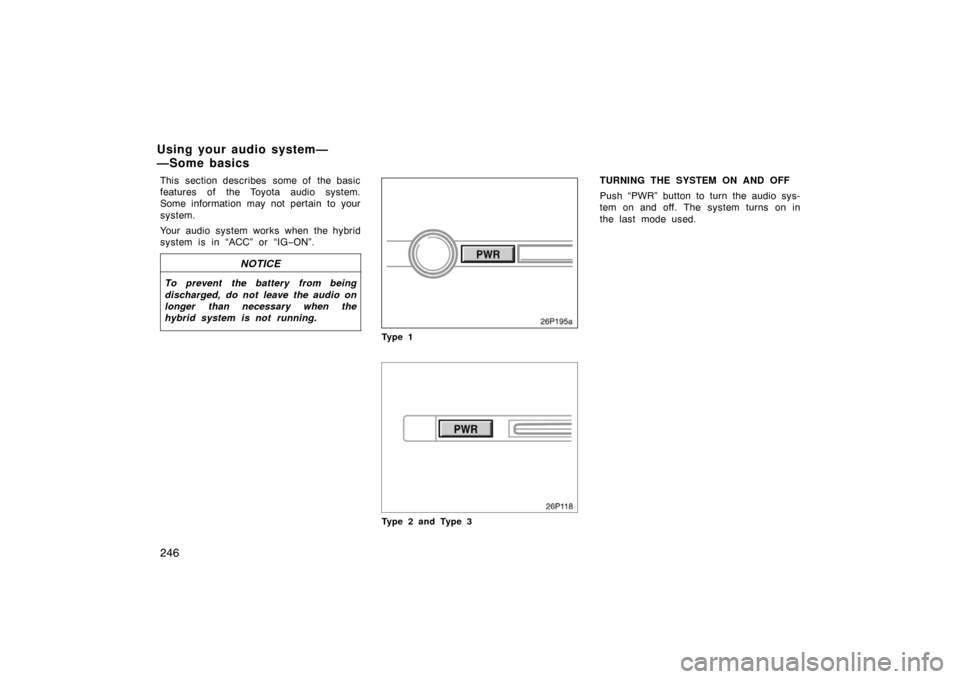
TURNING THE SYSTEM ON AND OFF
Push “PWR” button to turn the audio sys-
tem on and off. The system turns on in
the last mode used.
Using your audio system—
—Some basics
Page 247 of 458
247
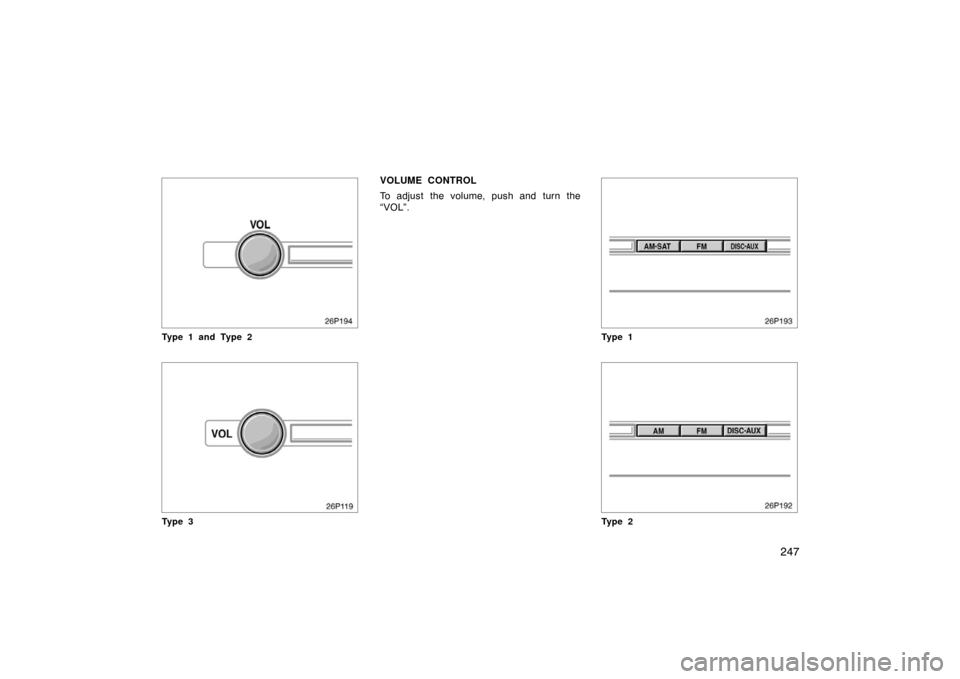
Type 1 and Type 2
Ty p e 3
VOLUME CONTROL
To adjust the volume, push and turn the
“VOL”.
Ty p e 1
Ty p e 2
Page 248 of 458
248
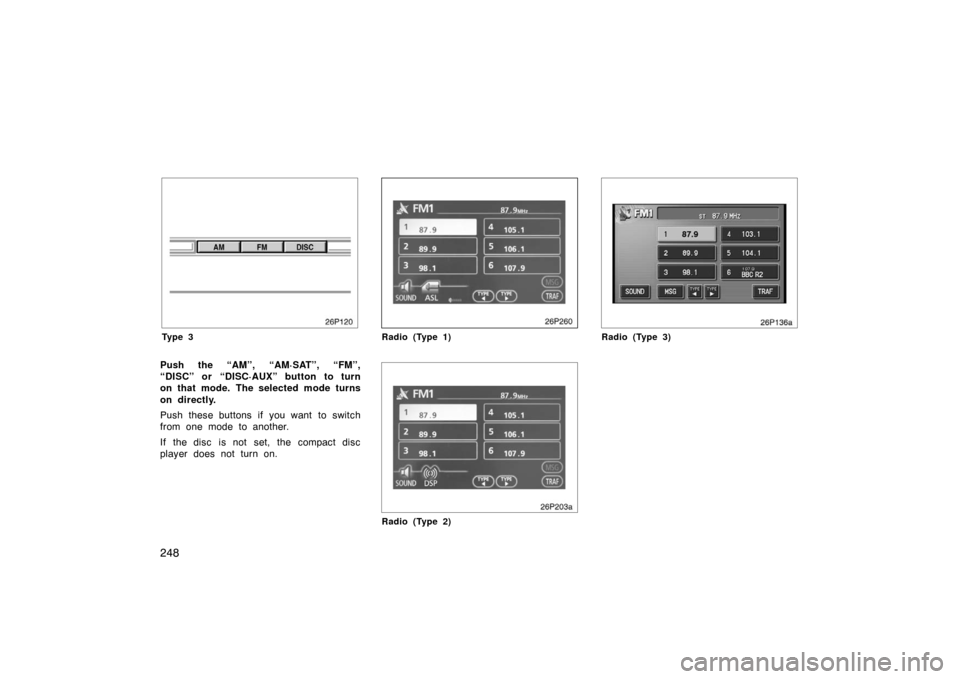
Ty p e 3
Push the “AM”, “AM·SAT”, “FM”,
“DISC” or “DISC·AUX” button to turn
on that mode. The selected mode turns
on directly.
Push these buttons if you want to switch
from one mode to another.
If the disc is not set, the compact disc
player does not turn on.
26p260
Radio (Type 1)
Radio (Type 2)
26p136a
Radio (Type 3)
Page 249 of 458
249
26p205c
Compact disc (Type 1)
Compact disc (Type 2)
26p138a
Compact disc (Type 3)
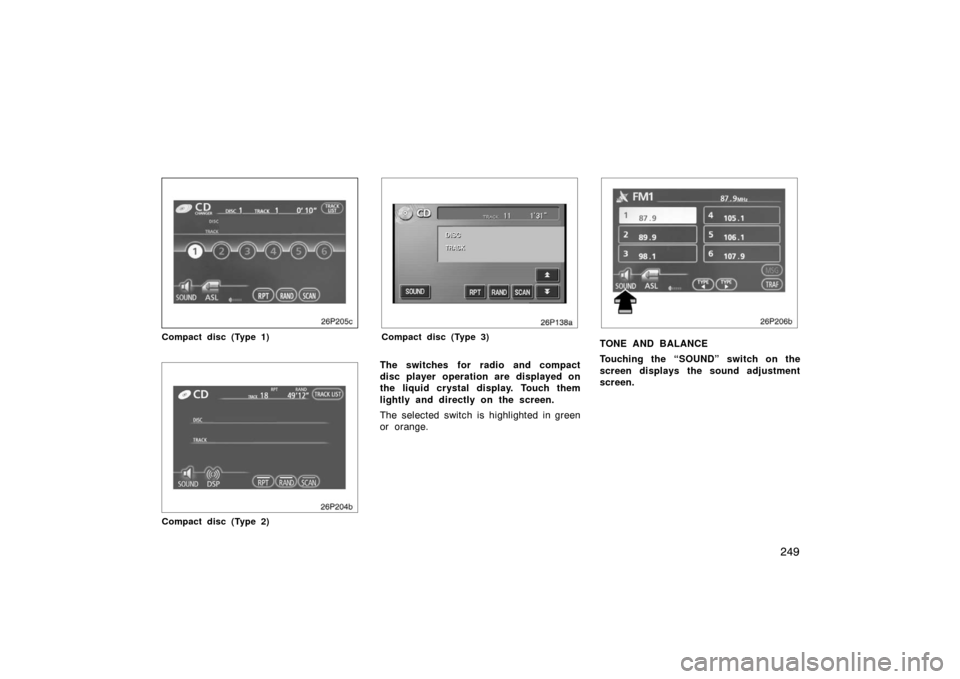
The switches for radio and compact
disc player operation are displayed on
the liquid crystal display. Touch them
lightly and directly on the screen.
The selected switch is highlighted in green
or orange.
26p206b
TONE AND BALANCE
Touching the “SOUND” switch on the
screen displays the sound adjustment
screen.
Page 250 of 458
250
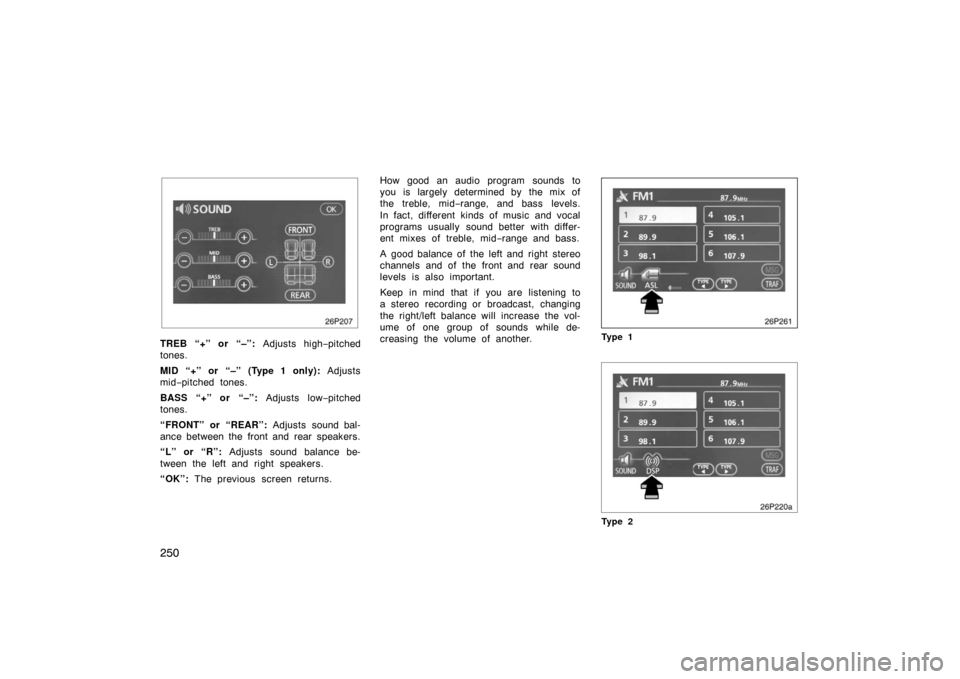
TREB “+” or “–”: Adjusts high−pitched
tones.
MID “+” or “–” (Type 1 only): Adjusts
mid −pitched tones.
BASS “+” or “–”: Adjusts low−pitched
tones.
“FRONT” or “REAR”: Adjusts sound bal-
ance between the front and rear speakers.
“L” or “R”: Adjusts sound balance be-
tween the left and right speakers.
“OK”: The previous screen returns. How good an audio program sounds to
you is largely determined by the mix of
the treble, mid−
range, and bass levels.
In fact, different kinds of music and vocal
programs usually sound better with differ-
ent mixes of treble, mid− range and bass.
A good balance of the left and right stereo
channels and of the front and rear sound
levels is also important.
Keep in mind that if you are listening to
a stereo recording or broadcast, changing
the right/left balance will increase the vol-
ume of one group of sounds while de-
creasing the volume of another.
26p261
Ty p e 1
Ty p e 2
Trending: Drive cycle, manual transmission, hybrid vehicle immobilizer theft deterrent, lock, emergency towing, ESP, Tire

