TOYOTA PROACE CITY VERSO 2022 Owner's Manual
Manufacturer: TOYOTA, Model Year: 2022, Model line: PROACE CITY VERSO, Model: TOYOTA PROACE CITY VERSO 2022Pages: 320, PDF Size: 75.81 MB
Page 21 of 320
21
Instruments
1
Service spannerLights up temporarily when the ignition is switched on.Between 3,000 km (1,800 miles) and 1,000 km (600 miles) remain before the next service is due.Fixed, when the ignition is switched on.The service is due in less than 1,000 km (600 miles).Have your vehicle serviced very soon.
Service spanner flashingFlashing then fixed, when the ignition is switched on.(With Diesel engines, combined with the Service warning lamp.)The servicing interval has been exceeded.Have your vehicle serviced as soon as possible.
Resetting the service indicator
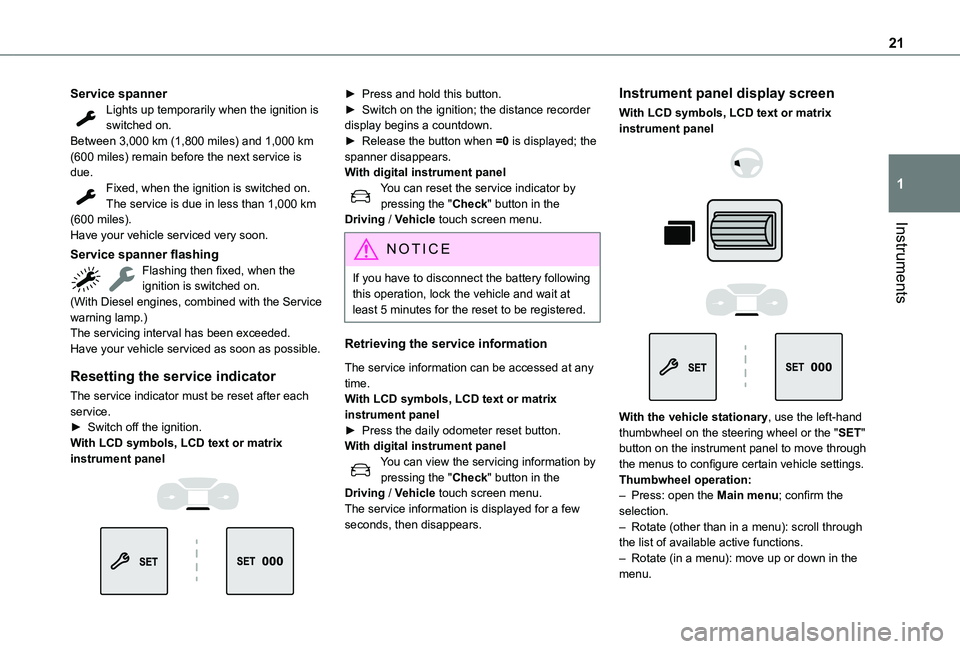
The service indicator must be reset after each service.► Switch off the ignition.With LCD symbols, LCD text or matrix
instrument panel
► Press and hold this button.► Switch on the ignition; the distance recorder display begins a countdown.► Release the button when =0 is displayed; the spanner disappears.With digital instrument panelYou can reset the service indicator by pressing the "Check" button in the Driving / Vehicle touch screen menu.
NOTIC E
If you have to disconnect the battery following this operation, lock the vehicle and wait at least 5 minutes for the reset to be registered.
Retrieving the service information
The service information can be accessed at any time.With LCD symbols, LCD text or matrix instrument panel► Press the daily odometer reset button.With digital instrument panelYou can view the servicing information by pressing the "Check" button in the Driving / Vehicle touch screen menu.The service information is displayed for a few seconds, then disappears.
Instrument panel display screen
With LCD symbols, LCD text or matrix instrument panel
With the vehicle stationary, use the left-hand thumbwheel on the steering wheel or the "SET" button on the instrument panel to move through the menus to configure certain vehicle settings.
Thumbwheel operation:– Press: open the Main menu; confirm the selection.– Rotate (other than in a menu): scroll through the list of available active functions.– Rotate (in a menu): move up or down in the menu.
Page 22 of 320
22
With digital instrument panelThe configuration of some parameters of the vehicle is done by pressing the "Check" button in the Driving / Vehicle touch screen menu.
Distance recorders
The total and trip distances are displayed for thirty seconds when the ignition is switched off, when the driver's door is opened and when the vehicle is locked or unlocked.
Total distance recorder
This recorder measures the total distance travelled by the vehicle since its initial registration.
Trip distance recorder
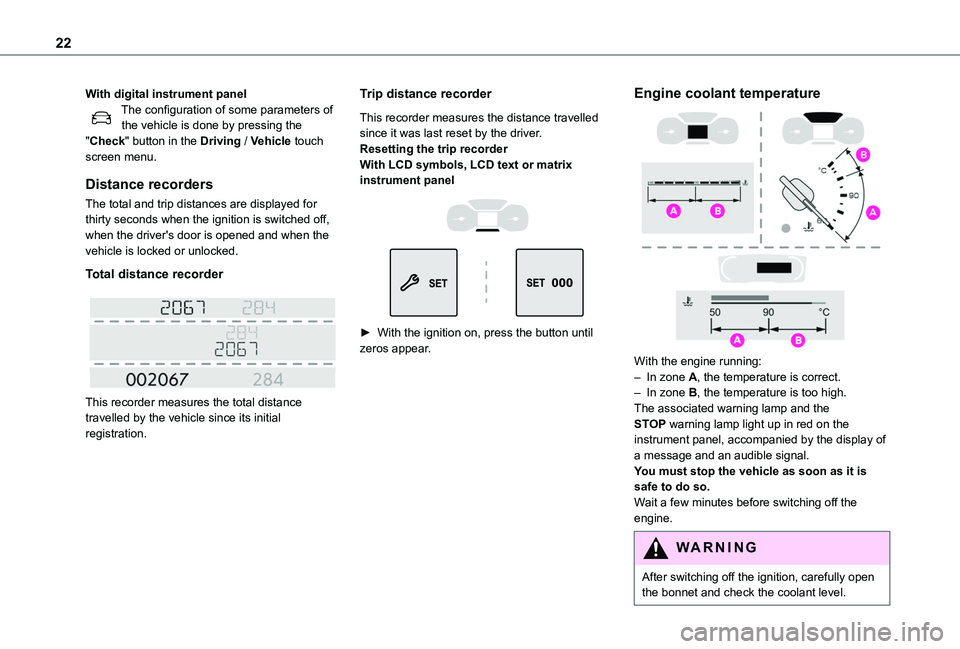
This recorder measures the distance travelled since it was last reset by the driver.Resetting the trip recorderWith LCD symbols, LCD text or matrix instrument panel
► With the ignition on, press the button until zeros appear.
Engine coolant temperature
With the engine running:– In zone A, the temperature is correct.– In zone B, the temperature is too high. The associated warning lamp and the STOP warning lamp light up in red on the instrument panel, accompanied by the display of a message and an audible signal.You must stop the vehicle as soon as it is safe to do so.Wait a few minutes before switching off the engine.
WARNI NG
After switching off the ignition, carefully open the bonnet and check the coolant level.
Page 23 of 320
23
Instruments
1
NOTIC E
For more information on Checking levels, refer to the corresponding section.
Checking
After driving for a few minutes, the temperature and pressure in the cooling system increase.To top up the level:► wait at least one hour for the engine to cool,► unscrew the cap by two turns to allow the pressure to drop,► when the pressure has dropped, remove the cap,► top up the level to the "MAX" mark.For more information on Checking levels, refer to the corresponding section.
WARNI NG
Be aware of the risk of scalding when topping up the coolant. Do not fill above the maximum level (indicated on the reservoir).
Engine oil level indicator
(Depending on version)On versions fitted with an electric gauge, the engine oil level status is displayed on the instrument panel for a few seconds when the ignition is switched on, at the same time as the servicing information.
NOTIC E
The level read will only be correct if the vehicle is on level ground and the engine has been off for more than 30 minutes.
With digital intrument panelThe compliance of the engine oil level is monitored by pressing the "Check" button in the Driving / Vehicle touch screen menu.With LCD symbols, LCD text or matrix instrument panel
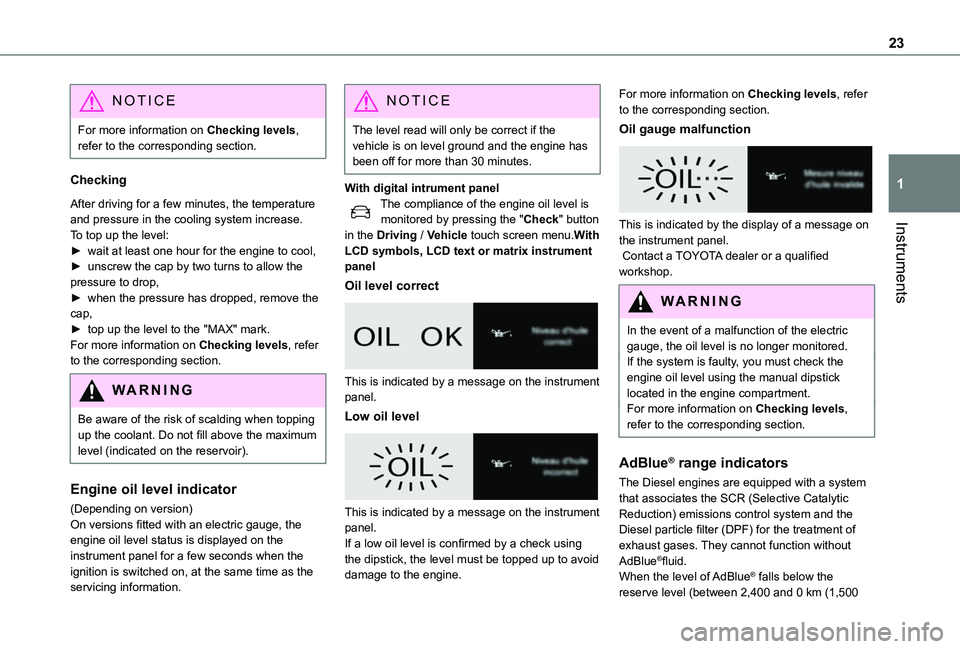
Oil level correct
This is indicated by a message on the instrument panel.
Low oil level
This is indicated by a message on the instrument panel.If a low oil level is confirmed by a check using the dipstick, the level must be topped up to avoid damage to the engine.
For more information on Checking levels, refer to the corresponding section.
Oil gauge malfunction
This is indicated by the display of a message on the instrument panel. Contact a TOYOTA dealer or a qualified workshop.
WARNI NG
In the event of a malfunction of the electric gauge, the oil level is no longer monitored.If the system is faulty, you must check the engine oil level using the manual dipstick located in the engine compartment.For more information on Checking levels, refer to the corresponding section.
AdBlue® range indicators
The Diesel engines are equipped with a system that associates the SCR (Selective Catalytic Reduction) emissions control system and the Diesel particle filter (DPF) for the treatment of
exhaust gases. They cannot function without AdBlue®fluid.When the level of AdBlue® falls below the reserve level (between 2,400 and 0 km (1,500
Page 24 of 320

24
miles and 0 miles)), a warning lamp lights up when the ignition is switched on and an estimate of the distance that can be travelled before engine starting is prevented is displayed in the instrument panel.
WARNI NG
The engine starting prevention system required by regulations is activated
automatically once the AdBlue® tank is empty.
It is then no longer possible to start the engine until the minimum level of AdBlue® has been topped up.
Manual display of the range
While the driving range is greater than 1,500 miles (2,400 km), it is not displayed automatically.With LCD symbols, LCD text or matrix instrument panel
► Press this button to temporarily display the driving range. With digital intrument panel
You can view the range information by pressing the "CHECK" button in the Driving/Vehicle" touch screen menu.
Actions required related to a lack of AdBlue®
The following warning lamps light up when the quantity of AdBlue® is lower than the reserve level corresponding to a range of 2,400 km (1,500 miles).Together with the warning lamps, messages regularly remind you of the need to top up to avoid engine starting being prevented. Refer to the Warning and indicator lamps section for details of the messages displayed.
NOTIC E
For more information on AdBlue® (Diesel engines), and in particular on topping up, refer to the corresponding section.
With Euro 6.2 / 6.3 engines
Warning/indicator lamps on
ActionRemaining range
Top up.Between 2,400 km and 800 km (1,500 miles and 500
miles)
Top up as soon as possible.
Between 800 km and 100 km (500 miles and 62 miles)
A top-up is essential, due to the risk that the engine will be prevented from starting.
Between 100 km and 0 km (62 miles and 0 miles)
To be able to restart the engine, add at least 5 litres of AdBlue® to its tank.
0 miles (km)
Page 25 of 320
25
Instruments
1
Malfunction of the SCR emissions control system
Malfunction detection
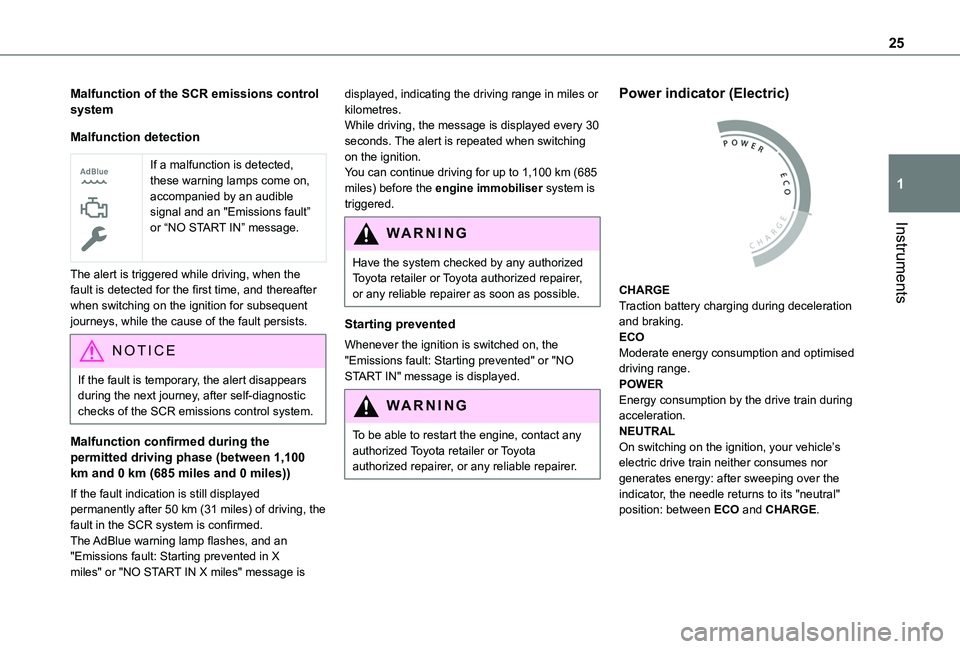
If a malfunction is detected, these warning lamps come on, accompanied by an audible signal and an "Emissions fault” or “NO START IN” message.
The alert is triggered while driving, when the fault is detected for the first time, and thereafter when switching on the ignition for subsequent journeys, while the cause of the fault persists.
NOTIC E
If the fault is temporary, the alert disappears during the next journey, after self-diagnostic checks of the SCR emissions control system.
Malfunction confirmed during the permitted driving phase (between 1,100 km and 0 km (685 miles and 0 miles))
If the fault indication is still displayed permanently after 50 km (31 miles) of driving, the fault in the SCR system is confirmed.The AdBlue warning lamp flashes, and an "Emissions fault: Starting prevented in X miles" or "NO START IN X miles" message is
displayed, indicating the driving range in miles or kilometres.While driving, the message is displayed every 30 seconds. The alert is repeated when switching on the ignition.You can continue driving for up to 1,100 km (685 miles) before the engine immobiliser system is triggered.
WARNI NG
Have the system checked by any authorized Toyota retailer or Toyota authorized repairer, or any reliable repairer as soon as possible.
Starting prevented
Whenever the ignition is switched on, the "Emissions fault: Starting prevented" or "NO START IN" message is displayed.
WARNI NG
To be able to restart the engine, contact any authorized Toyota retailer or Toyota authorized repairer, or any reliable repairer.
Power indicator (Electric)
CHARGETraction battery charging during deceleration and braking.ECOModerate energy consumption and optimised driving range.POWEREnergy consumption by the drive train during acceleration.NEUTRAL
On switching on the ignition, your vehicle’s electric drive train neither consumes nor generates energy: after sweeping over the indicator, the needle returns to its "neutral" position: between ECO and CHARGE.
Page 26 of 320
26
NOTIC E
With the ignition off, opening the driver's door activates the indicator, which moves to the "neutral" position: between ECO and CHARGE.
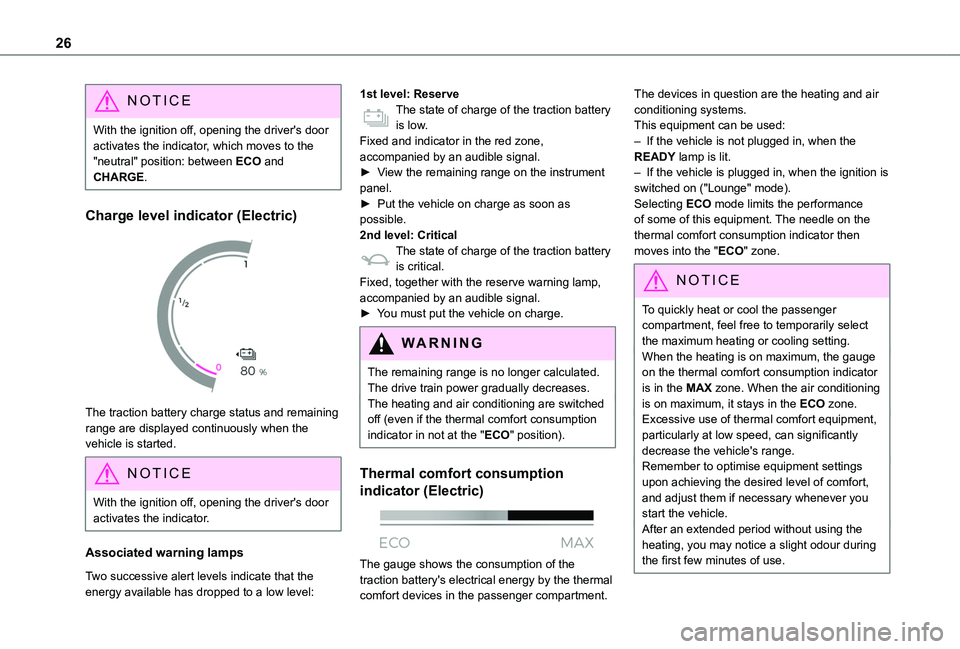
Charge level indicator (Electric)
The traction battery charge status and remaining range are displayed continuously when the vehicle is started.
NOTIC E
With the ignition off, opening the driver's door activates the indicator.
Associated warning lamps
Two successive alert levels indicate that the energy available has dropped to a low level:
1st level: ReserveThe state of charge of the traction battery is low.Fixed and indicator in the red zone, accompanied by an audible signal.► View the remaining range on the instrument panel.► Put the vehicle on charge as soon as possible.2nd level: CriticalThe state of charge of the traction battery is critical.Fixed, together with the reserve warning lamp, accompanied by an audible signal.► You must put the vehicle on charge.
WARNI NG
The remaining range is no longer calculated. The drive train power gradually decreases.The heating and air conditioning are switched off (even if the thermal comfort consumption indicator in not at the "ECO" position).
Thermal comfort consumption
indicator (Electric)
The gauge shows the consumption of the traction battery's electrical energy by the thermal comfort devices in the passenger compartment.
The devices in question are the heating and air conditioning systems.This equipment can be used:– If the vehicle is not plugged in, when the READY lamp is lit.– If the vehicle is plugged in, when the ignition is switched on ("Lounge" mode).Selecting ECO mode limits the performance of some of this equipment. The needle on the thermal comfort consumption indicator then moves into the "ECO" zone.
NOTIC E
To quickly heat or cool the passenger compartment, feel free to temporarily select the maximum heating or cooling setting.When the heating is on maximum, the gauge on the thermal comfort consumption indicator is in the MAX zone. When the air conditioning is on maximum, it stays in the ECO zone.Excessive use of thermal comfort equipment, particularly at low speed, can significantly decrease the vehicle's range.Remember to optimise equipment settings upon achieving the desired level of comfort, and adjust them if necessary whenever you start the vehicle.After an extended period without using the heating, you may notice a slight odour during the first few minutes of use.
Page 27 of 320
27
Instruments
1
Lighting dimmer
This control lets you manually adjust the brightness of the instrument panel according to the exterior light level.
With LCD symbols, LCD text
or matrix instrument panel
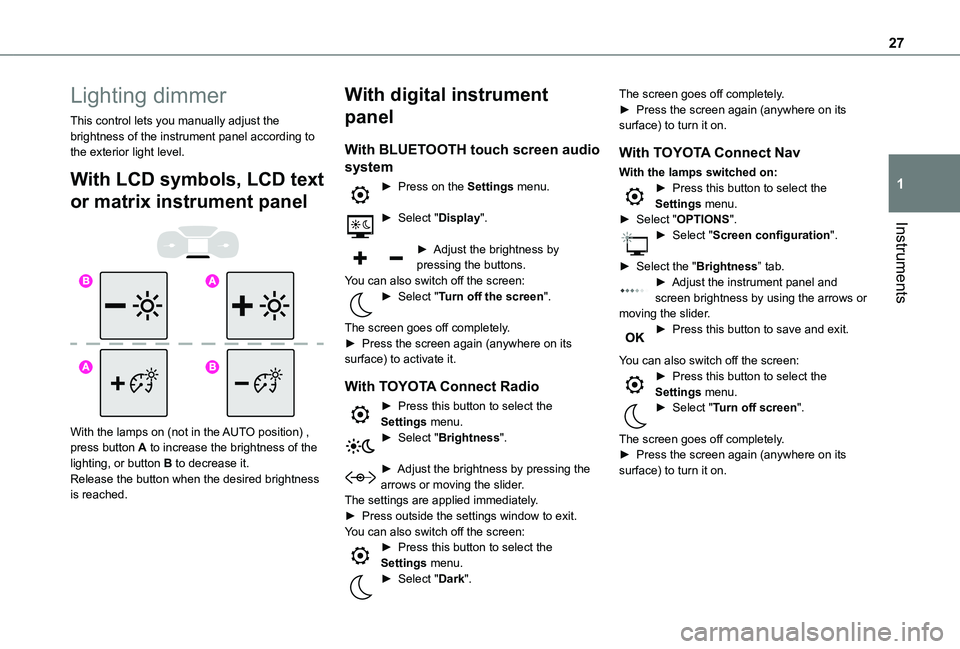
With the lamps on (not in the AUTO position) , press button A to increase the brightness of the lighting, or button B to decrease it.Release the button when the desired brightness is reached.
With digital instrument
panel
With BLUETOOTH touch screen audio
system
► Press on the Settings menu.
► Select "Display".
► Adjust the brightness by pressing the buttons.You can also switch off the screen:► Select "Turn off the screen".
The screen goes off completely.► Press the screen again (anywhere on its surface) to activate it.
With TOYOTA Connect Radio
► Press this button to select the Settings menu.► Select "Brightness".
► Adjust the brightness by pressing the arrows or moving the slider.The settings are applied immediately.► Press outside the settings window to exit.You can also switch off the screen:► Press this button to select the Settings menu.► Select "Dark".
The screen goes off completely.► Press the screen again (anywhere on its surface) to turn it on.
With TOYOTA Connect Nav
With the lamps switched on:► Press this button to select the Settings menu.► Select "OPTIONS".► Select "Screen configuration".
► Select the "Brightness” tab.► Adjust the instrument panel and screen brightness by using the arrows or moving the slider.► Press this button to save and exit.
You can also switch off the screen:► Press this button to select the Settings menu.► Select "Turn off screen".
The screen goes off completely.
► Press the screen again (anywhere on its surface) to turn it on.
Page 28 of 320
28
Trip computer
Information displayed about the current journey (range, fuel consumption, average speed, etc.).
Information display
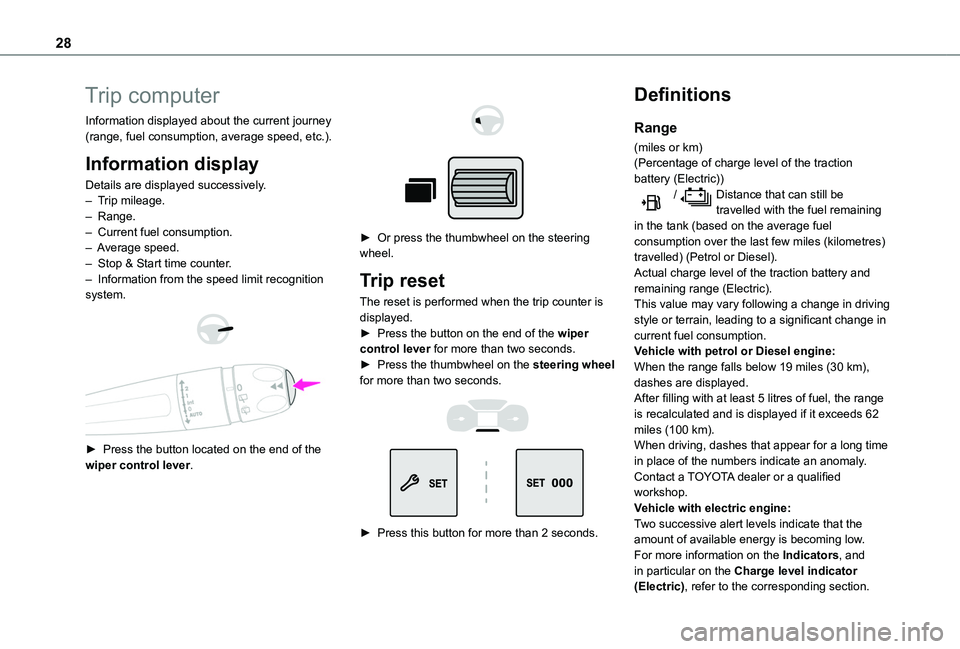
Details are displayed successively.– Trip mileage.– Range.– Current fuel consumption.– Average speed.– Stop & Start time counter.– Information from the speed limit recognition system.
► Press the button located on the end of the wiper control lever.
► Or press the thumbwheel on the steering wheel.
Trip reset
The reset is performed when the trip counter is displayed.► Press the button on the end of the wiper control lever for more than two seconds.► Press the thumbwheel on the steering wheel for more than two seconds.
► Press this button for more than 2 seconds.
Definitions
Range
(miles or km)(Percentage of charge level of the traction battery (Electric)) / Distance that can still be travelled with the fuel remaining in the tank (based on the average fuel consumption over the last few miles (kilometres) travelled) (Petrol or Diesel).Actual charge level of the traction battery and remaining range (Electric).This value may vary following a change in driving style or terrain, leading to a significant change in current fuel consumption.Vehicle with petrol or Diesel engine:When the range falls below 19 miles (30 km), dashes are displayed.After filling with at least 5 litres of fuel, the range is recalculated and is displayed if it exceeds 62 miles (100 km).
When driving, dashes that appear for a long time in place of the numbers indicate an anomaly.Contact a TOYOTA dealer or a qualified workshop.Vehicle with electric engine:Two successive alert levels indicate that the amount of available energy is becoming low.For more information on the Indicators, and in particular on the Charge level indicator (Electric), refer to the corresponding section.
Page 29 of 320
29
Instruments
1
Current consumption
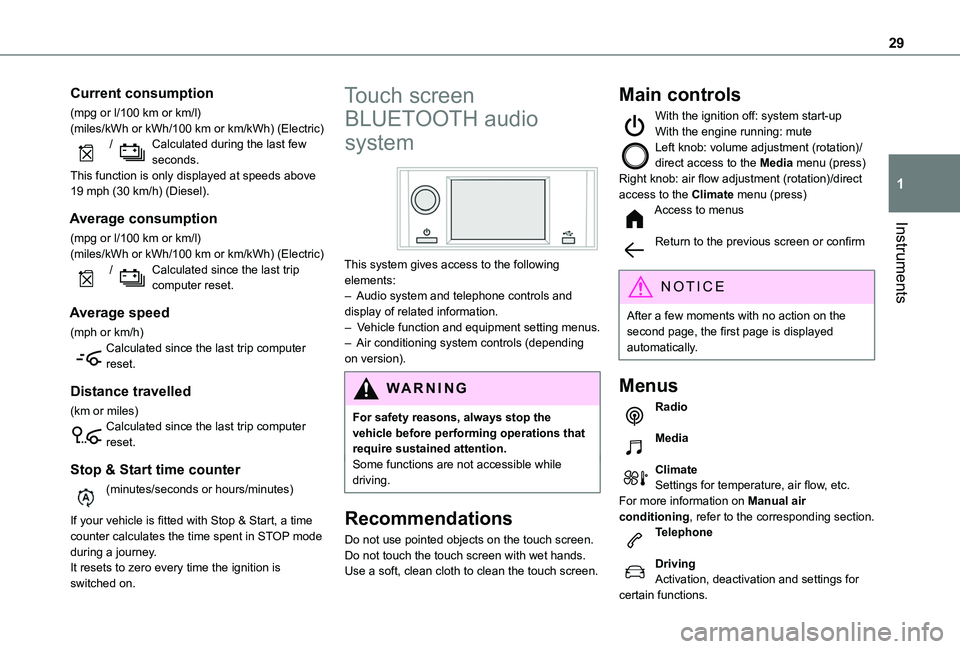
(mpg or l/100 km or km/l)(miles/kWh or kWh/100 km or km/kWh) (Electric) / Calculated during the last few seconds.This function is only displayed at speeds above 19 mph (30 km/h) (Diesel).
Average consumption
(mpg or l/100 km or km/l)(miles/kWh or kWh/100 km or km/kWh) (Electric) / Calculated since the last trip computer reset.
Average speed
(mph or km/h)Calculated since the last trip computer reset.
Distance travelled
(km or miles)Calculated since the last trip computer reset.
Stop & Start time counter
(minutes/seconds or hours/minutes)
If your vehicle is fitted with Stop & Start, a time counter calculates the time spent in STOP mode during a journey.It resets to zero every time the ignition is switched on.
Touch screen
BLUETOOTH audio
system
This system gives access to the following elements:– Audio system and telephone controls and display of related information.– Vehicle function and equipment setting menus.– Air conditioning system controls (depending on version).
W ARNI NG
For safety reasons, always stop the vehicle before performing operations that require sustained attention.Some functions are not accessible while driving.
Recommendations
Do not use pointed objects on the touch screen.
Do not touch the touch screen with wet hands.Use a soft, clean cloth to clean the touch screen.
Main controls
With the ignition off: system start-upWith the engine running: muteLeft knob: volume adjustment (rotation)/direct access to the Media menu (press)Right knob: air flow adjustment (rotation)/direct access to the Climate menu (press)Access to menus
Return to the previous screen or confirm
NOTIC E
After a few moments with no action on the second page, the first page is displayed automatically.
Menus
Radio
Media
ClimateSettings for temperature, air flow, etc.For more information on Manual air conditioning, refer to the corresponding section.Telephone
DrivingActivation, deactivation and settings for certain functions.
Page 30 of 320
30
SettingsMain system settings.
NOTIC E
For more information about the menus, refer to the sections describing the audio and telematics systems.
Touch screen
This system gives access to the following elements:– Permanent display of the time and outside temperature (a blue warning lamp appears if there is a risk of ice).– Vehicle functions and equipment setting menus.– Audio system and telephone controls and display of related information.– Display of visual manoeuvring aid functions– Internet services and display of related information.– Navigation system controls and display of related information (depending on version).
WARNI NG
For safety reasons, always stop the vehicle before performing operations that require sustained attention.Some functions are not accessible while driving.
Recommendations
This screen is of the capacitive type.– Do not use pointed objects on the touch screen.– Do not touch the touch screen with wet hands.– Use a soft, clean cloth to clean the touch screen.
Principles
► Use the buttons on each side of the touch screen to access the menus, then press the buttons that appear on the touch screen.Some menus may display across two pages: press the "OPTIONS" button to access the
second page.
NOTIC E
After a few moments with no action on the second page, the first page is displayed automatically.
To deactivate/activate a function, select "OFF" or "ON".
Configuring a function
Access to additional information on the functionConfirm
Return to the previous page or confirm
Menus
NOTIC E
Press the touch screen with three fingers to show all of the menu buttons.
NOTIC E
For more information about the menus, refer to the sections describing the audio and telematics systems.
Radio/Media
Navigation (Depending on equipment)
Driving or Vehicle (Depending on equipment)Activation, deactivation and settings for certain
functions.The functions are organised in 2 tabs: "Driving functions" and "Vehicle settings".