power steering TOYOTA PROACE EV 2021 Owners Manual
[x] Cancel search | Manufacturer: TOYOTA, Model Year: 2021, Model line: PROACE EV, Model: TOYOTA PROACE EV 2021Pages: 360, PDF Size: 68.91 MB
Page 12 of 360
12
NOTIC E
For more information on the Indicators, please refer to the corresponding section.
Warning and indicator
lamps
Displayed as symbols, the warning and indicator lamps inform the driver of the occurrence of a malfunction (warning lamps) or of the operating status of a system (operation or deactivation indicator lamps). Certain lamps light up in two ways (fixed or flashing) and/or in several colours.
Associated warnings
The illumination of a lamp may be accompanied by an audible signal and/or a message displayed in a screen.Relating the type of alert to the operating status of the vehicle allows you to determine whether the situation is normal or whether a fault has
occurred: refer to the description of each lamp for further information.
When the ignition is switched on
Certain red or orange warning lamps come on for a few seconds when the ignition is switched on. These warning lamps should go off as soon as the engine is started.For more information on a system or a function, refer to the corresponding section.
Persistent warning lamp
If a red or orange warning lamp comes on, there may be fault which needs further investigation.
If a lamp remains lit
The references (1), (2) and (3) in the warning and indicator lamp description indicate whether you should contact a qualified professional in addition to the immediate recommended actions.(1):You must stop the vehicle.Stop as soon as it is safe to do so and switch off the ignition.(2):Contact any authorized Toyota retailer or Toyota authorized repairer, or any reliable repairer.(3):Go to any authorized Toyota retailer or Toyota authorized repairer, or any reliable repairer.
List of warning and
indicator lamps
Red warning/indicator lamps
STOP
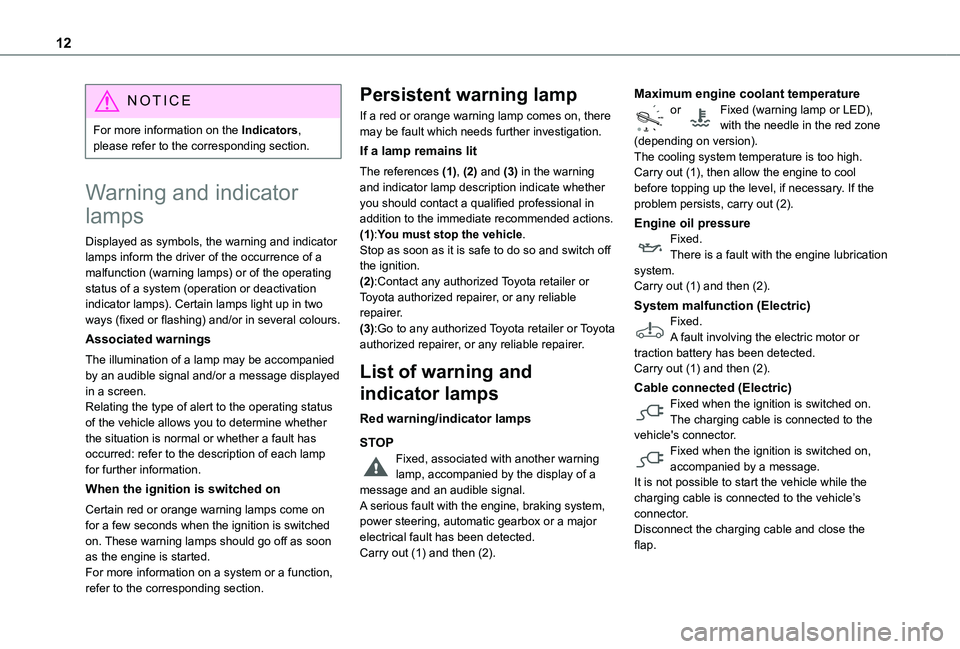
Fixed, associated with another warning lamp, accompanied by the display of a message and an audible signal.A serious fault with the engine, braking system, power steering, automatic gearbox or a major electrical fault has been detected.Carry out (1) and then (2).
Maximum engine coolant temperatureor Fixed (warning lamp or LED), with the needle in the red zone (depending on version).The cooling system temperature is too high.Carry out (1), then allow the engine to cool before topping up the level, if necessary. If the problem persists, carry out (2).
Engine oil pressureFixed.There is a fault with the engine lubrication system.Carry out (1) and then (2).
System malfunction (Electric)Fixed.A fault involving the electric motor or traction battery has been detected.Carry out (1) and then (2).
Cable connected (Electric)Fixed when the ignition is switched on.The charging cable is connected to the vehicle's connector.
Fixed when the ignition is switched on, accompanied by a message.It is not possible to start the vehicle while the charging cable is connected to the vehicle’s connector.Disconnect the charging cable and close the flap.
Page 17 of 360
17
Instruments
1
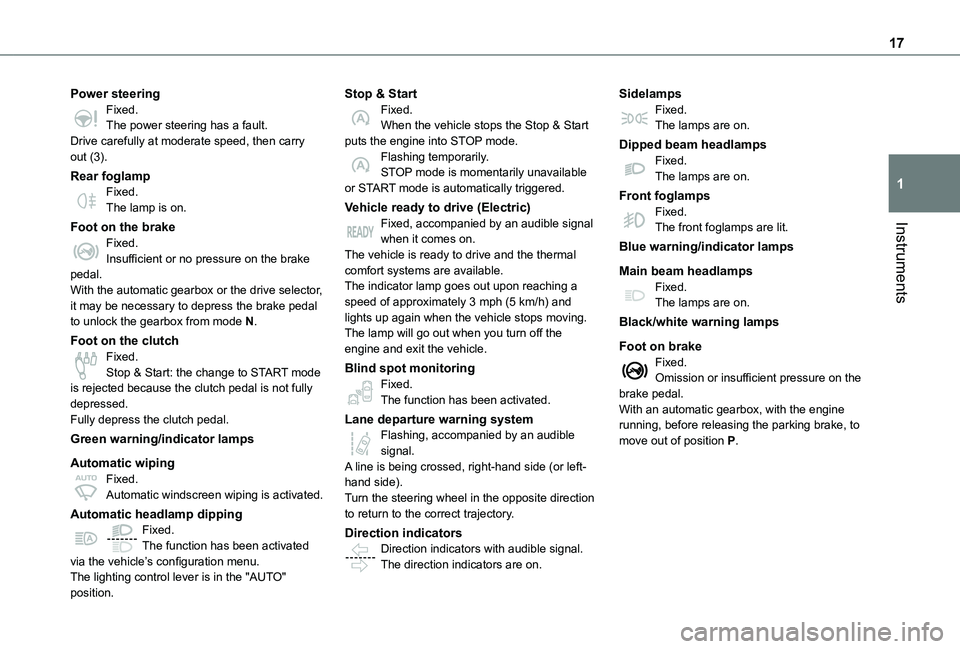
Power steeringFixed.The power steering has a fault.Drive carefully at moderate speed, then carry out (3).
Rear foglampFixed.The lamp is on.
Foot on the brakeFixed.Insufficient or no pressure on the brake pedal.With the automatic gearbox or the drive selector, it may be necessary to depress the brake pedal to unlock the gearbox from mode N.
Foot on the clutchFixed.Stop & Start: the change to START mode is rejected because the clutch pedal is not fully depressed.Fully depress the clutch pedal.
Green warning/indicator lamps
Automatic wipingFixed.Automatic windscreen wiping is activated.
Automatic headlamp dippingFixed.The function has been activated via the vehicle’s configuration menu.The lighting control lever is in the "AUTO" position.
Stop & StartFixed.When the vehicle stops the Stop & Start puts the engine into STOP mode.Flashing temporarily.STOP mode is momentarily unavailable or START mode is automatically triggered.
Vehicle ready to drive (Electric)Fixed, accompanied by an audible signal when it comes on.The vehicle is ready to drive and the thermal comfort systems are available.The indicator lamp goes out upon reaching a speed of approximately 3 mph (5 km/h) and lights up again when the vehicle stops moving.The lamp will go out when you turn off the engine and exit the vehicle.
Blind spot monitoringFixed.The function has been activated.
Lane departure warning systemFlashing, accompanied by an audible
signal.A line is being crossed, right-hand side (or left-hand side).Turn the steering wheel in the opposite direction to return to the correct trajectory.
Direction indicatorsDirection indicators with audible signal.The direction indicators are on.
SidelampsFixed.The lamps are on.
Dipped beam headlampsFixed.The lamps are on.
Front foglampsFixed.The front foglamps are lit.
Blue warning/indicator lamps
Main beam headlampsFixed.The lamps are on.
Black/white warning lamps
Foot on brakeFixed.Omission or insufficient pressure on the brake pedal.With an automatic gearbox, with the engine running, before releasing the parking brake, to move out of position P.
Page 78 of 360
78
USB socket
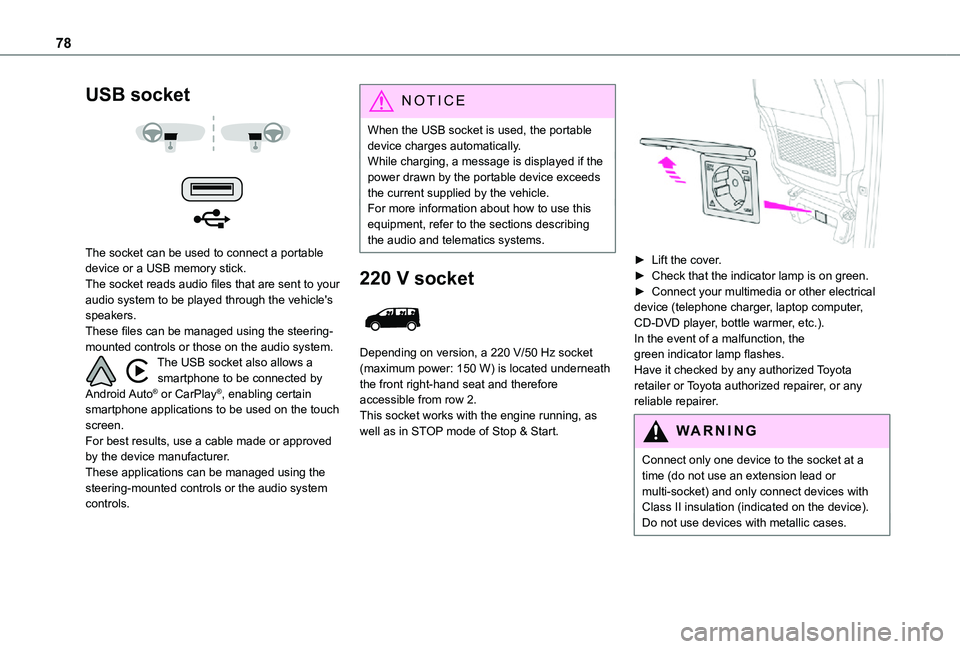
The socket can be used to connect a portable device or a USB memory stick.The socket reads audio files that are sent to your audio system to be played through the vehicle's speakers.These files can be managed using the steering-mounted controls or those on the audio system.The USB socket also allows a smartphone to be connected by Android Auto® or CarPlay®, enabling certain smartphone applications to be used on the touch screen.For best results, use a cable made or approved by the device manufacturer.These applications can be managed using the steering-mounted controls or the audio system controls.
NOTIC E
When the USB socket is used, the portable device charges automatically.While charging, a message is displayed if the power drawn by the portable device exceeds the current supplied by the vehicle.For more information about how to use this equipment, refer to the sections describing the audio and telematics systems.
220 V socket
Depending on version, a 220 V/50 Hz socket (maximum power: 150 W) is located underneath the front right-hand seat and therefore accessible from row 2.This socket works with the engine running, as well as in STOP mode of Stop & Start.
► Lift the cover.► Check that the indicator lamp is on green.► Connect your multimedia or other electrical device (telephone charger, laptop computer, CD-DVD player, bottle warmer, etc.).In the event of a malfunction, the green indicator lamp flashes.Have it checked by any authorized Toyota retailer or Toyota authorized repairer, or any reliable repairer.
WARNI NG
Connect only one device to the socket at a time (do not use an extension lead or multi-socket) and only connect devices with Class II insulation (indicated on the device).Do not use devices with metallic cases.
Page 111 of 360
111
Safety
5
NOTIC E
Data processingAll processing of personal information by the "Localised Emergency Call" system (PE112) complies with the framework for protection of personal information established by Regulation 2016/679 (GDPR) and Directive 2002/58/EC of the European Parliament and the Council, and in particular, seeks to protect the vital interests of the data subject, in accordance with Article 6.1, paragraph d) of Regulation 2016/679.Personal information processing is strictly limited to the management of the "Localised Emergency Call" system used with the “112” European single emergency call number.The "Localised Emergency Call" system is able to collect and process only the following data relating to the vehicle: chassis number, type (passenger vehicle or light commercial vehicle), fuel type or power source, most recent three locations and direction of travel,
and a timestamped log file recording the automatic activation of the system.The recipients of the processed data are the emergency call handling centres designated by the relevant national authorities in the territory in which they are located, enabling priority reception and handling of calls to the “112” emergency number.
NOTIC E
Data storageData contained in the system’s memory is not accessible from outside the system until a call is made. The system is not traceable and is not continuously monitored in its normal operating mode. The data in the system's internal memory is automatically and continuously erased. Only the vehicle’s three most recent locations are stored.When an emergency call is triggered, the data log is stored for no more than 13 hours.
NOTIC E
Access to dataYou have the right to access the data and, if necessary, submit a request to rectify, erase or restrict the processing of any personal information not processed in accordance with the provisions of Regulation 2016/679 (GDPR). Third parties to which data has been communicated shall be notified of any rectification, erasure or restriction carried out in accordance with the aforementioned Directive, unless doing so would be impossible or require a disproportionate effort. You also have the right to lodge a complaint with the relevant data protection authority.
Horn
► Press the central part of the steering wheel.
Pedestrian horn (Electric)
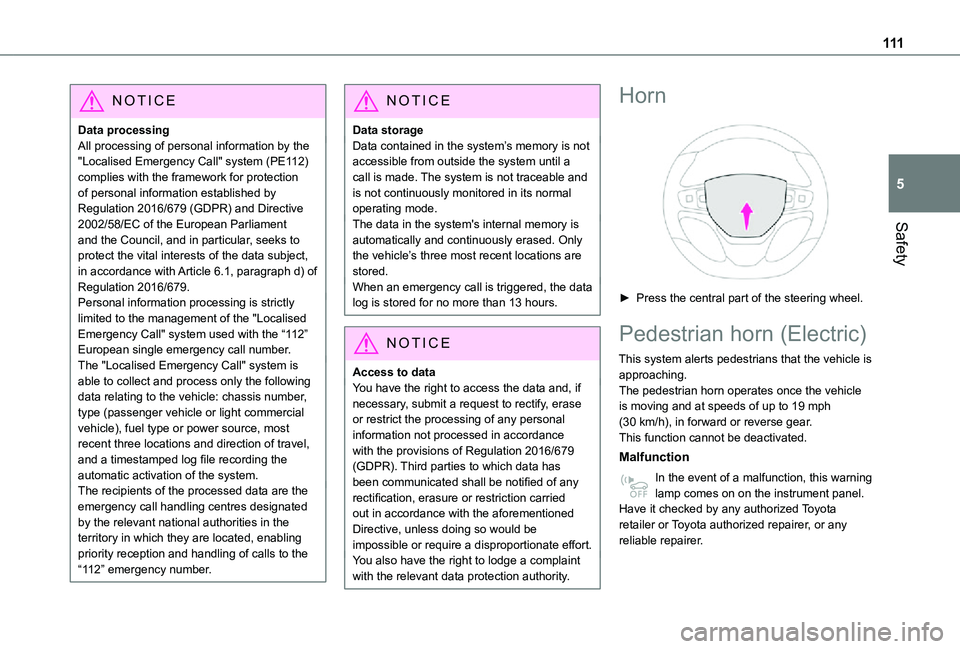
This system alerts pedestrians that the vehicle is approaching.The pedestrian horn operates once the vehicle is moving and at speeds of up to 19 mph (30 km/h), in forward or reverse gear.This function cannot be deactivated.
Malfunction
In the event of a malfunction, this warning lamp comes on on the instrument panel.Have it checked by any authorized Toyota retailer or Toyota authorized repairer, or any reliable repairer.
Page 154 of 360
154
On starting, the instrument panel lights up and the power indicator needle performs one sweep then moves to the "neutral" position. The steering column automatically unlocks (you may hear a sound and feel the steering wheel move).
Switching off
► If using a conventional or remote control key, turn the key fully to position 1 (Stop).► If using Smart Entry & Start, press the "START/STOP" button.Before exiting the vehicle, check that:– The drive selector is in mode P.– The READY indicator lamp is off.
NOTIC E
The drive selector moves automatically to mode P when the motor is switched off or when the driver's door is opened.
NOTIC E
If the driver's door is opened while the required conditions for stopping are not satisfied, an audible signal is emitted, accompanied by the display of a warning message.
Special case with Smart
Entry & Start
Switching on the ignition without
starting the engine
With the Smart Entry & Start system’s electronic key inside the vehicle, pressing the "START/STOP" button, with no action on the pedals, allows the ignition to be switched on.► Pressing this button again switches off the ignition and allows the vehicle to be locked.
Back-up starting
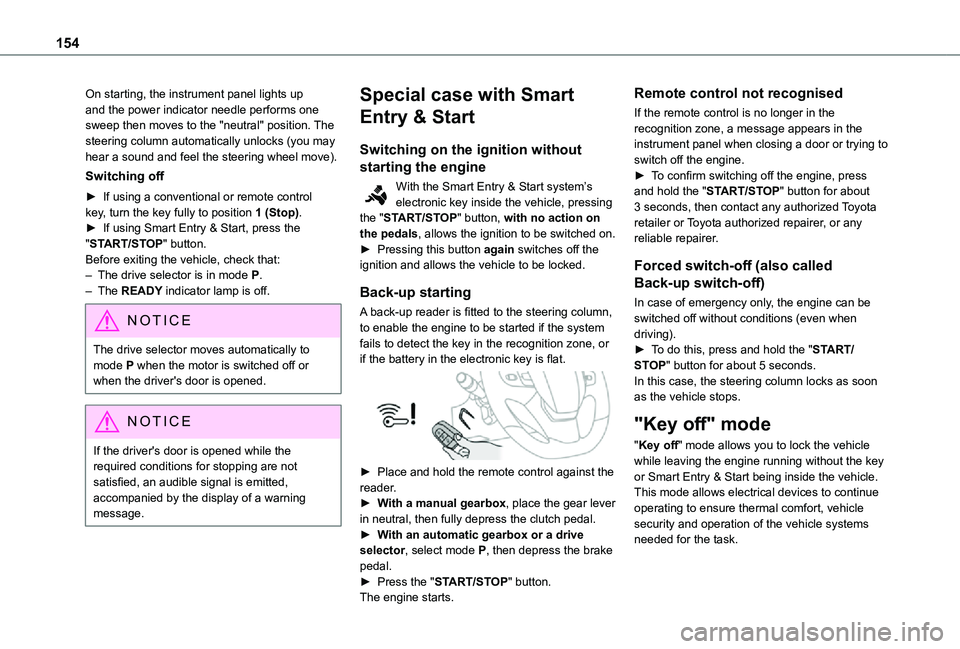
A back-up reader is fitted to the steering column, to enable the engine to be started if the system fails to detect the key in the recognition zone, or if the battery in the electronic key is flat.
► Place and hold the remote control against the reader.► With a manual gearbox, place the gear lever in neutral, then fully depress the clutch pedal.► With an automatic gearbox or a drive selector, select mode P, then depress the brake pedal.► Press the "START/STOP" button.The engine starts.
Remote control not recognised
If the remote control is no longer in the recognition zone, a message appears in the instrument panel when closing a door or trying to switch off the engine.► To confirm switching off the engine, press and hold the "START/STOP" button for about 3 seconds, then contact any authorized Toyota retailer or Toyota authorized repairer, or any reliable repairer.
Forced switch-off (also called
Back-up switch-off)
In case of emergency only, the engine can be switched off without conditions (even when driving).► To do this, press and hold the "START/STOP" button for about 5 seconds.In this case, the steering column locks as soon as the vehicle stops.
"Key off" mode
"Key off" mode allows you to lock the vehicle while leaving the engine running without the key or Smart Entry & Start being inside the vehicle.This mode allows electrical devices to continue operating to ensure thermal comfort, vehicle security and operation of the vehicle systems needed for the task.
Page 160 of 360
160
NOTIC E
As a safety precaution and to facilitate engine starting:– always select neutral,– depress the clutch pedal.
Gear efficiency indicator
(Depending on engine.)This system helps reduce fuel consumption by recommending the most appropriate gear.
Operation
Depending on the driving situation and the vehicle's equipment, the system may advise to skip one or more gears.Gear shift recommendations should not be considered compulsory. In fact, the road layout, the traffic density and safety remain the deciding factors when choosing the best gear. The driver therefore remains responsible for deciding
whether or not to follow the indications issued by the system.This function cannot be deactivated.On certain Diesel versions with manual gearbox, the system may suggest changing into neutral (N is displayed in the instrument panel) so that the engine can go into standby (STOP mode with Stop & Start), in certain driving conditions.
NOTIC E
With an automatic gearbox, the system is only active in manual operation.
The information appears in the instrument panel, in the form of an ascending or descending arrow and the recommended gear.
NOTIC E
The system adapts its gear shift recommendation according to the driving conditions (slope, load, etc.) and the driver’s requirements (request for power, acceleration, braking, etc.).The system never suggests:– engaging first gear.– engaging reverse.
Automatic gearbox
Automatic 6 or 8-speed gearbox, with electronic management of gear changes. It also offers a manual mode with sequential gear changes via control paddles located behind the steering wheel.
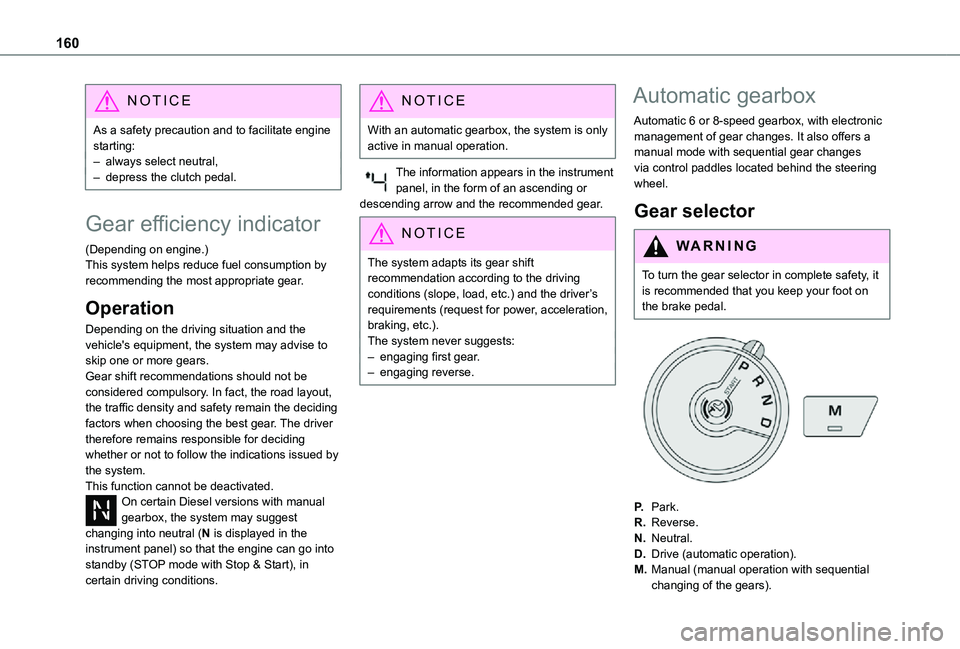
Gear selector
WARNI NG
To turn the gear selector in complete safety, it is recommended that you keep your foot on the brake pedal.
P.Park.
R.Reverse.
N.Neutral.
D.Drive (automatic operation).
M.Manual (manual operation with sequential changing of the gears).
Page 215 of 360
215
Practical information
7
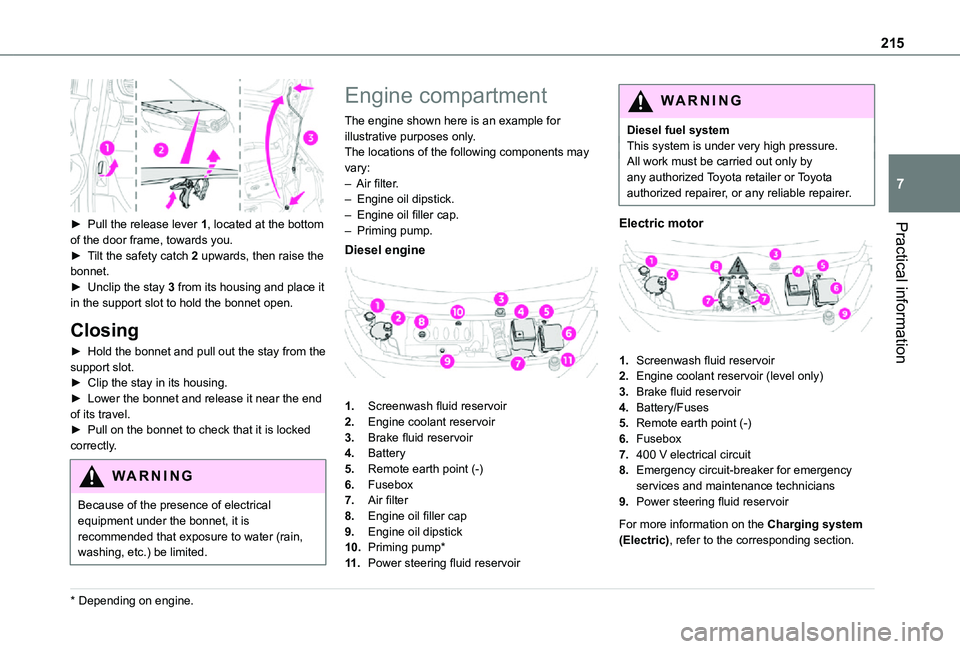
► Pull the release lever 1, located at the bottom of the door frame, towards you.► Tilt the safety catch 2 upwards, then raise the bonnet.► Unclip the stay 3 from its housing and place it in the support slot to hold the bonnet open.
Closing
► Hold the bonnet and pull out the stay from the support slot.► Clip the stay in its housing.► Lower the bonnet and release it near the end of its travel.► Pull on the bonnet to check that it is locked
correctly.
WARNI NG
Because of the presence of electrical equipment under the bonnet, it is recommended that exposure to water (rain, washing, etc.) be limited.
* Depending on engine.
Engine compartment
The engine shown here is an example for illustrative purposes only.The locations of the following components may vary:– Air filter.– Engine oil dipstick.– Engine oil filler cap.– Priming pump.
Diesel engine
1.Screenwash fluid reservoir
2.Engine coolant reservoir
3.Brake fluid reservoir
4.Battery
5.Remote earth point (-)
6.Fusebox
7.Air filter
8.Engine oil filler cap
9.Engine oil dipstick
10.Priming pump*
11 .Power steering fluid reservoir
WARNI NG
Diesel fuel systemThis system is under very high pressure.All work must be carried out only by any authorized Toyota retailer or Toyota authorized repairer, or any reliable repairer.
Electric motor
1.Screenwash fluid reservoir
2.Engine coolant reservoir (level only)
3.Brake fluid reservoir
4.Battery/Fuses
5.Remote earth point (-)
6.Fusebox
7.400 V electrical circuit
8.Emergency circuit-breaker for emergency services and maintenance technicians
9.Power steering fluid reservoir
For more information on the Charging system (Electric), refer to the corresponding section.
Page 217 of 360
217
Practical information
7
Topping up the engine oil level
For the location of the engine oil filler cap, please refer to the corresponding engine compartment illustration.► Add oil in small quantities, avoiding any spills on engine components (risk of fire).► Wait a few minutes before checking the level again using the dipstick.► Top up the level if necessary.► After checking the level, carefully screw the oil filler cap back on and replace the dipstick in its tube.
NOTIC E
The oil level indication displayed on the instrument panel when the ignition is switched on is not valid for 30 minutes following an addition of oil.
Brake fluid
The level of this fluid should be close to the "MAX" mark. If not, check the brake pad wear.To know how often the brake fluid should be replaced, refer to the manufacturer's servicing schedule.
WARNI NG
If topping up, clean the cap before replacing it. Use only DOT4 brake fluid from a sealed canister.
Power steering fluid
The level of this fluid should be close to the "MAX" mark. Check it, with the vehicle parked on level ground and with the engine cold, by reading the level on the filler neck.
Engine coolant
(Diesel)
It is normal to top up this fluid between two services.The check and top-up must only be done with the engine cold.A level of coolant that is too low risks causing major damage to the engine; the coolant level must be close to the "MAX" mark without ever
going above it.If the level is close to or below the "MIN" mark, it is essential to top it up.When the engine is hot, the temperature of the coolant is regulated by the fan.As the cooling system is pressurised, wait at least one hour after switching off the engine before carrying out any work.In order to avoid the risk of scalding if you need to top up in an emergency, wrap a cloth around
the cap and unscrew the cap by two turns to allow the pressure to drop.Once the pressure has dropped, remove the cap and top up to the required level.
(Electric)
WARNI NG
Do not top up the coolant.
If the level is close to or below the "MIN" mark, it is essential to contact any authorized Toyota retailer or Toyota authorized repairer, or any reliable repairer.
Screenwash fluid
Top up to the required level when necessary.
Fluid specification
The fluid must be topped up with a ready-to-use mixture.In winter (temperatures below zero), a liquid
containing an agent to prevent freezing must be used which is appropriate for the prevailing conditions, in order to protect the elements of the system (pump, tank, ducts, jets, etc.).
Page 320 of 360
320
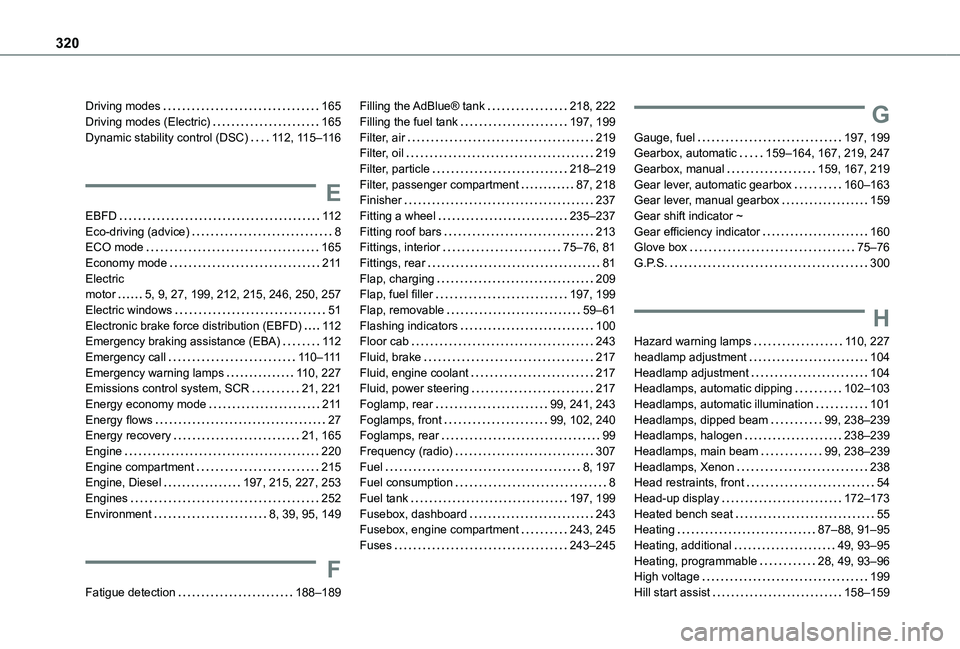
Driving modes 165Driving modes (Electric) 165Dynamic stability control (DSC) 11 2, 11 5–11 6
E
EBFD 11 2Eco-driving (advice) 8ECO mode 165Economy mode 2 11Electric motor 5, 9, 27, 199, 212, 215, 246, 250, 257Electric windows 51Electronic brake force distribution (EBFD) 11 2Emergency braking assistance (EBA) 11 2Emergency call 11 0–111Emergency warning lamps 11 0, 227Emissions control system, SCR 21, 221Energy economy mode 2 11Energy flows 27Energy recovery 21, 165
Engine 220Engine compartment 215Engine, Diesel 197, 215, 227, 253Engines 252Environment 8, 39, 95, 149
F
Fatigue detection 188–189
Filling the AdBlue® tank 218, 222Filling the fuel tank 197, 199Filter, air 219Filter, oil 219Filter, particle 218–219Filter, passenger compartment 87, 218Finisher 237Fitting a wheel 235–237Fitting roof bars 213Fittings, interior 75–76, 81Fittings, rear 81Flap, charging 209Flap, fuel filler 197, 199Flap, removable 59–61Flashing indicators 100Floor cab 243Fluid, brake 217Fluid, engine coolant 217Fluid, power steering 217Foglamp, rear 99, 241, 243Foglamps, front 99, 102, 240Foglamps, rear 99
Frequency (radio) 307Fuel 8, 197Fuel consumption 8Fuel tank 197, 199Fusebox, dashboard 243Fusebox, engine compartment 243, 245Fuses 243–245
G
Gauge, fuel 197, 199Gearbox, automatic 159–164, 167, 219, 247Gearbox, manual 159, 167, 219Gear lever, automatic gearbox 160–163Gear lever, manual gearbox 159Gear shift indicator ~ Gear efficiency indicator 160Glove box 75–76G.P.S. 300
H
Hazard warning lamps 11 0, 227headlamp adjustment 104Headlamp adjustment 104Headlamps, automatic dipping 102–103Headlamps, automatic illumination 101Headlamps, dipped beam 99, 238–239Headlamps, halogen 238–239
Headlamps, main beam 99, 238–239Headlamps, Xenon 238Head restraints, front 54Head-up display 172–173Heated bench seat 55Heating 87–88, 91–95Heating, additional 49, 93–95Heating, programmable 28, 49, 93–96High voltage 199Hill start assist 158–159
Page 321 of 360
321
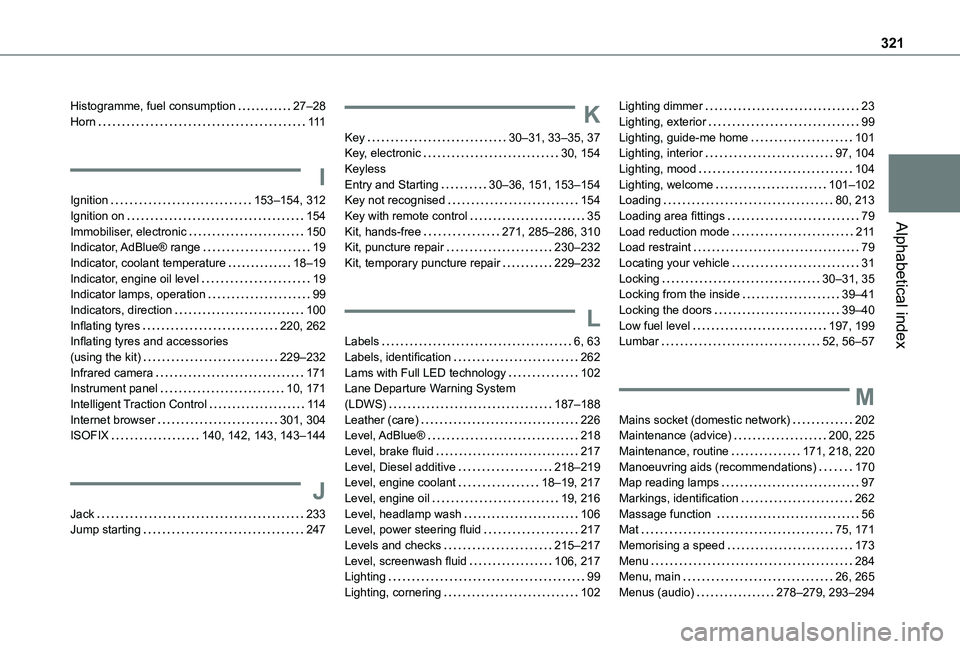
Alphabetical index
Histogramme, fuel consumption 27–28Horn 111
I
Ignition 153–154, 312Ignition on 154Immobiliser, electronic 150Indicator, AdBlue® range 19Indicator, coolant temperature 18–19Indicator, engine oil level 19Indicator lamps, operation 99Indicators, direction 100Inflating tyres 220, 262Inflating tyres and accessories (using the kit) 229–232Infrared camera 171Instrument panel 10, 171Intelligent Traction Control 11 4Internet browser 301, 304ISOFIX 140, 142, 143, 143–144
J
Jack 233Jump starting 247
K
Key 30–31, 33–35, 37Key, electronic 30, 154Keyless Entry and Starting 30–36, 151, 153–154Key not recognised 154Key with remote control 35Kit, hands-free 271, 285–286, 310Kit, puncture repair 230–232Kit, temporary puncture repair 229–232
L
Labels 6, 63Labels, identification 262Lams with Full LED technology 102Lane Departure Warning System (LDWS) 187–188Leather (care) 226Level, AdBlue® 218
Level, brake fluid 217Level, Diesel additive 218–219Level, engine coolant 18–19, 217Level, engine oil 19, 216Level, headlamp wash 106Level, power steering fluid 217Levels and checks 215–217Level, screenwash fluid 106, 217Lighting 99Lighting, cornering 102
Lighting dimmer 23Lighting, exterior 99Lighting, guide-me home 101Lighting, interior 97, 104Lighting, mood 104Lighting, welcome 101–102Loading 80, 213Loading area fittings 79Load reduction mode 2 11Load restraint 79Locating your vehicle 31Locking 30–31, 35Locking from the inside 39–41Locking the doors 39–40Low fuel level 197, 199Lumbar 52, 56–57
M
Mains socket (domestic network) 202Maintenance (advice) 200, 225
Maintenance, routine 171, 218, 220Manoeuvring aids (recommendations) 170Map reading lamps 97Markings, identification 262Massage function 56Mat 75, 171Memorising a speed 173Menu 284Menu, main 26, 265Menus (audio) 278–279, 293–294