navigation system TOYOTA PROACE VERSO 2021 User Guide
[x] Cancel search | Manufacturer: TOYOTA, Model Year: 2021, Model line: PROACE VERSO, Model: TOYOTA PROACE VERSO 2021Pages: 360, PDF Size: 68.91 MB
Page 174 of 360
174
Speed Limit Recognition
and Recommendation
WARNI NG
Refer to the General recommendations on the use of driving and manoeuvring aids.
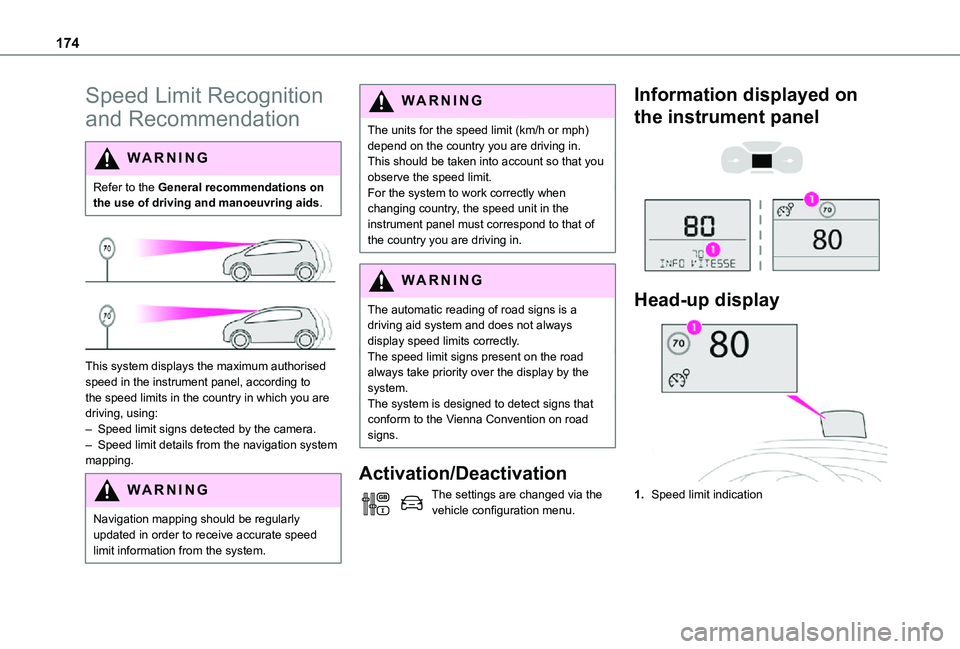
This system displays the maximum authorised speed in the instrument panel, according to the speed limits in the country in which you are driving, using:– Speed limit signs detected by the camera.– Speed limit details from the navigation system mapping.
WARNI NG
Navigation mapping should be regularly updated in order to receive accurate speed
limit information from the system.
WARNI NG
The units for the speed limit (km/h or mph) depend on the country you are driving in.This should be taken into account so that you observe the speed limit.For the system to work correctly when changing country, the speed unit in the instrument panel must correspond to that of the country you are driving in.
WARNI NG
The automatic reading of road signs is a driving aid system and does not always display speed limits correctly.The speed limit signs present on the road always take priority over the display by the system. The system is designed to detect signs that conform to the Vienna Convention on road signs.
Activation/Deactivation
The settings are changed via the vehicle configuration menu.
Information displayed on
the instrument panel
Head-up display
1.Speed limit indication
Page 210 of 360
210
On a smartphone or tablet (GSM), with TOYOTA Pro Touch or TOYOTA Pro Touch with navigation systemYou can programme the deferred charging function at any time via the MyToyota application (Available soon).For more information on Remote functions, refer to the corresponding section.In the vehicle, with TOYOTA Pro Touch with navigation system► In the Energy touch screen menu, select the Charge page.► Set the charging start time.► Press OK.The setting is saved in the system.
Activation
NOTIC E
Deferred charging is only possible with modes 2 and 3.
► After programming the deferred charging, connect your vehicle to the desired charging equipment.
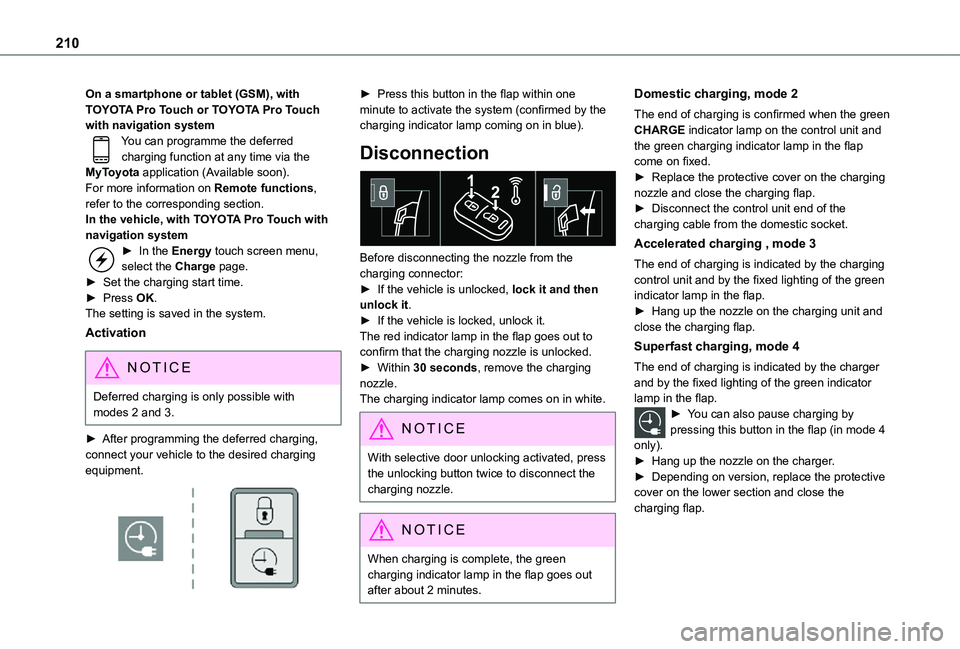
► Press this button in the flap within one minute to activate the system (confirmed by the charging indicator lamp coming on in blue).
Disconnection
Before disconnecting the nozzle from the charging connector:► If the vehicle is unlocked, lock it and then unlock it.► If the vehicle is locked, unlock it.The red indicator lamp in the flap goes out to confirm that the charging nozzle is unlocked.► Within 30 seconds, remove the charging nozzle.The charging indicator lamp comes on in white.
NOTIC E
With selective door unlocking activated, press the unlocking button twice to disconnect the charging nozzle.
NOTIC E
When charging is complete, the green charging indicator lamp in the flap goes out after about 2 minutes.
Domestic charging, mode 2
The end of charging is confirmed when the green CHARGE indicator lamp on the control unit and the green charging indicator lamp in the flap come on fixed.► Replace the protective cover on the charging nozzle and close the charging flap.► Disconnect the control unit end of the charging cable from the domestic socket.
Accelerated charging , mode 3
The end of charging is indicated by the charging control unit and by the fixed lighting of the green indicator lamp in the flap.► Hang up the nozzle on the charging unit and close the charging flap.
Superfast charging, mode 4
The end of charging is indicated by the charger and by the fixed lighting of the green indicator lamp in the flap.► You can also pause charging by pressing this button in the flap (in mode 4
only).► Hang up the nozzle on the charger.► Depending on version, replace the protective cover on the lower section and close the charging flap.
Page 245 of 360
245
In the event of a breakdown
8
Fuse N°Rating(Amps)Functions
F2920Audio system, touch screen, CD player, navigation.
F3215Front 12 V accessory socket.
Version 2 (Full)
The fuses described below vary according to the equipment in your vehicle.
Fuse N°Rating(Amps)Functions
F55Touch screen, reversing camera and
parking sensors.
Fuse N°Rating(Amps)Functions
F820Single or double rear wipers.
F10/F1130Internal/external locks, front and rear.
F123Alarm.
F1710Rear 12 V accessory socket.
F3315Front 12 V accessory socket.
F3620Audio system, touch screen, CD player, navigation.
Engine compartment fuses
The fusebox is placed in the engine compartment near the battery.
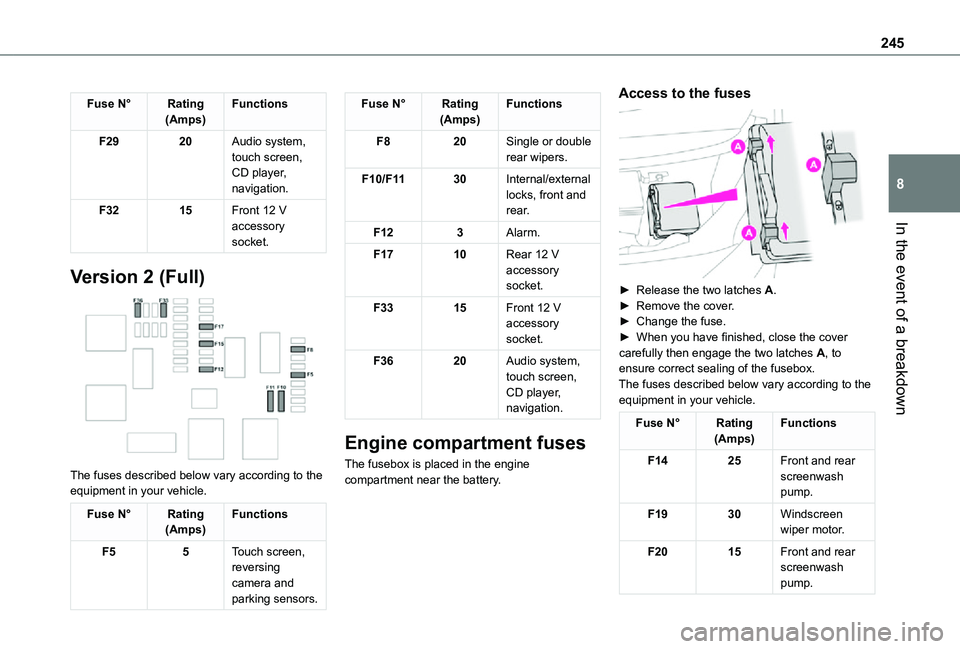
Access to the fuses
► Release the two latches A.► Remove the cover.► Change the fuse.► When you have finished, close the cover carefully then engage the two latches A, to ensure correct sealing of the fusebox.The fuses described below vary according to the equipment in your vehicle.
Fuse N°Rating(Amps)Functions
F1425Front and rear screenwash pump.
F1930Windscreen wiper motor.
F2015Front and rear screenwash pump.
Page 279 of 360
279
TOYOTA Pro Touch
11
Settings
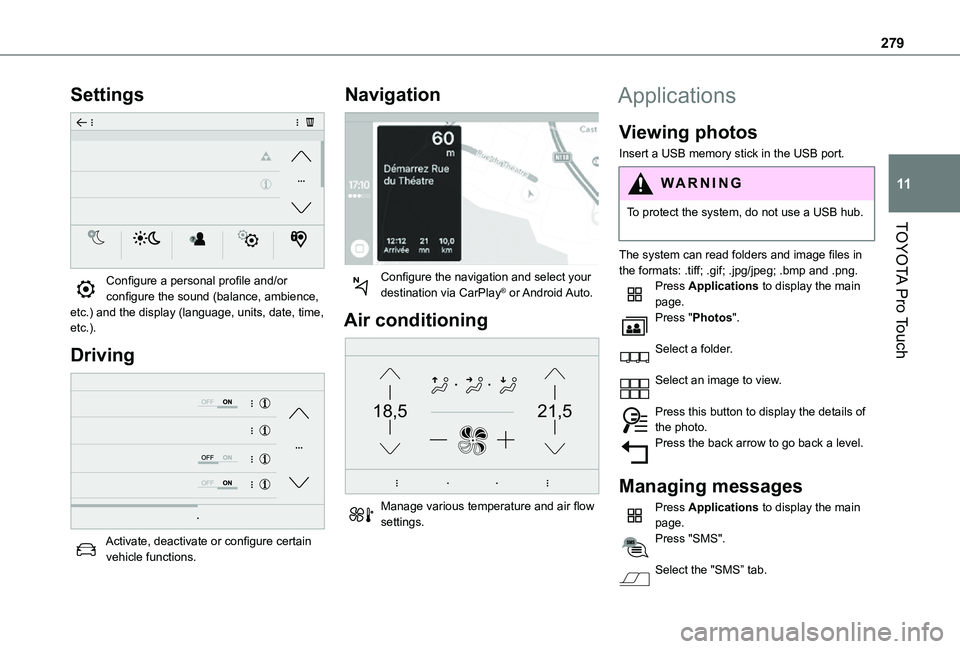
Configure a personal profile and/or configure the sound (balance, ambience, etc.) and the display (language, units, date, time, etc.).
Driving
Activate, deactivate or configure certain vehicle functions.
Navigation
Configure the navigation and select your destination via CarPlay® or Android Auto.
Air conditioning
21,518,5
Manage various temperature and air flow settings.
Applications
Viewing photos
Insert a USB memory stick in the USB port.
WARNI NG
To protect the system, do not use a USB hub.
The system can read folders and image files in the formats: .tiff; .gif; .jpg/jpeg; .bmp and .png.Press Applications to display the main page.Press "Photos".
Select a folder.
Select an image to view.
Press this button to display the details of the photo.Press the back arrow to go back a level.
Managing messages
Press Applications to display the main page.Press "SMS".
Select the "SMS” tab.
Page 284 of 360
284
Telephone
USB sockets
Depending on equipment, for more information on the USB sockets compatible with CarPlay® or Android Auto applications, refer to the "Ease of use and comfort" section.
NOTIC E
For the list of compatible smartphones, visit the Manufacturer's website in your country.
NOTIC E
Synchronising a smartphone enables users to display applications that support the smartphone’s CarPlay® or Android Auto technology on the vehicle’s screen. For CarPlay® technology, the CarPlay® function must first be activated on the smartphone.Unlock the smartphone for the communication process between the smartphone and the system to work.As principles and standards are constantly changing, we recommend keeping the smartphone's operating system up-to-date, together with the date and time on the smartphone and the system.
CarPlay® smartphone
connection
Depending on country.
NOTIC E
On connecting the USB cable, the CarPlay® function deactivates the system's Bluetooth® mode.
The "CarPlay" function requires the use of a compatible smartphone and compatible applications.
Connect the USB cable. The smartphone charges when connected by the USB cable.From the system, press Telephone to display the CarPlay® interface.OrIf the smartphone has already connected by Bluetooth®.Connect the USB cable. The smartphone charges when connected by the USB cable.From the system, press "Telephone" to display the main page.Press the "PHONE" button to go to the secondary page.Press "CarPlay" to display the CarPlay® interface.
NOTIC E
When the USB cable is disconnected and the ignition is switched off then back on, the system will not automatically switch to Radio Media mode; the source must be changed manually.
The CarPlay® navigation can be accessed at any time by pressing the system's Navigation button.
Android Auto smartphone
connection
Depending on country.On the smartphone, download the Android Auto application.
NOTIC E
The "Android Auto" function requires the use of a compatible smartphone and applications.
Telephone not connected by
Bluetooth®
Connect a USB cable. The smartphone charges when connected by a USB cable.From the system, press "Telephone" to display the main page.Press "Android Auto" to start the application in the system.
Page 291 of 360
291
TOYOTA Pro Touch with navigation system
12
TOYOTA Pro Touch with
navigation system
GPS navigation -
Applications - Multimedia
audio system - Bluetooth®
telephone
NOTIC E
The functions and settings described vary according to the vehicle version and configuration, as well as the country of sale.
WARNI NG
For safety reasons and because they require sustained attention by the driver, the following operations must be carried out with the vehicle stationary and the ignition on:– Pairing the smartphone with the system via Bluetooth.– Using the smartphone.– Connecting to the CarPlay® or Android Auto applications (certain applications stop displaying when the vehicle is moving).– Watching a video (the video stops when the vehicle starts to move again).– Changing the system settings and configuration.
NOTIC E
The system is protected so that it only operates in the vehicle.The message Energy economy mode is displayed when the system is about to go into standby.
NOTIC E
System and map updates can be downloaded
from the Brand's website.The update procedure is also available there.
First steps
With the engine running, a press mutes the sound.With the ignition off, a press turns the system on.Increase or decrease the volume using the wheel or the "plus" or "minus" buttons (depending on the equipment).Use the menu buttons on either side of or below the touch screen for access to the menus, then press the virtual buttons in the touch screen.Depending on the model, use the "Source" or "Menu" buttons to access the rolling menus, then press the virtual buttons in the touch screen.Display the rolling menus at any time by pressing the screen briefly with three fingers.All of the touch areas of the screen are white.Press the back arrow to go back a level.Press "OK" to confirm.
WARNI NG
The touch screen is of the "capacitive" type.To clean the screen, use a soft, non-abrasive cloth (e.g. spectacles cloth) with no additional product.Do not use sharp objects on the screen.Do not touch the screen with wet hands.
Certain information is displayed permanently in the side bars or in the upper bar of the touch screen (depending on equipment):
Page 292 of 360
292
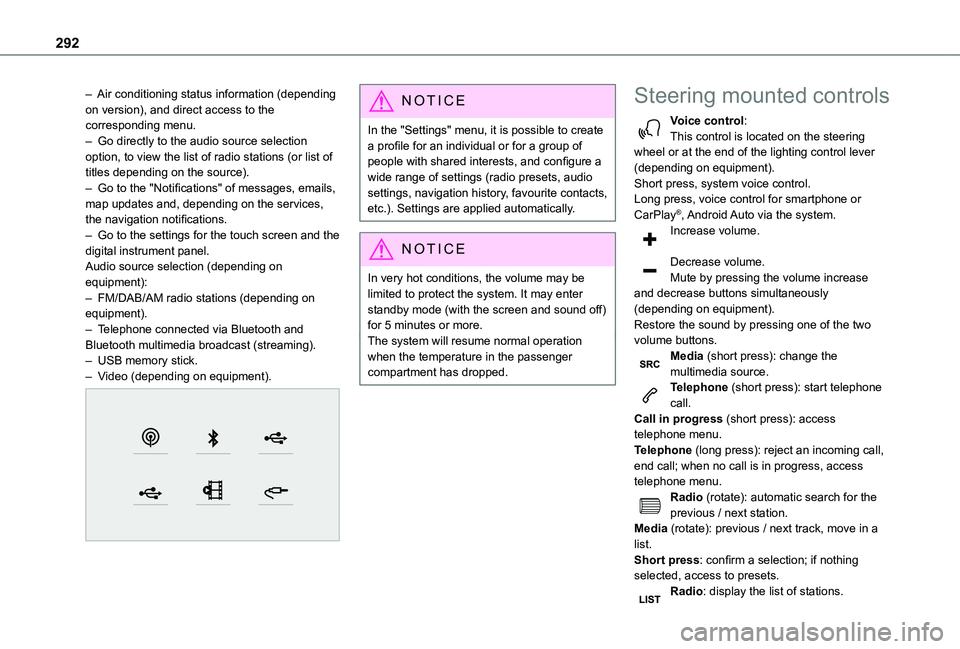
– Air conditioning status information (depending on version), and direct access to the corresponding menu.– Go directly to the audio source selection option, to view the list of radio stations (or list of titles depending on the source).– Go to the "Notifications" of messages, emails, map updates and, depending on the services, the navigation notifications.– Go to the settings for the touch screen and the digital instrument panel.Audio source selection (depending on equipment):– FM/DAB/AM radio stations (depending on equipment).– Telephone connected via Bluetooth and Bluetooth multimedia broadcast (streaming).– USB memory stick.– Video (depending on equipment).
NOTIC E
In the "Settings" menu, it is possible to create a profile for an individual or for a group of people with shared interests, and configure a wide range of settings (radio presets, audio settings, navigation history, favourite contacts, etc.). Settings are applied automatically.
NOTIC E
In very hot conditions, the volume may be limited to protect the system. It may enter standby mode (with the screen and sound off) for 5 minutes or more.The system will resume normal operation when the temperature in the passenger compartment has dropped.
Steering mounted controls
Voice control:This control is located on the steering wheel or at the end of the lighting control lever (depending on equipment).Short press, system voice control.Long press, voice control for smartphone or CarPlay®, Android Auto via the system.Increase volume.
Decrease volume.Mute by pressing the volume increase and decrease buttons simultaneously (depending on equipment).Restore the sound by pressing one of the two volume buttons.Media (short press): change the multimedia source.Telephone (short press): start telephone call.Call in progress (short press): access telephone menu.
Telephone (long press): reject an incoming call, end call; when no call is in progress, access telephone menu.Radio (rotate): automatic search for the previous / next station.Media (rotate): previous / next track, move in a list.Short press: confirm a selection; if nothing selected, access to presets.Radio: display the list of stations.
Page 293 of 360
293
TOYOTA Pro Touch with navigation system
12
Media: display the list of tracks.Radio (press and hold): update the list of stations received.
Menus
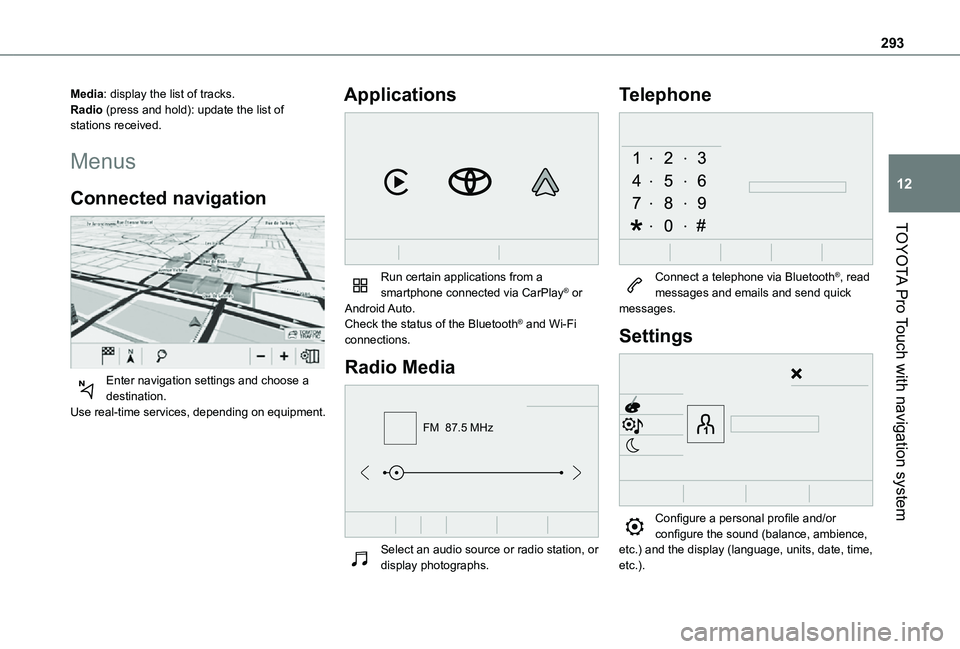
Connected navigation
Enter navigation settings and choose a destination.Use real-time services, depending on equipment.
Applications
Run certain applications from a smartphone connected via CarPlay® or Android Auto.Check the status of the Bluetooth® and Wi-Fi connections.
Radio Media
FM 87.5 MHz
Select an audio source or radio station, or display photographs.
Telephone
Connect a telephone via Bluetooth®, read messages and emails and send quick messages.
Settings
Configure a personal profile and/or configure the sound (balance, ambience,
etc.) and the display (language, units, date, time, etc.).
Page 294 of 360
294
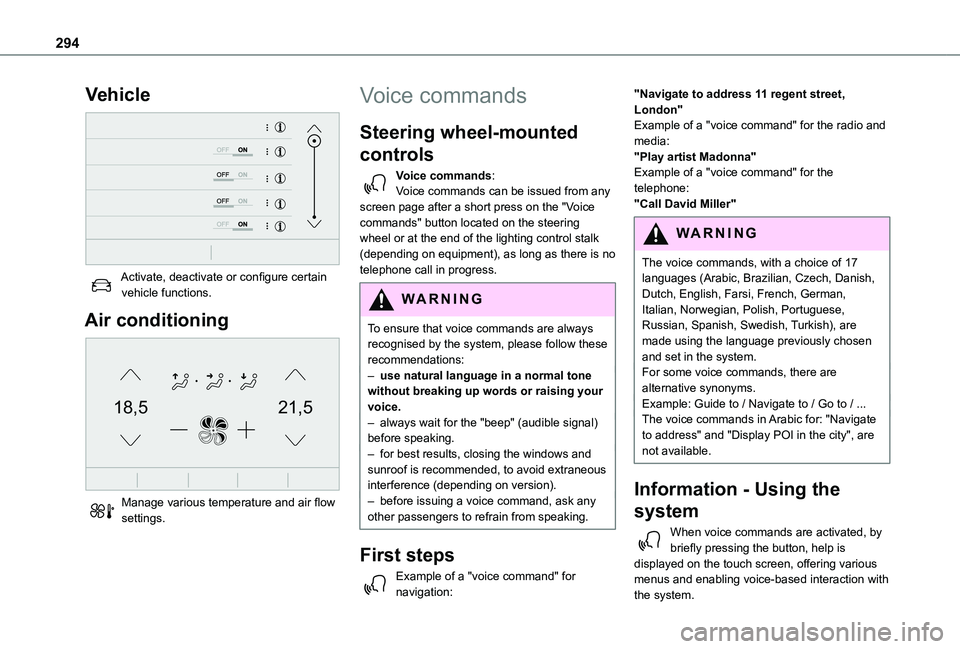
Vehicle
Activate, deactivate or configure certain vehicle functions.
Air conditioning
21,518,5
Manage various temperature and air flow settings.
Voice commands
Steering wheel-mounted
controls
Voice commands:Voice commands can be issued from any screen page after a short press on the "Voice commands" button located on the steering wheel or at the end of the lighting control stalk (depending on equipment), as long as there is no telephone call in progress.
WARNI NG
To ensure that voice commands are always recognised by the system, please follow these recommendations: – use natural language in a normal tone without breaking up words or raising your voice.– always wait for the "beep" (audible signal) before speaking.– for best results, closing the windows and sunroof is recommended, to avoid extraneous interference (depending on version).– before issuing a voice command, ask any other passengers to refrain from speaking.
First steps
Example of a "voice command" for navigation:
"Navigate to address 11 regent street, London"Example of a "voice command" for the radio and media:"Play artist Madonna"Example of a "voice command" for the telephone:"Call David Miller"
WARNI NG
The voice commands, with a choice of 17 languages (Arabic, Brazilian, Czech, Danish, Dutch, English, Farsi, French, German, Italian, Norwegian, Polish, Portuguese, Russian, Spanish, Swedish, Turkish), are made using the language previously chosen and set in the system.For some voice commands, there are alternative synonyms.Example: Guide to / Navigate to / Go to / ...The voice commands in Arabic for: "Navigate to address" and "Display POI in the city", are not available.
Information - Using the
system
When voice commands are activated, by briefly pressing the button, help is displayed on the touch screen, offering various menus and enabling voice-based interaction with the system.
Page 295 of 360
295
TOYOTA Pro Touch with navigation system
12
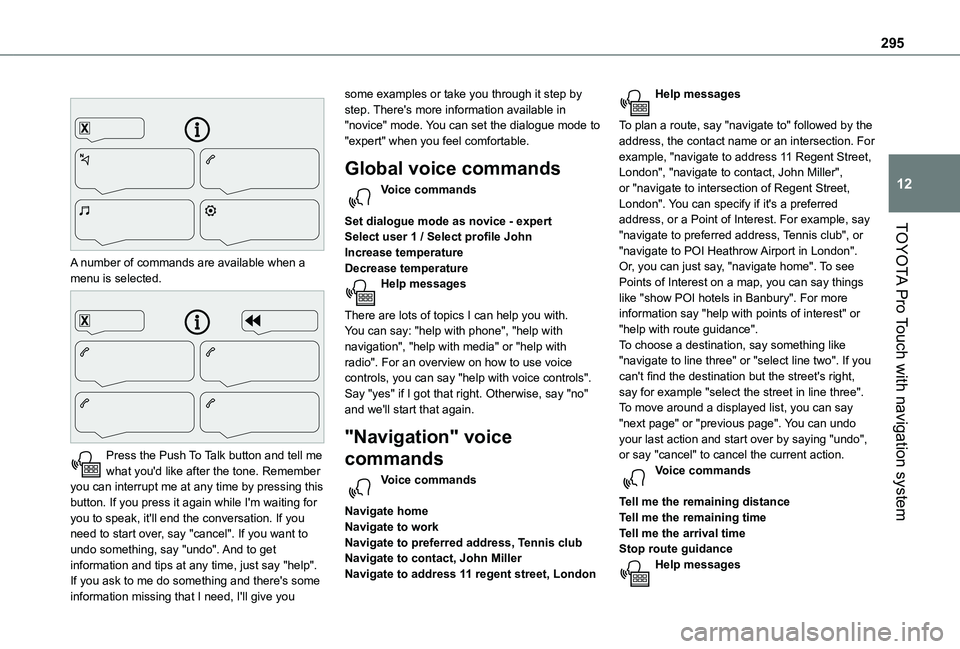
A number of commands are available when a menu is selected.
Press the Push To Talk button and tell me what you'd like after the tone. Remember you can interrupt me at any time by pressing this button. If you press it again while I'm waiting for you to speak, it'll end the conversation. If you need to start over, say "cancel". If you want to undo something, say "undo". And to get information and tips at any time, just say "help". If you ask to me do something and there's some information missing that I need, I'll give you
some examples or take you through it step by step. There's more information available in "novice" mode. You can set the dialogue mode to "expert" when you feel comfortable.
Global voice commands
Voice commands
Set dialogue mode as novice - expertSelect user 1 / Select profile JohnIncrease temperatureDecrease temperatureHelp messages
There are lots of topics I can help you with. You can say: "help with phone", "help with navigation", "help with media" or "help with radio". For an overview on how to use voice controls, you can say "help with voice controls".Say "yes" if I got that right. Otherwise, say "no" and we'll start that again.
"Navigation" voice
commands
Voice commands
Navigate homeNavigate to workNavigate to preferred address, Tennis clubNavigate to contact, John MillerNavigate to address 11 regent street, London
Help messages
To plan a route, say "navigate to" followed by the address, the contact name or an intersection. For example, "navigate to address 11 Regent Street, London", "navigate to contact, John Miller", or "navigate to intersection of Regent Street, London". You can specify if it's a preferred address, or a Point of Interest. For example, say "navigate to preferred address, Tennis club", or "navigate to POI Heathrow Airport in London". Or, you can just say, "navigate home". To see Points of Interest on a map, you can say things like "show POI hotels in Banbury". For more information say "help with points of interest" or "help with route guidance".To choose a destination, say something like "navigate to line three" or "select line two". If you can't find the destination but the street's right, say for example "select the street in line three". To move around a displayed list, you can say "next page" or "previous page". You can undo your last action and start over by saying "undo",
or say "cancel" to cancel the current action.Voice commands
Tell me the remaining distanceTell me the remaining timeTell me the arrival timeStop route guidanceHelp messages