radio TOYOTA SEQUOIA 2013 2.G Navigation Manual
[x] Cancel search | Manufacturer: TOYOTA, Model Year: 2013, Model line: SEQUOIA, Model: TOYOTA SEQUOIA 2013 2.GPages: 328, PDF Size: 8.3 MB
Page 182 of 328
182
1. AUDIO/VIDEO SYSTEM OPERATION
5. RADIO OPERATION (XM Sa tellite Radio BROADCAST)
If “CH 000” is selected using the
“TUNE·SCROLL” knob, the ID code,
which is 8 alphanumeric characters, will
be displayed. If another channel is
selected, the ID code will no longer be dis-
played. The channel (000) alternates
between displaying the radio ID and the
specific radio code.
HOW TO SUBSCRIBE TO AN
XM Satellite Radio
To listen to a satellite radio broadcast
in the vehicle, a subscription to the XM
Satellite Radio service is necessary.
An XM Satellite Radio is a tuner de-
signed exclusively to receive broad-
casts provided under a separate
subscription. Availability is limited to
the 48 contiguous U.S. states and
some Canadian provinces.
HOW TO SUBSCRIBE
It is necessary to enter into a separate
service agreement with XM Satellite
Radio in order to receive satellite
broadcast programming in the vehicle.
Additional activation and service sub-
scription fees apply that are not includ-
ed in the purchase price of the vehicle
and digital satellite tuner.
For complete information on subscrip-
tion rates and terms, or to subscribe to
XM Satellite Radio:
U.S.A.
Refer to www.siriusxm.com
or call
1-800-967-2346.
Canada
Refer to www.xmradio.ca
or call
1-877-209-0079.
INFORMATION
● XM Satellite Radio is solely responsible
for the quality, availability and content of
the satellite radio services provided,
which are subject to the terms and con-
ditions of the XM Satellite Radio cus-
tomer service agreement.
● Customers should have their radio ID
ready; the radio ID can be found by tun-
ing to “CH 000” on the radio. For details,
see “DISPLAYING THE RADIO ID”
below.
● All fees and programming are the
responsibility of XM Satellite Radio and
are subject to change.
SATELLITE TUNER
TECHNOLOGY NOTICE
Toyota’s satellite radio tuners are
awarded Type Approval Certificates
from XM Satellite Radio Inc. as proof of
compatibility with the services offered
by XM Satellite Radio.
DISPLAYING THE RADIO ID
Each XM tuner is identified with a
unique radio ID. The radio ID is re-
quired when activating an XM service
or when reporting a problem.
Page 183 of 328
183
1. AUDIO/VIDEO SYSTEM OPERATION
5
AUDIO/VIDEO SYSTEM
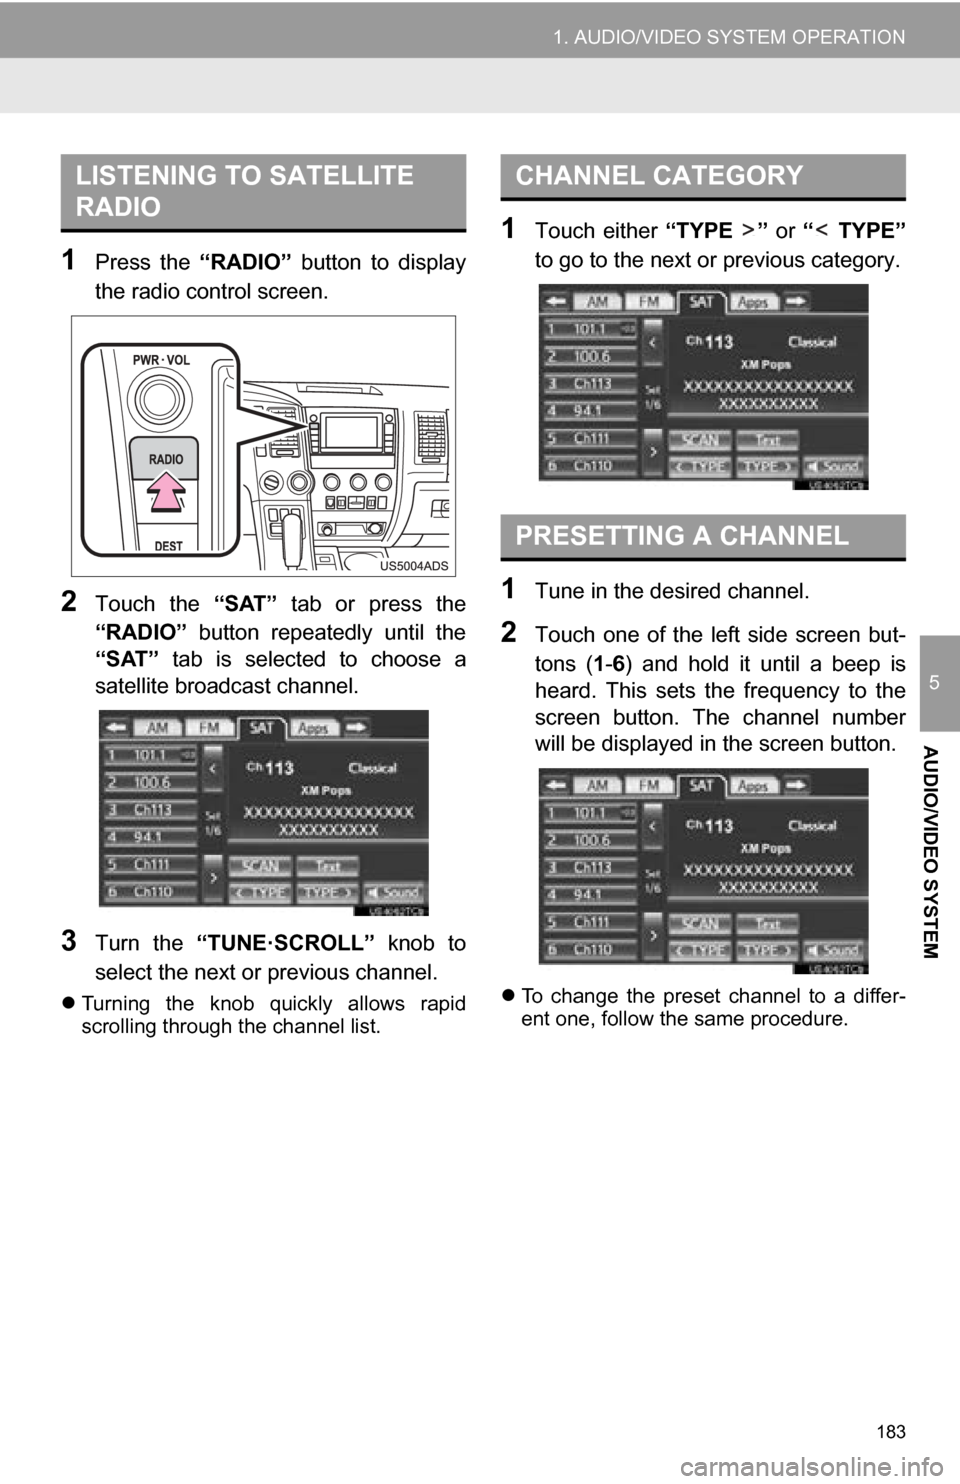
1Press the “RADIO” button to display
the radio control screen.
2Touch the “SAT” tab or press the
“RADIO” button repeatedly until the
“SAT” tab is selected to choose a
satellite broadcast channel.
3Turn the “TUNE·SCROLL” knob to
select the next or previous channel.
Turning the knob quickly allows rapid
scrolling through the channel list.
1Touch either “TYPE ” or “ TYPE”
to go to the next or previous category.
1Tune in the desired channel.
2Touch one of the left side screen but-
tons ( 1-6 ) and hold it until a beep is
heard. This sets the frequency to the
screen button. The channel number
will be displayed in the screen button.
To change the preset channel to a differ-
ent one, follow the same procedure.
LISTENING TO SATELLITE
RADIOCHANNEL CATEGORY
PRESETTING A CHANNEL
Page 184 of 328
184
1. AUDIO/VIDEO SYSTEM OPERATION
Preset tuning: Touch the channel selector
screen button ( 1-6 ) to listen to the desired
channel. The selected screen button ( 1-6 )
is highlighted and its related information
appears on the right side of the screen.
To select a channel within the current
category: Press the “” or “” button of
“SEEK/TRACK” . The radio will change up
or down to a channel within the current
channel category.
To scan the currently selected channel
category : Touch “SCAN”. “SCAN” ap-
pears on the screen. The radio will find the
next channel in the same channel catego-
ry, stay there for a few seconds, and then
scan again. To select a channel, touch
“SCAN” again.
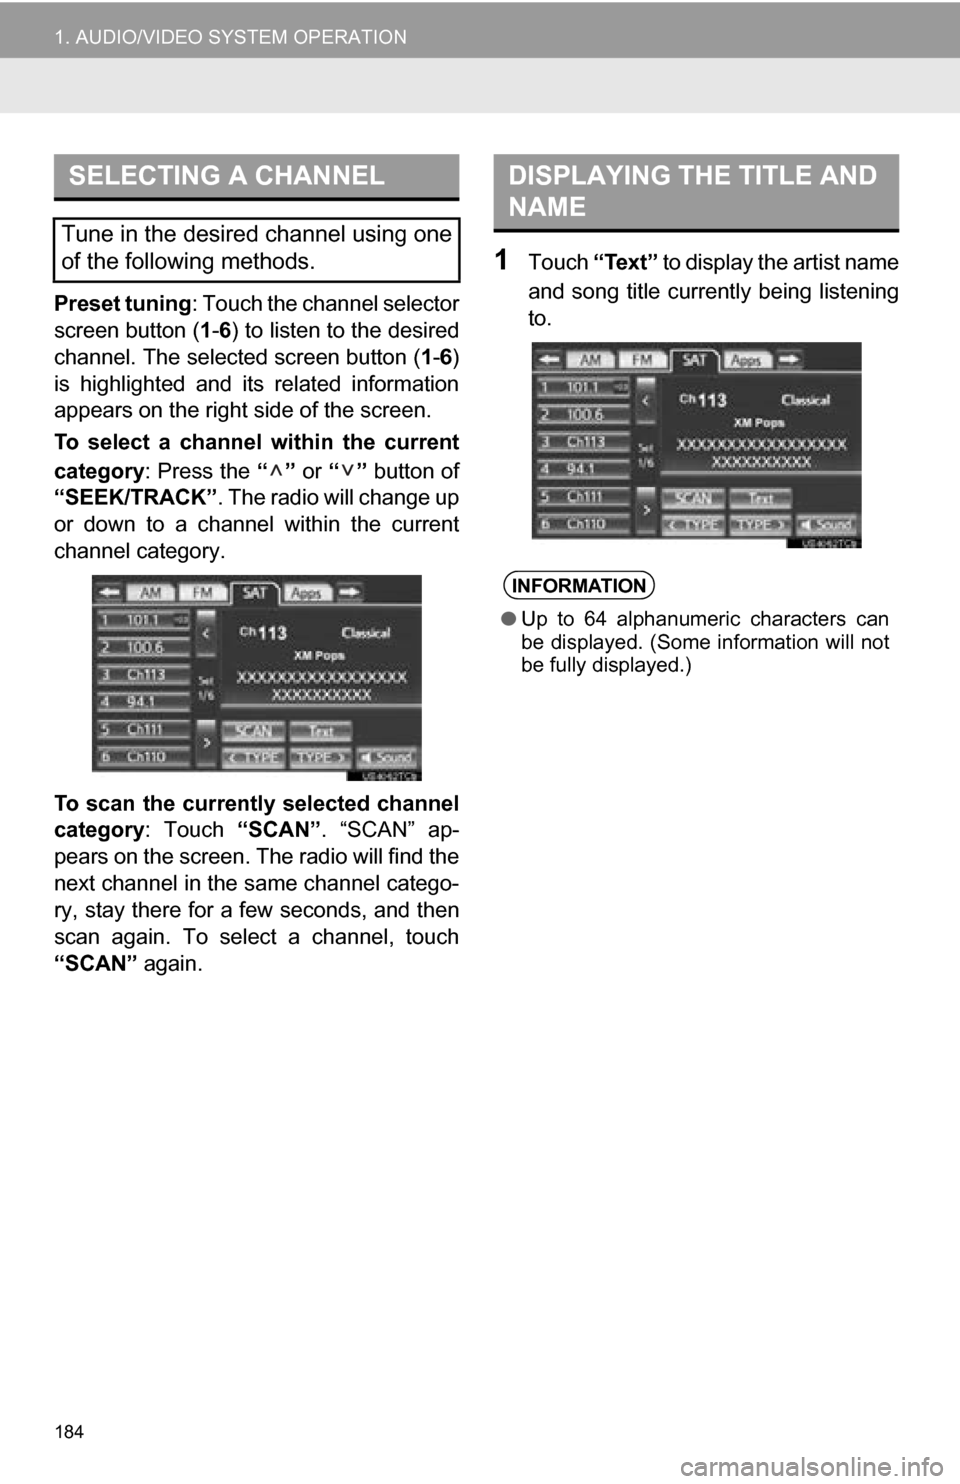
1Touch “Text” to display the artist name
and song title currently being listening
to.
SELECTING A CHANNEL
Tune in the desired channel using one
of the following methods.
DISPLAYING THE TITLE AND
NAME
INFORMATION
● Up to 64 alphanumeric characters can
be displayed. (Some information will not
be fully displayed.)
Page 185 of 328
185
1. AUDIO/VIDEO SYSTEM OPERATION
5
AUDIO/VIDEO SYSTEM
IF THE SATELLITE RADIO TUNER MALFUNCTIONS
When problems occur with the XM tuner, a message will appear on the screen. Re-
ferring to the table below to identify the problem, take the suggested corrective ac-
tion.
MessageExplanation
Ck Antenna
The XM antenna is not connected. Check whether the XM antenna
cable is attached securely.
A short circuit occurs in the antenna or the surrounding antenna ca-
ble. See a Toyota certified dealer for assistance.
Ch Unauth
You have not subscribed to XM Satellite Radio. The radio is being
updated with the latest encryption code. Contact XM Satellite Radio
for subscription information. When a contract is canceled, you can
choose “CH 000” and all free-to-air channels.
The premium channel you selected is not authorized. Wait for about
2 seconds until the radio returns to the previous channel or “CH001”.
If it does not change automatically, select another channel. To listen
to the premium channel, contact XM Satellite Radio.
No SignalThe XM signal is too weak at the current location. Wait until your ve-
hicle reaches a location wi th a stronger signal.
LoadingThe unit is acquiring audio or program information. Wait until the unit
has received the information.
Ch Off AirThe channel you selected is not broadcasting any programming. Se-
lect another channel.
-----There is no song/program title or artist name/feature associated with
the channel at that time. No action is required.
Ch UnavailThe channel you selected is no longe r available. Wait for about 2
seconds until the radio returns to the previous channel or “CH 001”.
If it does not change automatically, select another channel.
INFORMATION
● Contact the XM Listener Care Center at 1-800-967-2346 (U.S.A.) or 1-877-209-0079
(Canada).
Page 186 of 328
186
1. AUDIO/VIDEO SYSTEM OPERATION
NOTICE
●This equipment has been tested and
found to comply with the limits for a
class B digital device, pursuant to Part
15 of the FCC Rules. These limits are
designed to provide reasonable protec-
tion against harmful interference in a
residential installation. This equipment
generates, uses and can radiate radio
frequency energy and, if not installed
and used in accordance with the instruc-
tions, may cause harmful interference to
radio communications. However, there
is no guarantee that interference will not
occur in a particular installation.
● If this equipment does cause harmful
interference to radio or television recep-
tion, which can be determined by turning
the equipment off and on, the user is
encouraged to try to correct the interfer-
ence by one or more of the following
measures:
• Reorient or relocate the receiving
antenna.
• Increase the separation between the equipment and receiver.
• Connect the equipment into an outlet on a circuit different from that to
which the receiver is connected.
• Consult the dealer or an experienced radio/TV technician for help.
● Information to user
• Alternation or modifications carried
out without appropriate authorization
may invalidate the user’s right to
operate the equipment.
INFORMATION
● This XM tuner supports “Audio Services”
(Music and Talk) of only XM Satellite
Radio and “Text Information*” linked to
the respective “Audio Services”.
*: Text Information includes, Station
Name, (Artist) Name, (Song) Title and
Category Name.
Page 187 of 328
187
1. AUDIO/VIDEO SYSTEM OPERATION
5
AUDIO/VIDEO SYSTEM
6. RADIO OPERATION (INTERNET RADIO BROADCAST)
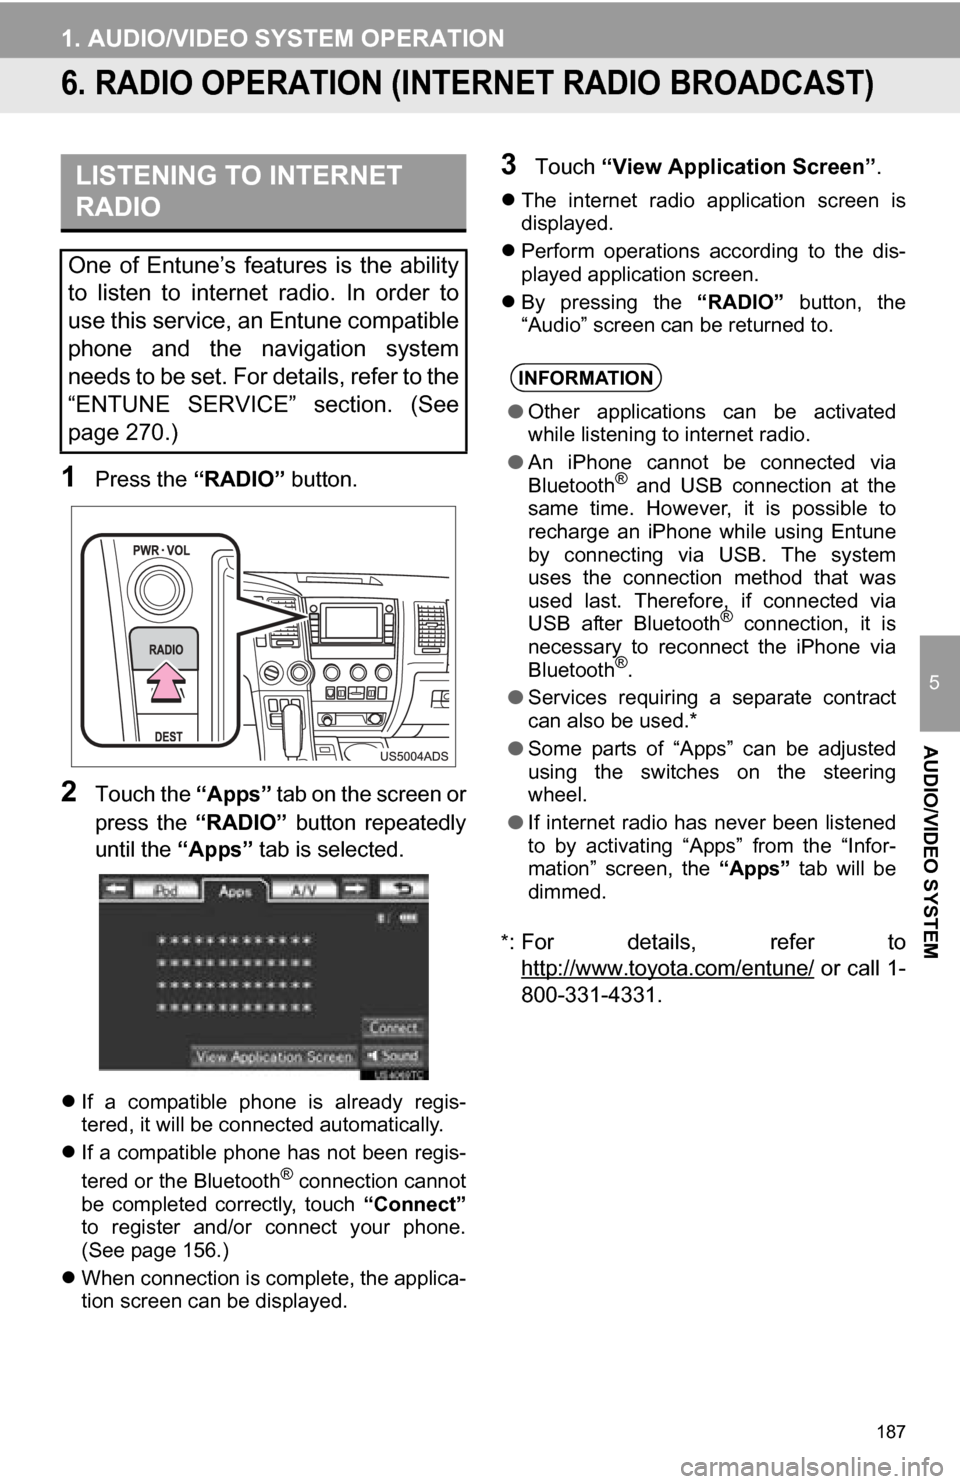
1Press the “RADIO” button.
2Touch the “Apps” tab on the screen or
press the “RADIO” button repeatedly
until the “Apps” tab is selected.
If a compatible phone is already regis-
tered, it will be connected automatically.
If a compatible phone has not been regis-
tered or the Bluetooth
® connection cannot
be completed correctly, touch “Connect”
to register and/or connect your phone.
(See page 156.)
When connection is complete, the applica-
tion screen can be displayed.
3Touch “View Application Screen” .
The internet radio application screen is
displayed.
Perform operations according to the dis-
played application screen.
By pressing the “RADIO” button, the
“Audio” screen can be returned to.
*
: For details, refer to http://www.toyota.com/entune/
or call 1-
800-331-4331.
LISTENING TO INTERNET
RADIO
One of Entune’s features is the ability
to listen to internet radio. In order to
use this service, an Entune compatible
phone and the navigation system
needs to be set. For details, refer to the
“ENTUNE SERVICE” section. (See
page 270.)
INFORMATION
● Other applications can be activated
while listening to internet radio.
● An iPhone cannot be connected via
Bluetooth
® and USB connection at the
same time. However, it is possible to
recharge an iPhone while using Entune
by connecting via USB. The system
uses the connection method that was
used last. Therefore, if connected via
USB after Bluetooth
® connection, it is
necessary to reconnect the iPhone via
Bluetooth
®.
● Services requiring a separate contract
can also be used.*
● Some parts of “Apps” can be adjusted
using the switches on the steering
wheel.
● If internet radio has never been listened
to by activating “Apps” from the “Infor-
mation” screen, the “Apps” tab will be
dimmed.
Page 213 of 328
213
1. AUDIO/VIDEO SYSTEM OPERATION
5
AUDIO/VIDEO SYSTEM
10. Bluetooth® AUDIO OPERATION
Bluetooth is a trademark owned by
Bluetooth SIG, Inc.
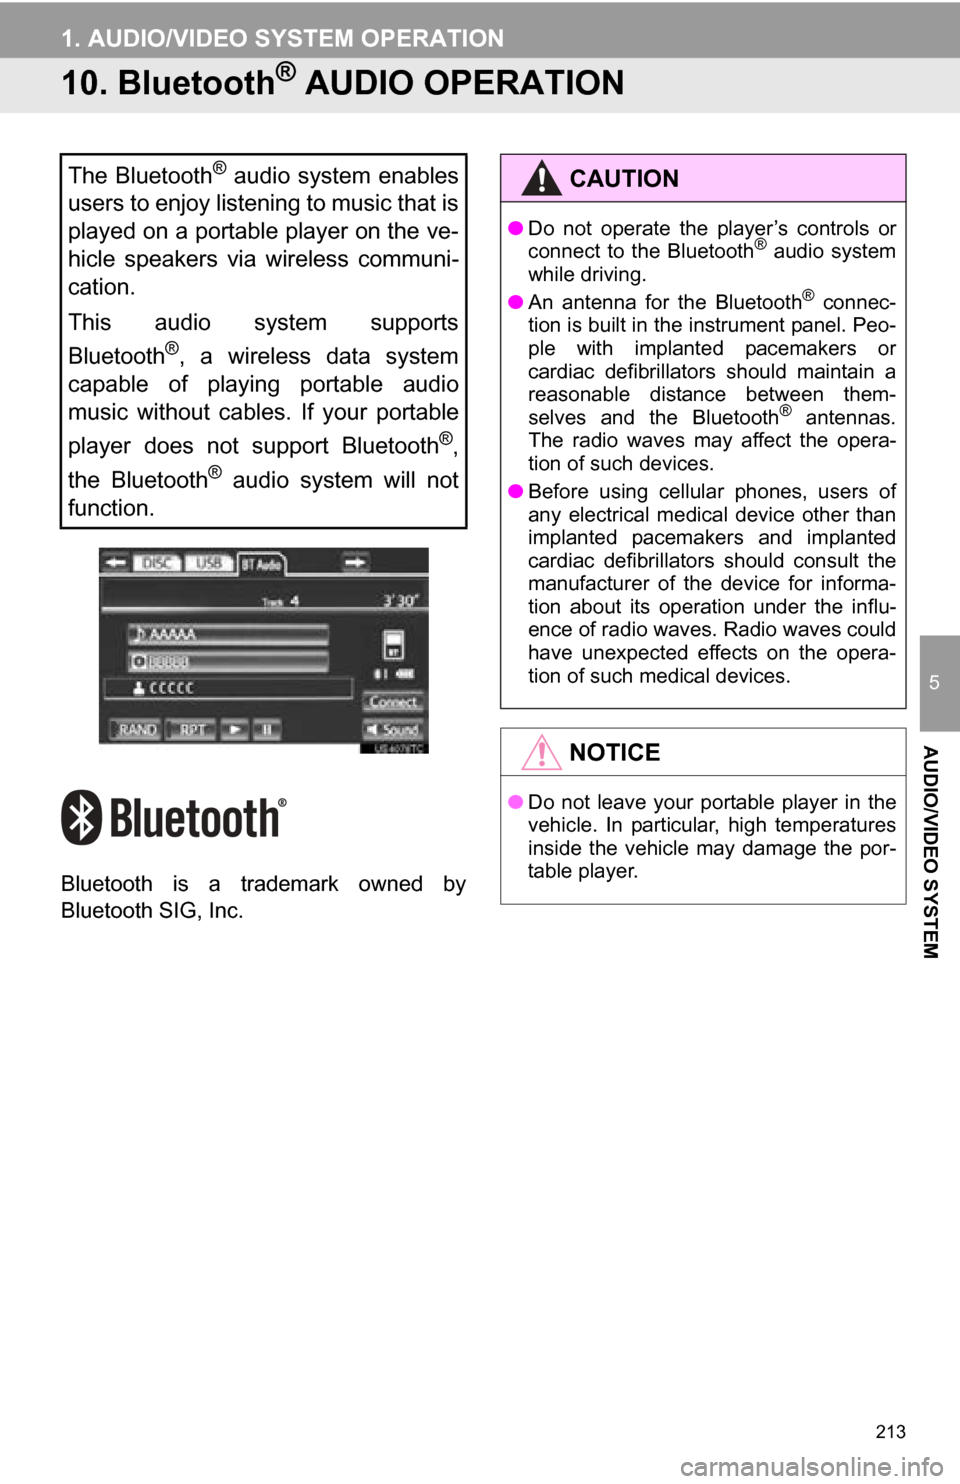
The Bluetooth® audio system enables
users to enjoy listening to music that is
played on a portable player on the ve-
hicle speakers via wireless communi-
cation.
This audio system supports
Bluetooth
®, a wireless data system
capable of playing portable audio
music without cables. If your portable
player does not support Bluetooth
®,
the Bluetooth
® audio system will not
function.
CAUTION
● Do not operate the player’s controls or
connect to the Bluetooth® audio system
while driving.
● An antenna for the Bluetooth
® connec-
tion is built in the instrument panel. Peo-
ple with implanted pacemakers or
cardiac defibrillators should maintain a
reasonable distance between them-
selves and the Bluetooth
® antennas.
The radio waves may affect the opera-
tion of such devices.
● Before using cellular phones, users of
any electrical medical device other than
implanted pacemakers and implanted
cardiac defibrillators should consult the
manufacturer of the device for informa-
tion about its operation under the influ-
ence of radio waves. Radio waves could
have unexpected effects on the opera-
tion of such medical devices.
NOTICE
●Do not leave your portable player in the
vehicle. In particular, high temperatures
inside the vehicle may damage the por-
table player.
Page 215 of 328
215
1. AUDIO/VIDEO SYSTEM OPERATION
5
AUDIO/VIDEO SYSTEM
U.S.A.
Canada
Portable player information is registered
when the portable player is connected
to the Bluetooth
® audio system. When
selling or disposing of the vehicle,
remove the Bluetooth
® audio informa-
tion from the system. (See “DELETING
A Bluetooth
® DEVICE” on page 158.)
FCC ID : HYQDNNS059
Type : DNNS059
IC : 1551A-DNNS059 Canada 310
This device complies with part 15 of the
FCC Rules. Operation is subject to the
following two conditions: (1) This device
may not cause harmful interference,
and (2) this device must accept any
interference received, including
interference that may cause undesired
operation.
CAUTION
● FCC WARNING: Changes or
modifications not expressly approved by
the party responsible for compliance
could void the user’s authority to operate
the equipment.
● CAUTION: Radio Frequency Radiation
Exposure
This equipment complies with FCC
radiation exposure limits set forth for
uncontrolled environment and meets the
FCC radio frequency (RF) Exposure
Guidelines in Supplement C to OET65.
This equipment has very low levels of
RF energy that it deemed to comply
without maximum permissive exposure
evaluation (MPE). But it is desirable that
it should be installed and operated with
at least 20 cm and more between the
radiator and person’s body (excluding
extremities: hands, wrists, feet and
ankles).
● Co-location: This transmitter must not be
co-located or operated in conjunction
with any other antenna or transmitter.
CAUTION
● NOTE
Operation is subject to the following two
conditions; (1) this device may not
cause interference, and (2) this device
must accept any interference, including
interference that may cause undesired
operation of the device. This Category II
radiocommunication device complies
with Industry Canada Standard RSS-
310.
L’utilisation de ce dispositif est autorisée
seulement aux deux conditions
suivantes : (1) il ne doit pas produire de
brouillage, et (2) l’utilisateur du dispositif
doit être prêt à accepter tout brouillage
radioélectrique reçu, même si ce
brouillage est susceptible de
compromettre le fonctionnement du
dispositif. Ce dispositif de
radiocommunication de catégorie II
respecte la norme CNR-310 d’Industrie
Canada.
Page 216 of 328
216
1. AUDIO/VIDEO SYSTEM OPERATION
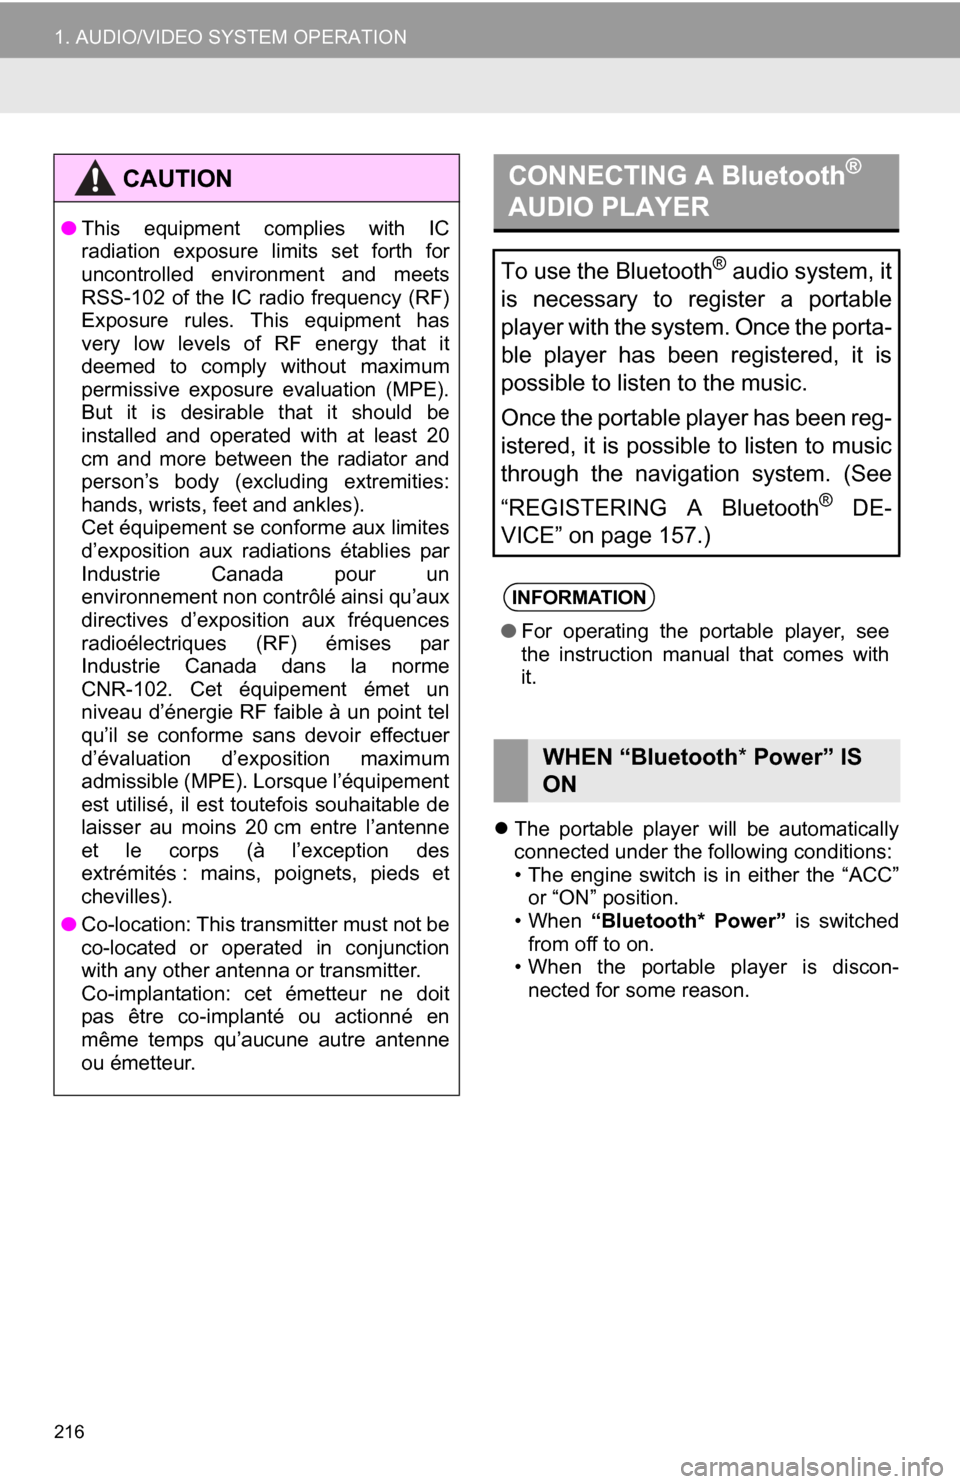
The portable player will be automatically
connected under the following conditions:
• The engine switch is in either the “ACC”
or “ON” position.
• When “Bluetooth* Power” is switched
from off to on.
• When the portable player is discon-
nected for some reason.
CAUTION
● This equipment complies with IC
radiation exposure limits set forth for
uncontrolled environment and meets
RSS-102 of the IC radio frequency (RF)
Exposure rules. This equipment has
very low levels of RF energy that it
deemed to comply without maximum
permissive exposure evaluation (MPE).
But it is desirable that it should be
installed and operated with at least 20
cm and more between the radiator and
person’s body (excluding extremities:
hands, wrists, feet and ankles).
Cet équipement se conforme aux limites
d’exposition aux radiations établies par
Industrie Canada pour un
environnement non contrôlé ainsi qu’aux
directives d’exposition aux fréquences
radioélectriques (RF) émises par
Industrie Canada dans la norme
CNR-102. Cet équipement émet un
niveau d’énergie RF faible à un point tel
qu’il se conforme sans devoir effectuer
d’évaluation d’exposition maximum
admissible (MPE). Lorsque l’équipement
est utilisé, il est toutefois souhaitable de
laisser au moins 20 cm entre l’antenne
et le corps (à l’exception des
extrémités : mains, poignets, pieds et
chevilles).
● Co-location: This transmitter must not be
co-located or operated in conjunction
with any other antenna or transmitter.
Co-implantation: cet émetteur ne doit
pas être co-implanté ou actionné en
même temps qu’aucune autre antenne
ou émetteur.
CONNECTING A Bluetooth®
AUDIO PLAYER
To use the Bluetooth® audio system, it
is necessary to register a portable
player with the system. Once the porta-
ble player has been registered, it is
possible to listen to the music.
Once the portable player has been reg-
istered, it is possible to listen to music
through the navigation system. (See
“REGISTERING A Bluetooth
® DE-
VICE” on page 157.)
INFORMATION
● For operating the portable player, see
the instruction manual that comes with
it.
WHEN “Bluetooth * Power” IS
ON
Page 223 of 328
223
1. AUDIO/VIDEO SYSTEM OPERATION
5
AUDIO/VIDEO SYSTEM
12. AUDIO/VIDEO REMOTE CONTROLS (STEERING SWITCHES)
Volume control switch
Press the “+” side to increase the volume.
The volume continues to increase while
the switch is being pressed.
Press the “-” side to decrease the vol-
ume. The volume continues to decrease
while the switch is being pressed.
“ ” switch
Radio
To select a preset station/channel :
Quickly press and release the “” or “”
switch. Repeat this to select the next pre-
set station/channel.
To seek a station/channel : Press and
hold the “” or “” switch until a beep is
heard. Repeat this to find the next station/
channel. If either switch is pressed during
seek mode, seeking will be canceled.
To seek up or down the frequency, press
and hold the switch until a beep is heard.
When you release the switch, the radio
will begin seeking up or down for a station/
channel. Repeat to find the next station/
channel.
DVD player
Use the “” or “” switch to skip up or
down to a different track, file or chapter in
either direction.
To select a desired track, file or chapter :
Quickly press and release the “” or “”
switch until the desir ed track, file or chap-
ter to play is selected. To return to the be-
ginning of the current track, file or chapter,
press the “” switch once quickly.
To select a desired folder : Press and
hold the “” or “” switch until a beep is
heard to change to the next or the previous
folder. Repeat it until the desired folder is
selected.
Bluetooth
® audio player
Use the “” or “” switch to skip up or
down to a different track or album in either
direction.
To select a desired track : Quickly press
and release the “” or “” switch until the
desired track is selected. To return to the
beginning of the current track, press the
“” switch once quickly.
To select a desired album : Press and
hold the “” or “” switch until a beep is
heard to change to the next or the previous
album. Repeat it until the desired album is
selected.
USB memory/iPod
Use the “” or “” switch to skip up or
down to a different file or track in either
direction.
To select a desired file or track : Press
the “” or “” switch until the desired file
or track is selected. To return to the begin-
ning of the current file or track, press the
“” switch once quickly.
To select a desired folder or album
(USB memory only): Press and hold the
“” or “” switch until a beep is heard to
change to the next or the previous folder or
album. Repeat it until the desired folder or
album is selected.
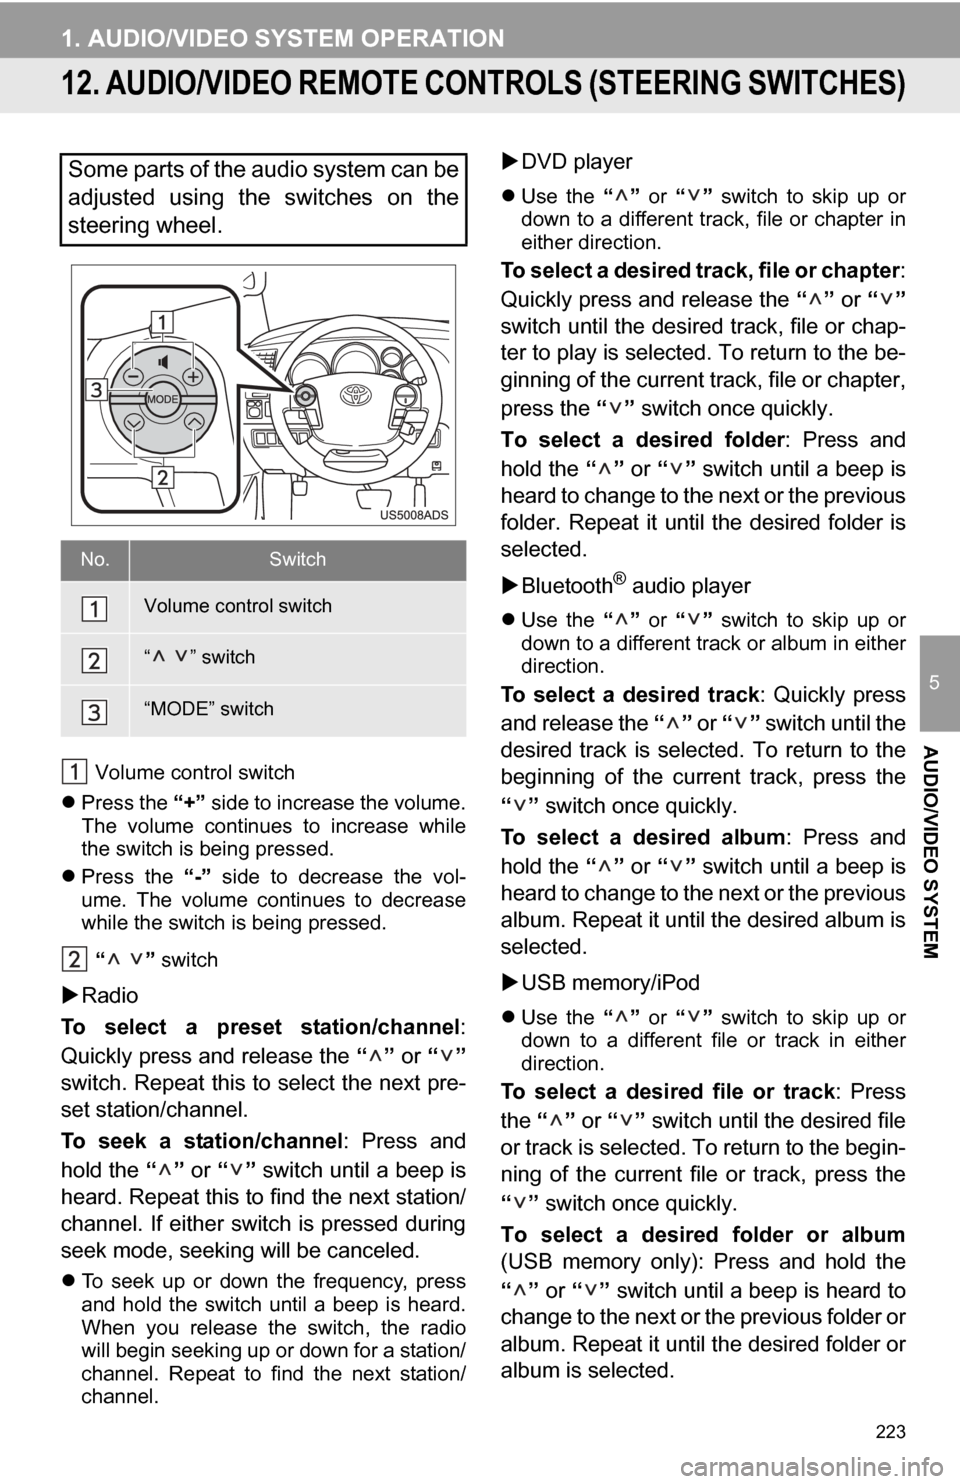
Some parts of the audio system can be
adjusted using the switches on the
steering wheel.
No.Switch
Volume control switch
“ ” switch
“MODE” switch