fuel cap TOYOTA TACOMA 2018 Owners Manual (in English)
[x] Cancel search | Manufacturer: TOYOTA, Model Year: 2018, Model line: TACOMA, Model: TOYOTA TACOMA 2018Pages: 696, PDF Size: 11.72 MB
Page 3 of 696
3
1
9 8
7 5 4
3
2
10
6
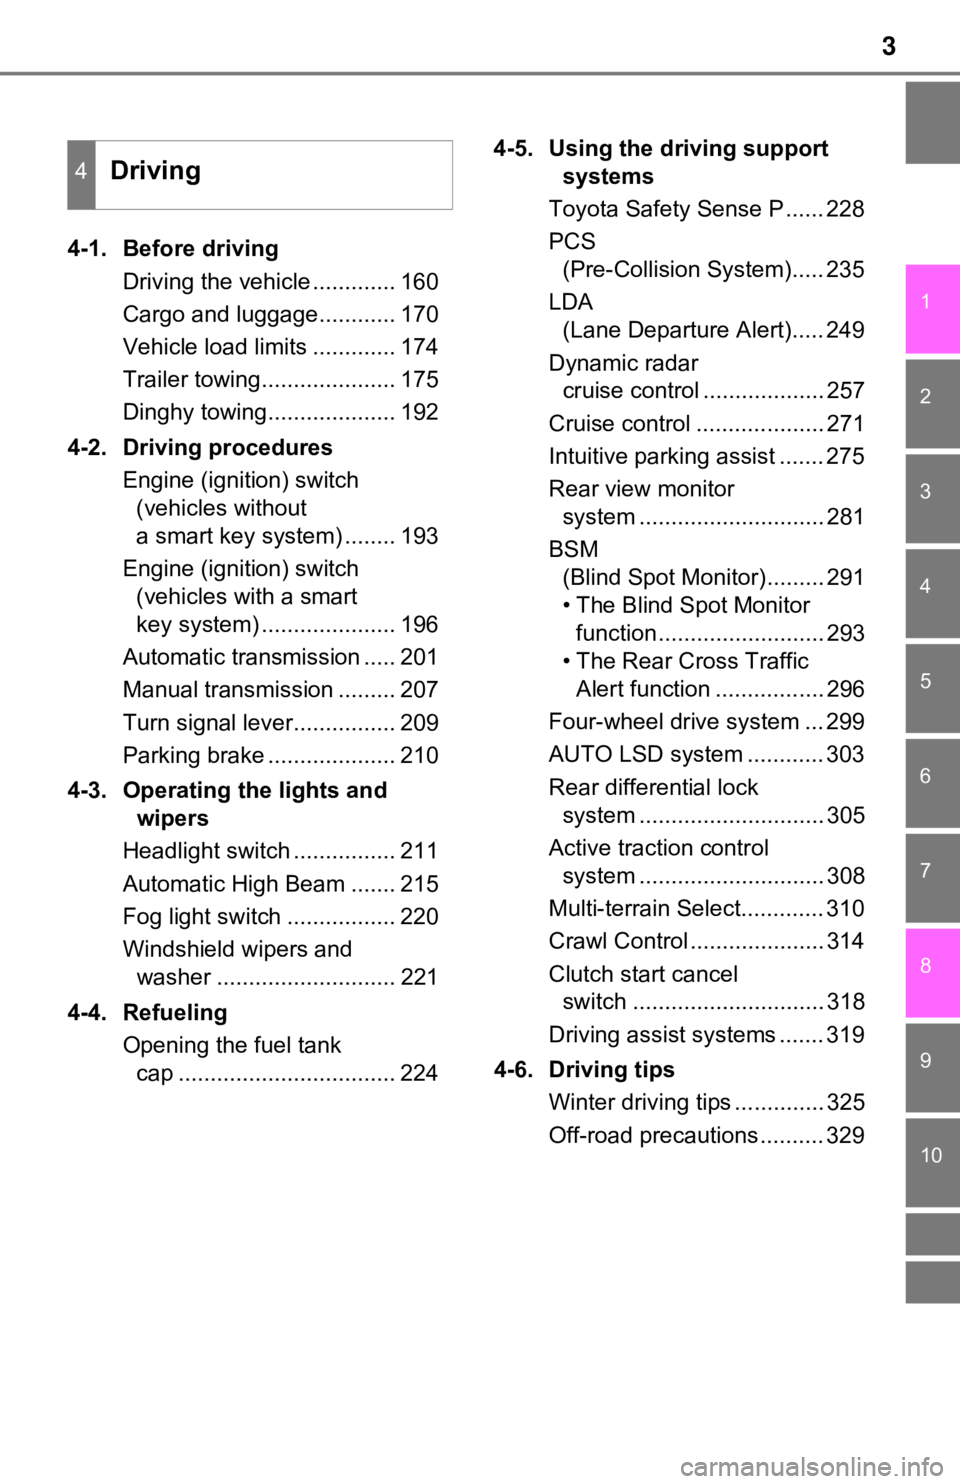
4-1. Before drivingDriving the vehicle ............. 160
Cargo and luggage............ 170
Vehicle load limits ............. 174
Trailer towing..................... 175
Dinghy towing.................... 192
4-2. Driving procedures Engine (ignition) switch (vehicles without
a smart key system) ........ 193
Engine (ignition) switch (vehicles with a smart
key system) ..................... 196
Automatic transmission ..... 201
Manual transmission ......... 207
Turn signal lever................ 209
Parking brake .................... 210
4-3. Operating the lights and wipers
Headlight switch ................ 211
Automatic High Beam ....... 215
Fog light switch ................. 220
Windshield wipers and washer ............................ 221
4-4. Refueling Opening the fuel tank cap .................................. 224 4-5. Using the driving support
systems
Toyota Safety Sense P ...... 228
PCS (Pre-Collision System)..... 235
LDA (Lane Departure Alert)..... 249
Dynamic radar cruise control ................... 257
Cruise control .................... 271
Intuitive parking assist ....... 275
Rear view monitor system ............................. 281
BSM (Blind Spot Monitor)......... 291
• T he Blind Spot Monitor
function .......................... 293
• T he Rear Cross Traffic
Alert function ................. 296
Four-wheel drive system ... 299
AUTO LSD system ............ 303
Rear differential lock system ............................. 305
Active traction control system ............................. 308
Multi-terrain Select............. 310
Crawl Control ..................... 314
Clutch start cancel switch .............................. 318
Driving assist systems ....... 319
4-6. Driving tips Winter driving tips .............. 325
Off-road precautions .......... 329
4Driving
Page 15 of 696
15Pictorial index
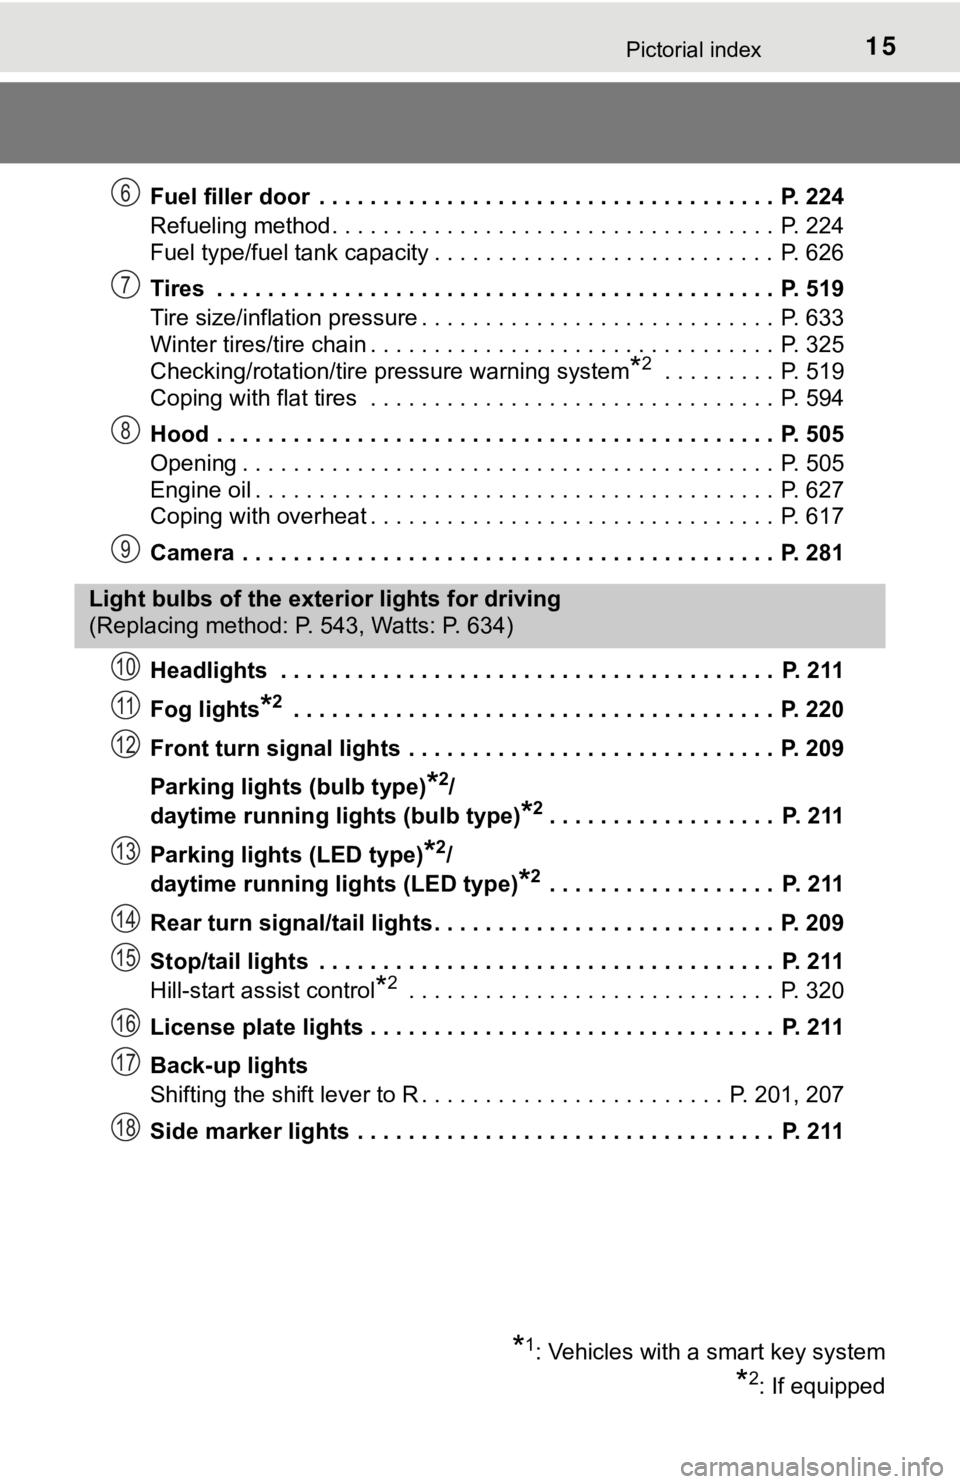
Fuel filler door . . . . . . . . . . . . . . . . . . . . . . . . . . . . . . . . . . . . P. 224
Refueling method . . . . . . . . . . . . . . . . . . . . . . . . . . . . . . . . . . . P. 224
Fuel type/fuel tank capacity . . . . . . . . . . . . . . . . . . . . . . . . . . . P. 626
Tires . . . . . . . . . . . . . . . . . . . . . . . . . . . . . . . . . . . . . . . . . . . . P. 519
Tire size/inflation pressure . . . . . . . . . . . . . . . . . . . . . . . . . . . . P. 633
Winter tires/tire chain . . . . . . . . . . . . . . . . . . . . . . . . . . . . . . . . P. 325
Checking/rotation/tire pressure warning system
*2 . . . . . . . . . P. 519
Coping with flat tires . . . . . . . . . . . . . . . . . . . . . . . . . . . . . . . . P. 594
Hood . . . . . . . . . . . . . . . . . . . . . . . . . . . . . . . . . . . . . . . . . . . . P. 505
Opening . . . . . . . . . . . . . . . . . . . . . . . . . . . . . . . . . . . . . . . . . . P. 505
Engine oil . . . . . . . . . . . . . . . . . . . . . . . . . . . . . . . . . . . . . . . . . P. 627
Coping with overheat . . . . . . . . . . . . . . . . . . . . . . . . . . . . . . . . P. 617
Camera . . . . . . . . . . . . . . . . . . . . . . . . . . . . . . . . . . . . . . . . . . P. 281
Headlights . . . . . . . . . . . . . . . . . . . . . . . . . . . . . . . . . . . . . . . P. 211
Fog lights
*2 . . . . . . . . . . . . . . . . . . . . . . . . . . . . . . . . . . . . . . P. 220
Front turn signal lights . . . . . . . . . . . . . . . . . . . . . . . . . . . . . P. 209
Parking lights (bulb type)
*2/
daytime running lig hts (bulb type)
*2. . . . . . . . . . . . . . . . . . P. 211
Parking lights (LED type)
*2/
daytime running lights (LED type)
*2 . . . . . . . . . . . . . . . . . . P. 211
Rear turn signal/tail lights . . . . . . . . . . . . . . . . . . . . . . . . . . . P. 209
Stop/tail lights . . . . . . . . . . . . . . . . . . . . . . . . . . . . . . . . . . . . P. 211
Hill-start assist control
*2 . . . . . . . . . . . . . . . . . . . . . . . . . . . . . P. 3 20
License plate lights . . . . . . . . . . . . . . . . . . . . . . . . . . . . . . . . P. 211
Back-up lights
Shifting the shift lever to R . . . . . . . . . . . . . . . . . . . . . . . . P. 201, 207
Side marker lights . . . . . . . . . . . . . . . . . . . . . . . . . . . . . . . . . P. 211
6
7
8
9
Light bulbs of the exter ior lights for driving
(Replacing method: P. 543, Watts: P. 634)
*1: Vehicles with a smart key system
*2: If equipped
10
11
12
13
14
15
16
17
18
Page 159 of 696

159
4Driving
4-4. RefuelingOpening the fuel tank cap .................................. 224
4-5. Using the driving support systems
Toyota Safety Sense P ..... 228
PCS (Pre-Collision System) .... 235
LDA (Lane Departure Alert) .... 249
Dynamic radar cruise control ............................. 257
Cruise control .................... 271
Intuitive parking assist ....... 275
Rear view monitor system............................. 281
BSM (Blind Spot Monitor) ........ 291
• T he Blind Spot Monitor
function ......................... 293
• The Rear Cross Traffic Alert function ................. 296
Four-wheel drive system ... 299
AUTO LSD system ............ 303 Rear differential lock
system ............................ 305
Active traction control system ............................ 308
Multi-terrain Select ............ 310
Crawl Control .................... 314
Clutch start cancel switch .............................. 318
Driving assist systems ...... 319
4-6. Driving tips Winter driving tips ............. 325
Off-road precautions ......... 329
Page 170 of 696
1704-1. Before driving
Cargo and luggage
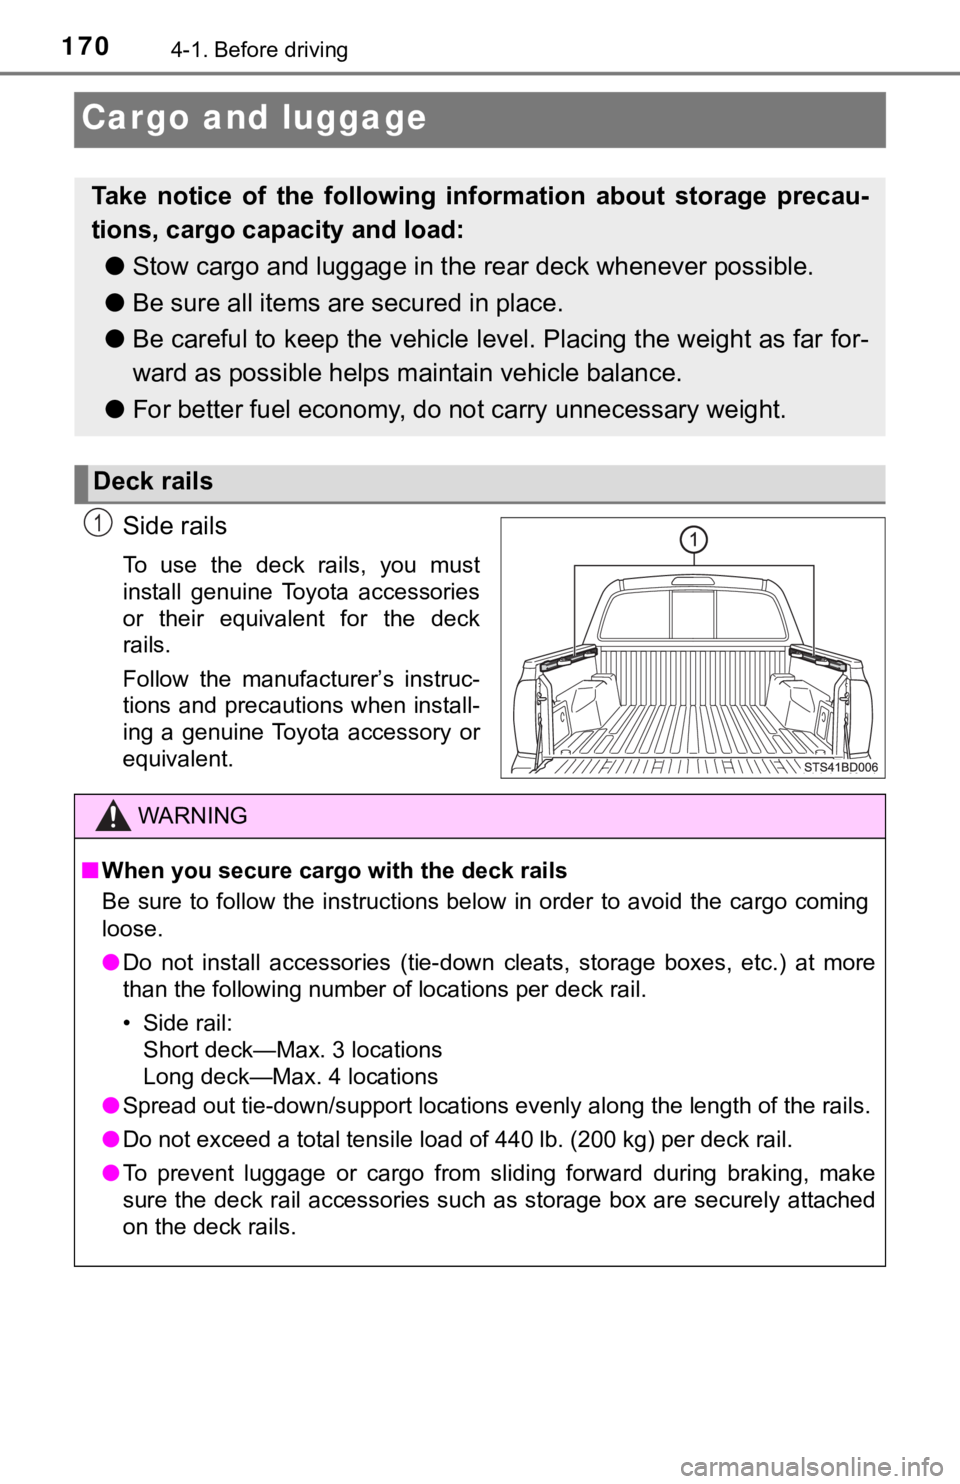
Side rails
To use the deck rails, you must
install genuine Toyota accessories
or their equivalent for the deck
rails.
Follow the manufacturer’s instruc-
tions and precautions when install-
ing a genuine Toyota accessory or
equivalent.
Take notice of the following information about storage precau-
tions, cargo capacity and load:● Stow cargo and luggage in the rear deck whenever possible.
● Be sure all items are secured in place.
● Be careful to keep the vehicle level. Placing the weight as far for-
ward as possible helps m aintain vehicle balance.
● For better fuel economy, do no t carry unnecessary weight.
Deck rails
1
WARNING
■When you secure cargo with the deck rails
Be sure to follow the instructions below in order to avoid the cargo coming
loose.
● Do not install accessories (tie-down cleats, storage boxes, etc .) at more
than the following number of locations per deck rail.
• Side rail: Short deck—Max. 3 locations
Long deck—Max. 4 locations
● Spread out tie-down/support locations evenly along the length o f the rails.
● Do not exceed a total tensile load of 440 lb. (200 kg) per deck rail.
● To prevent luggage or cargo from sliding forward during braking , make
sure the deck rail accessories such as storage box are securely attached
on the deck rails.
Page 224 of 696
2244-4. Refueling
Opening the fuel tank cap
●Vehicles without a smart key system:
Turn the engine switch to the “LOCK” position and ensure that a ll
the doors and wind ows are closed.
● Vehicles with a smart key system:
Turn the engine switch off and ens ure that all the doors and win-
dows are closed.
● Confirm the type of fuel.
■Fuel types
P. 635
Perform the following steps to open the fuel tank cap:
Before refueling the vehicle
Page 225 of 696
2254-4. Refueling
4
Driving
WARNING
■When refueling the vehicle
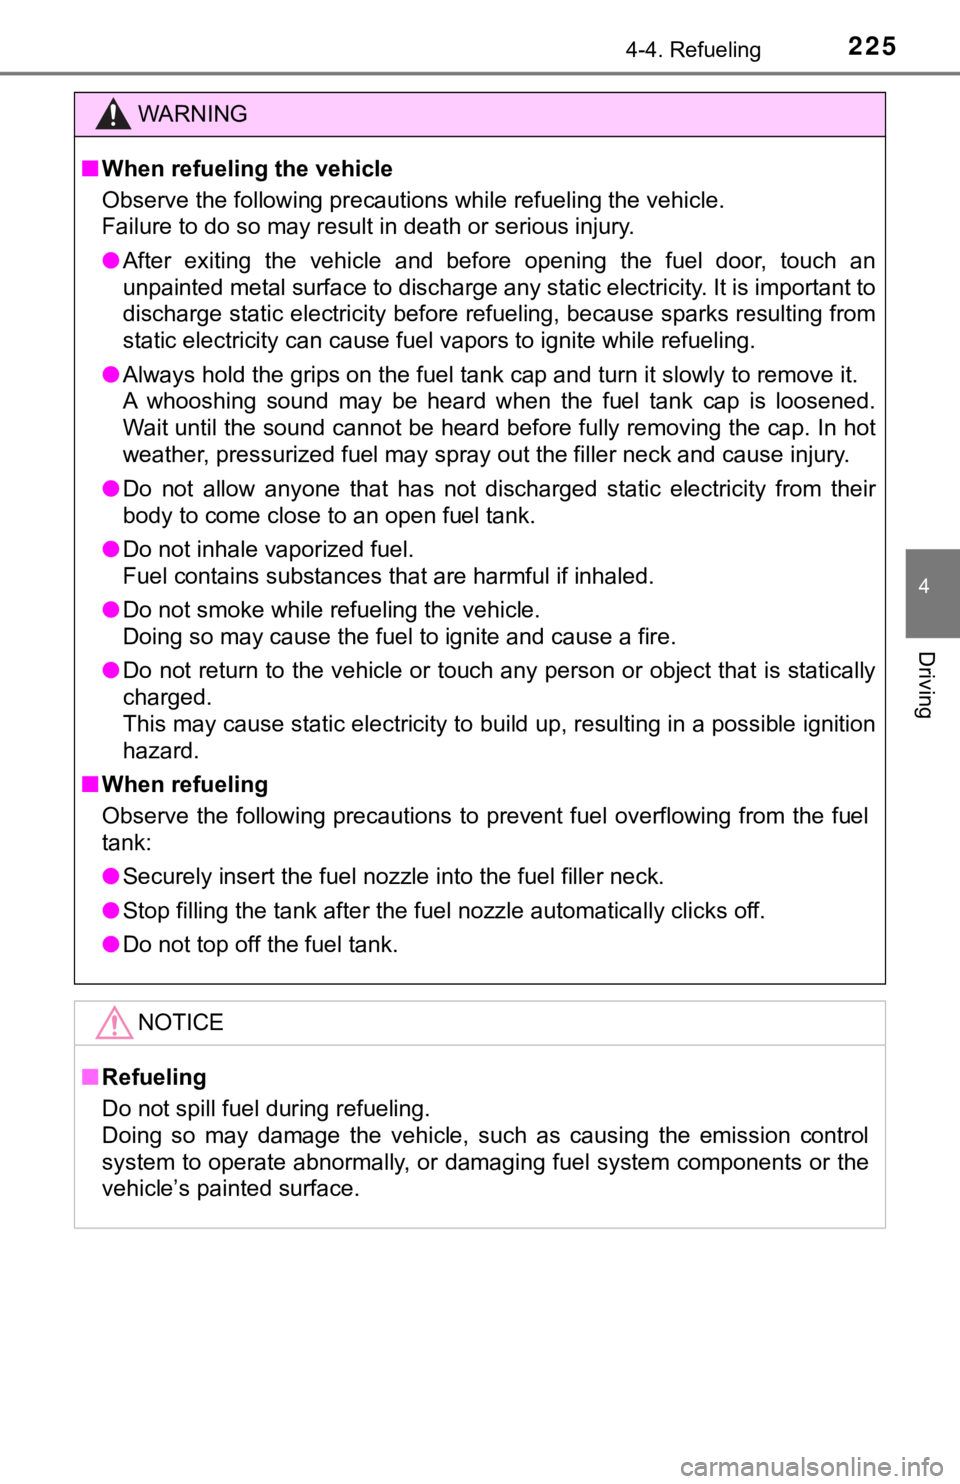
Observe the following precautions while refueling the vehicle.
Failure to do so may result in death or serious injury.
● After exiting the vehicle and before opening the fuel door, tou ch an
unpainted metal surface to discharge any static electricity. It is important to
discharge static electricity before refueling, because sparks resulting from
static electricity can cause fuel vapors to ignite while refuel ing.
● Always hold the grips on the fuel tank cap and turn it slowly to remove it.
A whooshing sound may be heard when the fuel tank cap is loosen ed.
Wait until the sound cannot be heard before fully removing the cap. In hot
weather, pressurized fuel may spray out the filler neck and cause injury.
● Do not allow anyone that has not discharged static electricity from their
body to come close to an open fuel tank.
● Do not inhale vaporized fuel.
Fuel contains substances that are harmful if inhaled.
● Do not smoke while refueling the vehicle.
Doing so may cause the fuel to ignite and cause a fire.
● Do not return to the vehicle or touch any person or object that is statically
charged.
This may cause static electricity to build up, resulting in a p ossible ignition
hazard.
■ When refueling
Observe the following precautions to prevent fuel overflowing f rom the fuel
tank:
● Securely insert the fuel nozzle into the fuel filler neck.
● Stop filling the tank after the fuel nozzle automatically click s off.
● Do not top off the fuel tank.
NOTICE
■Refueling
Do not spill fuel during refueling.
Doing so may damage the vehicle, such as causing the emission c ontrol
system to operate abnormally, or damaging fuel system component s or the
vehicle’s painted surface.
Page 226 of 696
2264-4. Refueling
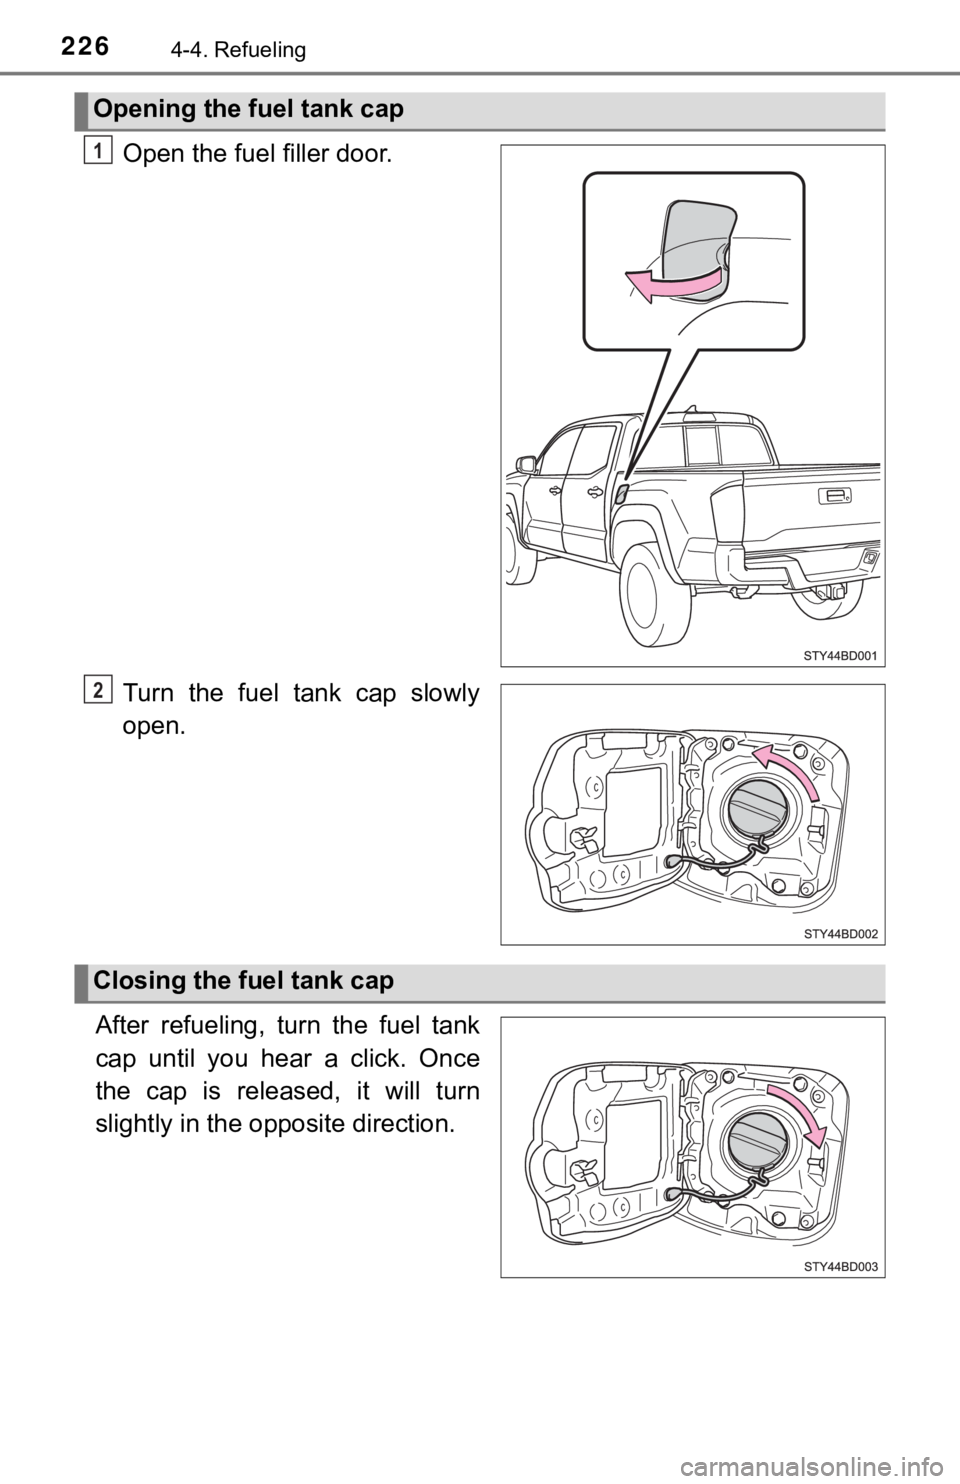
Open the fuel filler door.
Turn the fuel tank cap slowly
open.
After refueling, turn the fuel tank
cap until you hear a click. Once
the cap is released, it will turn
slightly in the opposite direction.
Opening the fuel tank cap
1
2
Closing the fuel tank cap
Page 227 of 696
2274-4. Refueling
4
Driving
■Fuel tank opening for unleaded gasoline
To help prevent incorrect fueling, your vehicle has a fuel tank opening that
only accommodates the special nozzle on unleaded fuel pumps.
■ Closing the fuel tank cap
Tighten the fuel tank cap until 1 click is heard. Otherwise a m alfunction indica-
tor lamp may come on.
WARNING
■ When replacing the fuel tank cap
Do not use anything but a genuine Toyota fuel tank cap designed for your
vehicle. Otherwise, doing so may cause a fire or other incident which may
result in death or serious injury.
Page 502 of 696
5027-2. Maintenance
Emission inspection and maintenance (I/M)
programs
The OBD system determines that a problem exists somewhere in th e
emission control system. Your vehicle may not pass the I/M test and
may need to be repaired. Contact your Toyota dealer to service the
vehicle.
● When the battery is disc onnected or discharged
Readiness codes that are set duri ng ordinary driving are erased.
Also, depending on your driving habits, the readiness codes may
not be completely set.
● When the fuel tan k cap is loose
The malfunction indicator lamp comes on indicating a temporary
malfunction and your vehicle m ay not pass the I/M test.
The error code in th e OBD system will not be cleared unless the vehi-
cle is driven 40 or more times.
Contact your Toyota dea ler to prepare the vehicle for re-testin g.
Some states have vehicle emission inspection programs which
include OBD (On Board Diagnostics) checks. The OBD system
monitors the operation of t he emission control system.
If the malfunction indicator lamp comes on
Your vehicle may not pass the I/M test in the following situations:
When the malfunction indicator l amp still remains on after sev-
eral driving trips
If your vehicle does not pass the I/M test
Page 529 of 696
5297-3. Do-it-yourself maintenance
7
Maintenance and care
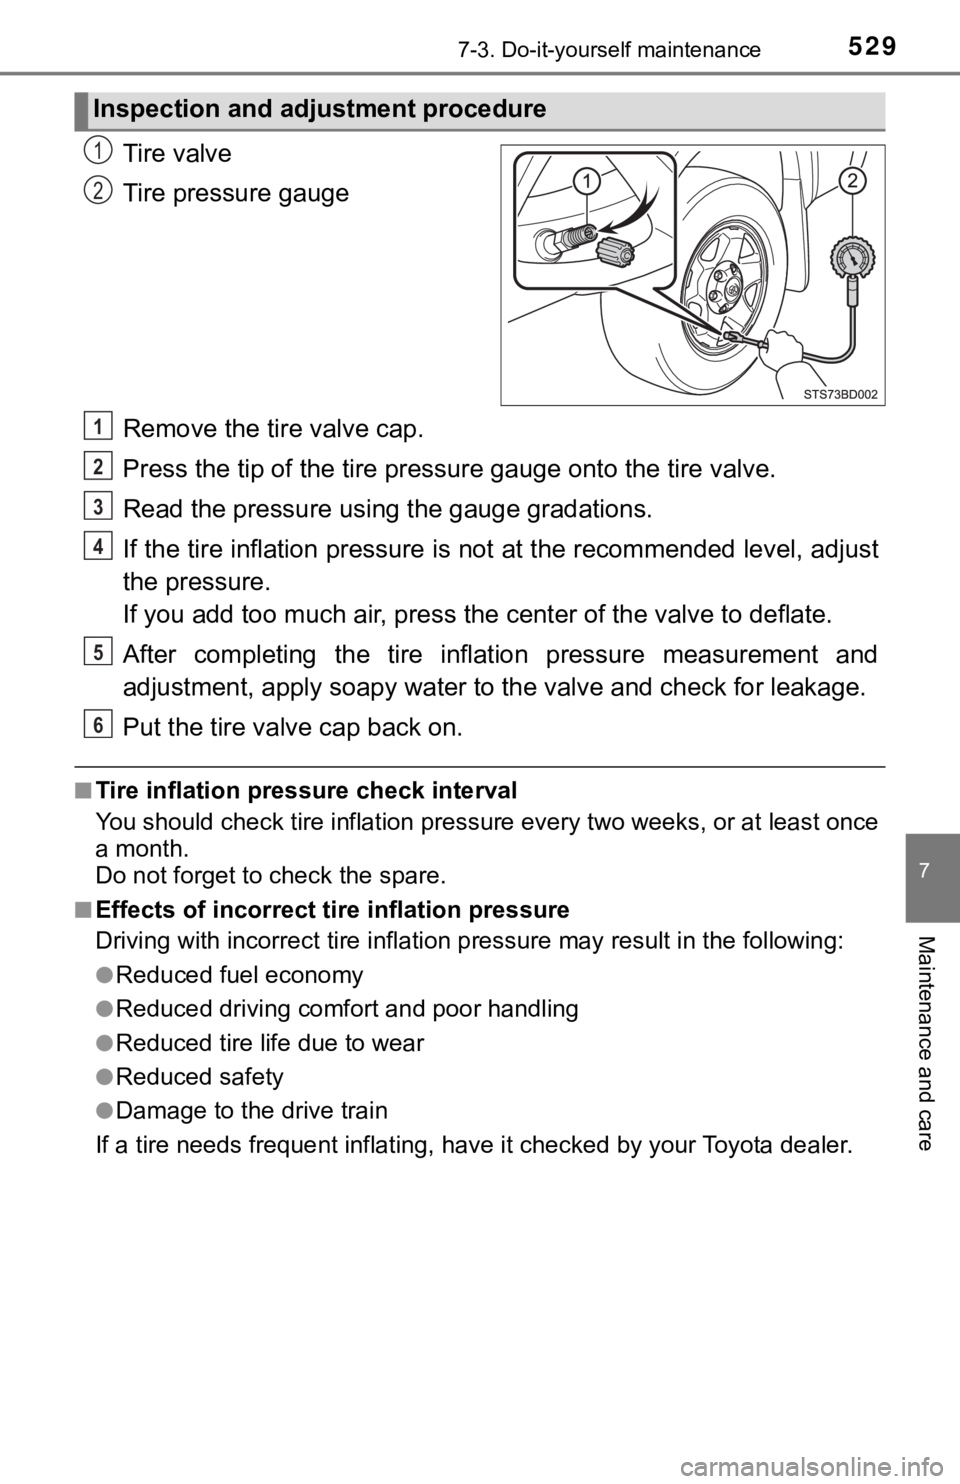
Tire valve
Tire pressure gauge
Remove the tire valve cap.
Press the tip of the tire pressure gauge onto the tire valve.
Read the pressure using the gauge gradations.
If the tire inflation pressure is not at the recommended level, adjust
the pressure.
If you add too much air, press the center of the valve to defla te.
After completing the tire inflation pressure measurement and
adjustment, apply soapy water to the valve and check for leakage.
Put the tire valve cap back on.
■Tire inflation pressure check interval
You should check tire inflation p ressure every two weeks, or at least once
a month.
Do not forget to check the spare.
■Effects of incorrect tire inflation pressure
Driving with incorrec t tire inflation pressure may result in th e following:
●Reduced fuel economy
●Reduced driving comfort and poor handling
●Reduced tire life due to wear
●Reduced safety
●Damage to the drive train
If a tire needs frequent inflating , have it checked by your Toyota dealer.
Inspection and adjustment procedure
1
2
1
2
3
4
5
6