start stop button TOYOTA tC 2009 Accessories, Audio & Navigation (in English)
[x] Cancel search | Manufacturer: TOYOTA, Model Year: 2009, Model line: tC, Model: TOYOTA tC 2009Pages: 200, PDF Size: 16.95 MB
Page 52 of 200

46DESTINATION SEARCH
SCION V398
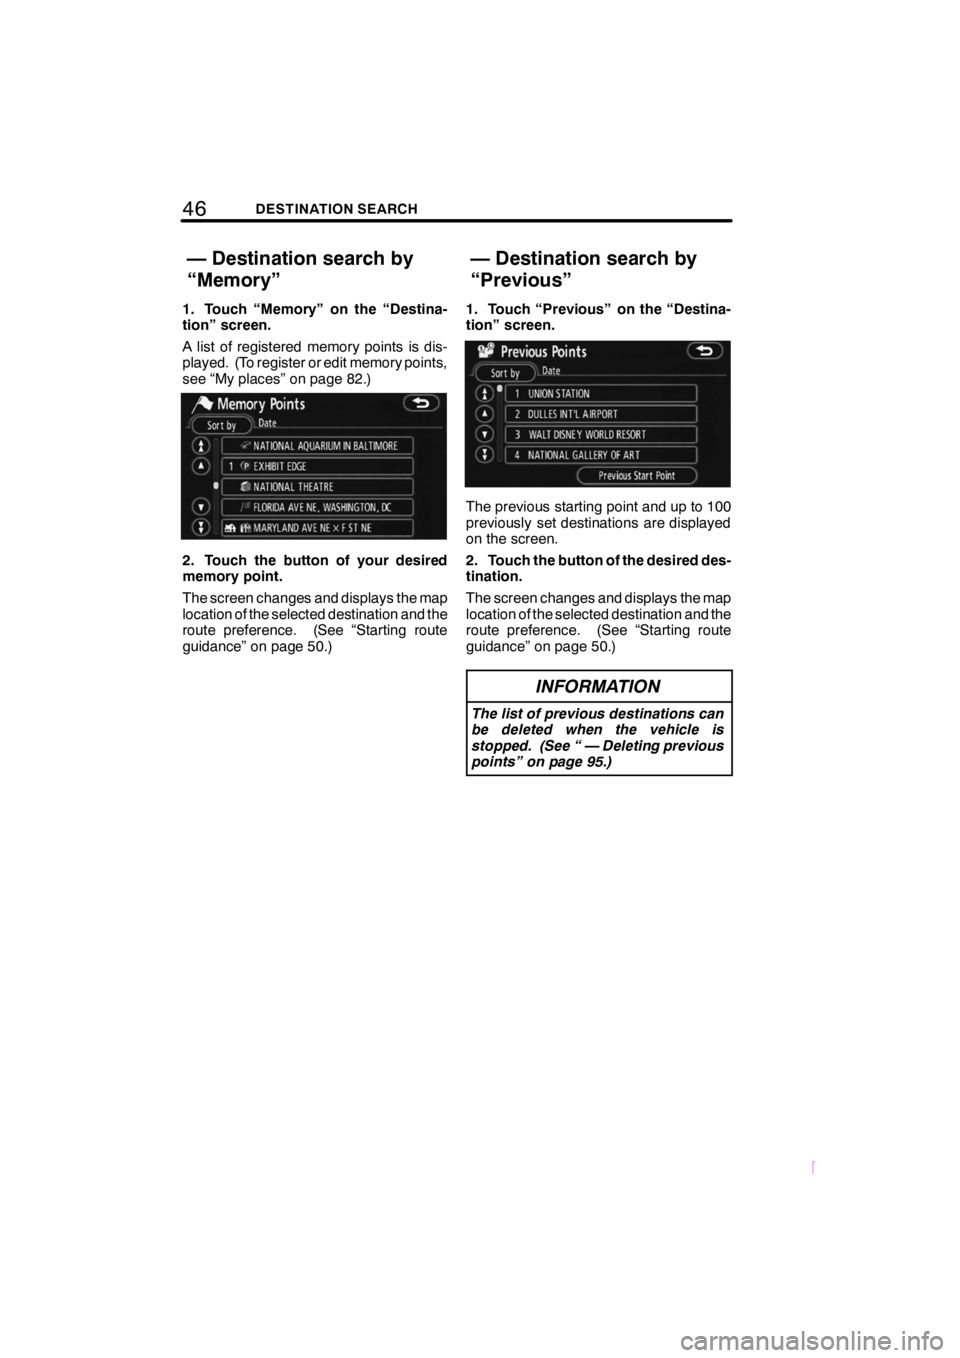
1. Touch “Memory” on the “Destina-
tion” screen.
A list of registered memory points is dis-
played. (To register or edit memory points,
see “My places” on page 82.)
2. Touch the button of your desired
memory point.
The screen changes and displays the map
location of the selected destination and the
route preference. (See “Starting route
guidance” on page 50.)1. Touch “Previous” on the “Destina-
tion” screen.
The previous starting point and up to 100
previously set destinations are displayed
on the screen.
2. Touch the button of the desired des-
tination.
The screen changes and displays the map
location of the selected destination and the
route preference. (See “Starting route
guidance” on page 50.)
INFORMATION
The list of previous destinations can
be deleted when the vehicle is
stopped. (See “ — Deleting previous
points” on page 95.)
— Destination search by
“Memory”
— Destination search by
“Previous”
Page 56 of 200

50DESTINATION SEARCH
SCION V398
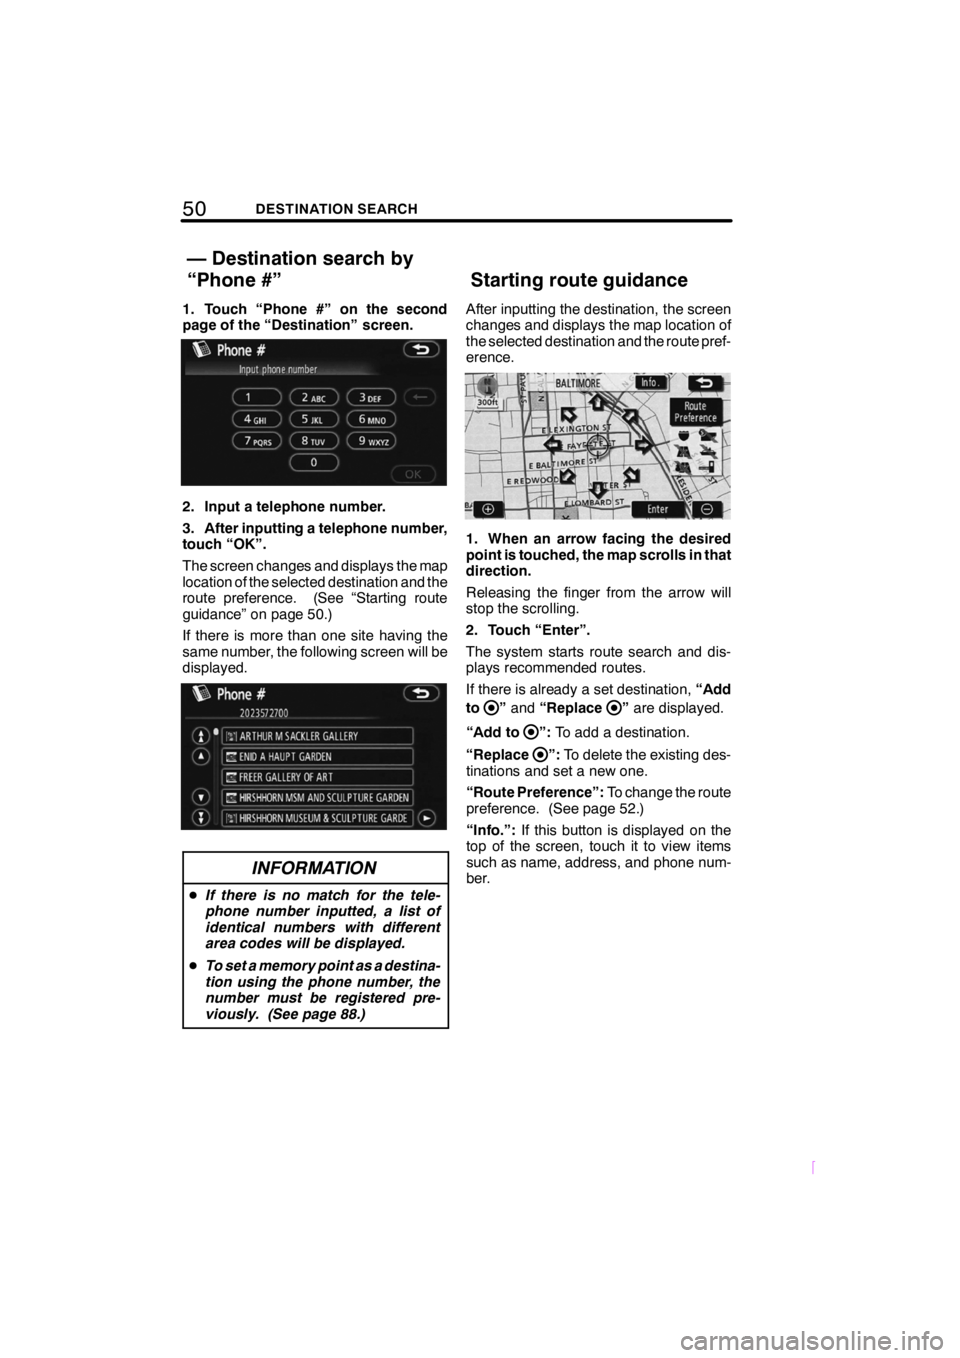
1. Touch “Phone #” on the second
page of the “Destination” screen.
2. Input a telephone number.
3. After inputting a telephone number,
touch “OK”.
The screen changes and displays the map
location of the selected destination and the
route preference. (See “Starting route
guidance” on page 50.)
If there is more than one site having the
same number, the following screen will be
displayed.
INFORMATION
DIf there is no match for the tele-
phone number inputted, a list of
identical numbers with different
area codes will be displayed.
D To set a memory point as a destina-
tion using the phone number, the
number must be registered pre-
viously. (See page 88.)
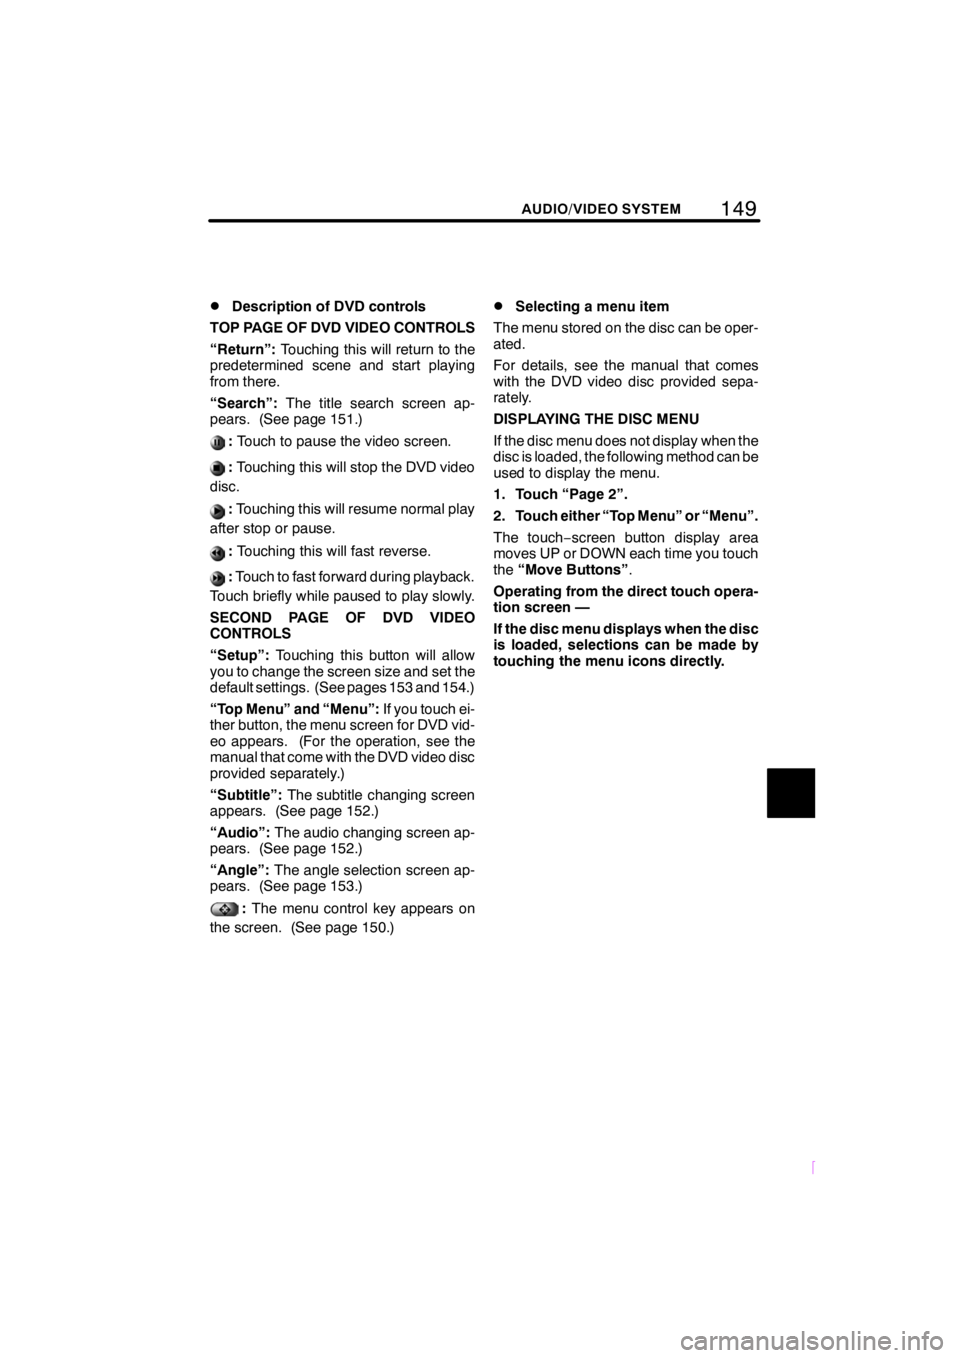
After inputting the destination, the screen
changes and displays the map location of
the selected destination and the route pref-
erence.
1. When an arrow facing the desired
point is touched, the map scrolls in that
direction.
Releasing the finger from the arrow will
stop the scrolling.
2. Touch “Enter”.
The system starts route search and dis-
plays recommended routes.
If there is already a set destination, “Add
to
” and “Replace”are displayed.
“Add to
”: To add a destination.
“Replace
”: To delete the existing des-
tinations and set a new one.
“Route Preference”: To change the route
preference. (See page 52.)
“Info.”: If this button is displayed on the
top of the screen, touch it to view items
such as name, address, and phone num-
ber.
— Destination search by
“Phone #” Starting route guidance
Page 155 of 200

149
SCION V398
AUDIO/VIDEO SYSTEM
DDescription of DVD controls
TOP PAGE OF DVD VIDEO CONTROLS
“Return”: Touching this will return to the
predetermined scene and start playing
from there.
“Search”: The title search screen ap-
pears. (See page 151.)
: Touch to pause the video screen.
:Touching this will stop the DVD video
disc.
: Touching this will resume normal play
after stop or pause.
: Touching this will fast reverse.
:Touch to fast forward during playback.
Touch briefly while paused to play slowly.
SECOND PAGE OF DVD VIDEO
CONTROLS
“Setup”: Touching this button will allow
you to change the screen size and set the
default settings. (See pages 153 and 154.)
“Top Menu” and “Menu”: If you touch ei-
ther button, the menu screen for DVD vid-
eo appears. (For the operation, see the
manual that come with the DVD video disc
provided separately.)
“Subtitle”: The subtitle changing screen
appears. (See page 152.)
“Audio”: The audio changing screen ap-
pears. (See page 152.)
“Angle”: The angle selection screen ap-
pears. (See page 153.)
: The menu control key appears on
the screen. (See page 150.)
DSelecting a menu item
The menu stored on the disc can be oper-
ated.
For details, see the manual that comes
with the DVD video disc provided sepa-
rately.
DISPLAYING THE DISC MENU
If the disc menu does not display when the
disc is loaded, the following method can be
used to display the menu.
1. Touch “Page 2”.
2. Touch either “Top Menu” or “Menu”.
The touch− screen button display area
moves UP or DOWN each time you touch
the “Move Buttons” .
Operating from the direct touch opera-
tion screen —
If the disc menu displays when the disc
is loaded, selections can be made by
touching the menu icons directly.