turn signal TOYOTA VERSO 2013 User Guide
[x] Cancel search | Manufacturer: TOYOTA, Model Year: 2013, Model line: VERSO, Model: TOYOTA VERSO 2013Pages: 616, PDF Size: 39.6 MB
Page 326 of 616
326 3-2. Using the audio system
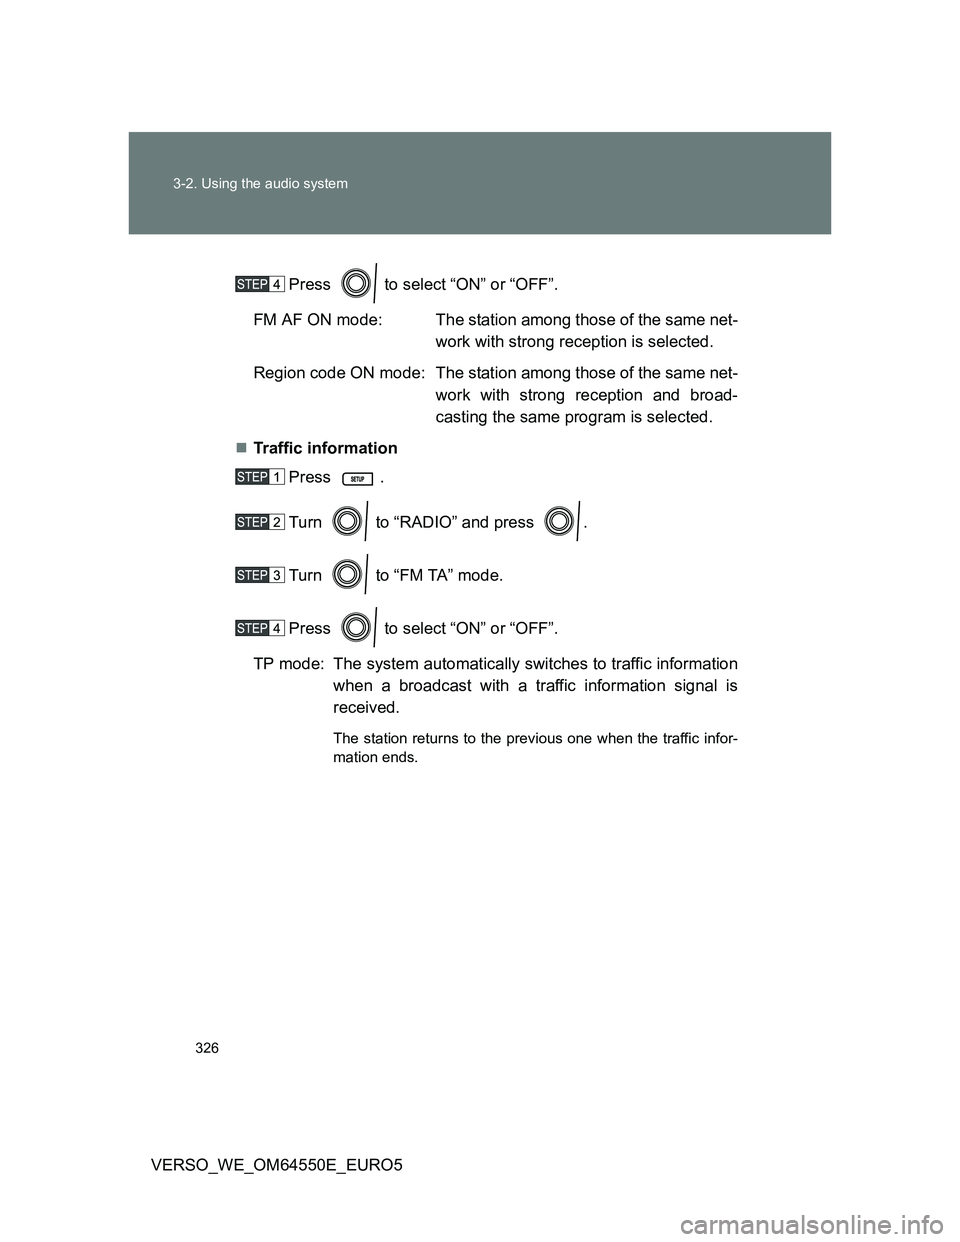
VERSO_WE_OM64550E_EURO5Press to select “ON” or “OFF”.
FM AF ON mode: The station among those of the same net-
work with strong reception is selected.
Region code ON mode: The station among those of the same net-
work with strong reception and broad-
casting the same program is selected.
Traffic information
Press .
Turn to “RADIO” and press .
Turn to “FM TA” mode.
Press to select “ON” or “OFF”.
TP mode: The system automatically switches to traffic information
when a broadcast with a traffic information signal is
received.
The station returns to the previous one when the traffic infor-
mation ends.
Page 327 of 616
327 3-2. Using the audio system
3
Interior features
VERSO_WE_OM64550E_EURO5
EON (Enhanced Other Network) system (for traffic announcement
function)
If the RDS station (with EON data) you are listening to is not broadcasting a
traffic information program and the audio system is in the TA (traffic
announcement) mode, the radio will be switched automatically to a station
broadcasting a traffic information program in the EON AF list when traffic
information begins.
When the battery is disconnected
Stations presets are erased.
Reception sensitivity
Maintaining perfect radio reception at all times is difficult due to the con-
tinually changing position of the antenna, differences in signal strength
and surrounding objects, such as trains, transmitters, etc.
The radio antenna is mounted on the rear roof. The antenna can be
removed from the base by turning it.
NOTICE
To prevent damage, remove the antenna in the following cases
The antenna will touch the ceiling of a garage.
A cover will be put on the roof.
Page 451 of 616

451 4-3. Do-it-yourself maintenance
4
Maintenance and care
VERSO_WE_OM64550E_EURO5
20 ECU-B2 10 ASmart entry & start system, air con-
ditioning system, power windows
21 ECU-B 10 AGauges and meters, main body
ECU, steering sensor, double lock-
ing system, wireless remote con-
trol, smart entry & start system
22 RAD NO.1 15 A Audio system
23 DOME 10 ALuggage compartment light, vanity
lights, front door courtesy lights,
personal/interior lights, foot lights
24 AM2 NO.2 7.5 A Starting system
25 TURN-HAZ 10 ATurn signal lights, emergency
flashers
26 ETCS
*210 A Electronic throttle control system
27 AM2 30 A Starting system
28 STRG LOCK 20 A Steering lock system
29IGT/INJ
*215 AMultiport fuel injection system/
sequential multiport fuel injection
system EDU
*120 A
30FUEL OPN
*110 A No circuit
EFI MAIN
*220 AMultiport fuel injection system/
sequential multiport fuel injection
system, EFI NO.1, EFI NO.2
31 HORN 15 A Horn
32 IG2 15 A IGN, METER
33 HTR SUB NO.130 A
*4
Air conditioning system
50 A*5
34 HTR SUB NO.2 30 A Air conditioning system
35 HTR SUB NO.3 30 A Air conditioning system
36 PWR SEAT LH 30 A No circuit
FuseAmpereCircuit
Page 459 of 616

459
4-3. Do-it-yourself maintenance
4
Maintenance and care
VERSO_WE_OM64550E_EURO5
Light bulbs
You may replace the following bulbs yourself. The difficulty level of
replacement varies depending on the bulb. If necessary bulb
replacement seems difficult to perform, contact any authorized
Toyota dealer or repairer, or another duly qualified and equipped
professional.
For more information about replacing other light bulbs, contact any
authorized Toyota dealer or repairer, or another duly qualified and
equipped professional.
Prepare a replacement light bulb
Check the wattage of the light bulb being replaced. (P. 589)
Remove the engine compartment cover
P. 415)
Front bulb locations
*1: Halogen headlights without daytime running light system
*2: Halogen headlights with daytime running light system
Headlight high beam
(halogen headlights)
Headlight low beam
(halogen headlights)
Front turn
signal light
Front fog light Front position light
*1
Front position light/
daytime running light
*2
Page 460 of 616

460 4-3. Do-it-yourself maintenance
VERSO_WE_OM64550E_EURO5
Rear bulb locations
*1: Left-hand drive vehicles
*2: Right-hand drive vehicles
Tail light
Rear fog light*2
License plate lights Rear turn
signal light
Back-up light*1
Rear fog light*1
Back-up light*2
Page 461 of 616

461 4-3. Do-it-yourself maintenance
4
Maintenance and care
VERSO_WE_OM64550E_EURO5
Replacing light bulbs
Before replacing the following bulbs:
Headlight (halogen headlights)
Front position light (halogen headlights without daytime running
light system)
Front position light/daytime running light (halogen headlights
with daytime running light system)
Front turn signal light
Removing the engine compartment cover. (P. 415)
Removing the air cleaner duct and/or moving the washer fluid
filler opening.
Left side
Remove the upper of the air
cleaner duct.
Remove the securing clip.
Remove the upper of the air
cleaner duct to allow easy
access to light bulbs.
After replacing the bulbs, make
sure to firmly install the upper
portion of the air cleaner duct and
secure it with the clip.
Page 469 of 616

469 4-3. Do-it-yourself maintenance
4
Maintenance and care
VERSO_WE_OM64550E_EURO5Front turn signal light
Turn the bulb base counterclock-
wise.
Remove the light bulb.
Page 470 of 616

470 4-3. Do-it-yourself maintenance
VERSO_WE_OM64550E_EURO5Back-up light/rear fog light, tail light and rear turn signal light
Open the back door and remove
the cover.
Disengage the 2 claws and
remove the rear combination
light socket.
Remove the light bulb.
Tail light
Rear turn signal light
Back-up light or rear fog light
Page 471 of 616

471 4-3. Do-it-yourself maintenance
4
Maintenance and care
VERSO_WE_OM64550E_EURO5License plate light
Remove the cover.
Insert a properly sized screw-
driver into the hole of the cover,
and ply off the cover as shown in
the illustration.
To prevent damaging the vehicle,
wrap the screwdriver with a tape.
Remove the light bulb.
Lights other than the above
If any of the lights listed below has burnt out, have it replaced by
any authorized Toyota dealer or repairer, or another duly qualified
and equipped professional.
Headlights (discharge headlights)
Front position lights/daytime running lights (discharge head-
lights)
Side turn signal lights
High mounted stoplight
Stop lights
Page 472 of 616

472 4-3. Do-it-yourself maintenance
VERSO_WE_OM64550E_EURO5
When replacing the following bulbs:
Headlight (halogen headlights)
Front position light (halogen headlights without daytime running light sys-
tem)
Front position light/daytime running light (halogen headlights with day-
time running light system)
Front turn signal light
Replacing the air cleaner duct and/or washer fluid filler opening.
Left side
Right side
Replacing the engine compartment cover. (P. 415)
Condensation build-up on the inside of the lens
Temporary condensation build-up on the inside of the headlight lens does
not indicate a malfunction.
Contact any authorized Toyota dealer or repairer, or another duly qualified
and equipped professional, for more information in the following situations:
Large drops of water are built up on the inside of the lens.
Water has built up inside the headlight.
After replacing the bulbs, make sure to
secure the upper part of the air cleaner
duct with the clip.
After replacing the bulbs, make sure to
secure the washer fluid filler opening with
the clip.