oil level TOYOTA xB 2011 Owners Manual (in English)
[x] Cancel search | Manufacturer: TOYOTA, Model Year: 2011, Model line: xB, Model: TOYOTA xB 2011Pages: 388, PDF Size: 11.79 MB
Page 5 of 388
1
2
3
4
5
6
7
5
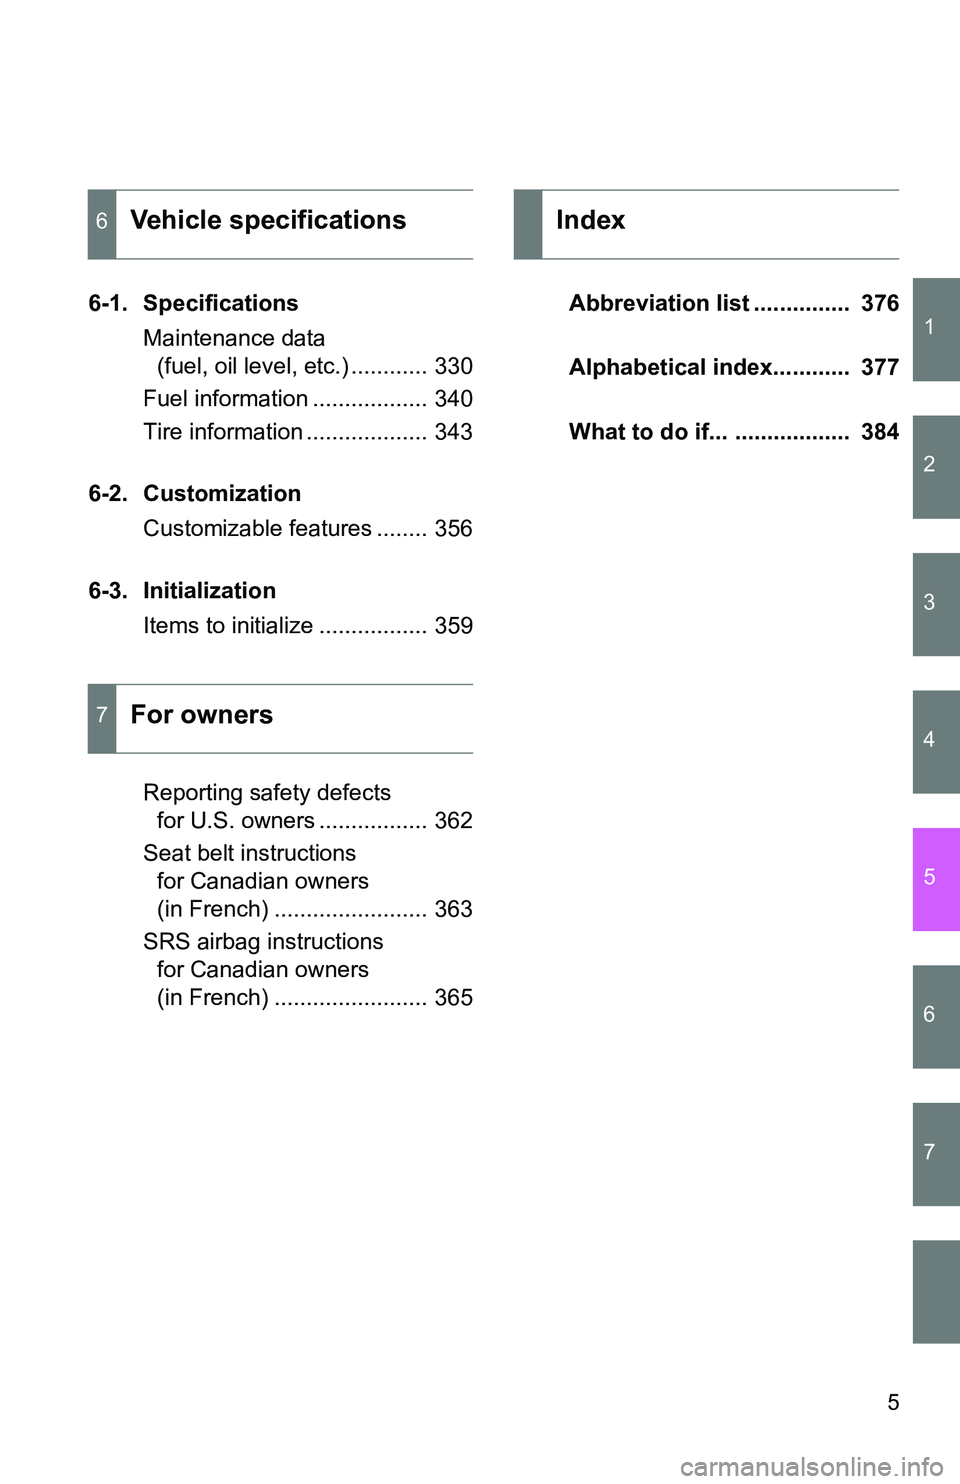
6-1. SpecificationsMaintenance data (fuel, oil level, etc.) ............ 330
Fuel information .................. 340
Tire information ................... 343
6-2. Customization Customizable features ........ 356
6-3. Initialization Items to initialize ................. 359
Reporting safety defects for U.S. owners ................. 362
Seat belt instructions for Canadian owners
(in French) ........................ 363
SRS airbag instructions for Canadian owners
(in French) ........................ 365 Abbreviation list ............... 376
Alphabetical index............ 377
What to do if... .................. 384
6Vehicle specifications
7For owners
Index
Page 162 of 388
162
2-5. Driving information
Winter driving tips
Carry out the necessary preparations and inspections before driving
the vehicle in winter. Always drive the vehicle in a manner appropri-
ate to the prevailing weather conditions.
■ Pre-winter preparations
●Use fluids that are appropriate to the prevailing outside tem-
peratures.
• Engine oil
• Engine coolant
• Washer fluid
● Have a service technician inspect the level and specific grav-
ity of battery electrolyte.
● Have the vehicle fitted with four snow tires or purchase a set
of tire chains for the front tires.
Ensure that all tires are the same size and brand, and that chains
match the size of the tires.
■Before driving the vehicle
Perform the following according to the driving conditions:
●Do not try to forcibly open a window or move a wiper that is
frozen. Pour warm water over the frozen area to melt the ice.
Wipe away the water immediately to prevent it from freezing.
● To ensure proper operation of th e climate control system fan,
remove any snow that has accumulated on the air inlet vents
in front of the windshield.
● Remove any ice that has accumu lated on the vehicle chassis.
● Periodically check for and remove any excess ice or snow
that may have accumulated in the wheel well or on the
brakes.
Page 210 of 388
210
4-2. Maintenance
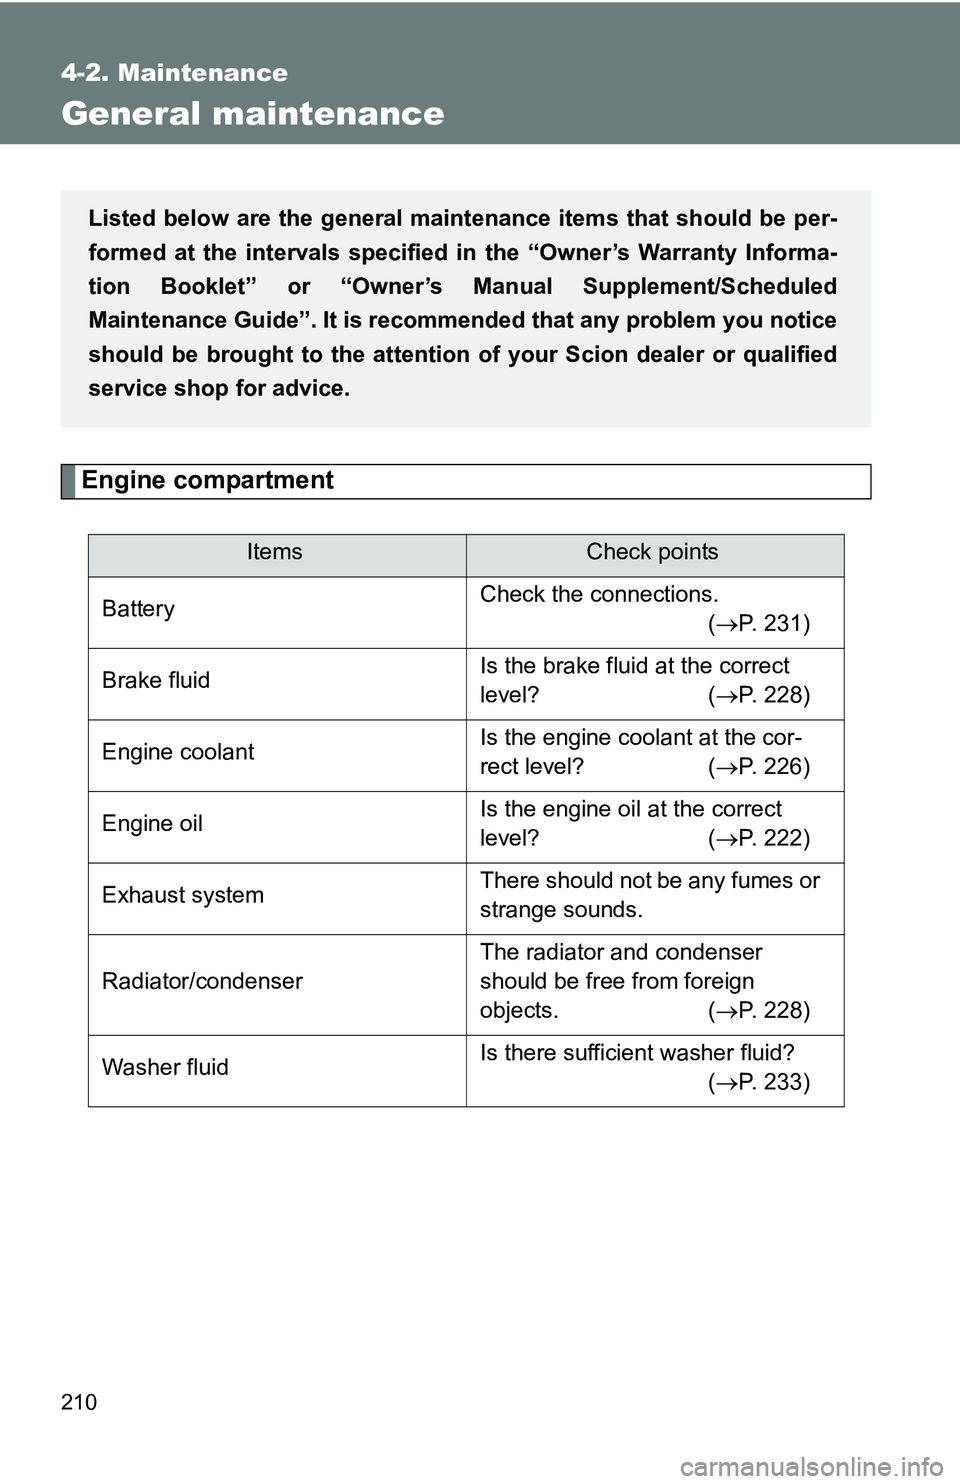
General maintenance
Engine compartment
ItemsCheck points
Battery Check the connections.
(P. 231)
Brake fluid Is the brake fluid at the correct
level? (
P. 228)
Engine coolant Is the engine coolant at the cor-
rect level?
(P. 226)
Engine oil Is the engine oil at the correct
level?
(P. 222)
Exhaust system There should not be any fumes or
strange sounds.
Radiator/condenser The radiator and condenser
should be free from foreign
objects.
(P. 228)
Washer fluid Is there sufficient washer fluid?
(P. 233)
Listed below are the general maintenance items that should be per-
formed at the intervals specified in the “Owner’s Warranty Informa-
tion Booklet” or “Owner’s Manual Supplement/Scheduled
Maintenance Guide”. It is recommended that any problem you notice
should be brought to the attention of your Scion dealer or qualified
service shop for advice.
Page 216 of 388
216 4-3. Do-it-yourself maintenance
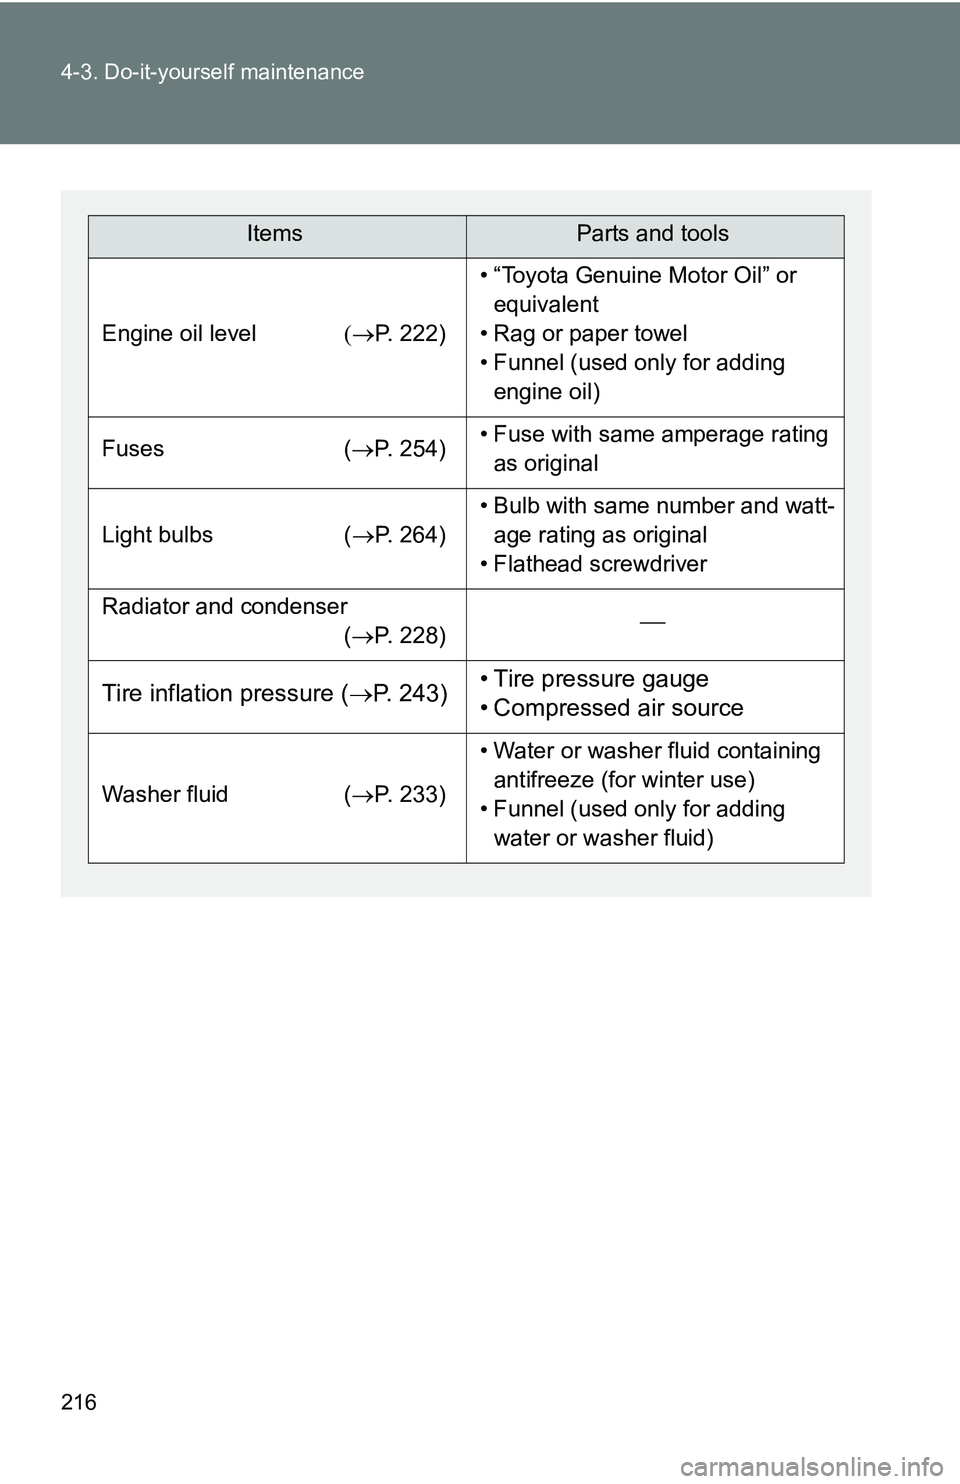
ItemsParts and tools
Engine oil levelP. 222)
• “Toyota Genuine Motor Oil” or
equivalent
• Rag or paper towel
• Funnel (used only for adding engine oil)
Fuses (P. 254)• Fuse with same amperage rating
as original
Light bulbs (P. 264)
• Bulb with same number and watt-
age rating as original
• Flathead screwdriver
Radiator and condenser (P. 228)
Tire inflation pressure ( P. 243)• Tire pressure gauge
• Compressed air source
Washer fluid (P. 233)
• Water or washer fluid containing
antifreeze (for winter use)
• Funnel (used only for adding water or washer fluid)
Page 221 of 388
221
4-3. Do-it-yourself maintenance
4
Maintenance and care
Engine compar tment
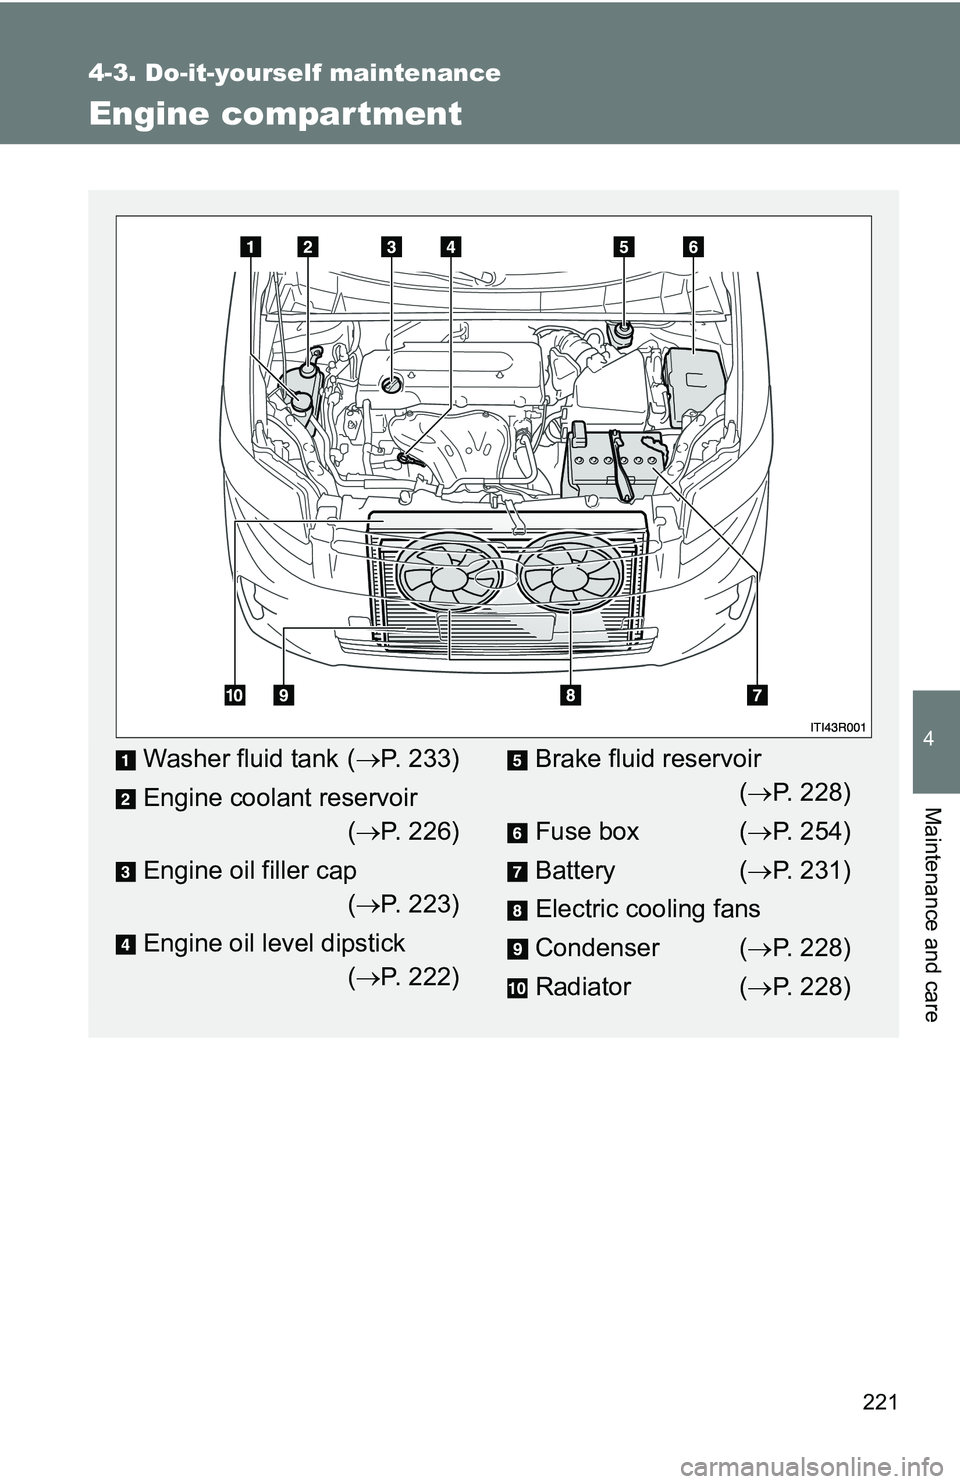
Washer fluid tank (P. 233)
Engine coolant reservoir ( P. 226)
Engine oil filler cap ( P. 223)
Engine oil level dipstick ( P. 222)Brake fluid reservoir
( P. 228)
Fuse box ( P. 254)
Battery ( P. 231)
Electric cooling fans
Condenser ( P. 228)
Radiator ( P. 228)
Page 222 of 388
222 4-3. Do-it-yourself maintenance
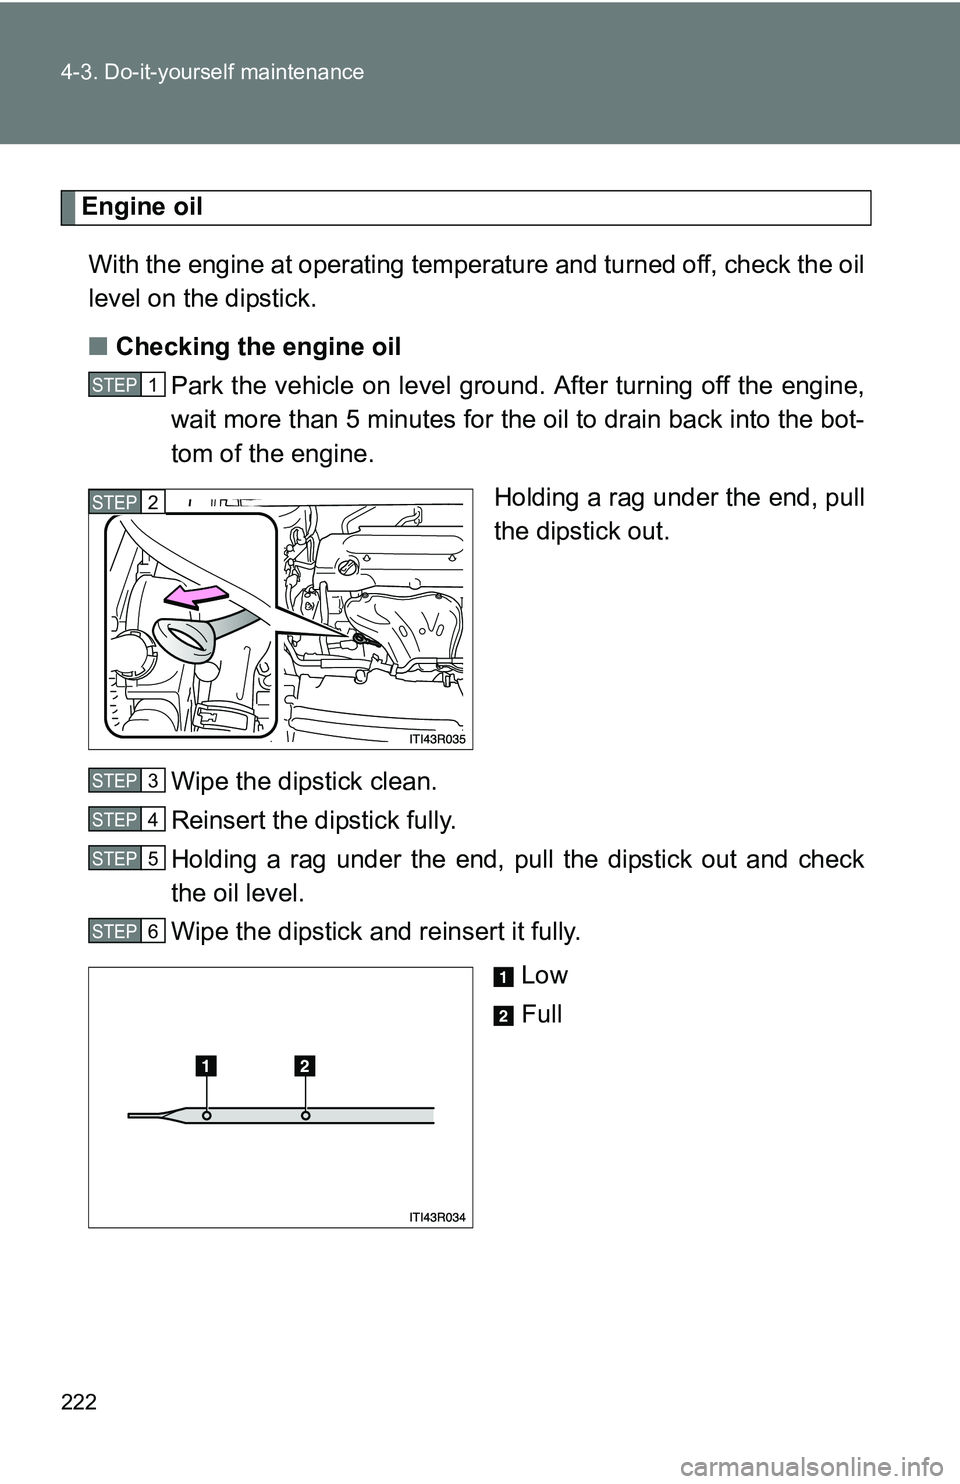
Engine oilWith the engine at operating temperature and turned off, check the oil
level on the dipstick.
■ Checking the engine oil
Park the vehicle on level gro und. After turning off the engine,
wait more than 5 minutes for the oil to drain back into the bot-
tom of the engine.
Holding a rag under the end, pull
the dipstick out.
Wipe the dipstick clean.
Reinsert the dipstick fully.
Holding a rag under the end, pull the dipstick out and check
the oil level.
Wipe the dipstick and reinsert it fully. Low
Full
STEP 1
STEP 2
STEP 3
STEP 4
STEP 5
STEP 6
Page 223 of 388
223
4-3. Do-it-yourself maintenance
4
Maintenance and care
■
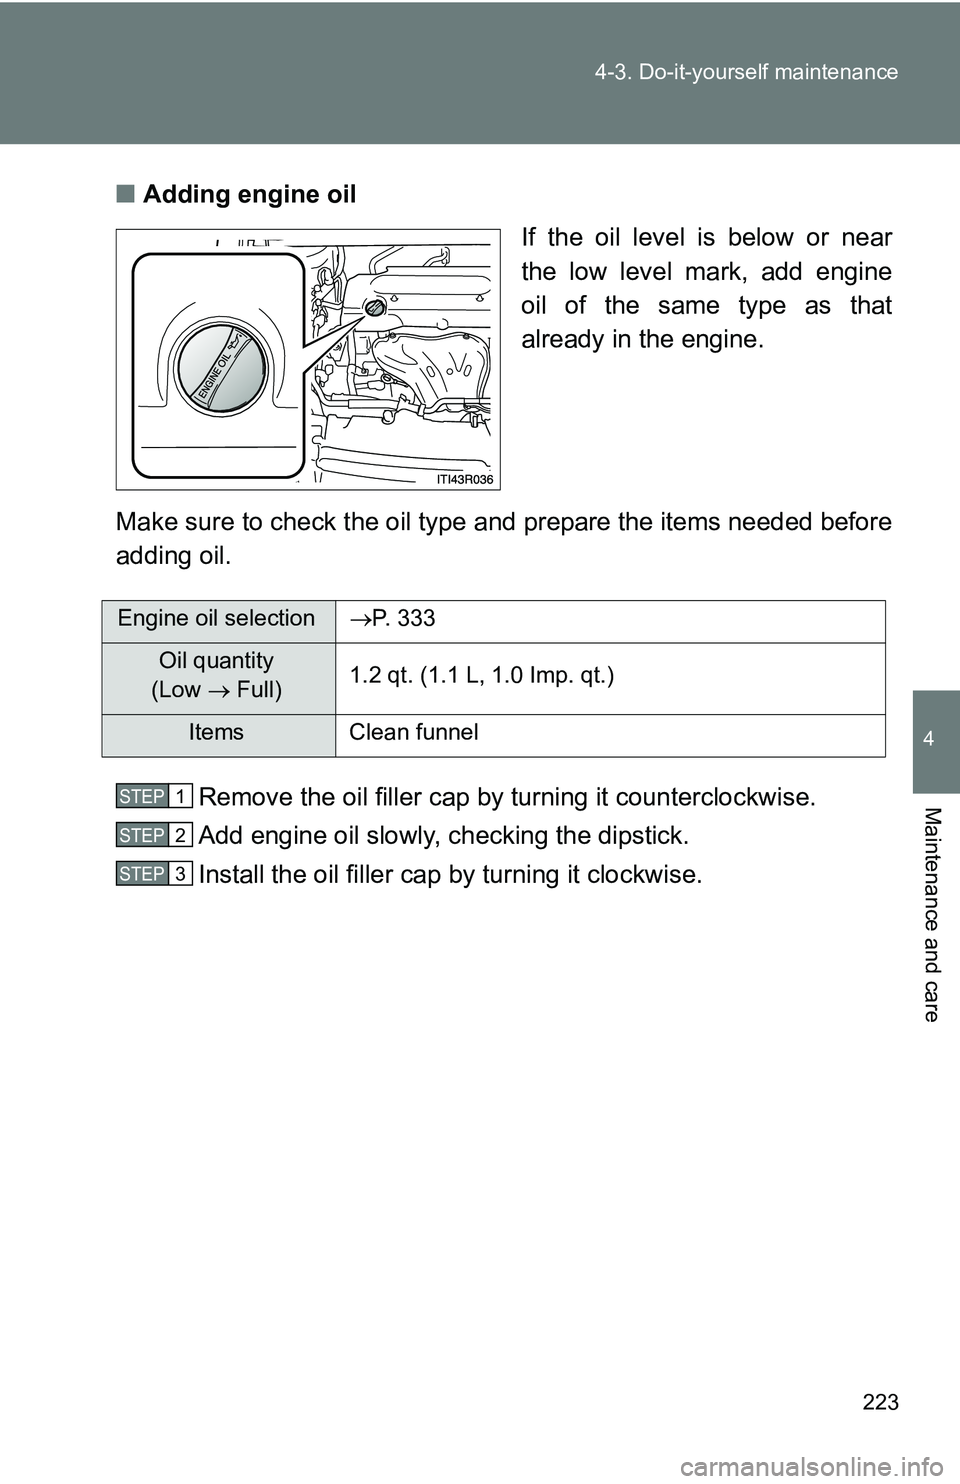
Adding engine oil
If the oil level is below or near
the low level mark, add engine
oil of the same type as that
already in the engine.
Make sure to check the oil type and prepare the items needed before
adding oil.
Remove the oil filler cap by turning it counterclockwise.
Add engine oil slowly, checking the dipstick.
Install the oil filler cap by turning it clockwise.
Engine oil selection P. 333
Oil quantity
(Low Full) 1.2 qt. (1.1 L, 1.0 Imp. qt.)
Items Clean funnel
STEP 1
STEP 2
STEP 3
Page 224 of 388
224 4-3. Do-it-yourself maintenance
■Engine oil consumption
●The amount of engine oil consumed depends on the oil viscosity, the
quality of the oil and the way the vehicle is driven.
● More oil is consumed under driving conditions such as high speeds and
frequent acceleration and deceleration.
● A new engine consumes more oil.
● When judging the amount of oil consumption, keep in mind that the oil
may have become diluted, making it difficult to judge the true level accu-
rately.
● Oil consumption: Max. 1.1 qt./600 miles (0.9 lmp. qt./600 miles,1.0 L p\
er
1000 km)
● If your vehicle consumes more than 1.1 qt. (1.0 L, 0.9 lmp. qt.) every
600 miles (1000 km), contact your Scion dealer.
■ After changing the engine oil (U.S.A. only)
The engine oil maintenance data should be reset. Perform the following pro-
cedures:
Switch the display to the trip meter A when the engine is running.
(P. 133)
Turn the engine switch to the “LOCK” position.
While pressing the trip meter reset button ( P. 133), turn the
engine switch to the “ON” position (but do not start the engine
because otherwise the reset mode will be canceled). Continue to
press and hold the button until the trip meter displays “000000”.
STEP 1
STEP 2
STEP 3
Page 225 of 388
225
4-3. Do-it-yourself maintenance
4
Maintenance and care
CAUTION
■
Used engine oil
●Used engine oil contains potentially harmful contaminants which may
cause skin disorders such as inflammation and skin cancer, so care
should be taken to avoid prolonged and repeated contact. To remove used
engine oil from your skin, wash thoroughly with soap and water.
● Dispose of used oil and filters only in a safe and acceptable manner. Do
not dispose of used oil and filters in household trash, in sewers or onto the
ground. Call your Scion dealer, service station or auto parts store for infor-
mation concerning recycling or disposal.
● Do not leave used engine oil within the reach of children.
NOTICE
■To prevent serious engine damage
Check the oil level on a regular basis.
■ When replacing the engine oil
●Be careful not to spill engine oil on the vehicle components.
● Avoid overfilling, or the engine could be damaged.
● Check the oil level on the dipstick every time you refill the vehicle.
● Be sure the engine oil filler cap is properly tightened.
Page 295 of 388
5
When trouble arises
295
5-2. Steps to take in an emergency
■
Changing the engine oil (U.S.A. only)
Make sure to reset the oil change system. ( P. 224)
■
When the tire pressure warning light comes on
Check the tire inflation pressure and adjust to the appropriate level.
Pushing the tire pressure warning re set switch will not turn off the tire
pressure warning light.
■The tire pressure warning light may come on due to natural causes
The tire pressure warning light may come on due to natural causes such
as natural air leaks and tire inflat ion pressure changes caused by tem-
perature. In this case, adjusting the tire inflation pressure will turn off the
warning light (after a few minutes).
■When a tire is replaced with a spare tire
The compact spare tire is not equipped with a tire pressure warning
valve and transmitter. If a tire goes flat, the tire pressure warning light will
not turn off even though the flat tire has been replaced with the spare
tire. Replace the spare tire with the re paired tire and adjust the tire infla-
tion pressure. The tire pressure wa rning light will go off after a few min-
utes.