Hood TOYOTA YARIS 2013 3.G Owners Manual
[x] Cancel search | Manufacturer: TOYOTA, Model Year: 2013, Model line: YARIS, Model: TOYOTA YARIS 2013 3.GPages: 400, PDF Size: 9 MB
Page 4 of 400
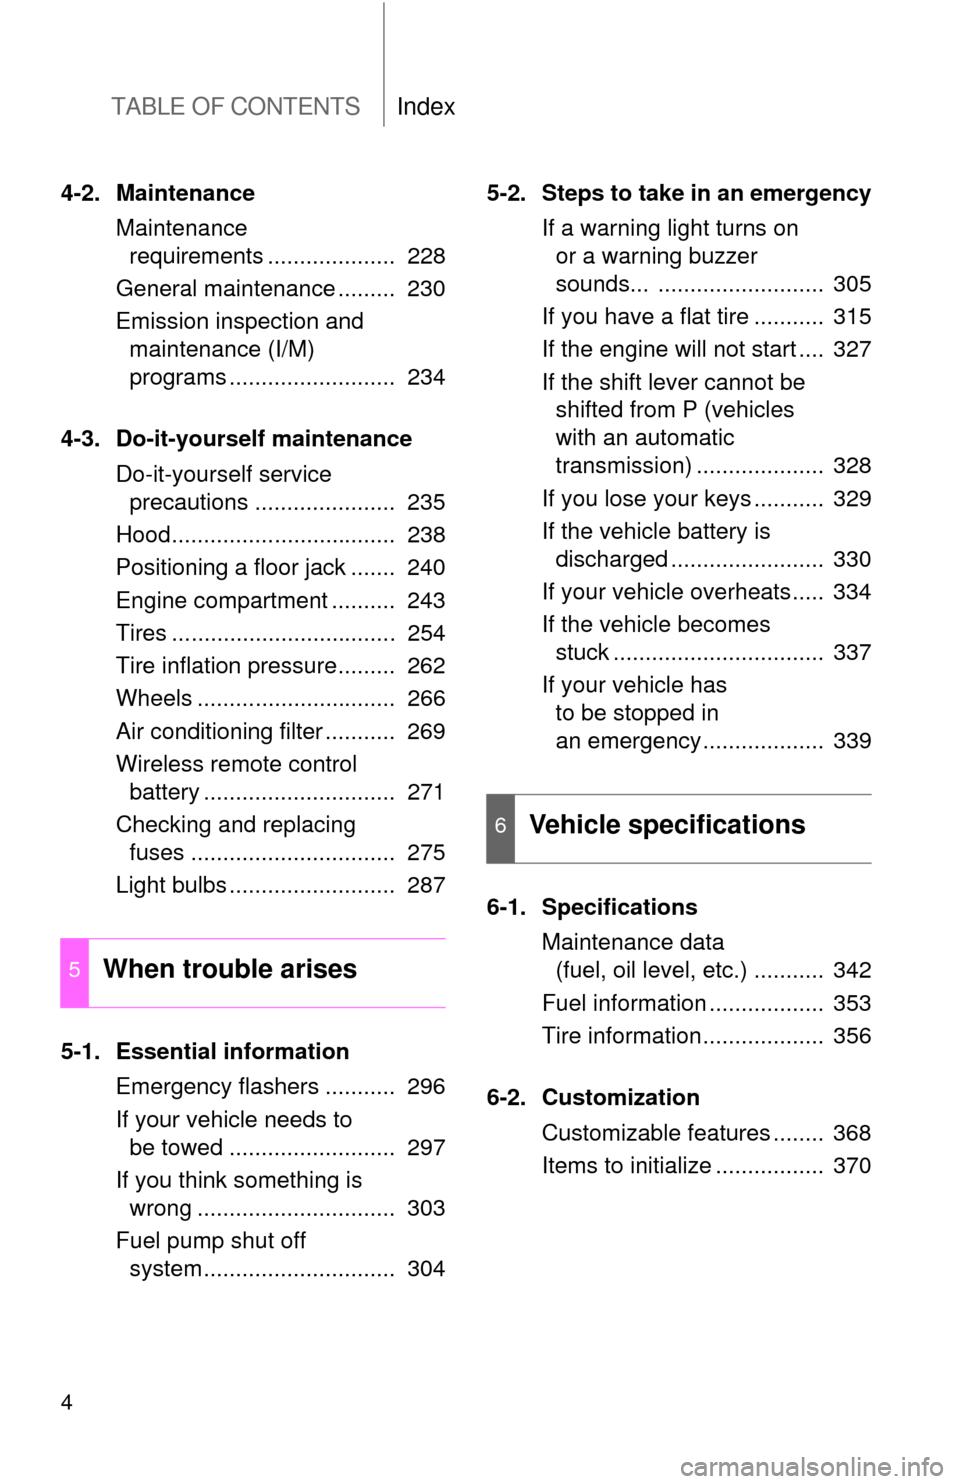
TABLE OF CONTENTSIndex
4
4-2. MaintenanceMaintenance requirements .................... 228
General maintenance ......... 230
Emission inspection and maintenance (I/M)
programs .......................... 234
4-3. Do-it-yourself maintenance Do-it-yourself service precautions ...................... 235
Hood................................... 238
Positioning a floor jack ....... 240
Engine compartment .......... 243
Tires ................................... 254
Tire inflation pressure......... 262
Wheels ............................... 266
Air conditioning filter ........... 269
Wireless remote control battery .............................. 271
Checking and replacing fuses ................................ 275
Light bulbs .......................... 287
5-1. Essential information Emergency flashers ........... 296
If your vehicle needs to be towed .......................... 297
If you think something is wrong ............................... 303
Fuel pump shut off system .............................. 304 5-2. Steps to take in an emergency
If a warning light turns on or a warning buzzer
sounds... .......................... 305
If you have a flat tire ........... 315
If the engine will not start .... 327
If the shift lever cannot be shifted from P (vehicles
with an automatic
transmission) .................... 328
If you lose your keys ........... 329
If the vehicle battery is discharged ........................ 330
If your vehicle overheats..... 334
If the vehicle becomes stuck ................................. 337
If your vehicle has to be stopped in
an emergency................... 339
6-1. Specifications Maintenance data (fuel, oil level, etc.) ........... 342
Fuel information .................. 353
Tire information................... 356
6-2. Customization Customizable features ........ 368
Items to initialize ................. 370
5When trouble arises
6Vehicle specifications
Page 6 of 400
6
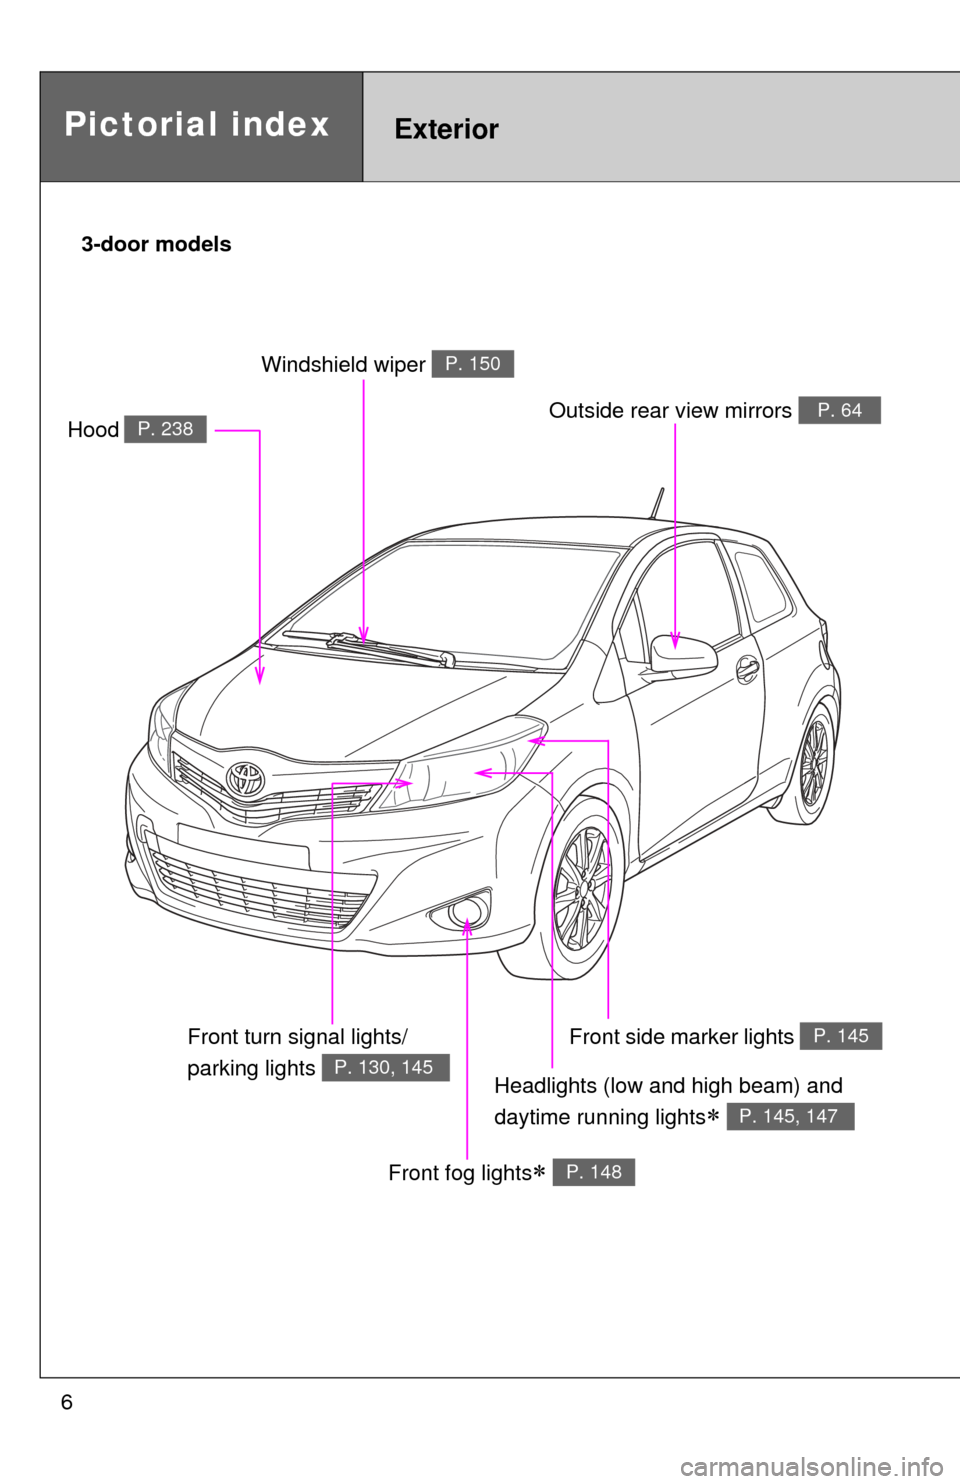
Headlights (low and high beam) and
daytime running lights
P. 145, 147
Pictorial indexExterior
Front fog lights P. 148
Hood P. 238
Windshield wiper P. 150
Outside rear view mirrors P. 64
Front turn signal lights/
parking lights
P. 130, 145
3-door modelsFront side marker lights
P. 145
Page 8 of 400
8
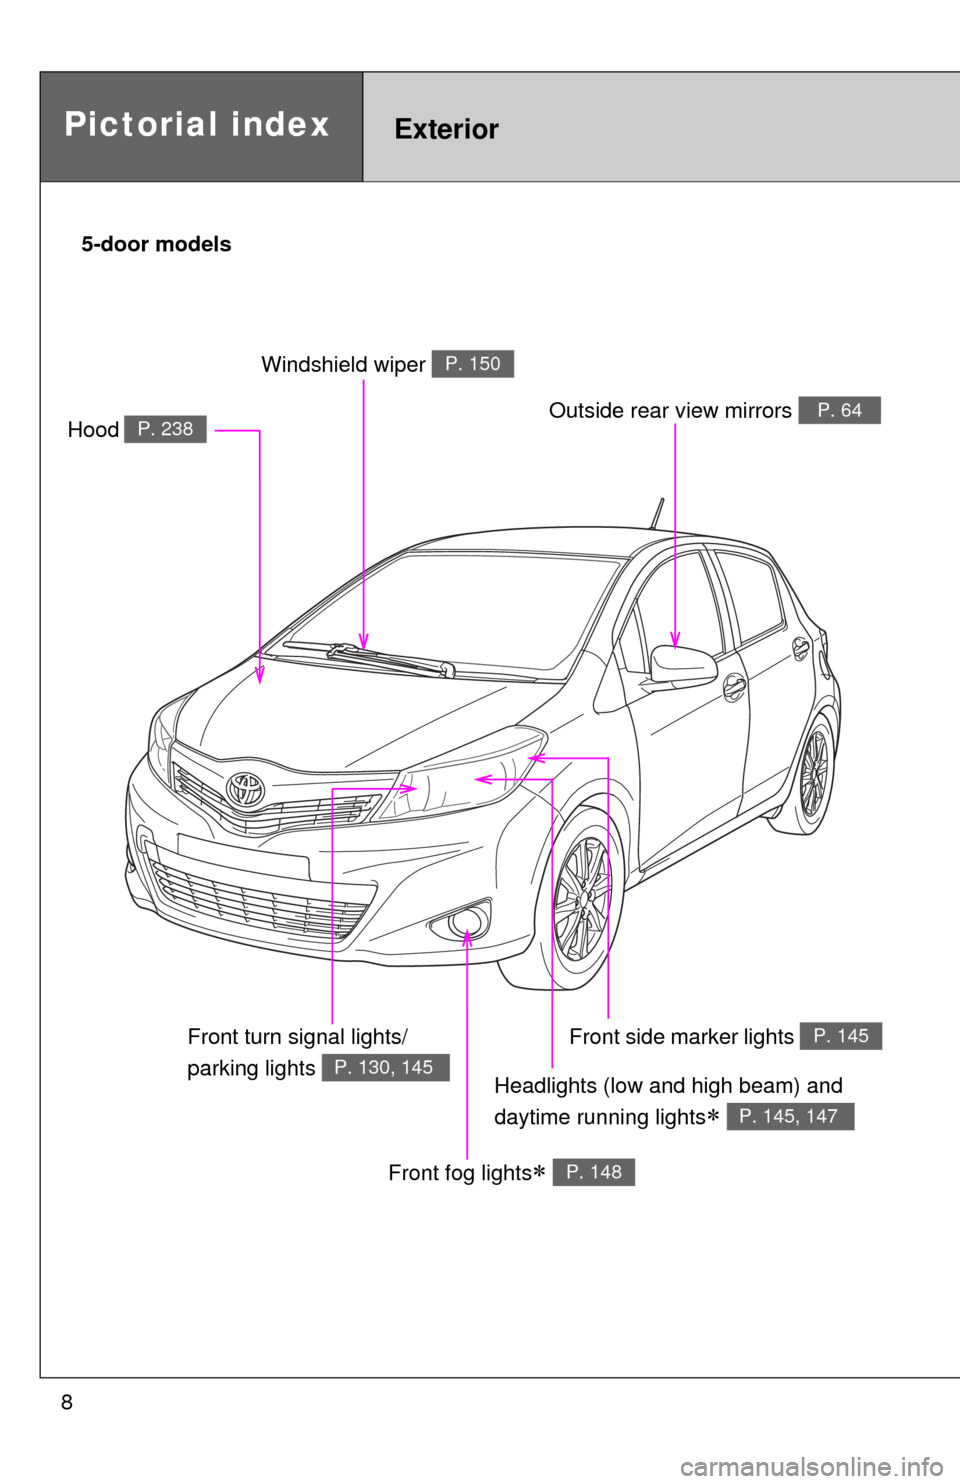
Pictorial indexExterior
5-door models
Headlights (low and high beam) and
daytime running lights
P. 145, 147
Front fog lights P. 148
Hood P. 238
Windshield wiper P. 150
Outside rear view mirrors P. 64
Front turn signal lights/
parking lights
P. 130, 145
Front side marker lights P. 145
Page 15 of 400
15
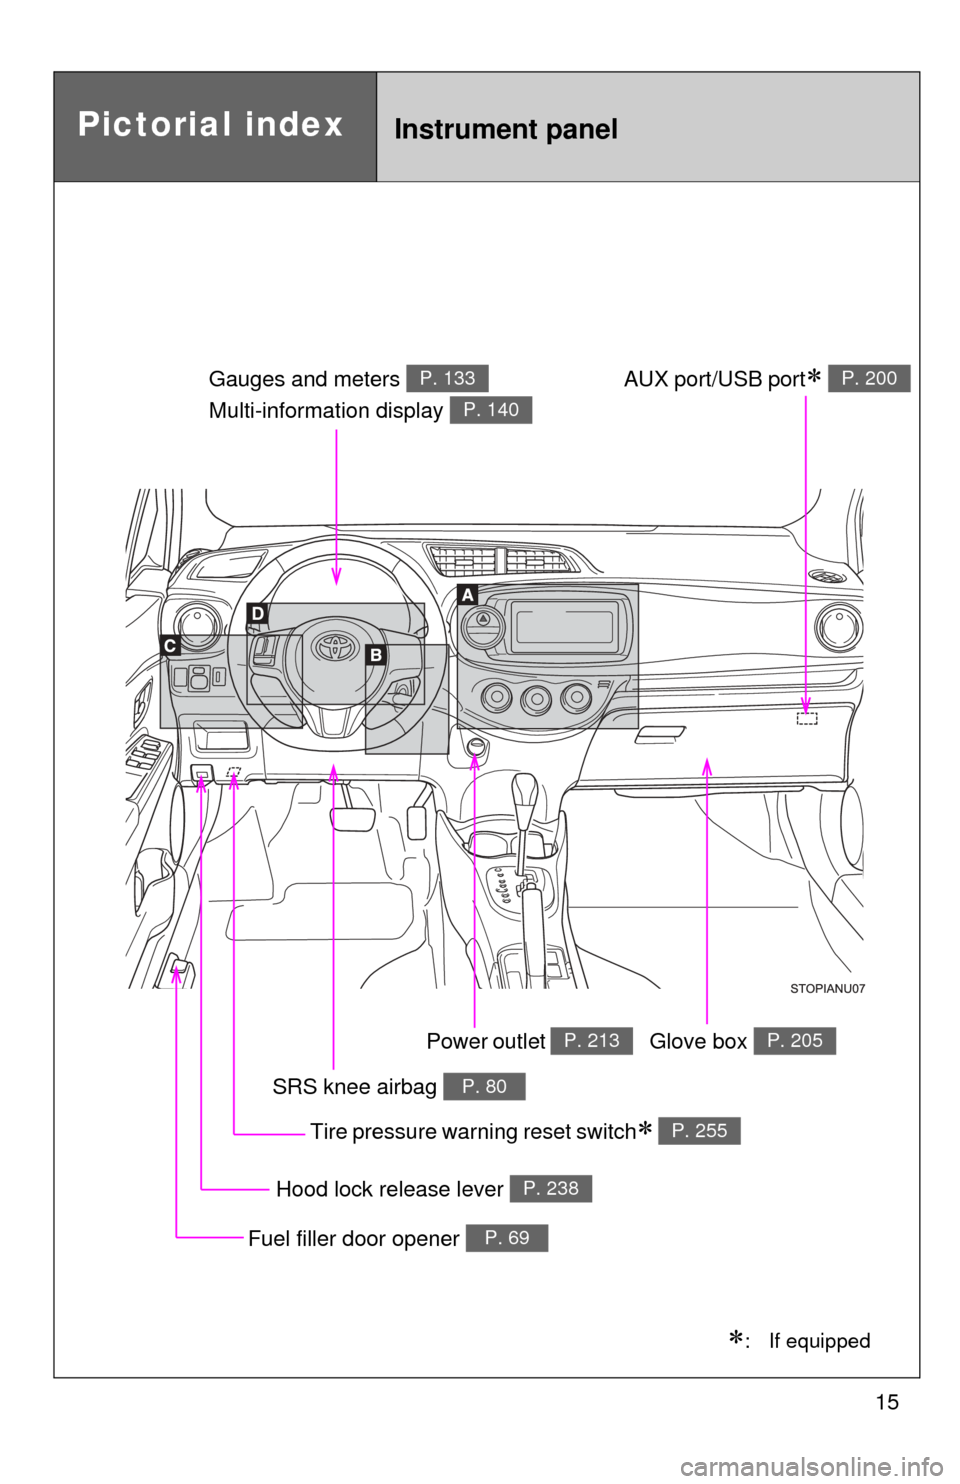
Pictorial indexInstrument panel
SRS knee airbag P. 80
Hood lock release lever P. 238
Gauges and meters
Multi-information display P. 133
P. 140
Glove box P. 205
Fuel filler door opener P. 69
: If equipped
Tire pressure warning reset switch P. 255
AUX port/USB port P. 200
Power outlet P. 213
Page 74 of 400
74
1-6. Theft deterrent system
Alarm (Puerto Rico)
The system sounds the alarm and flashes the lights when forced
entry is detected.
■ Triggering of the alarm
The alarm is triggered in the fo llowing situations when the alarm
is set:
● A locked door is unlocked or opened in any way other than
using a key or wireless remote control. (The doors will lock
again automatically.)
● The hood is opened.
● The battery is reconnected.
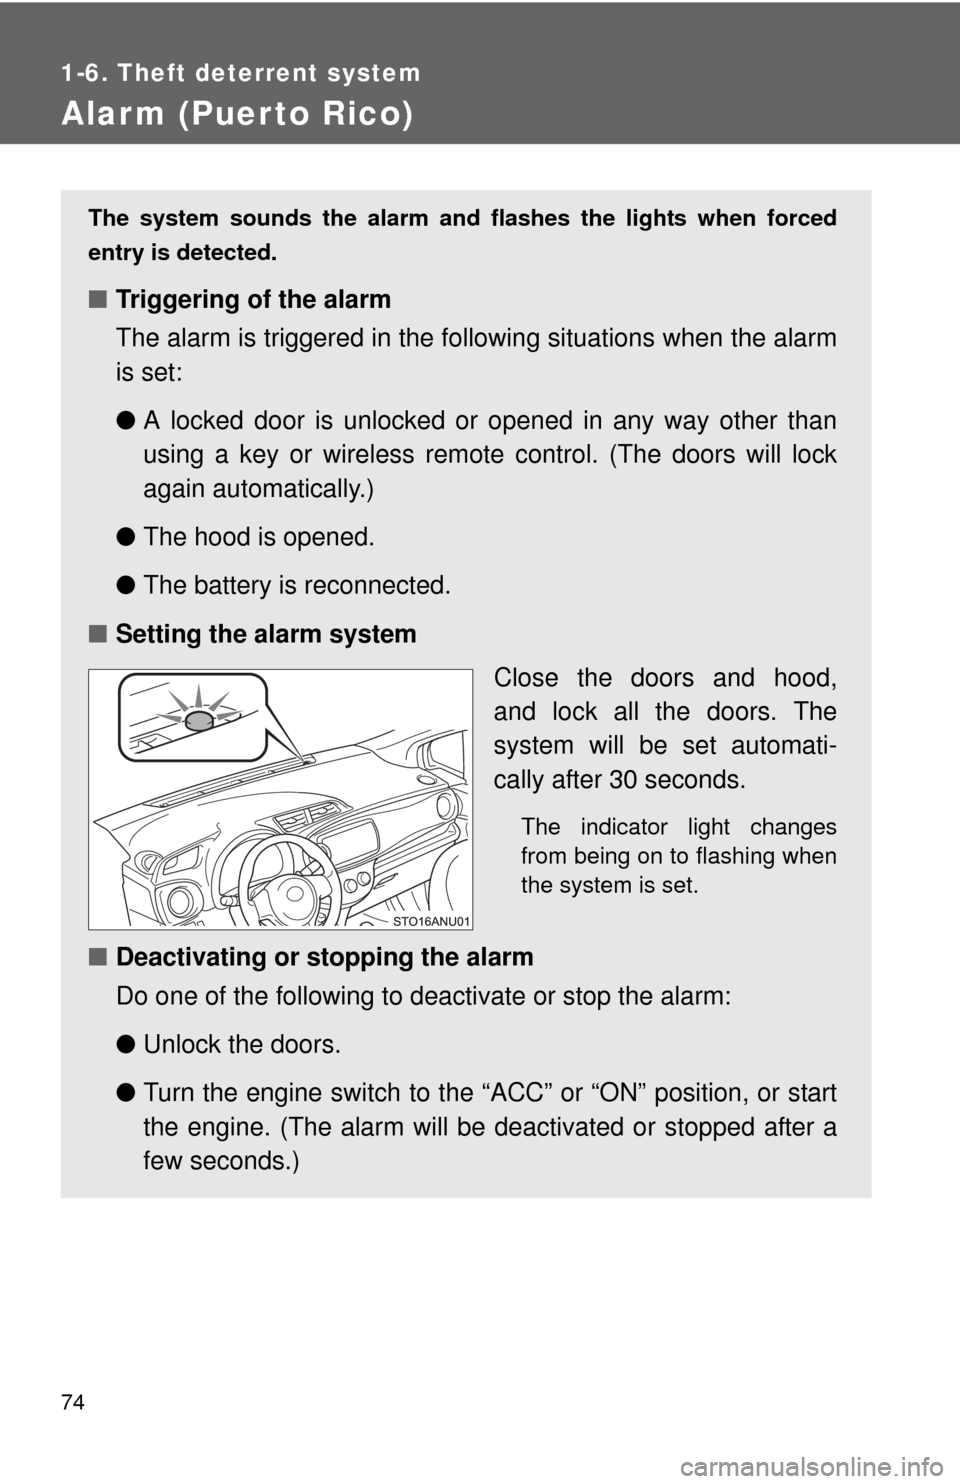
■ Setting the alarm system
Close the doors and hood,
and lock all the doors. The
system will be set automati-
cally after 30 seconds.
The indicator light changes
from being on to flashing when
the system is set.
■Deactivating or stopping the alarm
Do one of the following to deactivate or stop the alarm:
●Unlock the doors.
● Turn the engine switch to the “ACC” or “ON” position, or start
the engine. (The alarm will be deactivated or stopped after a
few seconds.)
Page 75 of 400
75
1-6. Theft deterrent system
1
Before driving
■
System maintenance
The vehicle has a maintenance-free type alarm system.
■ Items to check before locking the vehicle
To prevent unexpected triggering of the alarm and vehicle theft, make sure
of the following:
●Nobody is in the vehicle.
● The windows are closed before the alarm is set.
● No valuables or other personal items are left in the vehicle.
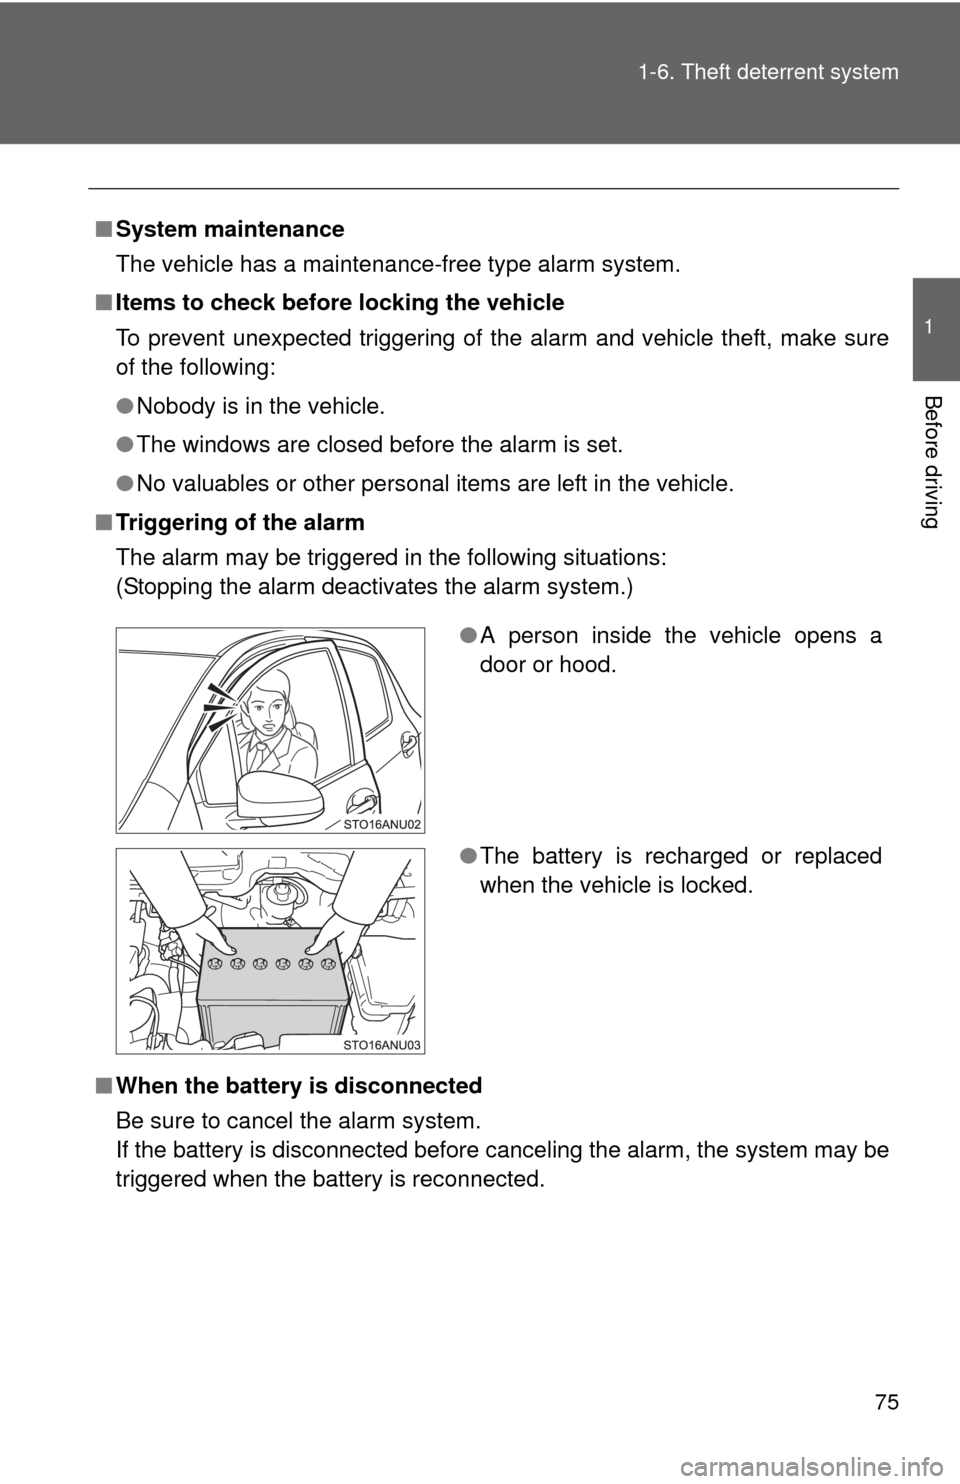
■ Triggering of the alarm
The alarm may be triggered in the following situations:
(Stopping the alarm deactivates the alarm system.)
■ When the battery is disconnected
Be sure to cancel the alarm system.
If the battery is disconnected before canceling the alarm, the system may be
triggered when the battery is reconnected.
●A person inside the vehicle opens a
door or hood.
● The battery is recharged or replaced
when the vehicle is locked.
Page 221 of 400
Maintenance and care4
221
4-1. Maintenance and careCleaning and protecting the vehicle exterior......... 222
Cleaning and protecting the vehicle interior.......... 225
4-2. Maintenance Maintenance requirements .................. 228
General maintenance....... 230
Emission inspection and maintenance (I/M)
programs........................ 234 4-3. Do-it-yourself maintenance
Do-it-yourself service precautions .................... 235
Hood ................................ 238
Positioning a floor jack ..... 240
Engine compartment ........ 243
Tires ................................. 254
Tire inflation pressure ...... 262
Wheels ............................. 266
Air conditioning filter......... 269
Wireless remote control battery ............................ 271
Checking and replacing fuses .............................. 275
Light bulbs........................ 287
Page 233 of 400
233
4-2. Maintenance
4
Maintenance and care
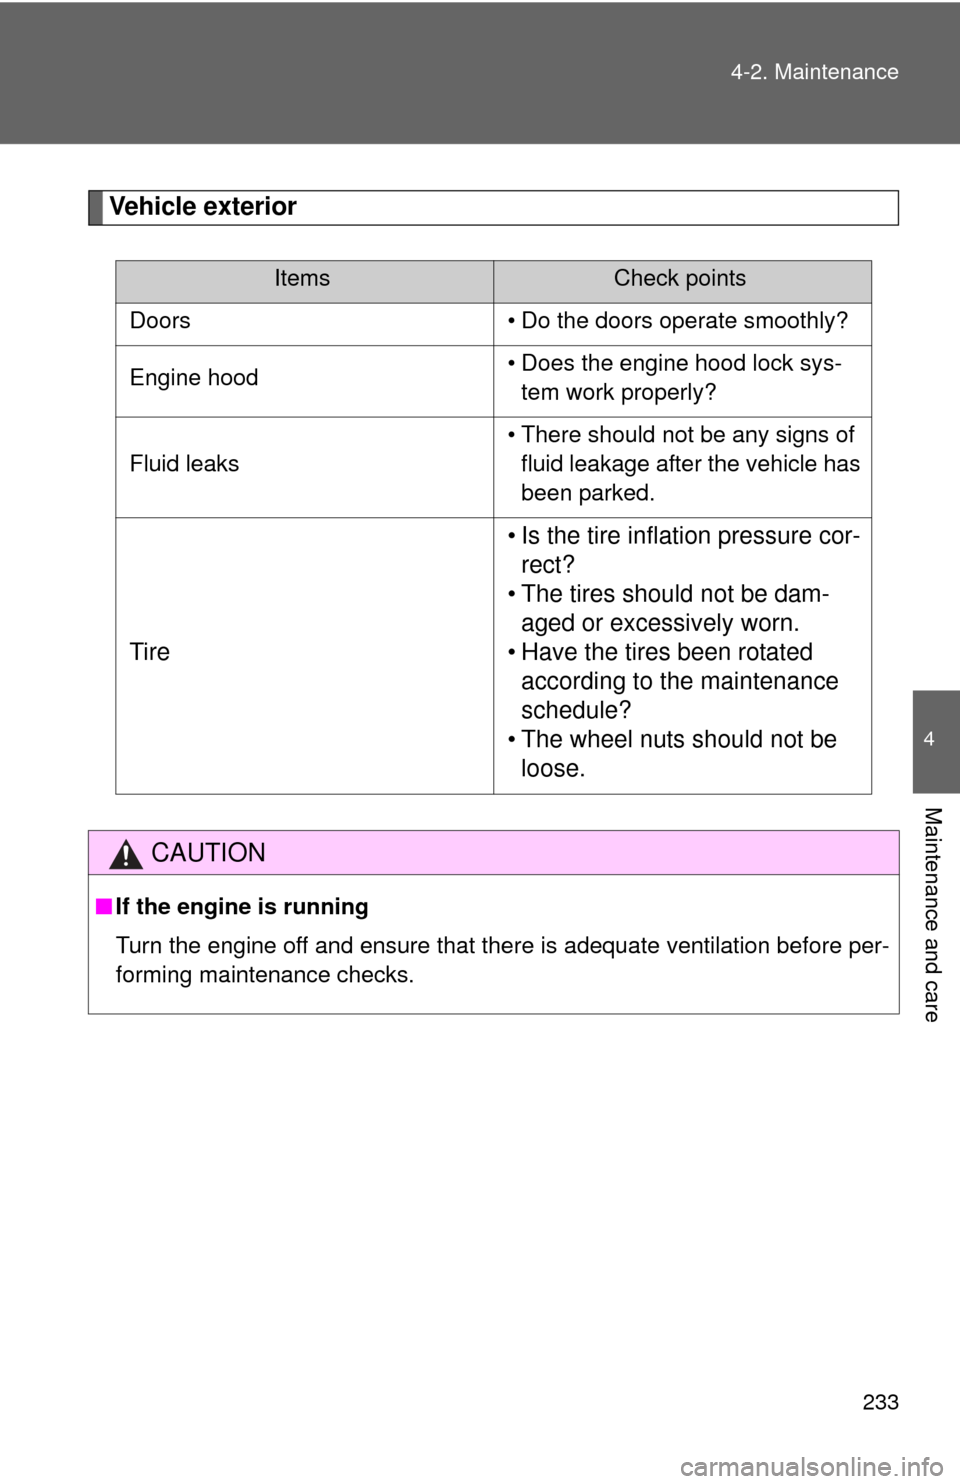
Vehicle exterior
ItemsCheck points
Doors • Do the doors operate smoothly?
Engine hood • Does the engine hood lock sys-
tem work properly?
Fluid leaks • There should not be any signs of
fluid leakage after the vehicle has
been parked.
Tire • Is the tire inflation pressure cor-
rect?
• The tires should not be dam- aged or excessively worn.
• Have the tires been rotated according to the maintenance
schedule?
• The wheel nuts should not be loose.
CAUTION
■ If the engine is running
Turn the engine off and ensure that there is adequate ventilation before per-
forming maintenance checks.
Page 238 of 400
238
4-3. Do-it-yourself maintenance
Hood
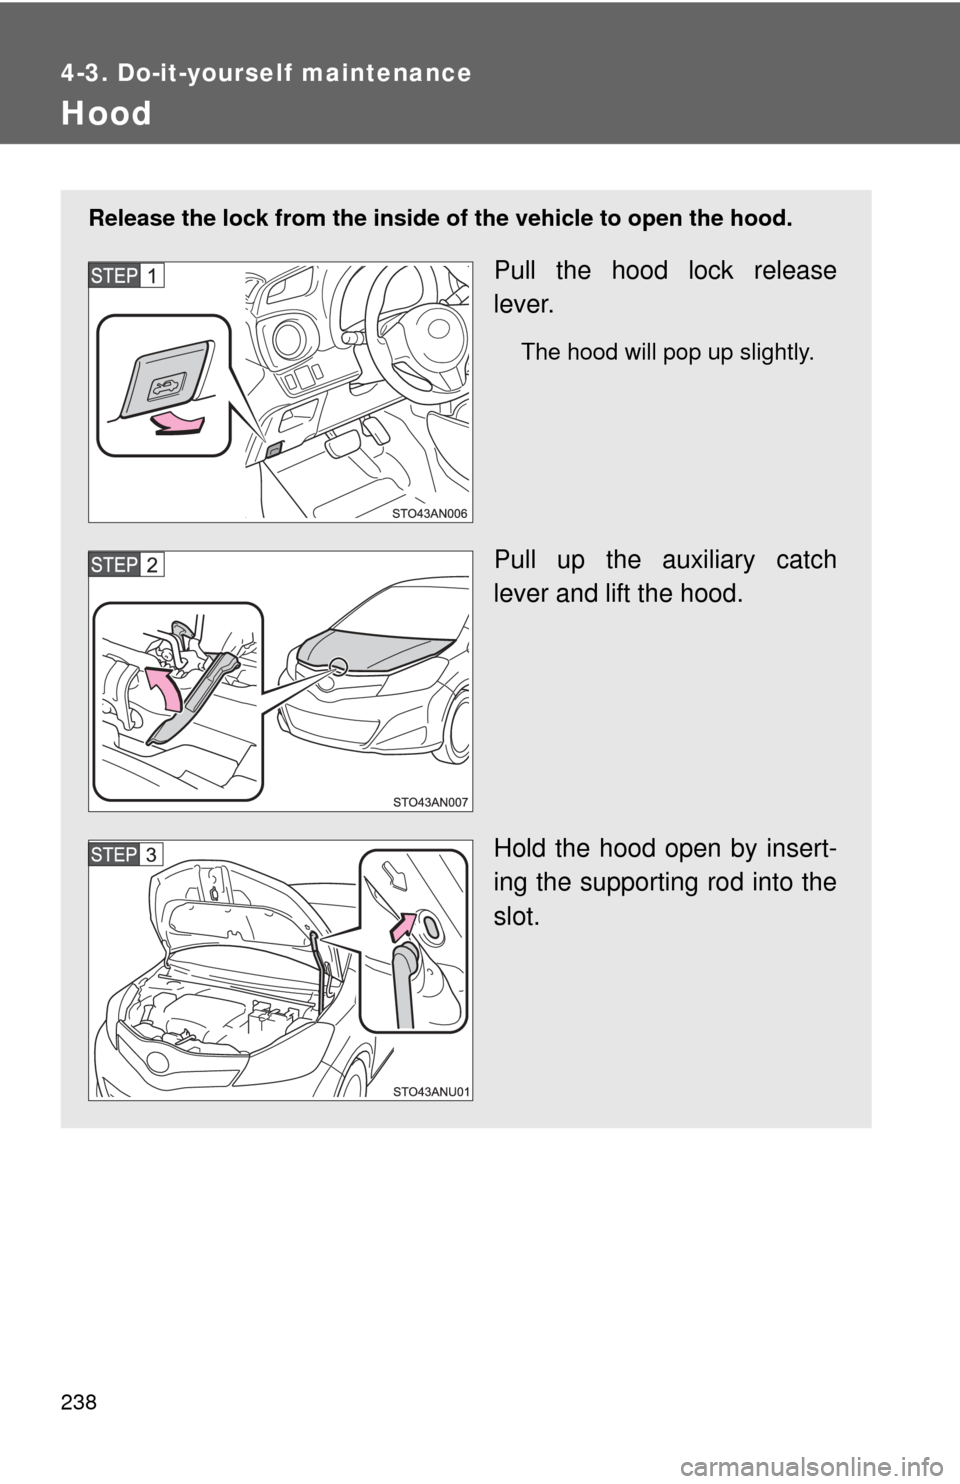
Release the lock from the inside of the vehicle to open the hood.
Pull the hood lock release
lever.
The hood will pop up slightly.
Pull up the auxiliary catch
lever and lift the hood.
Hold the hood open by insert-
ing the supporting rod into the
slot.
Page 239 of 400
239
4-3. Do-it-yourself maintenance
4
Maintenance and care
CAUTION
■
Pre-driving check
Check that the hood is fully closed and locked.
If the hood is not locked properly, it may open while the vehicle is in motion
and cause an accident, which may result in death or serious injury.
■ After installing the support rod into the slot
Make sure the rod supports the hood securely from falling down on to your
head or body.
NOTICE
■When closing the hood
Be sure to return the support rod to its clip before closing the hood. Closing
the hood with the support rod up could cause the hood to bend.