reset TOYOTA YARIS SEDAN 2010 Owners Manual
[x] Cancel search | Manufacturer: TOYOTA, Model Year: 2010, Model line: YARIS SEDAN, Model: TOYOTA YARIS SEDAN 2010Pages: 386, PDF Size: 6.95 MB
Page 4 of 386
2
OVERVIEW
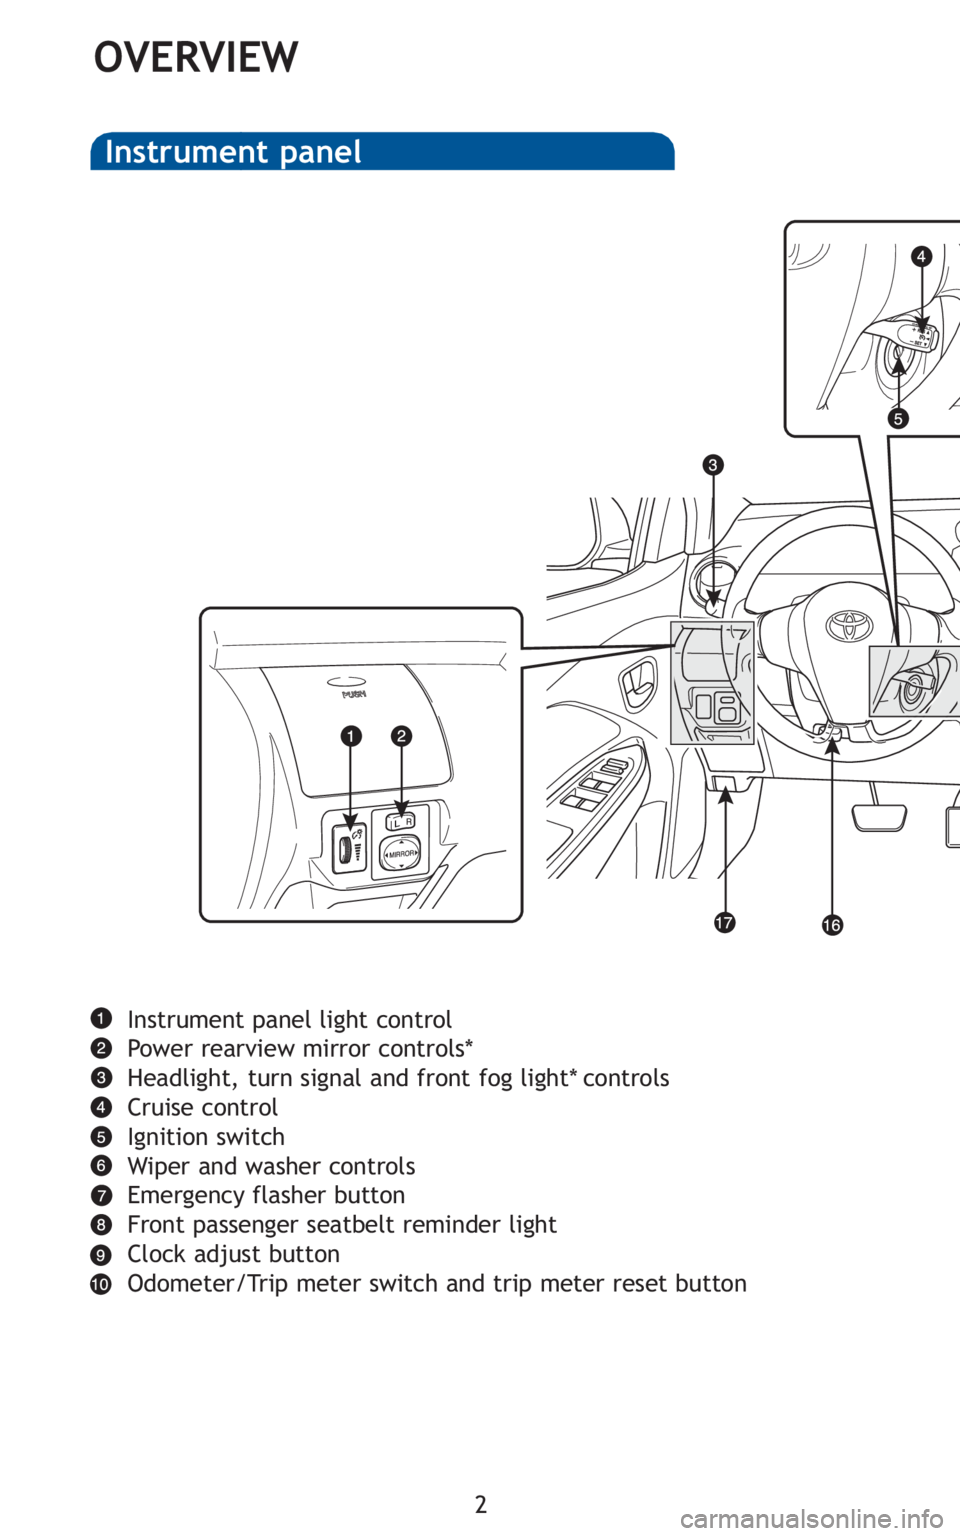
Instrument panel light control
Power rearview mirror controls*
Headlight, turn signal and front fog light* controls
Cruise control
Ignition switch
Wiper and washer controls
Emergency flasher button
Front passenger seatbelt reminder light
Clock adjust button
Odometer/Trip meter switch and trip meter reset button
Instrument panel
Page 14 of 386
12
FEATURES/OPERATIONS
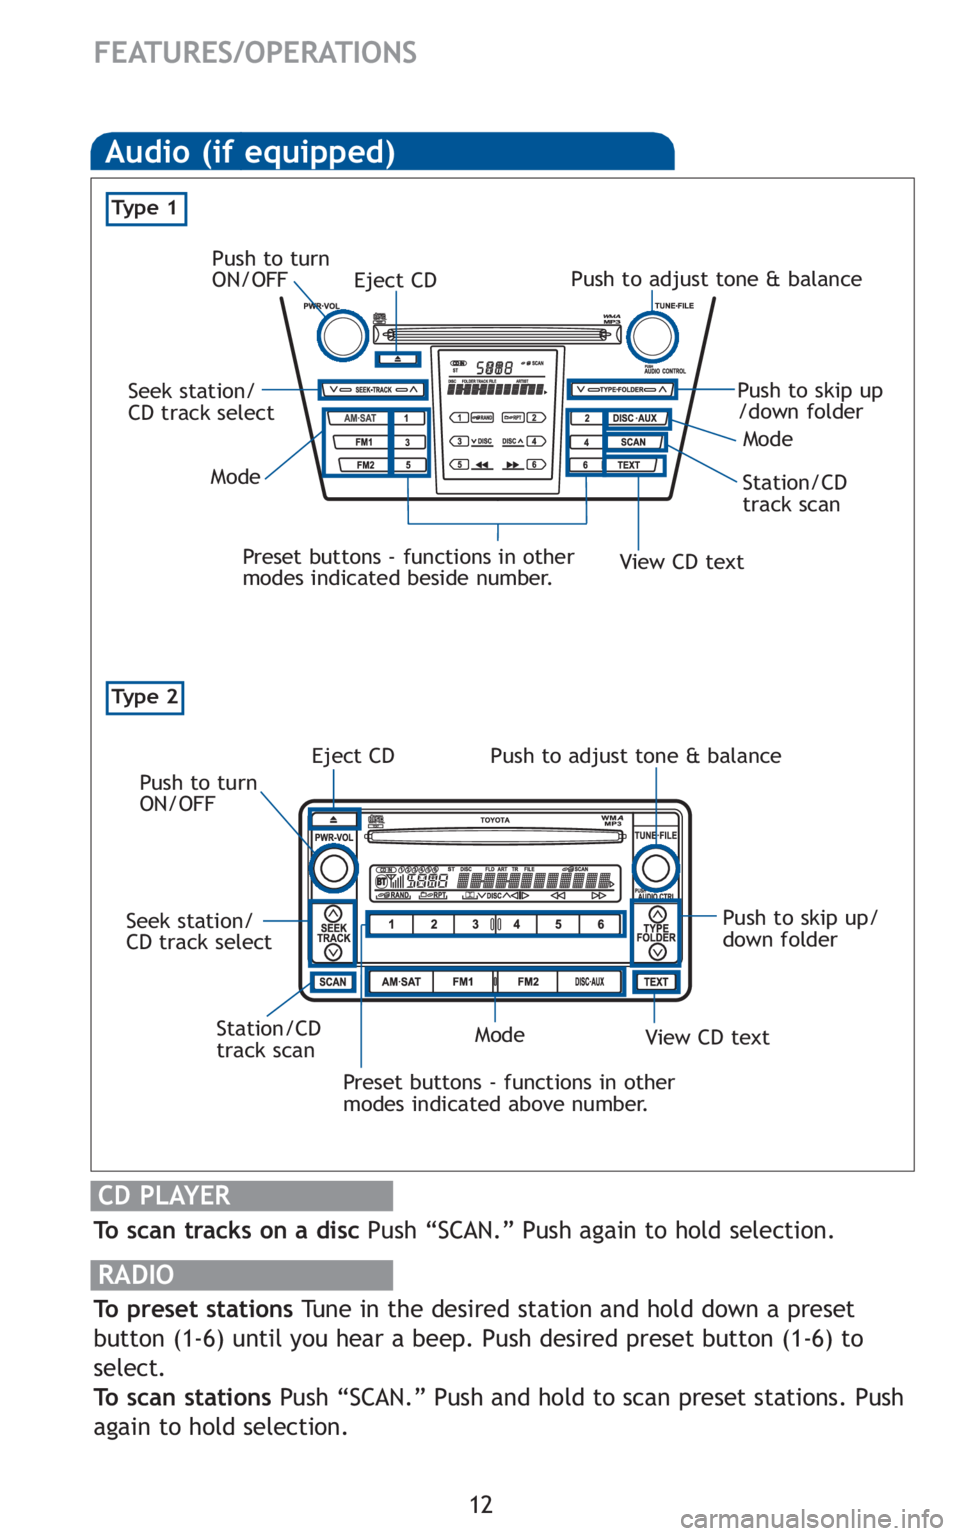
Ty p e 2
Audio (if equipped)
Eject CD
Push to turn
ON/OFF
Push to adjust tone & balance
Seek station/
CD track select Station/CD
track scanMode
Preset buttons - functions in other
modes indicated beside number.
To scan tracks on a disc Push “SCAN.” Push again to hold selection.
RADIO
To preset stationsTune in the desired station and hold down a preset
button (1-6) until you hear a beep. Push desired preset button (1-6) to
select.
To scan stations Push “SCAN.” Push and hold to scan preset stations. Push
again to hold selection.
CD PLAYER
Push to skip up
/down folder
View CD text
Mode
Ty p e 1
Preset buttons - functions in other
modes indicated above number.
View CD text
Push to skip up/
down folder
Eject CD
Push to turn
ON/OFF Push to adjust tone & balance
Mode
Seek station/
CD track select
Station/CD
track scan
Page 135 of 386
122 2-2. Instrument cluster
Odometer/trip meter
Odometer:
Displays the total distance the vehicle has been driven.
Trip meter:
Displays the distance the vehicle has been driven since the meter was
last reset. Trip meters A and B can be used to record and display differ-
ent distances independently.
ODO/TRIP button
Switches between odometer and trip meter displays. Pushing and hold-
ing the button will reset the trip meter when the trip meter is being dis-
played.
CLOCK button
Adjusts the time. ( →P. 208)
Page 137 of 386
124 2-2. Instrument cluster
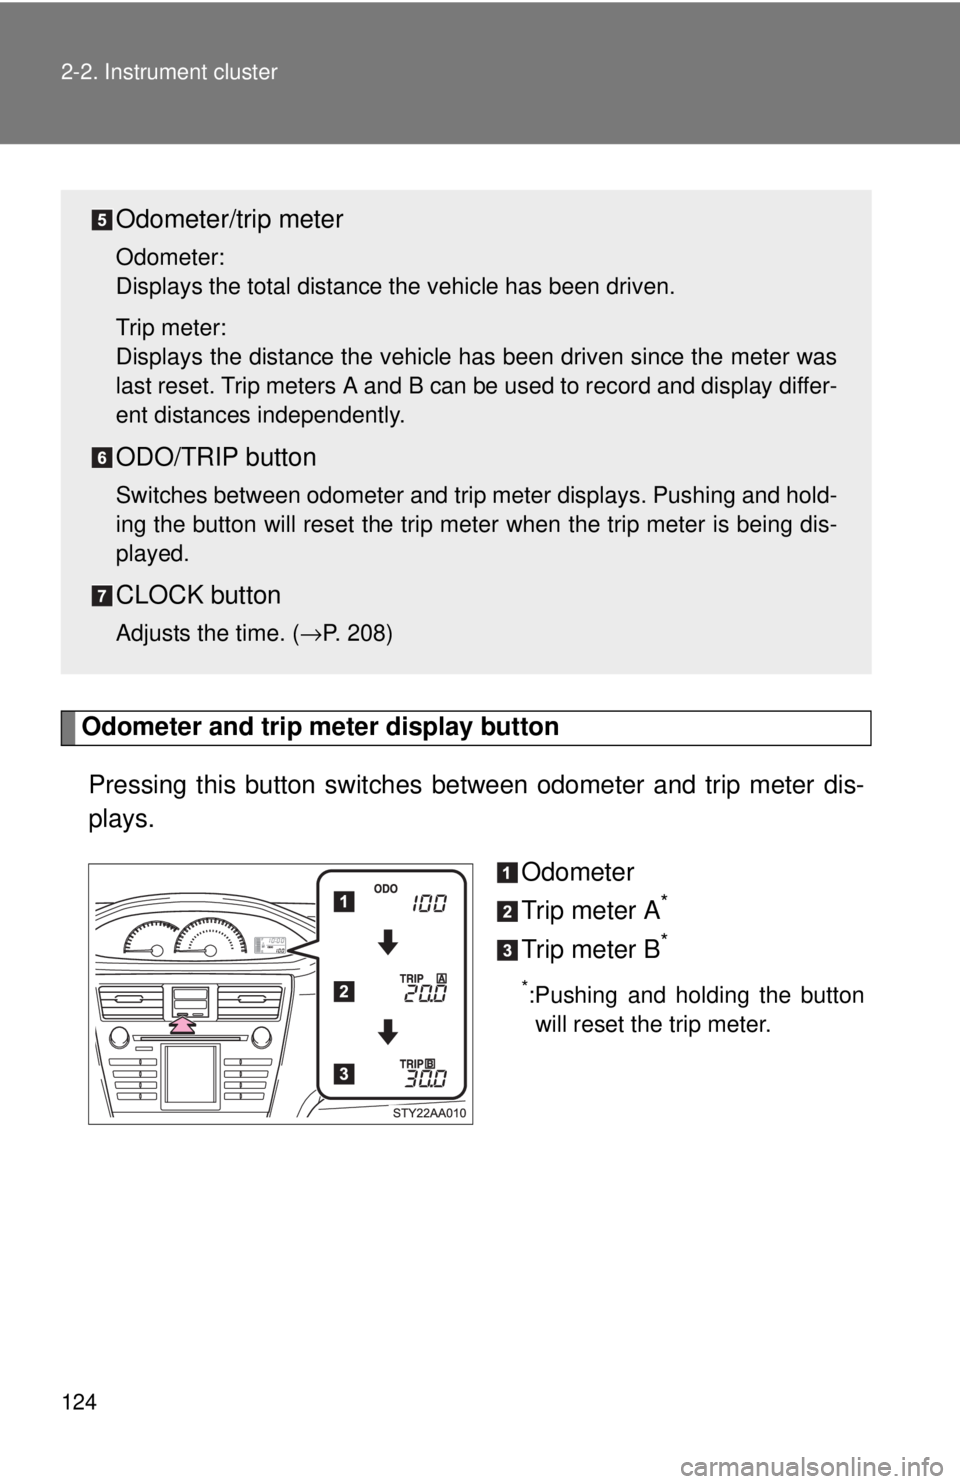
Odometer and trip meter display button
Pressing this button switches between odometer and trip meter dis-
plays.
Odometer
Trip meter A
*
Trip meter B*
*:Pushing and holding the buttonwill reset the trip meter.
Odometer/trip meter
Odometer:
Displays the total distance the vehicle has been driven.
Trip meter:
Displays the distance the vehicle has been driven since the meter was
last reset. Trip meters A and B can be used to record and display differ-
ent distances independently.
ODO/TRIP button
Switches between odometer and trip meter displays. Pushing and hold-
ing the button will reset the trip meter when the trip meter is being dis-
played.
CLOCK button
Adjusts the time. ( →P. 208)
Page 151 of 386
138 2-4. Using other driving systems
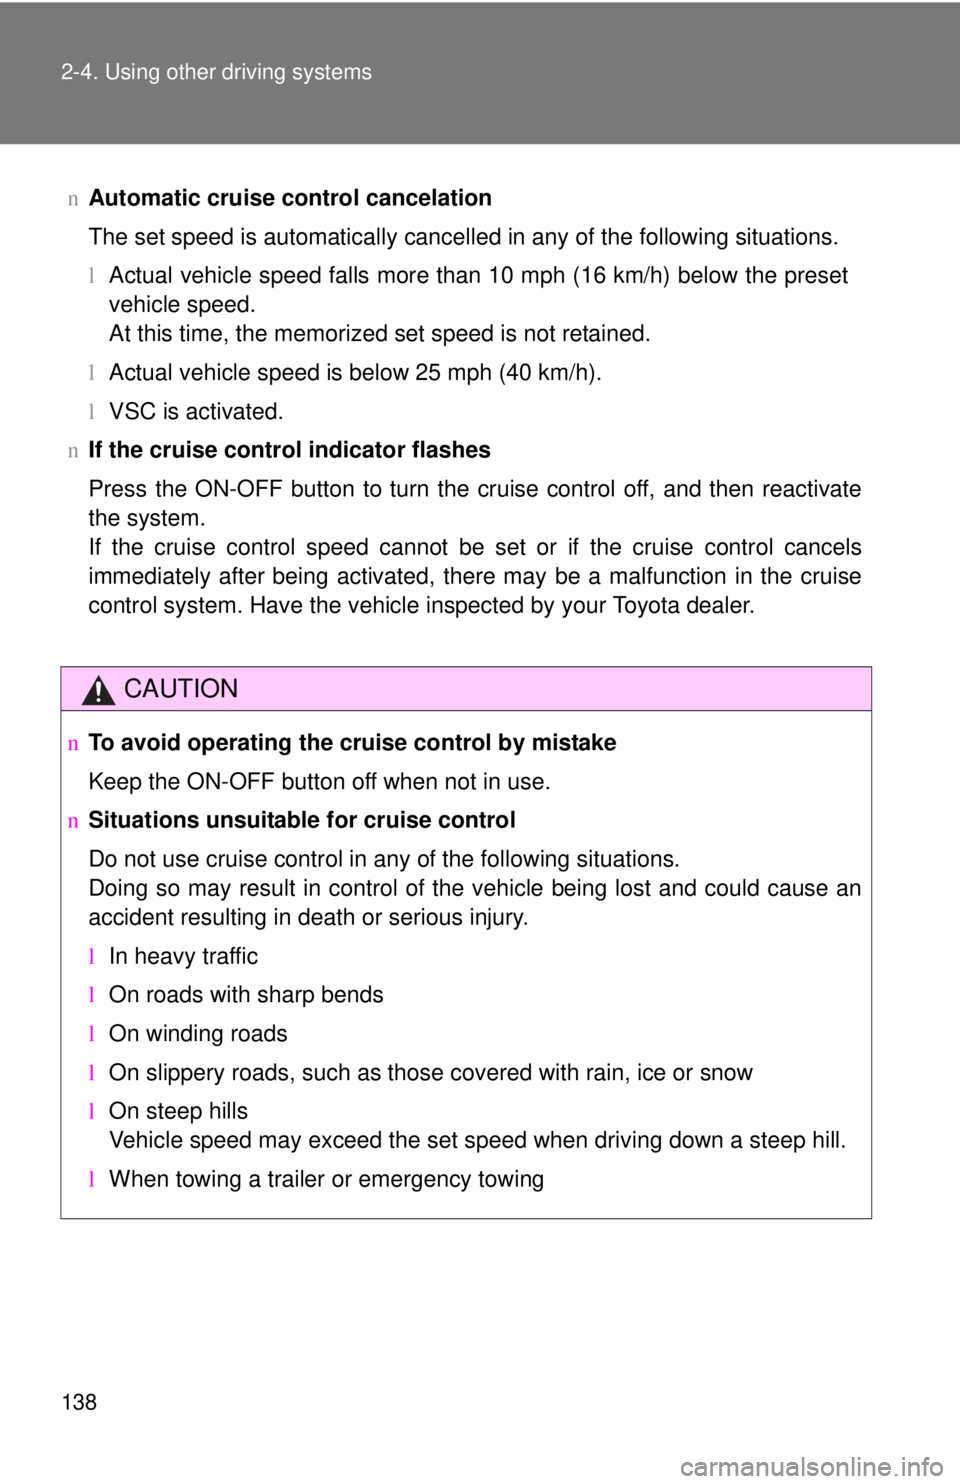
nAutomatic cruise control cancelation
The set speed is automatically cancelled in any of the following situations.
lActual vehicle speed falls more than 10 mph (16 km/h) below the preset
vehicle speed.
At this time, the memorized set speed is not retained.
l Actual vehicle speed is below 25 mph (40 km/h).
l VSC is activated.
n If the cruise control indicator flashes
Press the ON-OFF button to turn the cruise control off, and then reactivate
the system.
If the cruise control speed cannot be set or if the cruise control cancels
immediately after being activated, there may be a malfunction in the cruise
control system. Have the vehicle inspected by your Toyota dealer.
CAUTION
nTo avoid operating the cruise control by mistake
Keep the ON-OFF button off when not in use.
n Situations unsuitable for cruise control
Do not use cruise control in any of the following situations.
Doing so may result in control of the vehicle being lost and could cause an
accident resulting in death or serious injury.
lIn heavy traffic
l On roads with sharp bends
l On winding roads
l On slippery roads, such as those covered with rain, ice or snow
l On steep hills
Vehicle speed may exceed the set speed when driving down a steep hill.
l When towing a trailer or emergency towing
Page 188 of 386
176 3-2. Using the audio system
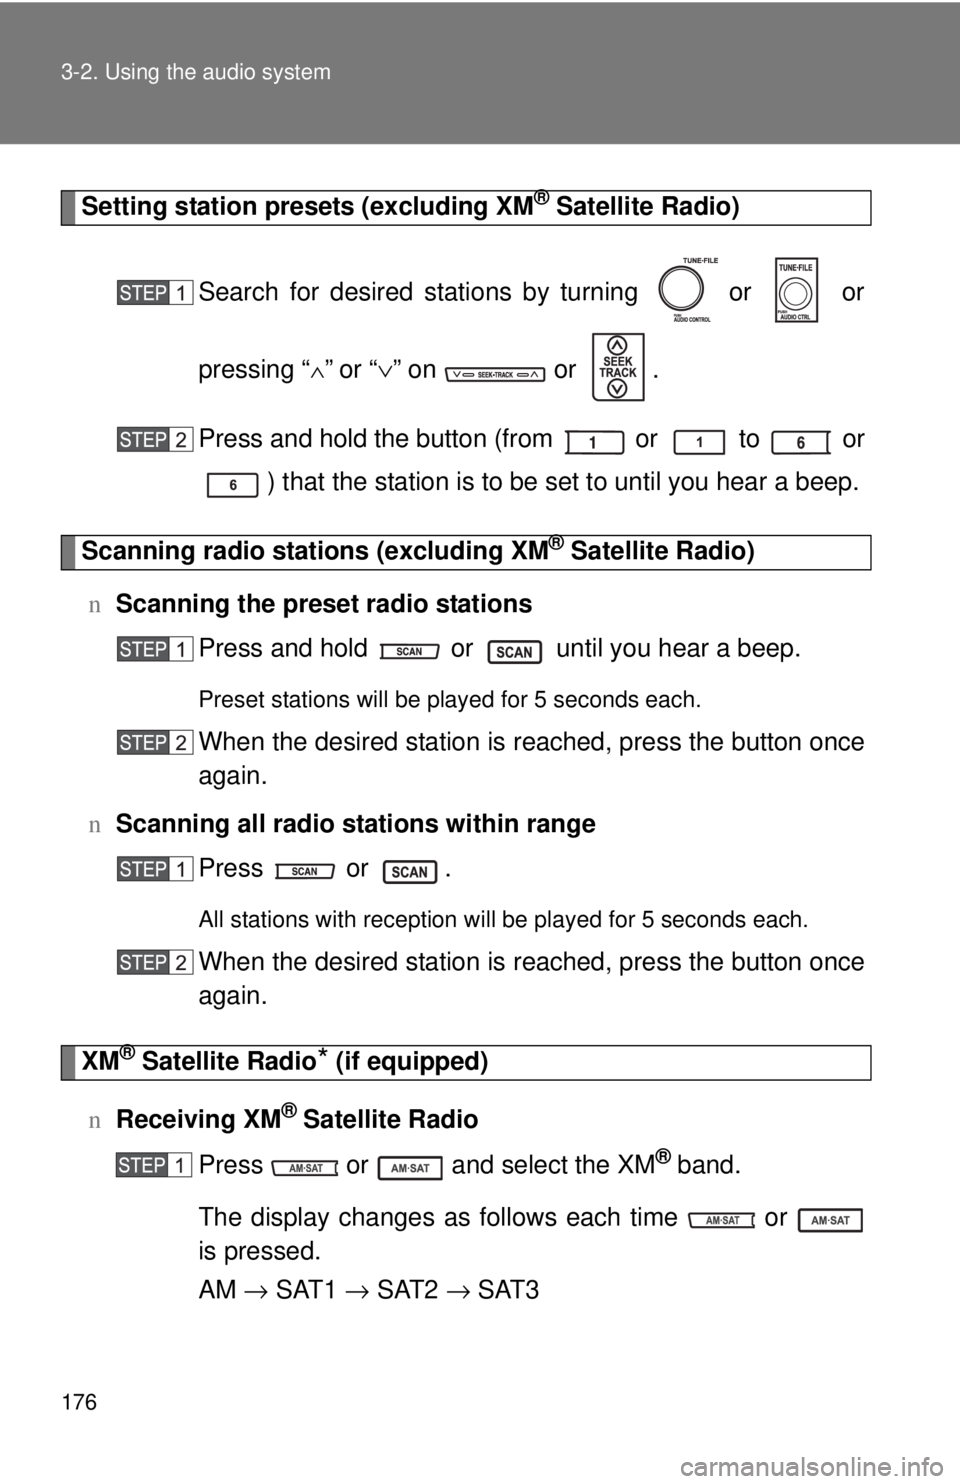
Setting station presets (excluding XM® Satellite Radio)
Search for desired stations by turning or or
pressing “
∧” or “ ∨” on or .
Press and hold the button (from or
to or
) that the station is to be set to until you hear a beep.
Scanning radio stations (excluding XM® Satellite Radio)
n Scanning the preset radio stations
Press and hold or until you hear a beep.
Preset stations will be played for 5 seconds each.
When the desired station is reached, press the button once
again.
n Scanning all radio stations within range
Press or .
All stations with reception will be played for 5 seconds each.
When the desired station is reached, press the button once
again.
XM® Satellite Radio* (if equipped)
n Receiving XM
® Satellite Radio
Press or and select the XM
® band.
The display changes as follows each time or
is pressed.
AM → SAT1 → SAT2 → SAT3
Page 189 of 386
177
3-2. Using the audio system
3
Interior features
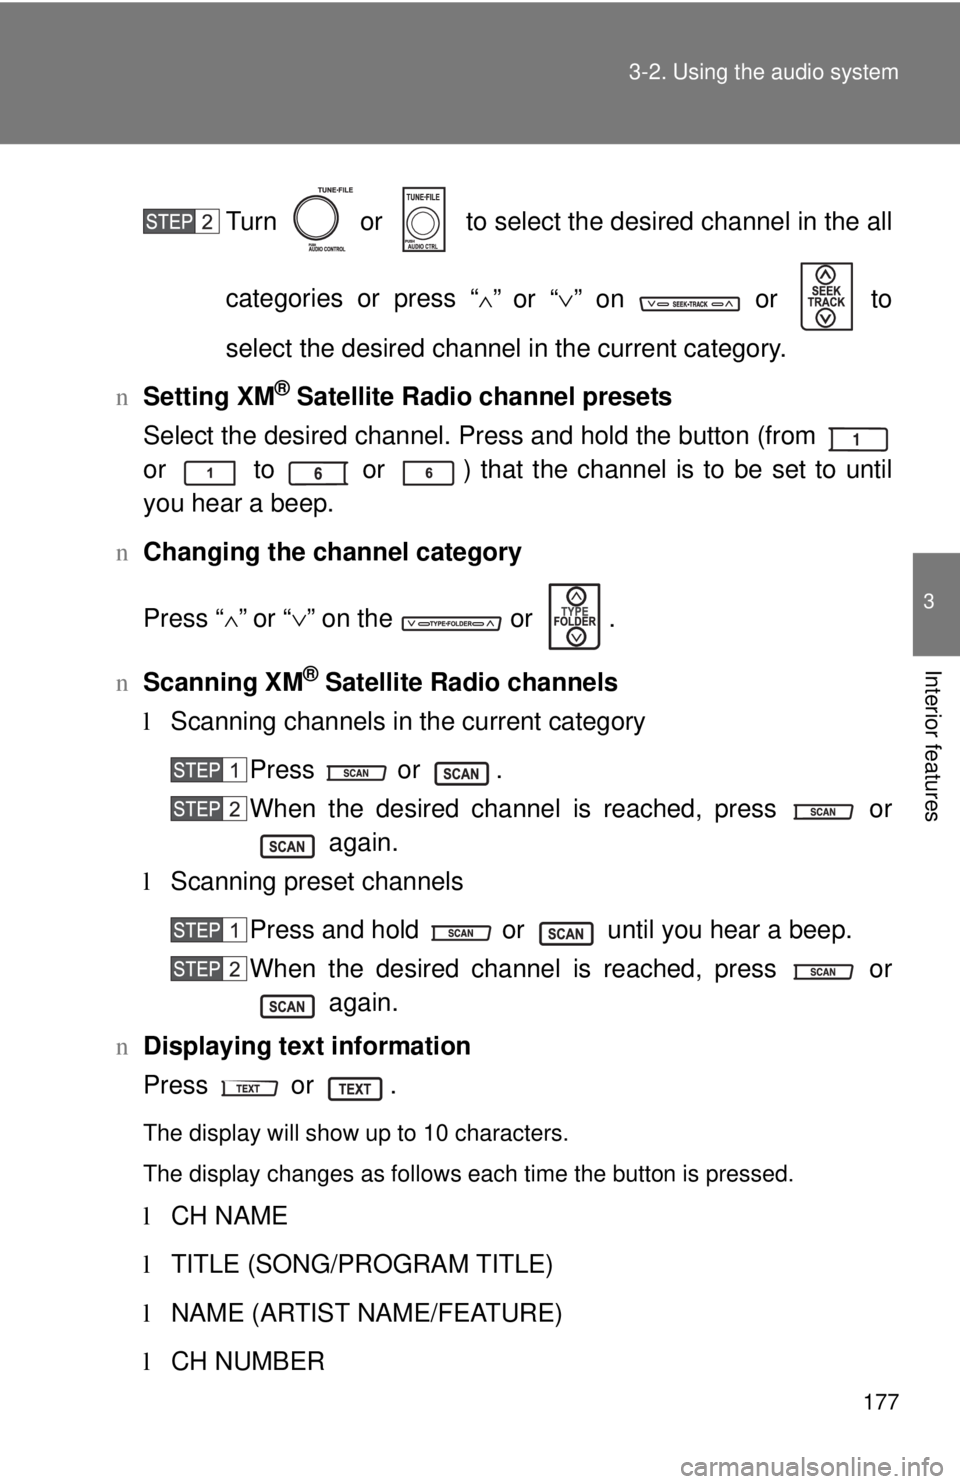
Turn or to select the desired channel in the all
categories or press “
∧” or “
∨” on or to
select the desired channel in the current category.
n Setting XM
® Satellite Radio channel presets
Select the desired channel. Press and hold the button (from
or to or ) that the channel is to be set to until
you hear a beep.
n Changing the channel category
Press “
∧” or “ ∨” on the or .
n Scanning XM
® Satellite Radio channels
l Scanning channels in the current category
Press or .
When the desired channel is reached, press or again.
l Scanning preset channels
Press and hold or until you hear a beep.
When the desired channel is reached, press or again.
n Displaying text information
Press or .
The display will show up to 10 characters.
The display changes as follows each time the button is pressed.
lCH NAME
l TITLE (SONG/PROGRAM TITLE)
l NAME (ARTIST NAME/FEATURE)
l CH NUMBER
Page 190 of 386
178 3-2. Using the audio system
*:Use of XM® Satellite Radio requires XM® tuner and service.
Contact your Toyota dealer.
n When the battery is disconnected
Stations presets are erased.
n Reception sensitivity
lMaintaining perfect radio reception at all times is difficult due to the con-
tinually changing position of the antenna, differences in signal strength
and surrounding objects, such as trains, transmitters, etc.
l The radio antenna is mounted inside the rear window. To maintain clear
radio reception, do not attach metallic window tinting or other metallic
objects to the antenna wire mounted inside the rear window.
n XM
® Satellite Radio
An XM
® Satellite Radio is a tuner designed exclusively to receive broadcasts
provided under a separate subscription. Availability is limited to the 48 con-
tiguous states and 10 Canadian provinces.
l XM
® subscriptions
For detailed information about XM® Satellite Radio or to subscribe:
U.S.A.—
Visit on the web at www.xmradio.com
or call 1-800-967-2346.
Canada—
Visit on the web at www.xmradio.ca
or call 1-877-438-9677.
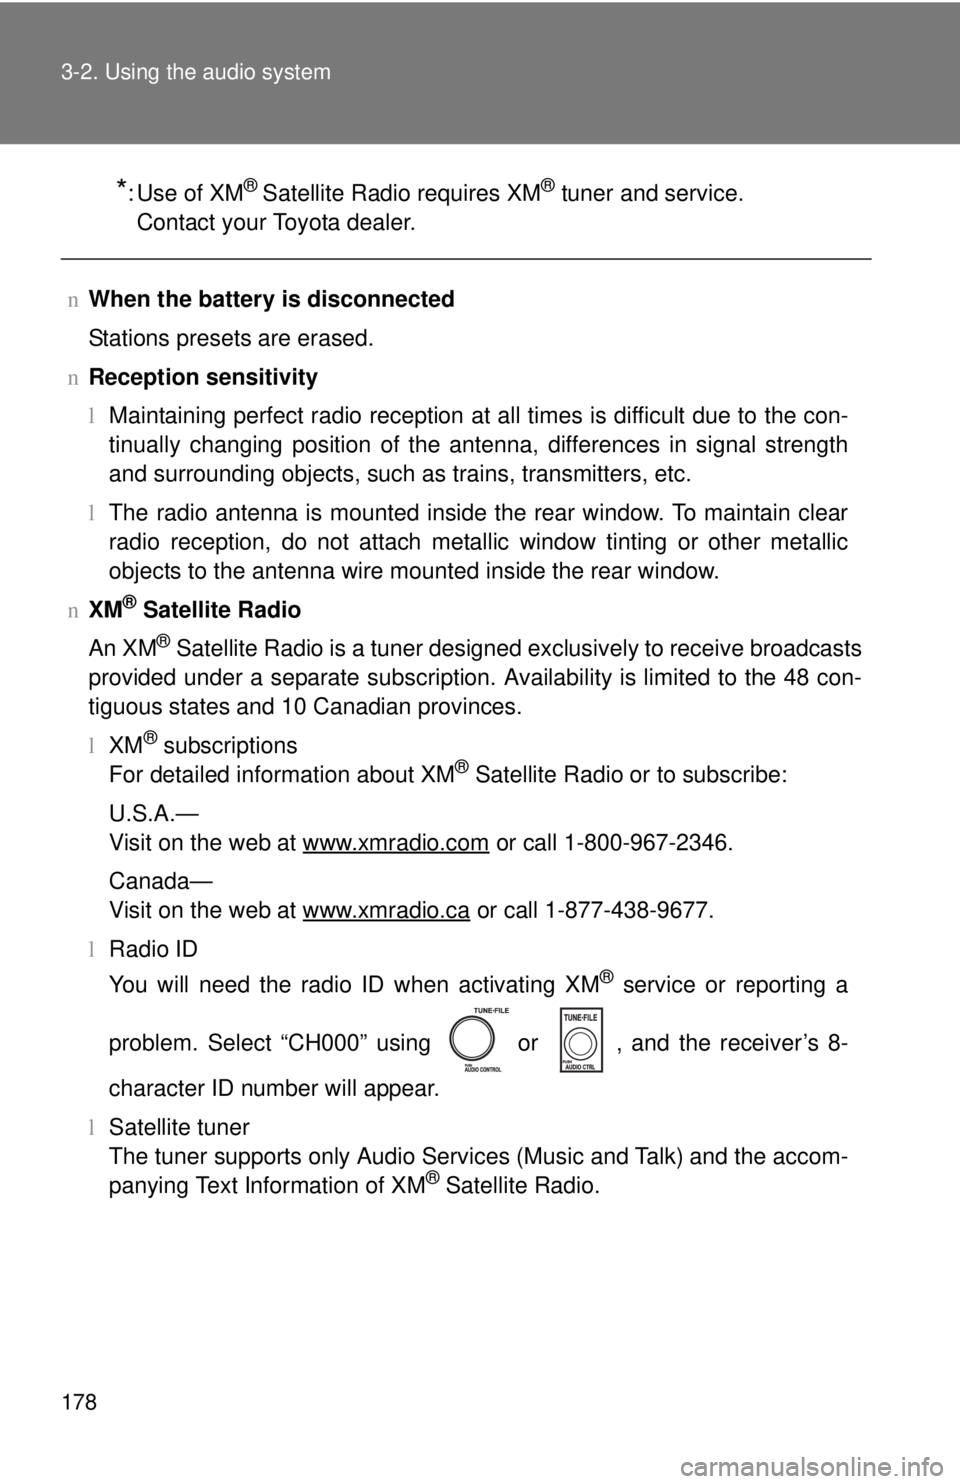
l Radio ID
You will need the radio ID when activating XM
® service or reporting a
problem. Select “CH000” using or , and the receiver’s 8-
character ID number will appear.
l Satellite tuner
The tuner supports only Audio Services (Music and Talk) and the accom-
panying Text Information of XM
® Satellite Radio.
Page 248 of 386
237
4-3. Do-it-yourself maintenance
4
Maintenance and care
n
Engine oil consumption
lThe amount of engine oil consumed depends on the oil viscosity, the
quality of the oil and the way the vehicle is driven.
l More oil is consumed under driving conditions such as high speeds and
frequent acceleration and deceleration.
l A new engine consumes more oil.
l When judging the amount of oil consumption, keep in mind that the oil
may have become diluted, making it difficult to judge the true level accu-
rately.
l Oil consumption: Max. 1.1 qt./600 miles, 0.9 lmp.qt./600 miles (1.0 L per
1000 km)
l If you consume more than 1.1 qt. (1.0 L, 0.9 lmp.qt.) every 600 miles
(1000 km), contact your Toyota dealer.
n After changing the engine oil (except Canada)
The oil change system should be reset. Perform the following procedures:
Turn the engine switch off with the Trip A reading shown.( →P. 121)
Turn the engine switch to the ON position while holding down the
ODO/TRIP button.
Continue to press and hold the button until the trip meter displays
000000.
If the system fails to reset, the light will continue flashing.
Page 314 of 386

304 5-2. Steps to take in an emergency
nIf the tire pressure warning system is inoperative
The tire pressure warning system will be disabled in the following condi-
tions:
(When the condition becomes normal, the system will work properly.)
lIf tires not equipped with tire pressure warning valves and transmit-
ters are used.
lIf the ID code on the tire pressure warning valves and transmitters is
not registered in the tire pressure warning computer.
lIf the tire inflation pressure is 73 psi (500 kPa, 5.1 kgf/cm2 or bar) or
higher.
The tire pressure warning system may be disabled in the following condi-
tions:
(When the condition becomes normal, the system will work properly.)
lIf electronic devices or facilities using similar radio wave frequencies
are nearby.
lIf a radio set at similar frequencies is in use in the vehicle.
lIf a window tint that affects the radio wave signals is installed.
lIf there is a lot of snow or ice on the vehicle, in particular around the
wheels or wheel housings.
lIf non-genuine Toyota wheels are used. (Even if you use Toyota
wheels, the tire pressu re warning system may not work properly with
some types of tires.)
lIf tire chains are used.
nIf the tire pressure warning light comes on after blinking for 1
minute frequently
If the tire pressure warning light comes on after blinking for 1 minute fre-
quently when the engine switch is turned to the ON position, have it
checked by your Toyota dealer.
n After changing the engine oil (except Canada)
Make sure to reset the oil maintenance data. ( →P. 237)
n Customization that can be co nfigured at Toyota dealer
The vehicle speed linked seat belt reminder buzzer can be disabled.
(Customizable features →P. 359)