warning VAUXHALL ADAM 2014.5 Owner's Manual
[x] Cancel search | Manufacturer: VAUXHALL, Model Year: 2014.5, Model line: ADAM, Model: VAUXHALL ADAM 2014.5Pages: 217, PDF Size: 6.68 MB
Page 6 of 217

4IntroductionDanger, Warnings and
Cautions9 Danger
Text marked 9 Danger provides
information on risk of fatal injury.
Disregarding this information may
endanger life.
9 Warning
Text marked 9 Warning provides
information on risk of accident or
injury. Disregarding this
information may lead to injury.
Caution
Text marked Caution provides
information on possible damage to
the vehicle. Disregarding this
information may lead to vehicle
damage.
Symbols
Page references are indicated with 3.
3 means "see page".
Thank you for choosing a Vauxhall.
We wish you many hours of
pleasurable driving.
Your Vauxhall Team
Page 13 of 217

In brief11
1Power windows .....................27
2 Exterior mirrors .....................25
3 Cruise control .....................130
Speed limiter ....................... 131
4 Side air vents ...................... 117
5 Turn and lane-change
signals, headlight flash,
low beam and high beam ....105
Exit lighting ......................... 108
Parking lights ...................... 105
Buttons for Driver
Information Centre ................87
6 Instruments .......................... 77
7 Steering wheel controls .......69
8 Driver Information Centre ...... 87
9 Windscreen wiper,
windscreen washer
system, headlight washer
system, rear wiper, rear
washer system ......................71
10 Central locking system ..........20
City mode ............................ 128
Fuel selector ......................... 78Eco button for stop-start
system ................................. 121
Parking assist ..................... 133
Seat heating .......................... 34
Heated steering wheel ..........70
11 Info-Display .......................... 91
12 Hazard warning flashers ....104
Control indicator for airbag deactivation .......................... 83
Control indicator for front
passenger seat belt .............82
13 Anti-theft alarm system
status LED ........................... 24
14 Centre air vents .................. 117
15 Side air vents passenger
side ..................................... 117
16 Glovebox .............................. 50
Fuse box ............................ 167
17 Climate control system ........ 110
18 Power outlet .......................... 76
19 AUX input, USB input ...........1020Selector lever, manual
transmission ....................... 124
21 Parking brake ......................126
22 Ignition switch with
steering wheel lock ............120
23 Horn ..................................... 70
Driver airbag ........................ 40
24 Bonnet release lever ..........152
25 Steering wheel adjustment ..69
26 Light switch ........................ 102
Headlight range
adjustment ......................... 104
Rear fog light ...................... 105
Brightness of instrument
panel illumination and
ambient light ....................... 106
Page 15 of 217
In brief13
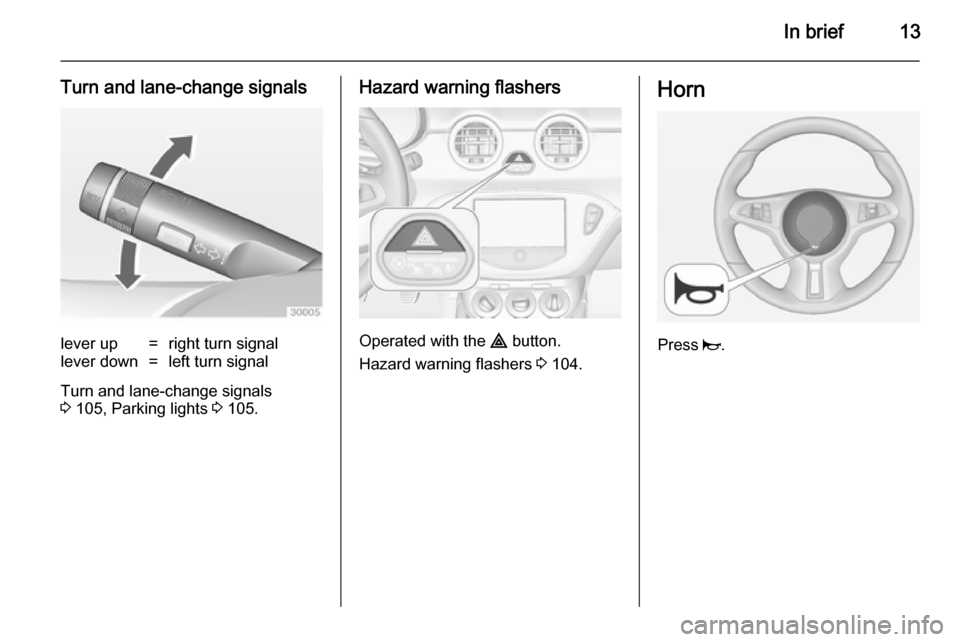
Turn and lane-change signalslever up=right turn signallever down=left turn signal
Turn and lane-change signals
3 105, Parking lights 3 105.
Hazard warning flashers
Operated with the ¨ button.
Hazard warning flashers 3 104.
Horn
Press j.
Page 21 of 217
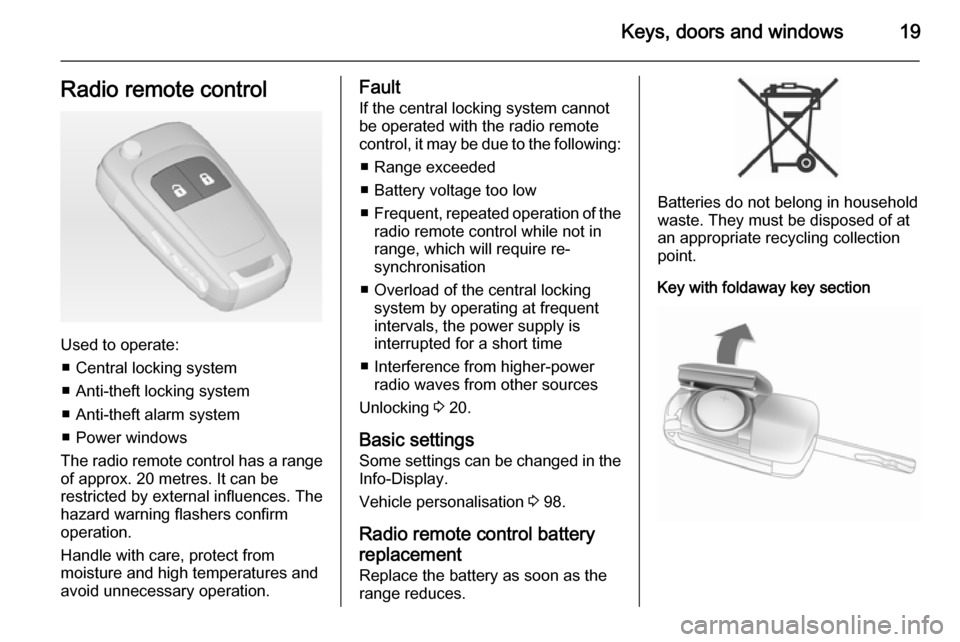
Keys, doors and windows19Radio remote control
Used to operate:■ Central locking system
■ Anti-theft locking system
■ Anti-theft alarm system
■ Power windows
The radio remote control has a range of approx. 20 metres. It can be
restricted by external influences. The
hazard warning flashers confirm
operation.
Handle with care, protect from
moisture and high temperatures and
avoid unnecessary operation.
Fault
If the central locking system cannot
be operated with the radio remote
control, it may be due to the following:
■ Range exceeded
■ Battery voltage too low
■ Frequent, repeated operation of the
radio remote control while not in
range, which will require re-
synchronisation
■ Overload of the central locking system by operating at frequent
intervals, the power supply is
interrupted for a short time
■ Interference from higher-power radio waves from other sources
Unlocking 3 20.
Basic settings
Some settings can be changed in the Info-Display.
Vehicle personalisation 3 98.
Radio remote control battery
replacement
Replace the battery as soon as the
range reduces.
Batteries do not belong in household
waste. They must be disposed of at
an appropriate recycling collection
point.
Key with foldaway key section
Page 25 of 217
Keys, doors and windows23
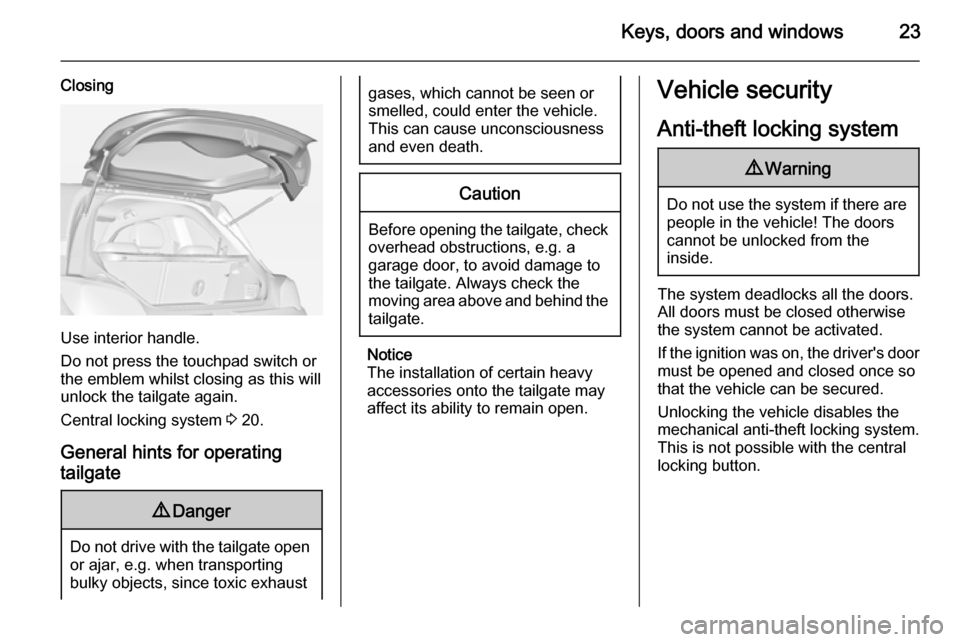
Closing
Use interior handle.
Do not press the touchpad switch or
the emblem whilst closing as this will
unlock the tailgate again.
Central locking system 3 20.
General hints for operating tailgate
9 Danger
Do not drive with the tailgate open
or ajar, e.g. when transporting
bulky objects, since toxic exhaust
gases, which cannot be seen or
smelled, could enter the vehicle.
This can cause unconsciousness
and even death.Caution
Before opening the tailgate, check overhead obstructions, e.g. a
garage door, to avoid damage to
the tailgate. Always check the
moving area above and behind the
tailgate.
Notice
The installation of certain heavy
accessories onto the tailgate may
affect its ability to remain open.
Vehicle security
Anti-theft locking system9 Warning
Do not use the system if there are
people in the vehicle! The doorscannot be unlocked from the
inside.
The system deadlocks all the doors.
All doors must be closed otherwise
the system cannot be activated.
If the ignition was on, the driver's door
must be opened and closed once so
that the vehicle can be secured.
Unlocking the vehicle disables the
mechanical anti-theft locking system.
This is not possible with the central
locking button.
Page 26 of 217
24Keys, doors and windows
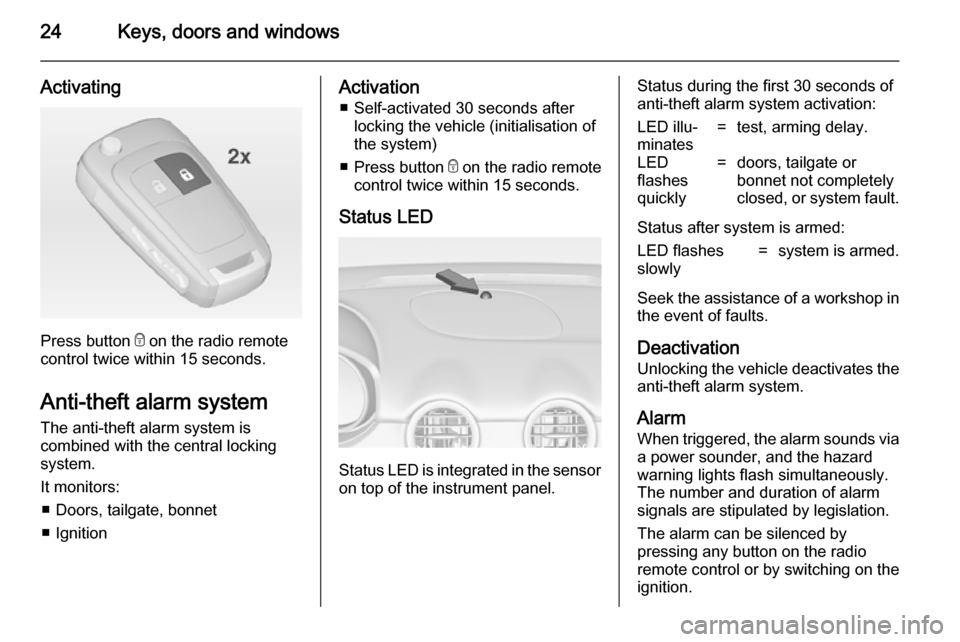
Activating
Press button e on the radio remote
control twice within 15 seconds.
Anti-theft alarm system
The anti-theft alarm system is
combined with the central locking
system.
It monitors: ■ Doors, tailgate, bonnet
■ Ignition
Activation ■ Self-activated 30 seconds after locking the vehicle (initialisation of
the system)
■ Press button e on the radio remote
control twice within 15 seconds.
Status LED
Status LED is integrated in the sensor
on top of the instrument panel.
Status during the first 30 seconds of
anti-theft alarm system activation:LED illu‐
minates=test, arming delay.LED
flashes
quickly=doors, tailgate or
bonnet not completely
closed, or system fault.
Status after system is armed:
LED flashes
slowly=system is armed.
Seek the assistance of a workshop in the event of faults.
Deactivation
Unlocking the vehicle deactivates the
anti-theft alarm system.
AlarmWhen triggered, the alarm sounds via
a power sounder, and the hazard
warning lights flash simultaneously.
The number and duration of alarm
signals are stipulated by legislation.
The alarm can be silenced by
pressing any button on the radio
remote control or by switching on the
ignition.
Page 27 of 217

Keys, doors and windows25
The anti-theft alarm system can only
be deactivated by pressing button c
on the radio remote control or by switching on the ignition.
A triggered alarm, which has not been interrupted by the driver, will be
indicated by the hazard warning
lights. They will flash quickly three
times when the vehicle is unlocked
with the radio remote control.
Vehicle messages 3 93.
If the vehicle's battery is to be
disconnected (e.g. for maintenance
work), the alarm siren must be
deactivated as follows: switch the
ignition on then off, then disconnect
the vehicle's battery within
15 seconds.
Immobiliser
The system is part of the ignition
switch and checks whether the
vehicle is allowed to be started with
the key being used.
The immobiliser is activated
automatically after the key has been
removed from the ignition switch.If the control indicator d flashes when
the ignition is on, there is a fault in the
system; the engine cannot be started. Switch off the ignition and repeat the
start attempt.
If the control indicator continues
flashing, attempt to start the engine
using the spare key and seek the
assistance of a workshop.
Notice
The immobiliser does not lock the
doors. You should always lock the
vehicle after leaving it and switch on the anti-theft alarm system 3 20,
3 24.
Control indicator d 3 86.Exterior mirrors
Convex shape
The convex exterior mirror contains
an aspherical area and reduces blind spots. The shape of the mirror makes
objects appear smaller, which will
affect the ability to estimate
distances.
Electric adjustment
Select the relevant exterior mirror by
turning the control to left (L) or right
(R) . Then swivel the control to adjust
the mirror.
Page 29 of 217
Keys, doors and windows27Automatic anti-dazzle
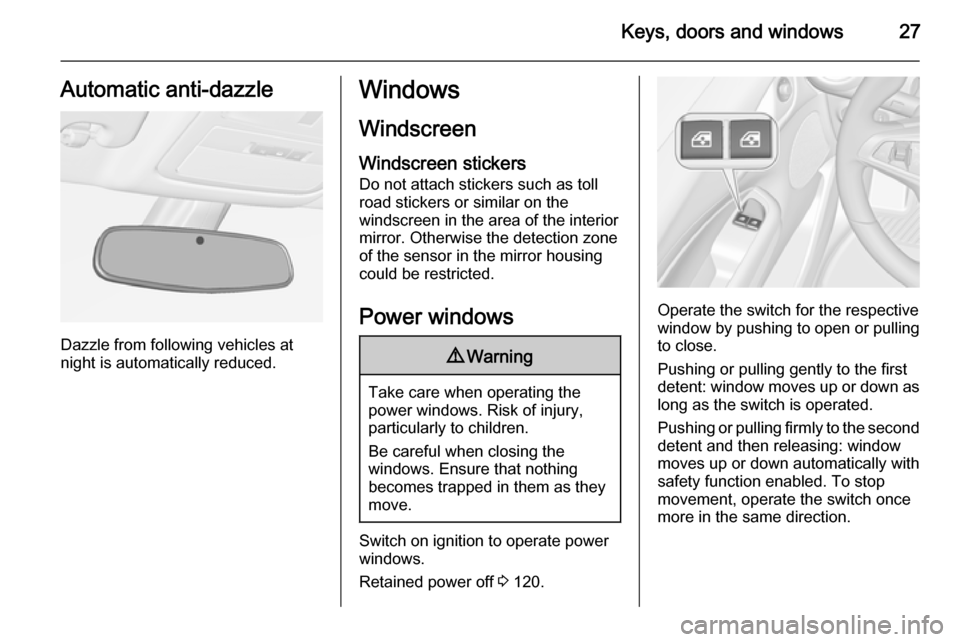
Dazzle from following vehicles at
night is automatically reduced.
Windows
Windscreen
Windscreen stickers
Do not attach stickers such as toll
road stickers or similar on the
windscreen in the area of the interior
mirror. Otherwise the detection zone
of the sensor in the mirror housing could be restricted.
Power windows9 Warning
Take care when operating the
power windows. Risk of injury,
particularly to children.
Be careful when closing the
windows. Ensure that nothing
becomes trapped in them as they
move.
Switch on ignition to operate power
windows.
Retained power off 3 120.
Operate the switch for the respective
window by pushing to open or pulling to close.
Pushing or pulling gently to the first
detent: window moves up or down as long as the switch is operated.
Pushing or pulling firmly to the second
detent and then releasing: window
moves up or down automatically with
safety function enabled. To stop
movement, operate the switch once
more in the same direction.
Page 30 of 217
28Keys, doors and windows
Safety functionIf the window glass encounters
resistance above the middle of the
window during automatic closing, it is
immediately stopped and opened
again.
Override safety function
In the event of closing difficulties due
to frost or the like, switch on the
ignition, then pull the switch to the first
detent and hold. The window moves
up without safety function enabled.
To stop movement, release the
switch.
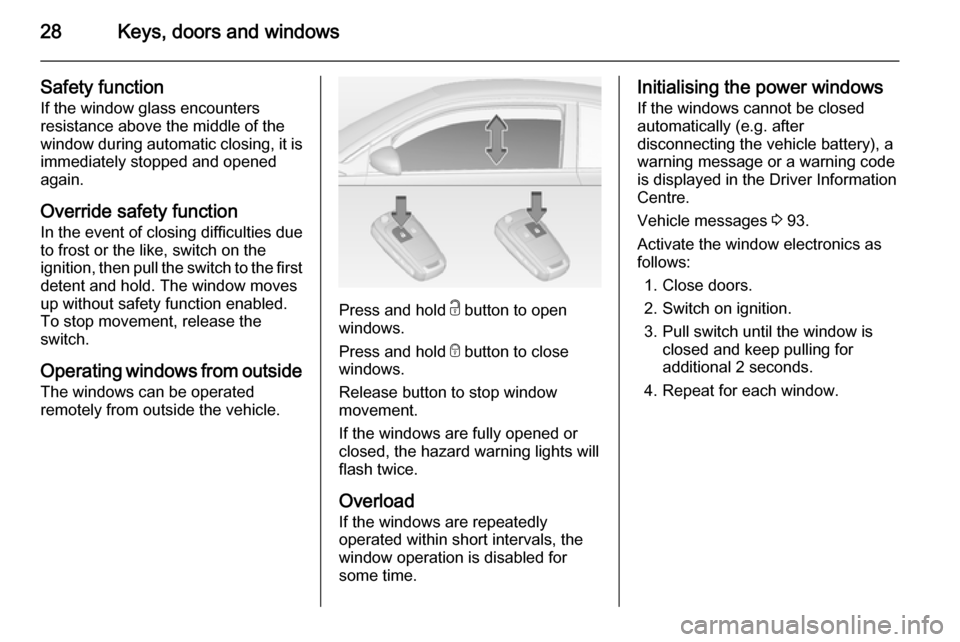
Operating windows from outside
The windows can be operated
remotely from outside the vehicle.
Press and hold c button to open
windows.
Press and hold e button to close
windows.
Release button to stop window
movement.
If the windows are fully opened or
closed, the hazard warning lights will
flash twice.
Overload If the windows are repeatedly
operated within short intervals, the
window operation is disabled for
some time.
Initialising the power windows
If the windows cannot be closed
automatically (e.g. after
disconnecting the vehicle battery), a
warning message or a warning code
is displayed in the Driver Information
Centre.
Vehicle messages 3 93.
Activate the window electronics as
follows:
1. Close doors.
2. Switch on ignition.
3. Pull switch until the window is closed and keep pulling for
additional 2 seconds.
4. Repeat for each window.
Page 32 of 217
30Seats, restraintsSeats, restraintsHead restraints............................ 30
Front seats ................................... 31
Seat belts ..................................... 34
Airbag system .............................. 37
Child restraints ............................. 43Head restraints
Position9 Warning
Only drive with the head restraint
set to the proper position.
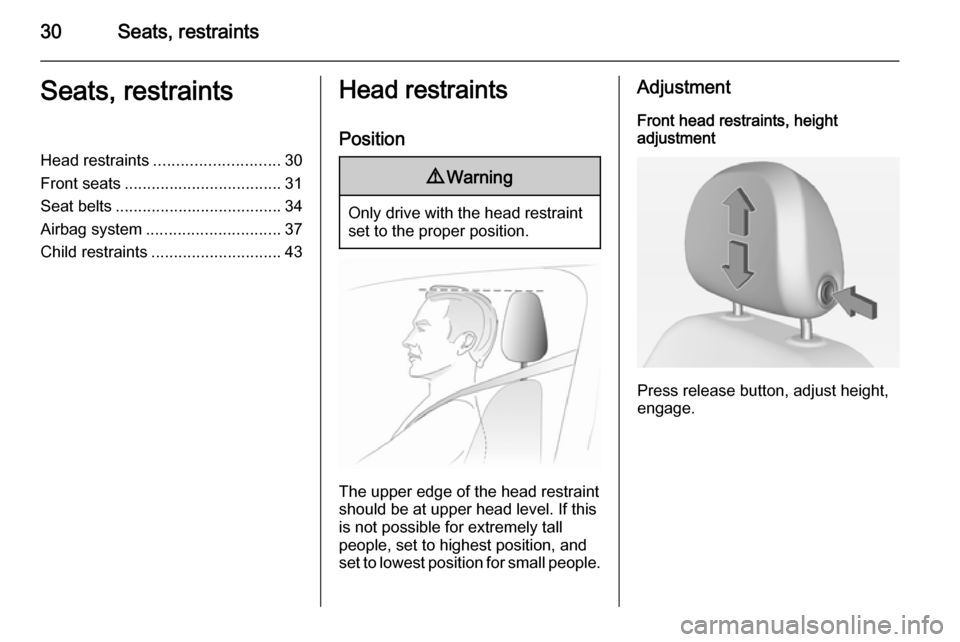
The upper edge of the head restraint
should be at upper head level. If this
is not possible for extremely tall
people, set to highest position, and
set to lowest position for small people.
Adjustment
Front head restraints, height
adjustment
Press release button, adjust height,
engage.