sensor VAUXHALL ADAM 2014 User Guide
[x] Cancel search | Manufacturer: VAUXHALL, Model Year: 2014, Model line: ADAM, Model: VAUXHALL ADAM 2014Pages: 217, PDF Size: 6.68 MB
Page 107 of 217
Lighting105Reversing lightsThe reversing light comes on when
the ignition is on and reverse gear is
selected.
Misted light covers The inside of the light housing may
mist up briefly in poor, wet and cold weather conditions, in heavy rain or
after washing. The mist disappears
quickly by itself; to help switch on the
headlights.Interior lighting
Instrument panel
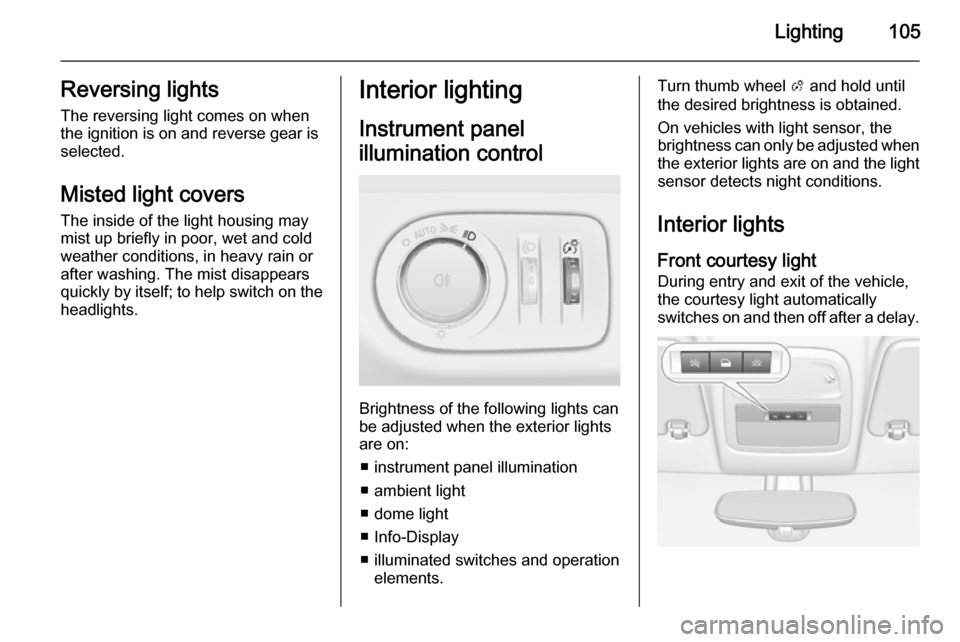
illumination control
Brightness of the following lights can
be adjusted when the exterior lights
are on:
■ instrument panel illumination
■ ambient light
■ dome light
■ Info-Display
■ illuminated switches and operation elements.
Turn thumb wheel A and hold until
the desired brightness is obtained.
On vehicles with light sensor, the
brightness can only be adjusted when
the exterior lights are on and the light sensor detects night conditions.
Interior lights Front courtesy lightDuring entry and exit of the vehicle,
the courtesy light automatically
switches on and then off after a delay.
Page 122 of 217
120Driving and operating
Possible reasons for a non-starting
engine:
■ Clutch pedal not operated
■ Timeout occurred
Turbo engine warm-up Upon start-up, engine available
torque may be limited for a short time, especially when the engine
temperature is cold. The limitation is
to allow the lubrication system to fully
protect the engine.
Overrun cut-off The fuel supply is automatically cut off
during overrun, i.e. when the vehicle
is driven with a gear engaged but accelerator is released.Stop-start system
The stop-start system helps to save
fuel and to reduce the exhaust
emissions. When conditions allow, it
switches off the engine as soon as the
vehicle is at a low speed or at a
standstill, e.g. at a traffic light or in a
traffic jam. It starts the engine
automatically as soon as the clutch is depressed. A vehicle battery sensor
ensures that an Autostop is only performed if the vehicle battery is
sufficiently charged for a restart.
Activation The stop-start system is available as
soon as the engine is started, the
vehicle starts-off and the conditions
as stated below in this section are
fulfilled.Deactivation
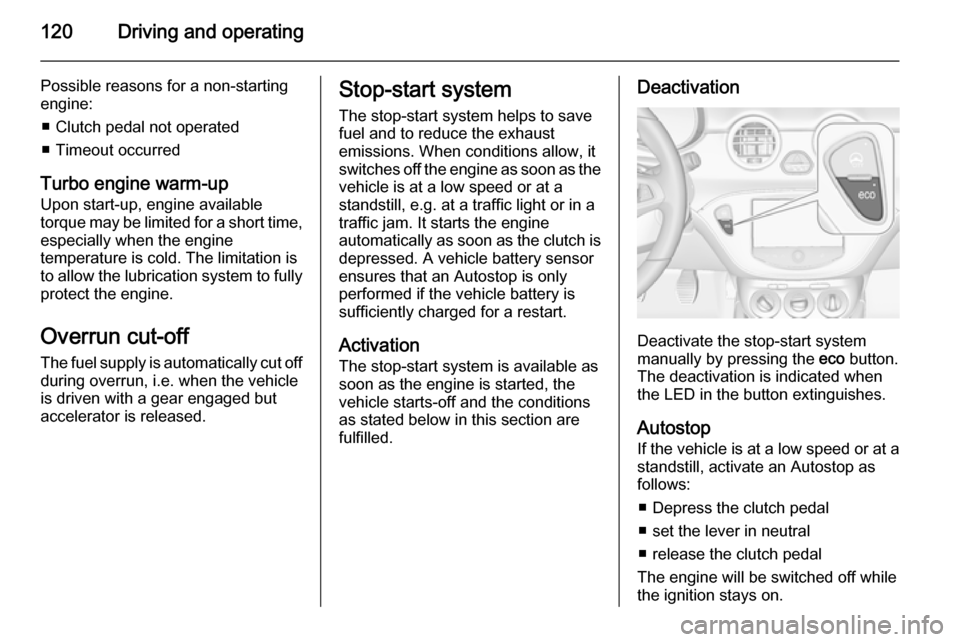
Deactivate the stop-start system
manually by pressing the eco button.
The deactivation is indicated when
the LED in the button extinguishes.
Autostop
If the vehicle is at a low speed or at a
standstill, activate an Autostop as
follows:
■ Depress the clutch pedal
■ set the lever in neutral
■ release the clutch pedal
The engine will be switched off while
the ignition stays on.
Page 134 of 217
132Driving and operating
The rear parking assist makes
parking easier by measuring the
distance between the vehicle and
rear obstacles. It informs and warns
the driver by giving acoustic signals.
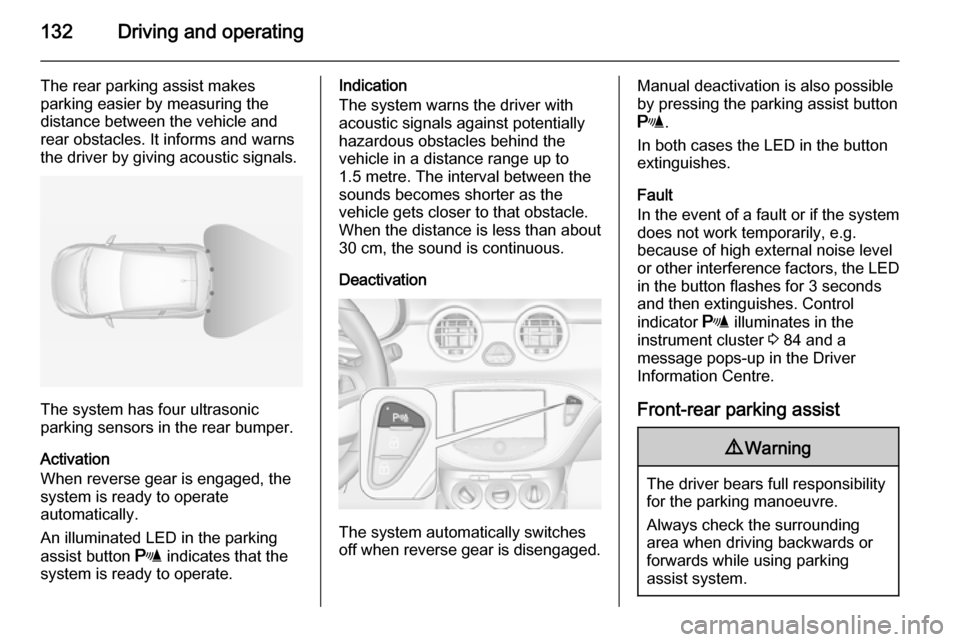
The system has four ultrasonic
parking sensors in the rear bumper.
Activation
When reverse gear is engaged, the
system is ready to operate
automatically.
An illuminated LED in the parking
assist button r indicates that the
system is ready to operate.
Indication
The system warns the driver with
acoustic signals against potentially
hazardous obstacles behind the
vehicle in a distance range up to
1.5 metre. The interval between the
sounds becomes shorter as the
vehicle gets closer to that obstacle.
When the distance is less than about
30 cm, the sound is continuous.
Deactivation
The system automatically switches
off when reverse gear is disengaged.
Manual deactivation is also possible
by pressing the parking assist button
r .
In both cases the LED in the button extinguishes.
Fault
In the event of a fault or if the system does not work temporarily, e.g.
because of high external noise level
or other interference factors, the LED
in the button flashes for 3 seconds
and then extinguishes. Control
indicator r illuminates in the
instrument cluster 3 84 and a
message pops-up in the Driver
Information Centre.
Front-rear parking assist9 Warning
The driver bears full responsibility
for the parking manoeuvre.
Always check the surrounding
area when driving backwards or
forwards while using parking
assist system.
Page 135 of 217
Driving and operating133
The front-rear parking assist
measures the distance between the vehicle and obstacles in front and
behind the vehicle. The system gives acoustic signals and display
messages.
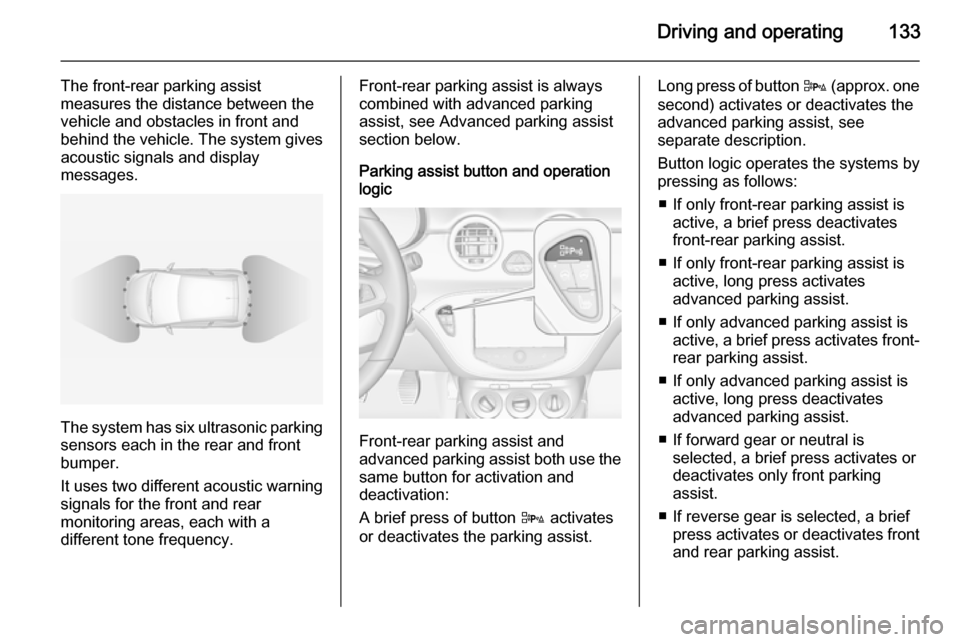
The system has six ultrasonic parking
sensors each in the rear and front
bumper.
It uses two different acoustic warning
signals for the front and rear
monitoring areas, each with a
different tone frequency.
Front-rear parking assist is always
combined with advanced parking
assist, see Advanced parking assist
section below.
Parking assist button and operation
logic
Front-rear parking assist and
advanced parking assist both use the same button for activation and
deactivation:
A brief press of button D activates
or deactivates the parking assist.
Long press of button D (approx. one
second) activates or deactivates the
advanced parking assist, see
separate description.
Button logic operates the systems by
pressing as follows:
■ If only front-rear parking assist is active, a brief press deactivates
front-rear parking assist.
■ If only front-rear parking assist is active, long press activates
advanced parking assist.
■ If only advanced parking assist is active, a brief press activates front-
rear parking assist.
■ If only advanced parking assist is active, long press deactivates
advanced parking assist.
■ If forward gear or neutral is selected, a brief press activates ordeactivates only front parking
assist.
■ If reverse gear is selected, a brief press activates or deactivates frontand rear parking assist.
Page 137 of 217
Driving and operating135
In the Colour-Info-Display, distance isdisplayed by coloured zones in front
of or behind the vehicle.
The distance indication in the Driver
Information Centre can be inhibited
by vehicle messages with a higher
priority. After approving the message
by pressing the SET/CLR button on
the turn signal lever, distance
indication appears again.
Fault
In the event of a fault or if the system
does not work temporarily, e.g.
because of high external noise level
or other interference factors, the LED in the button flashes for 3 seconds
and then extinguishes. Control
indicator r illuminates in the
instrument cluster 3 84 and a
message pops-up in the Driver
Information Centre.
Vehicle messages 3 92.Advanced parking assist9 Warning
It is the driver who bears full
responsibility for accepting the
parking slot suggested by the
system and the parking
manoeuvre.
Always check the sourrounding
area in all directions when using
advanced parking assist.
The advanced parking assist
measures a suitable parking slot
while passing, calculates the
trajectory and automatically steers
the vehicle into a parallel or
perpendicular parking slot.
Instructions are given by the Driver
Information Centre or the Colour-Info-
Display supported by acoustic
signals. The driver must control
acceleration, braking and gear
shifting, while steering is done
automatically.
Advanced parking assist can only be
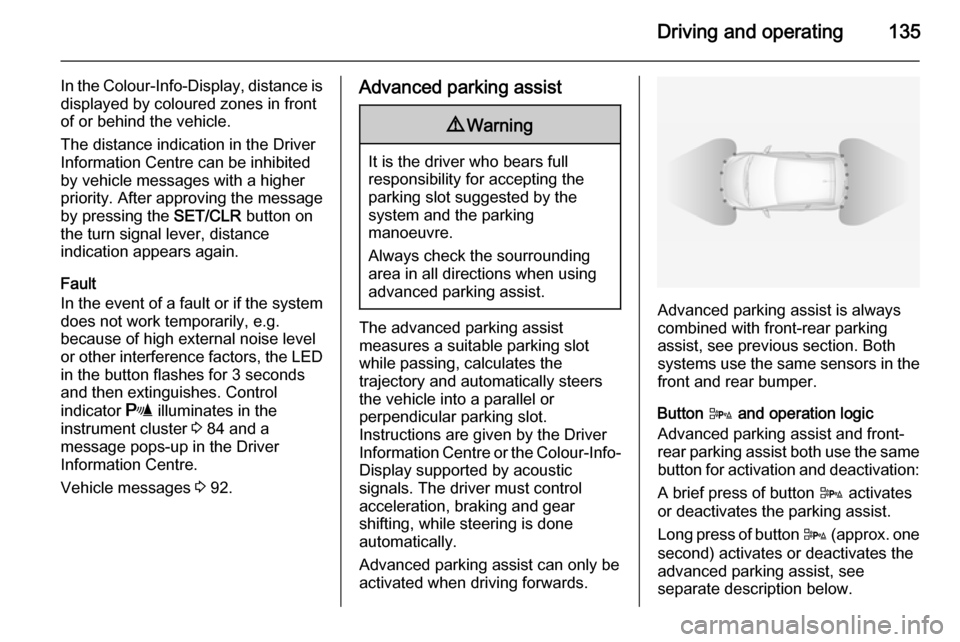
activated when driving forwards.Advanced parking assist is always
combined with front-rear parking assist, see previous section. Both
systems use the same sensors in the front and rear bumper.
Button D and operation logic
Advanced parking assist and front-
rear parking assist both use the same button for activation and deactivation:
A brief press of button D activates
or deactivates the parking assist.
Long press of button D (approx. one
second) activates or deactivates the
advanced parking assist, see
separate description below.
Page 142 of 217
140Driving and operating
■ exceeding number of maximumgear changes: 8 parking cycles
when parallel parking or 5 cycles
when perpendicular parking,
■ switching off the ignition.
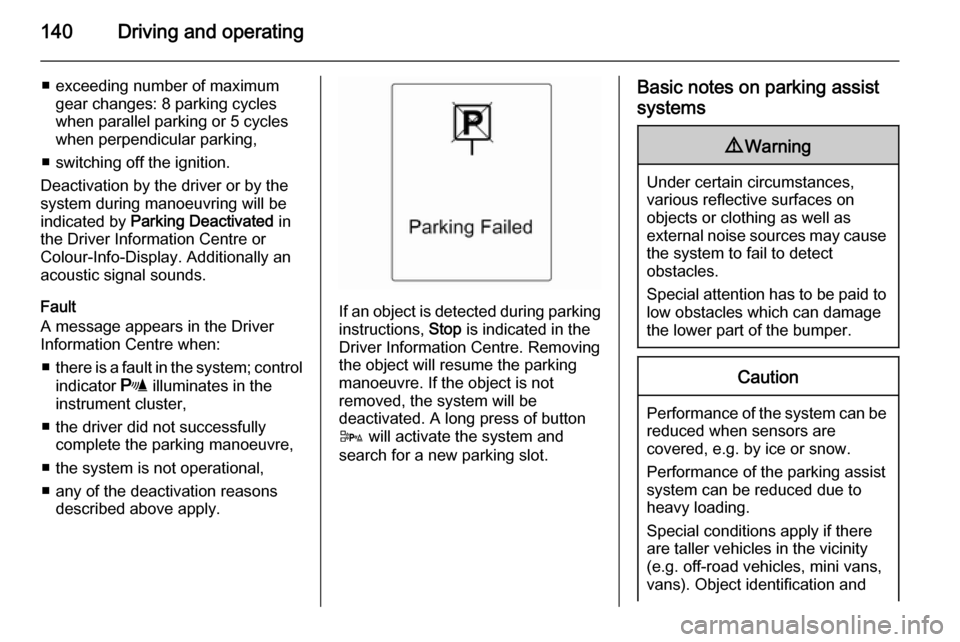
Deactivation by the driver or by the
system during manoeuvring will be indicated by Parking Deactivated in
the Driver Information Centre or Colour-Info-Display. Additionally an
acoustic signal sounds.
Fault
A message appears in the Driver
Information Centre when:
■ there is a fault in the system; control
indicator r illuminates in the
instrument cluster,
■ the driver did not successfully complete the parking manoeuvre,
■ the system is not operational,
■ any of the deactivation reasons described above apply.
If an object is detected during parkinginstructions, Stop is indicated in the
Driver Information Centre. Removing
the object will resume the parking
manoeuvre. If the object is not
removed, the system will be
deactivated. A long press of button
D will activate the system and
search for a new parking slot.
Basic notes on parking assist
systems9 Warning
Under certain circumstances,
various reflective surfaces on
objects or clothing as well as
external noise sources may cause the system to fail to detect
obstacles.
Special attention has to be paid to
low obstacles which can damage
the lower part of the bumper.
Caution
Performance of the system can be reduced when sensors are
covered, e.g. by ice or snow.
Performance of the parking assist
system can be reduced due to
heavy loading.
Special conditions apply if there
are taller vehicles in the vicinity
(e.g. off-road vehicles, mini vans,
vans). Object identification and
Page 143 of 217

Driving and operating141correct distance indication in the
upper part of these vehicles
cannot be guaranteed.
Objects with a very small reflection
cross-section, e.g. objects of
narrow size or soft materials, may
not be detected by the system.
Parking assist systems do not
detect objects outside the
detection range.
Notice
It is possible that the sensor detects a non-existing object caused by
echo disturbance from external
acoustic noise or mechanical
misalignments (sporadic false
warnings might happen).
Make sure that the front license plate
is properly mounted (not bent and no
gaps to the bumper on the left or
right side) and the sensors are well
in place.
Advanced parking assist system
may not respond to changes in the
available parking space after
initiating a parking manoeuvre. The
system may recognize an entry, a
gateway, a courtyard or even a crossing as parking slot. After
selecting reverse gear the system
would start a parking manoeuvre.
Take care of the availability of the
suggested parking slot.
Surface irregularities, e.g. on
construction zones, are not detected by the system. The driver accepts
responsibility.
Notice
If engaging a forward gear and
exceeding a certain speed, the rear
parking assist will be deactivated
when the rear carrier system is
extended.
If engaging reverse at first, the
parking assist will detect the rear
carrier system and provide a buzzing
sound. Press r or D briefly to
deactivate the parking assist.
Notice
After production, the system
requires a calibration. For optimal
parking guidance, a driving distance
of at least 6 miles, including a
number of bends, is required.Side blind spot alert
The Side blind spot alert system
detects and reports objects on either
side of the vehicle, within a specified
"blind spot" zone. The system alerts visually in each exterior mirror, when
detecting objects that may not be
visible in the interior and exterior
mirrors.
Side blind spot alert uses some of the advanced parking assist sensors
which are located in the front and rear bumper on both sides of the vehicle.9 Warning
Side blind spot alert does not
replace driver vision.
The system does not detect: ■ Vehicles outside the side blind zones which may be rapidly
approaching.
■ Pedestrians, cyclists or animals.
Before changing a lane, always
check all mirrors, look over the
shoulder and use the turn signal.
Page 167 of 217
Vehicle care165Engine compartment fuse
box
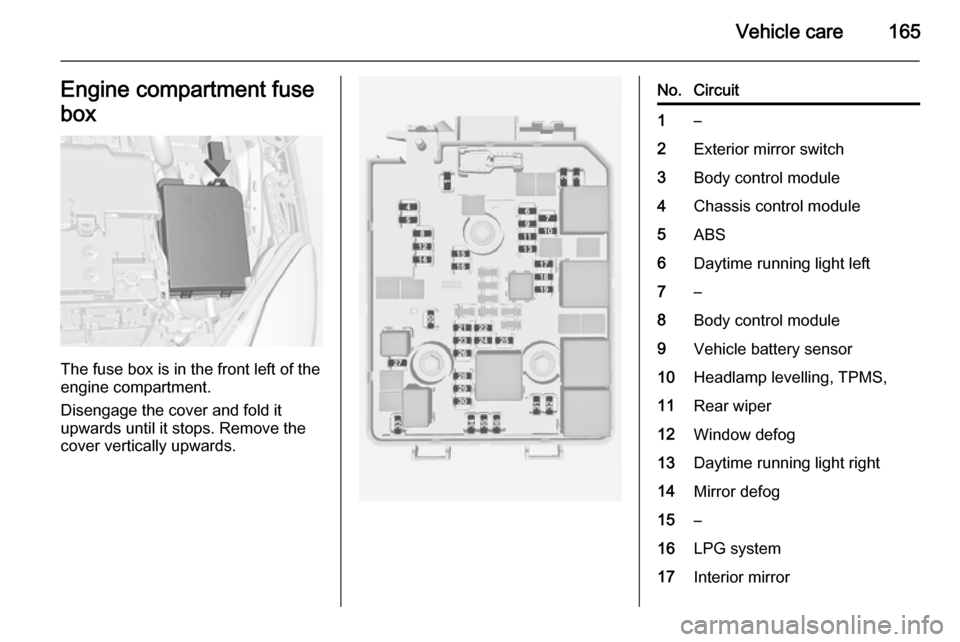
The fuse box is in the front left of the
engine compartment.
Disengage the cover and fold it
upwards until it stops. Remove the
cover vertically upwards.
No.Circuit1–2Exterior mirror switch3Body control module4Chassis control module5ABS6Daytime running light left7–8Body control module9Vehicle battery sensor10Headlamp levelling, TPMS,11Rear wiper12Window defog13Daytime running light right14Mirror defog15–16LPG system17Interior mirror
Page 174 of 217
172Vehicle care
If the tyre pressure must be reduced
or increased on a vehicle with tyre
pressure monitoring system, switch off ignition. After adjusting tyre
pressure switch on ignition and select the relevant setting on the page Tyre
load in the Driver Information Centre,
3 86.
Tyre pressure monitoring
system The tyre pressure monitoring system
checks the pressure of all four tyres
once a minute when vehicle speed
exceeds a certain limit.Caution
Tyre pressure monitoring system
warns only about low tyre pressure condition and does not replace
regular tyre maintenance by the
driver.
All wheels must be equipped with pressure sensors and the tyres must
have the prescribed pressure.
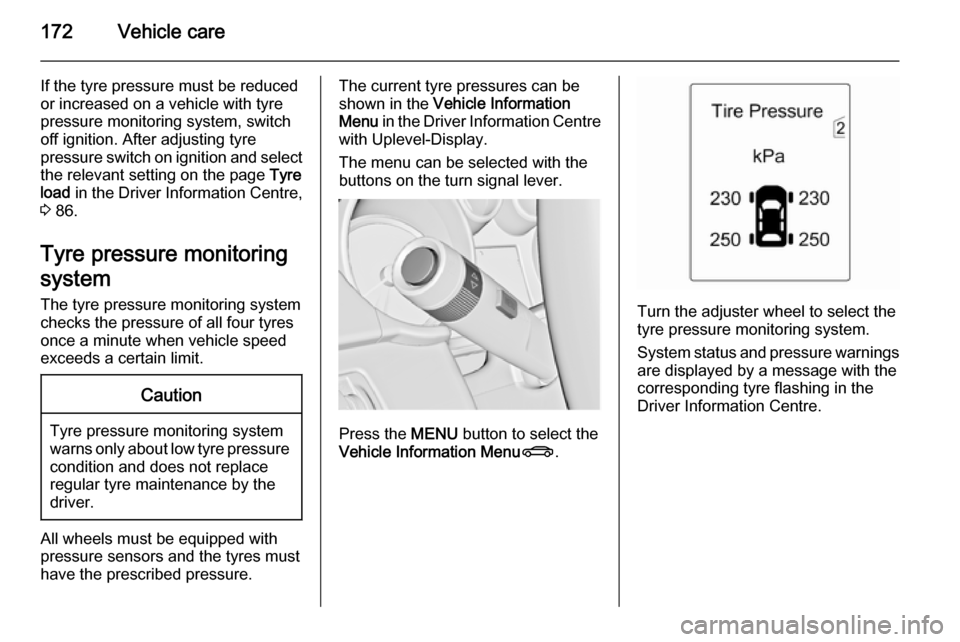
The current tyre pressures can be
shown in the Vehicle Information
Menu in the Driver Information Centre
with Uplevel-Display.
The menu can be selected with the
buttons on the turn signal lever.
Press the MENU button to select the
Vehicle Information Menu X.
Turn the adjuster wheel to select the
tyre pressure monitoring system.
System status and pressure warnings
are displayed by a message with the
corresponding tyre flashing in the
Driver Information Centre.
Page 175 of 217
Vehicle care173
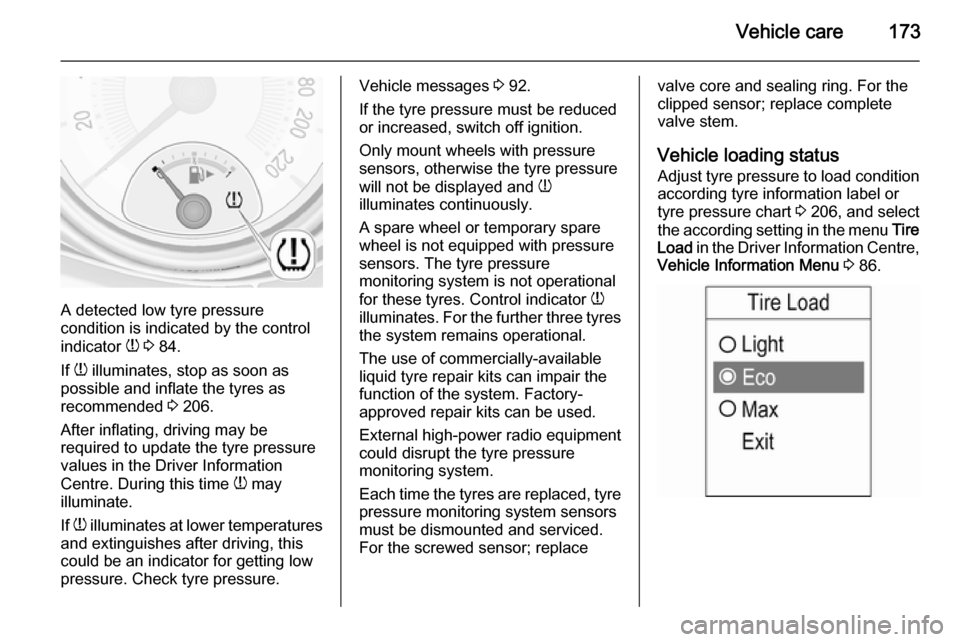
A detected low tyre pressure
condition is indicated by the control
indicator w 3 84.
If w illuminates, stop as soon as
possible and inflate the tyres as
recommended 3 206.
After inflating, driving may be
required to update the tyre pressure
values in the Driver Information
Centre. During this time w may
illuminate.
If w illuminates at lower temperatures
and extinguishes after driving, this
could be an indicator for getting low
pressure. Check tyre pressure.
Vehicle messages 3 92.
If the tyre pressure must be reduced or increased, switch off ignition.
Only mount wheels with pressure
sensors, otherwise the tyre pressure
will not be displayed and w
illuminates continuously.
A spare wheel or temporary spare
wheel is not equipped with pressure
sensors. The tyre pressure
monitoring system is not operational
for these tyres. Control indicator w
illuminates. For the further three tyres the system remains operational.
The use of commercially-available
liquid tyre repair kits can impair the
function of the system. Factory-
approved repair kits can be used.
External high-power radio equipment
could disrupt the tyre pressure
monitoring system.
Each time the tyres are replaced, tyre pressure monitoring system sensors
must be dismounted and serviced.
For the screwed sensor; replacevalve core and sealing ring. For the
clipped sensor; replace complete
valve stem.
Vehicle loading status Adjust tyre pressure to load condition according tyre information label or
tyre pressure chart 3 206, and select
the according setting in the menu Tire
Load in the Driver Information Centre,
Vehicle Information Menu 3 86.