light VAUXHALL ADAM 2014 Owner's Guide
[x] Cancel search | Manufacturer: VAUXHALL, Model Year: 2014, Model line: ADAM, Model: VAUXHALL ADAM 2014Pages: 217, PDF Size: 6.68 MB
Page 70 of 217
68Instruments and controlsInstruments and
controlsControls ....................................... 68
Warning lights, gauges and indi‐
cators ........................................... 76
Information displays .....................86
Vehicle messages ........................ 92
Trip computer ............................... 95
Vehicle personalisation ................97Controls
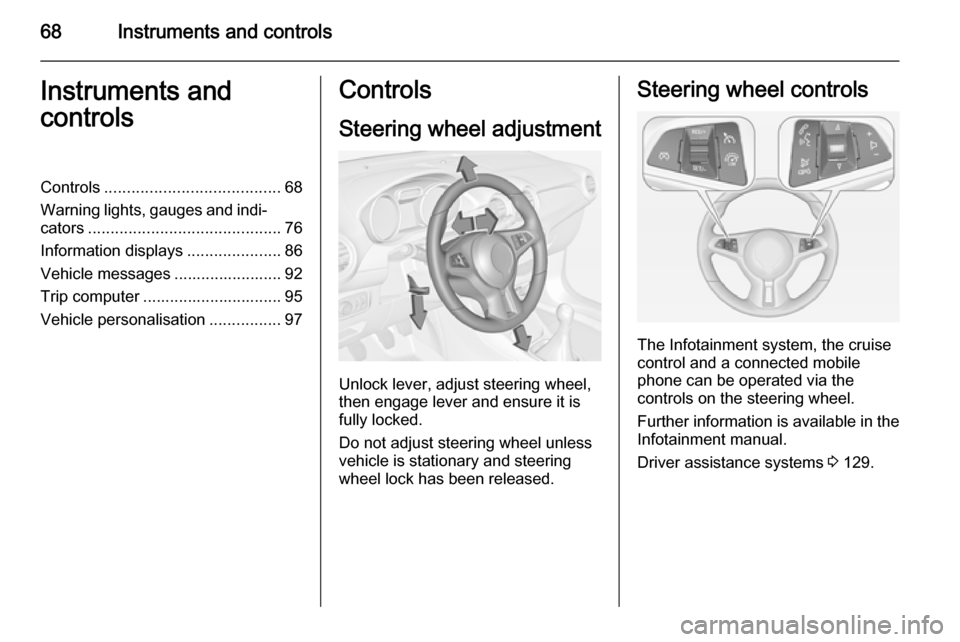
Steering wheel adjustment
Unlock lever, adjust steering wheel,
then engage lever and ensure it is fully locked.
Do not adjust steering wheel unless
vehicle is stationary and steering
wheel lock has been released.
Steering wheel controls
The Infotainment system, the cruise
control and a connected mobile
phone can be operated via the
controls on the steering wheel.
Further information is available in the
Infotainment manual.
Driver assistance systems 3 129.
Page 72 of 217

70Instruments and controlsWindscreen wiper/washer
Windscreen wiper2=fast1=slowP=interval wiping§=off
For a single wipe when the
windscreen wiper is off, press the
lever down.
Do not use if the windscreen is frozen.
Switch off in car washes.
Adjustable wiper interval
Wiper lever in position P.
Turn the adjuster wheel to adjust the
desired wipe interval:
short
interval=turn adjuster wheel
upwardslong
interval=turn adjuster wheel
downwardsAutomatic wiping with rain sensorP=automatic wiping with rain
sensor
The rain sensor detects the amount of water on the windscreen and
automatically regulates the frequency
of the windscreen wiper.
If the wiper frequency is above
20 seconds the wiper arm moves
slightly down to park position.
Page 77 of 217
Instruments and controls75Power outlets
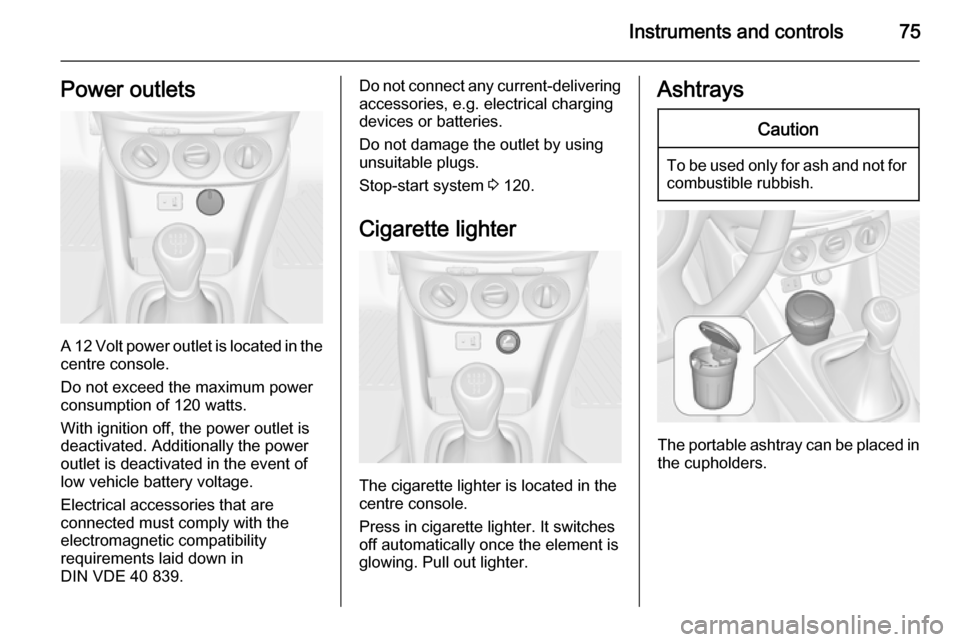
A 12 Volt power outlet is located in the
centre console.
Do not exceed the maximum power
consumption of 120 watts.
With ignition off, the power outlet is
deactivated. Additionally the power
outlet is deactivated in the event of
low vehicle battery voltage.
Electrical accessories that are
connected must comply with the
electromagnetic compatibility
requirements laid down in
DIN VDE 40 839.
Do not connect any current-delivering accessories, e.g. electrical charging
devices or batteries.
Do not damage the outlet by using
unsuitable plugs.
Stop-start system 3 120.
Cigarette lighter
The cigarette lighter is located in the
centre console.
Press in cigarette lighter. It switches off automatically once the element is
glowing. Pull out lighter.
AshtraysCaution
To be used only for ash and not for combustible rubbish.
The portable ashtray can be placed inthe cupholders.
Page 78 of 217
76Instruments and controlsWarning lights, gauges
and indicators
Instrument cluster The needles of the instruments briefly
rotate to the end position when the
ignition is switched on.
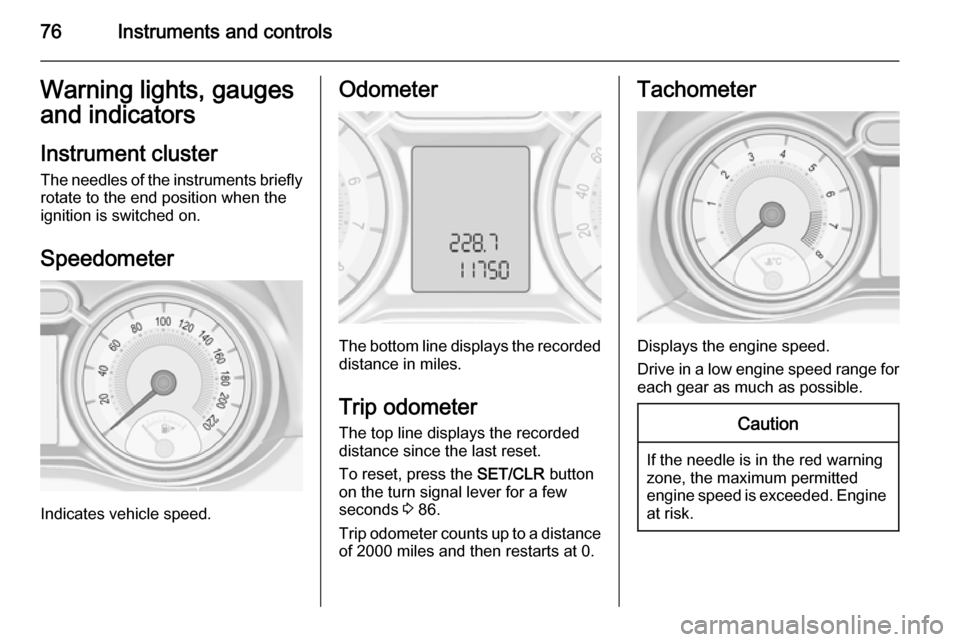
Speedometer
Indicates vehicle speed.
Odometer
The bottom line displays the recorded distance in miles.
Trip odometer The top line displays the recorded
distance since the last reset.
To reset, press the SET/CLR button
on the turn signal lever for a few
seconds 3 86.
Trip odometer counts up to a distance
of 2000 miles and then restarts at 0.
Tachometer
Displays the engine speed.
Drive in a low engine speed range for each gear as much as possible.
Caution
If the needle is in the red warning
zone, the maximum permitted
engine speed is exceeded. Engine at risk.
Page 83 of 217
Instruments and controls81
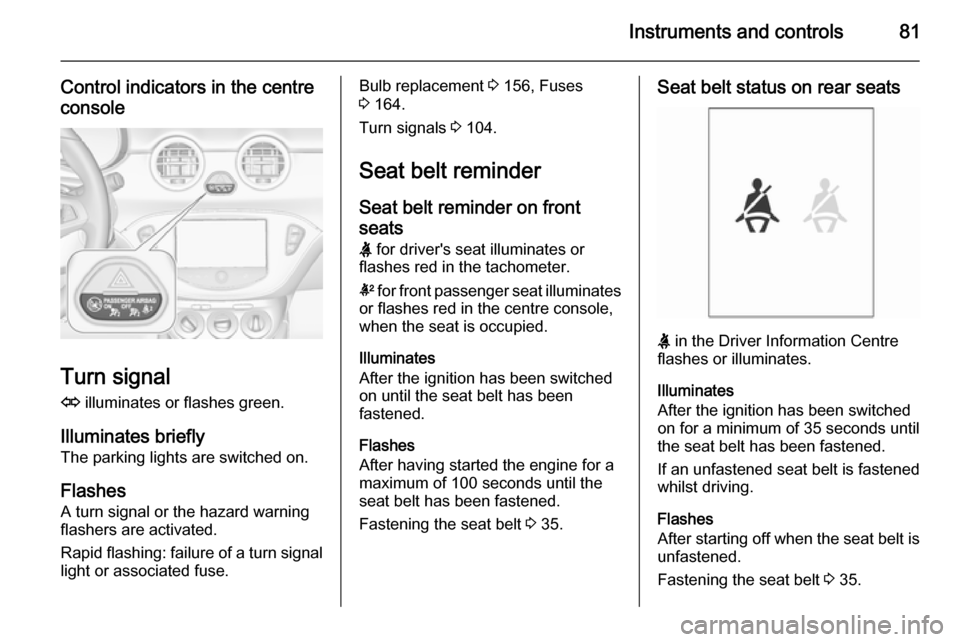
Control indicators in the centre
console
Turn signal
O illuminates or flashes green.
Illuminates briefly The parking lights are switched on.
Flashes A turn signal or the hazard warning
flashers are activated.
Rapid flashing: failure of a turn signal
light or associated fuse.
Bulb replacement 3 156, Fuses
3 164.
Turn signals 3 104.
Seat belt reminder Seat belt reminder on front
seats X for driver's seat illuminates or
flashes red in the tachometer.
k for front passenger seat illuminates
or flashes red in the centre console,
when the seat is occupied.
Illuminates
After the ignition has been switched
on until the seat belt has been
fastened.
Flashes
After having started the engine for a maximum of 100 seconds until the
seat belt has been fastened.
Fastening the seat belt 3 35.Seat belt status on rear seats
X in the Driver Information Centre
flashes or illuminates.
Illuminates
After the ignition has been switched
on for a minimum of 35 seconds until
the seat belt has been fastened.
If an unfastened seat belt is fastened
whilst driving.
Flashes
After starting off when the seat belt is
unfastened.
Fastening the seat belt 3 35.
Page 84 of 217
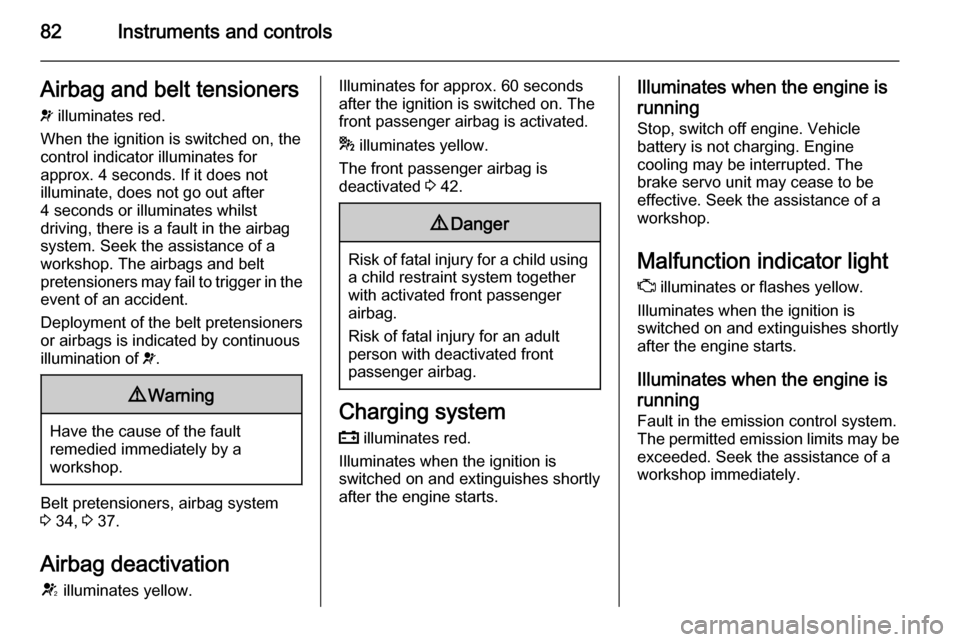
82Instruments and controlsAirbag and belt tensioners
v illuminates red.
When the ignition is switched on, the control indicator illuminates for
approx. 4 seconds. If it does not
illuminate, does not go out after
4 seconds or illuminates whilst
driving, there is a fault in the airbag
system. Seek the assistance of a
workshop. The airbags and belt
pretensioners may fail to trigger in the event of an accident.
Deployment of the belt pretensioners
or airbags is indicated by continuous
illumination of v.9 Warning
Have the cause of the fault
remedied immediately by a
workshop.
Belt pretensioners, airbag system
3 34, 3 37.
Airbag deactivation
V illuminates yellow.
Illuminates for approx. 60 seconds
after the ignition is switched on. The
front passenger airbag is activated.
* illuminates yellow.
The front passenger airbag is
deactivated 3 42.9 Danger
Risk of fatal injury for a child using
a child restraint system together
with activated front passenger
airbag.
Risk of fatal injury for an adult
person with deactivated front
passenger airbag.
Charging system
p illuminates red.
Illuminates when the ignition is
switched on and extinguishes shortly
after the engine starts.
Illuminates when the engine is
running
Stop, switch off engine. Vehicle
battery is not charging. Engine
cooling may be interrupted. The
brake servo unit may cease to be
effective. Seek the assistance of a
workshop.
Malfunction indicator light
Z illuminates or flashes yellow.
Illuminates when the ignition is
switched on and extinguishes shortly
after the engine starts.
Illuminates when the engine isrunning
Fault in the emission control system. The permitted emission limits may be
exceeded. Seek the assistance of a
workshop immediately.
Page 87 of 217
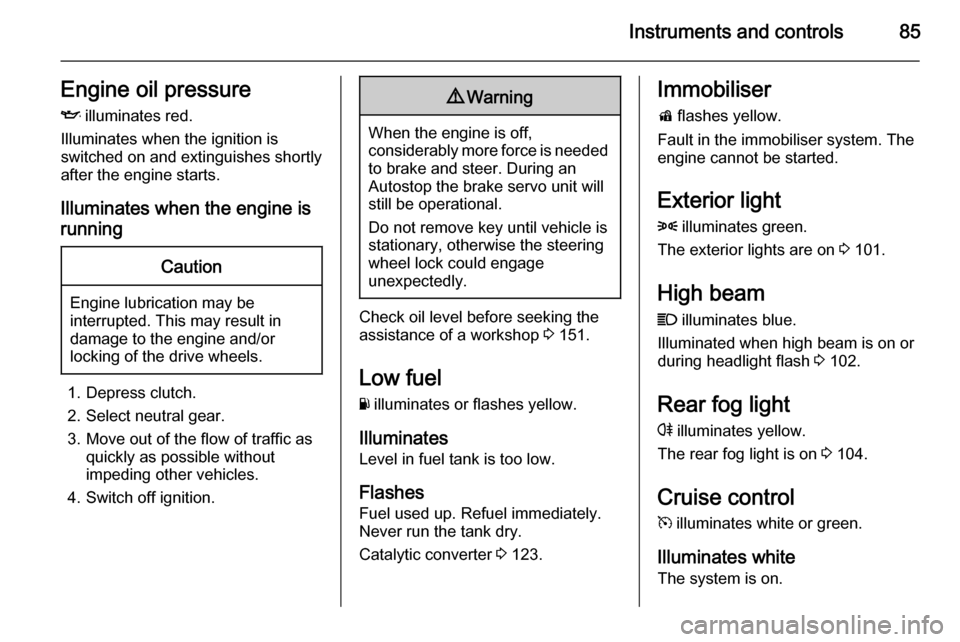
Instruments and controls85Engine oil pressureI illuminates red.
Illuminates when the ignition is
switched on and extinguishes shortly after the engine starts.
Illuminates when the engine is runningCaution
Engine lubrication may be
interrupted. This may result in
damage to the engine and/or
locking of the drive wheels.
1. Depress clutch.
2. Select neutral gear.
3. Move out of the flow of traffic as quickly as possible without
impeding other vehicles.
4. Switch off ignition.
9 Warning
When the engine is off,
considerably more force is needed
to brake and steer. During an
Autostop the brake servo unit will still be operational.
Do not remove key until vehicle is stationary, otherwise the steeringwheel lock could engage
unexpectedly.
Check oil level before seeking the
assistance of a workshop 3 151.
Low fuel
Y illuminates or flashes yellow.
Illuminates
Level in fuel tank is too low.
Flashes Fuel used up. Refuel immediately.
Never run the tank dry.
Catalytic converter 3 123.
Immobiliser
d flashes yellow.
Fault in the immobiliser system. The
engine cannot be started.
Exterior light8 illuminates green.
The exterior lights are on 3 101.
High beam
C illuminates blue.
Illuminated when high beam is on or
during headlight flash 3 102.
Rear fog light
r illuminates yellow.
The rear fog light is on 3 104.
Cruise control m illuminates white or green.
Illuminates white The system is on.
Page 89 of 217
Instruments and controls87
Some of the displayed functions differ
when the vehicle is being driven or at a standstill. Some functions are only
available when the vehicle is being
driven.
Vehicle personalisation 3 97.
Memorised settings 3 20.
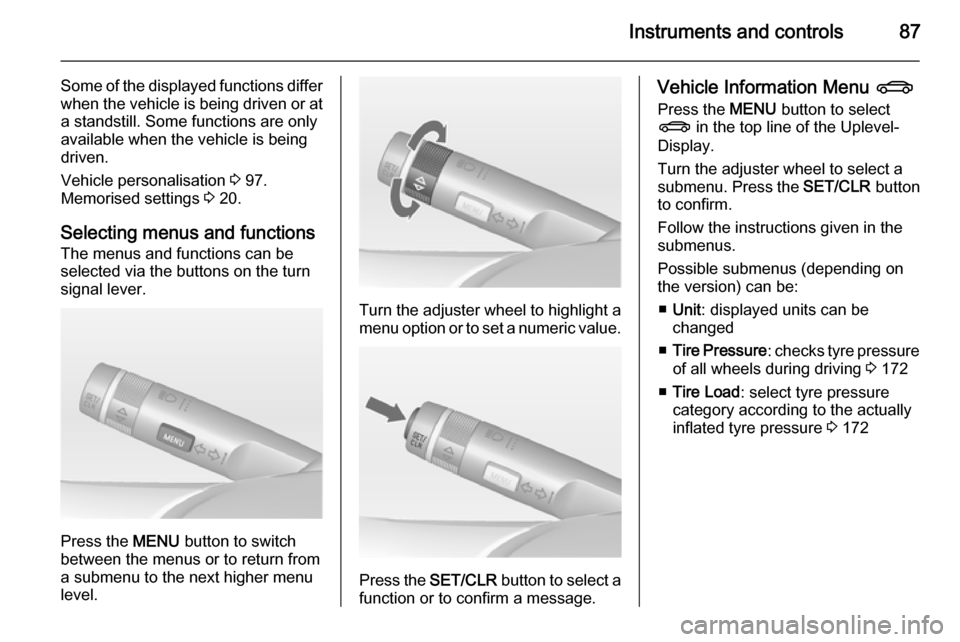
Selecting menus and functions
The menus and functions can be
selected via the buttons on the turn
signal lever.
Press the MENU button to switch
between the menus or to return from
a submenu to the next higher menu
level.
Turn the adjuster wheel to highlight a
menu option or to set a numeric value.
Press the SET/CLR button to select a
function or to confirm a message.
Vehicle Information Menu X
Press the MENU button to select
X in the top line of the Uplevel-
Display.
Turn the adjuster wheel to select a
submenu. Press the SET/CLR button
to confirm.
Follow the instructions given in the
submenus.
Possible submenus (depending on the version) can be:
■ Unit : displayed units can be
changed
■ Tire Pressure : checks tyre pressure
of all wheels during driving 3 172
■ Tire Load : select tyre pressure
category according to the actually
inflated tyre pressure 3 172
Page 94 of 217
92Instruments and controlsVehicle messagesMessages are indicated mainly in the
Driver Information Centre (DIC), in
some cases together with a warning
and signal buzzer.
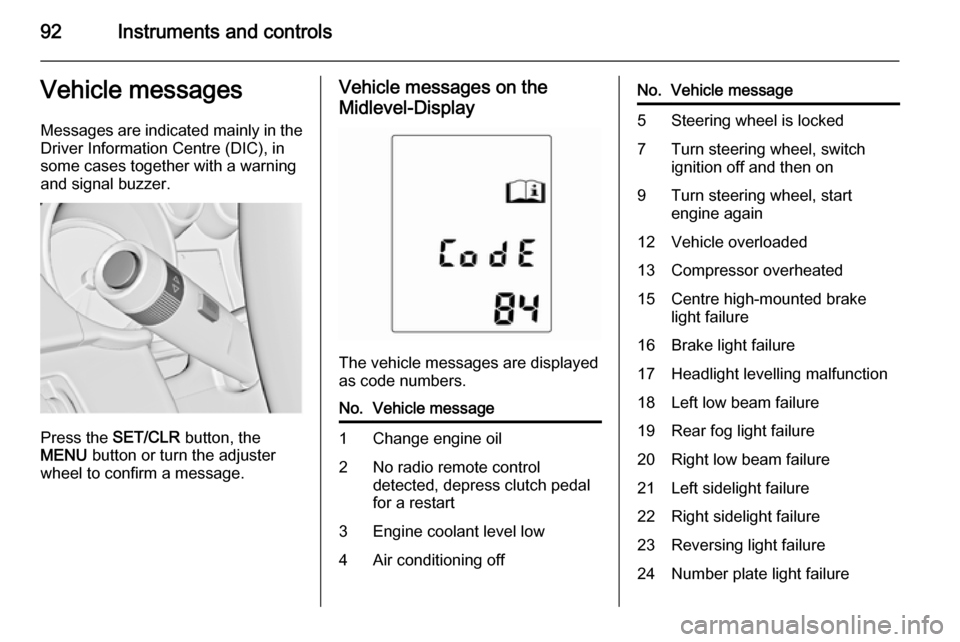
Press the SET/CLR button, the
MENU button or turn the adjuster
wheel to confirm a message.
Vehicle messages on the
Midlevel-Display
The vehicle messages are displayed
as code numbers.
No.Vehicle message1Change engine oil2No radio remote control
detected, depress clutch pedal
for a restart3Engine coolant level low4Air conditioning offNo.Vehicle message5Steering wheel is locked7Turn steering wheel, switch
ignition off and then on9Turn steering wheel, start
engine again12Vehicle overloaded13Compressor overheated15Centre high-mounted brake
light failure16Brake light failure17Headlight levelling malfunction18Left low beam failure19Rear fog light failure20Right low beam failure21Left sidelight failure22Right sidelight failure23Reversing light failure24Number plate light failure
Page 96 of 217

94Instruments and controls
■ Lighting, bulb replacement
■ Wiper/washer system
■ Doors, windows
■ Radio remote control
■ Seat belts
■ Airbag systems
■ Engine and transmission
■ Tyre pressure
■ Vehicle battery
Vehicle messages on the Colour-Info-Display Some important messages appear
additionally in the
Colour-Info-Display. Some
messages only pop up for a few
seconds.
Warning chimes When starting the engine or
whilst driving
Only one warning chime will sound at
a time.The warning chime regarding
unfastened seat belts has priority
over any other warning chime.
■ If seat belt is not fastened.
■ If a door or the tailgate is not fully closed when starting off.
■ If a certain speed is exceeded with parking brake applied.
■ If a programmed speed is exceeded.
■ If a warning message or a warning code appears in the Driver
Information Centre or Graphic-Info- Display.
■ If the parking assist or advanced parking assist detects an object.
■ If the reverse gear is engaged and the rear end carrier extended.
When the vehicle is parked and/ or the driver's door is opened ■ When the key is in the ignition switch.
■ With exterior lights on.During an Autostop ■ If the driver's door is opened.
Battery voltage
When the vehicle battery voltage is
running low, a warning message or
warning code 174 will appear in the
Driver Information Centre.
1. Switch off immediately electrical consumers which are not requiredfor a safe ride, such as seat
heating, heated rear window or
other main consumers.
2. Charge the vehicle battery by driving continuously for a while or
by using a charging device.
The warning message or warning
code will disappear after the engine
has been started two times
consecutively without voltage drop.
If the vehicle battery cannot be
recharged, have the cause of the fault
remedied by a workshop.