VAUXHALL ADAM 2016.5 Owner's Manual
Manufacturer: VAUXHALL, Model Year: 2016.5, Model line: ADAM, Model: VAUXHALL ADAM 2016.5Pages: 239, PDF Size: 7.2 MB
Page 111 of 239
Lighting109Reversing lights
The reversing light comes on when
the ignition is on and reverse gear is
selected.
Misted light covers The inside of the light housing may
mist up briefly in poor, wet and cold weather conditions, in heavy rain or
after washing. The mist disappears
quickly by itself; to help switch on the
headlights.Interior lighting
Instrument panel
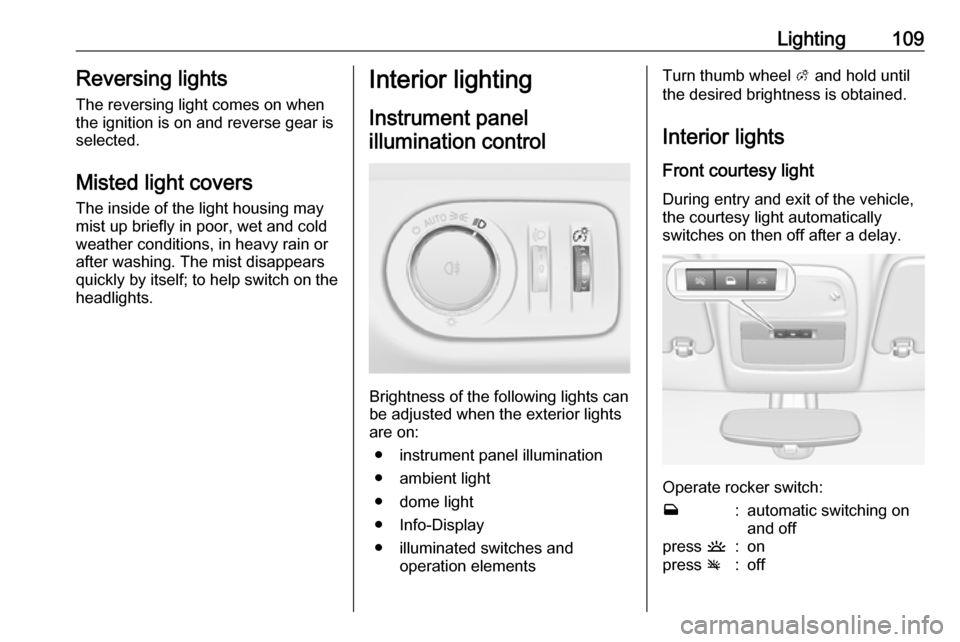
illumination control
Brightness of the following lights can
be adjusted when the exterior lights
are on:
● instrument panel illumination
● ambient light
● dome light
● Info-Display
● illuminated switches and operation elements
Turn thumb wheel A and hold until
the desired brightness is obtained.
Interior lights Front courtesy light
During entry and exit of the vehicle,
the courtesy light automatically
switches on then off after a delay.
Operate rocker switch:
w:automatic switching on
and offpress u:onpress v:off
Page 112 of 239
110LightingNotice
In the event of an accident with
airbag deployment the courtesy
lights are turned on automatically.
Dome light
Spotlight incorporated in the interior
lighting comes on when headlights
are switched on.
Dome light illuminates gear shifting
console indirectly.
Ambient light
Ambient light consists of indirect
lights in the doors, in the instrument
panel below the heating and
ventilation unit and in the passenger
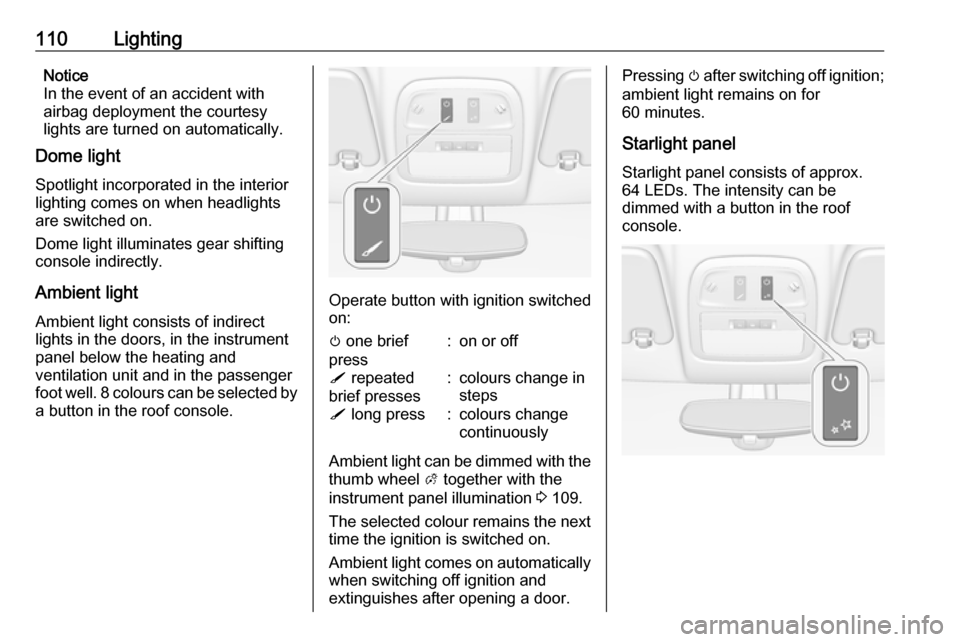
foot well. 8 colours can be selected by a button in the roof console.
Operate button with ignition switched
on:
m one brief
press:on or offS repeated
brief presses:colours change in
stepsS long press:colours change
continuously
Ambient light can be dimmed with the thumb wheel A together with the
instrument panel illumination 3 109.
The selected colour remains the next
time the ignition is switched on.
Ambient light comes on automatically when switching off ignition and
extinguishes after opening a door.
Pressing m after switching off ignition;
ambient light remains on for
60 minutes.
Starlight panel Starlight panel consists of approx.
64 LEDs. The intensity can be
dimmed with a button in the roof
console.
Page 113 of 239

Lighting111Operate button with ignition switched
on:m one brief
press:on or offT repeated
brief presses:dimming
stepwiseT long press:dimming
continuously
The selected intensity remains the
next time the ignition is switched on.
Starlight comes on automatically
when switching off ignition and
extinguishes after opening a door.
Pressing m after switching off ignition;
starlight remains on for 60 minutes.
Lighting features
Entry lighting
Welcome lighting The following lights are switched on
for a short time by unlocking the
vehicle with the radio remote control:
● headlights
● tail lights
● number plate lights
● instrument panel light
● interior lights
Some functions are only operable
when it is dark outside to facilitate
locating the vehicle.
The lighting switches off immediately
when the ignition key is turned to
position 1 3 124.
Activation or deactivation of this
function can be changed in the
Info-Display.
Vehicle personalisation 3 98.
The settings can be saved for the key
being used 3 21.The following lights will additionally
switch on when the driver's door is
opened:
● illumination of some switches
● Driver Information Centre
● ambient light
● starlight panel
Exit lighting The following lights switch on if the
key is removed from the ignition
switch:
● interior lights
● instrument panel light (only when
it is dark)
● ambient light
● starlight panel
They will switch off automatically after
a delay and will be activated again if
the driver's door is opened.
Path lighting
Headlights, tail lights and number plate lights illuminate the surrounding area for an adjustable time after
leaving the vehicle.
Page 114 of 239
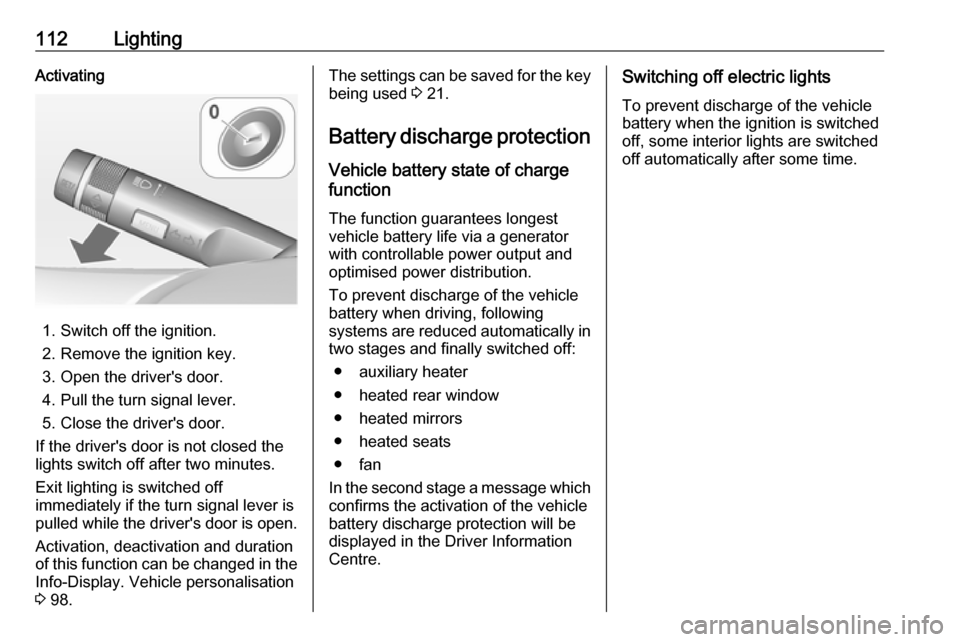
112LightingActivating
1. Switch off the ignition.
2. Remove the ignition key.
3. Open the driver's door.
4. Pull the turn signal lever.
5. Close the driver's door.
If the driver's door is not closed the
lights switch off after two minutes.
Exit lighting is switched off
immediately if the turn signal lever is
pulled while the driver's door is open.
Activation, deactivation and duration
of this function can be changed in the Info-Display. Vehicle personalisation
3 98.
The settings can be saved for the key
being used 3 21.
Battery discharge protection
Vehicle battery state of charge
function
The function guarantees longestvehicle battery life via a generator
with controllable power output and
optimised power distribution.
To prevent discharge of the vehicle
battery when driving, following
systems are reduced automatically in two stages and finally switched off:
● auxiliary heater
● heated rear window
● heated mirrors
● heated seats
● fan
In the second stage a message which
confirms the activation of the vehicle
battery discharge protection will be
displayed in the Driver Information
Centre.Switching off electric lights
To prevent discharge of the vehicle
battery when the ignition is switched off, some interior lights are switched
off automatically after some time.
Page 115 of 239
Climate control113Climate controlClimate control systems.............113
Heating and ventilation system 113
Air conditioning system ...........114
Electronic climate control system .................................... 116
Air vents ..................................... 121
Adjustable air vents .................121
Fixed air vents ......................... 121
Maintenance .............................. 121
Air intake ................................. 121
Pollen filter ............................... 121
Air conditioning regular operation ................................ 122
Service .................................... 122Climate control systems
Heating and ventilation system
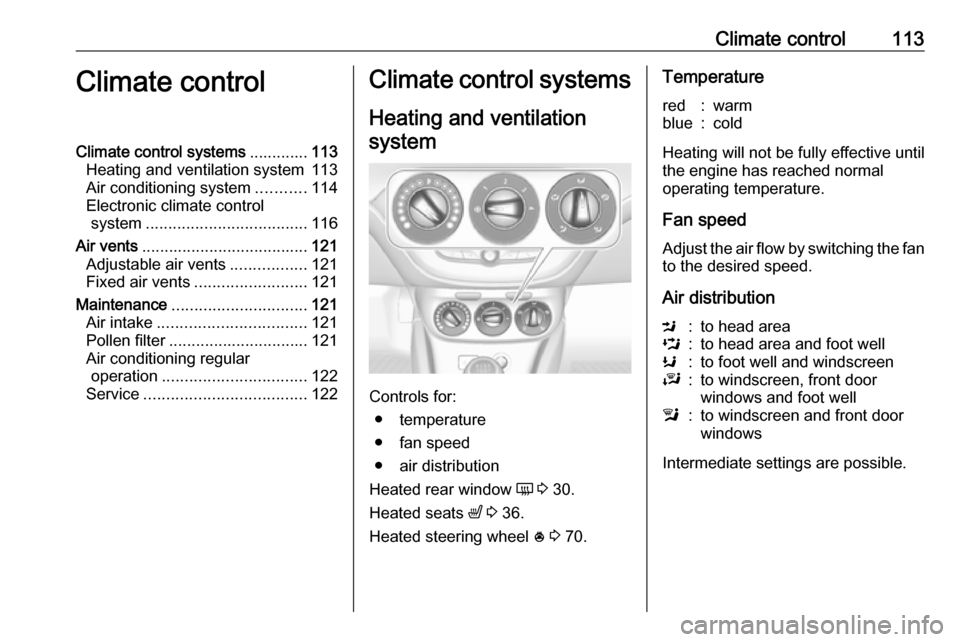
Controls for: ● temperature
● fan speed
● air distribution
Heated rear window Ü 3 30.
Heated seats ß 3 36.
Heated steering wheel * 3 70.
Temperaturered:warmblue:cold
Heating will not be fully effective until
the engine has reached normal
operating temperature.
Fan speed
Adjust the air flow by switching the fan
to the desired speed.
Air distribution
M:to head areaL:to head area and foot wellK:to foot well and windscreenJ:to windscreen, front door
windows and foot welll:to windscreen and front door
windows
Intermediate settings are possible.
Page 116 of 239
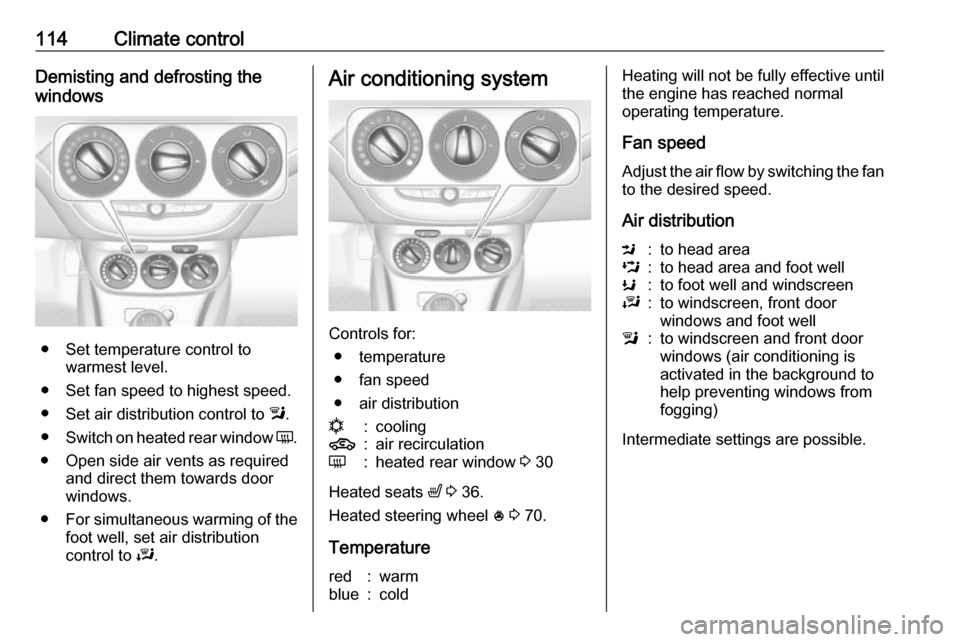
114Climate controlDemisting and defrosting the
windows
● Set temperature control to warmest level.
● Set fan speed to highest speed.
● Set air distribution control to l.
● Switch on heated rear window Ü.
● Open side air vents as required and direct them towards door
windows.
● For simultaneous warming of the
foot well, set air distribution
control to J.
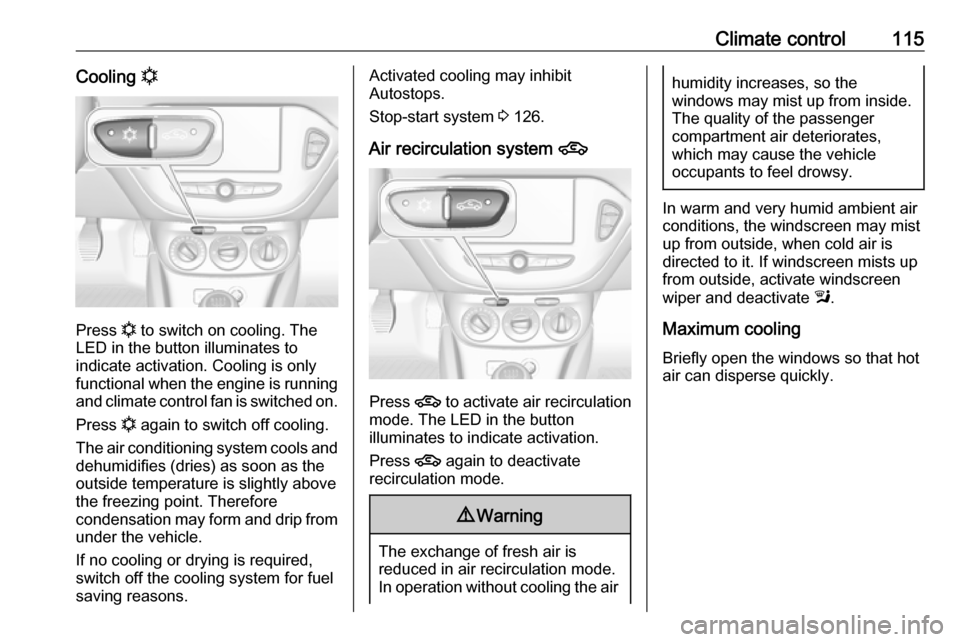
Air conditioning system
Controls for:
● temperature
● fan speed
● air distribution
n:cooling4:air recirculationÜ:heated rear window 3 30
Heated seats ß 3 36.
Heated steering wheel * 3 70.
Temperature
red:warmblue:coldHeating will not be fully effective until
the engine has reached normal
operating temperature.
Fan speed
Adjust the air flow by switching the fan
to the desired speed.
Air distributionM:to head areaL:to head area and foot wellK:to foot well and windscreenJ:to windscreen, front door
windows and foot welll:to windscreen and front door
windows (air conditioning is
activated in the background to
help preventing windows from
fogging)
Intermediate settings are possible.
Page 117 of 239
Climate control115Cooling n
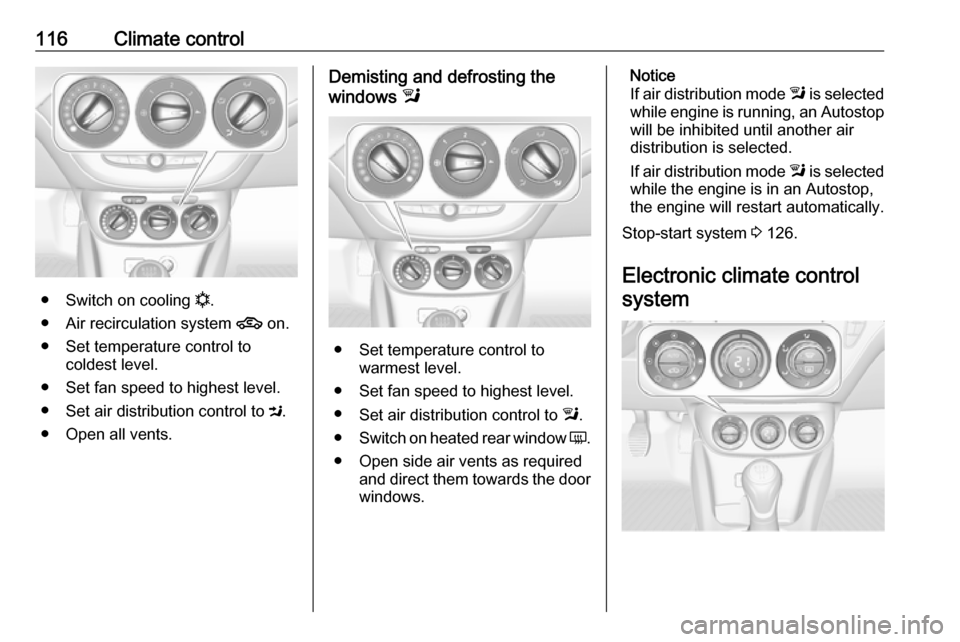
Press n
to switch on cooling. The
LED in the button illuminates to
indicate activation. Cooling is only
functional when the engine is running and climate control fan is switched on.
Press n again to switch off cooling.
The air conditioning system cools and
dehumidifies (dries) as soon as the
outside temperature is slightly above
the freezing point. Therefore
condensation may form and drip from under the vehicle.
If no cooling or drying is required,
switch off the cooling system for fuel
saving reasons.
Activated cooling may inhibit
Autostops.
Stop-start system 3 126.
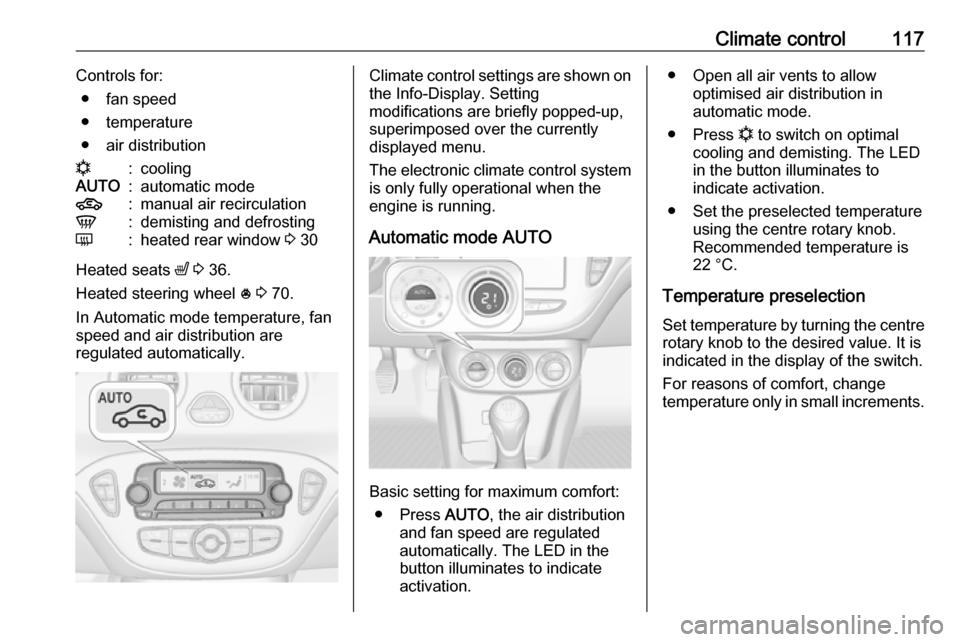
Air recirculation system 4
Press 4 to activate air recirculation
mode. The LED in the button
illuminates to indicate activation.
Press 4 again to deactivate
recirculation mode.
9 Warning
The exchange of fresh air is
reduced in air recirculation mode.
In operation without cooling the air
humidity increases, so the
windows may mist up from inside.
The quality of the passenger
compartment air deteriorates,
which may cause the vehicle
occupants to feel drowsy.
In warm and very humid ambient air conditions, the windscreen may mist
up from outside, when cold air is
directed to it. If windscreen mists up
from outside, activate windscreen
wiper and deactivate l.
Maximum cooling Briefly open the windows so that hot
air can disperse quickly.
Page 118 of 239
116Climate control
●Switch on cooling n.
● Air recirculation system 4 on.
● Set temperature control to coldest level.
● Set fan speed to highest level.
● Set air distribution control to M.
● Open all vents.
Demisting and defrosting the
windows l
● Set temperature control to
warmest level.
● Set fan speed to highest level.
● Set air distribution control to l.
● Switch on heated rear window Ü.
● Open side air vents as required and direct them towards the doorwindows.
Notice
If air distribution mode l is selected
while engine is running, an Autostop
will be inhibited until another air
distribution is selected.
If air distribution mode l is selected
while the engine is in an Autostop,
the engine will restart automatically.
Stop-start system 3 126.
Electronic climate control system
Page 119 of 239
Climate control117Controls for:● fan speed
● temperature
● air distributionn:coolingAUTO:automatic mode4:manual air recirculationV:demisting and defrostingÜ:heated rear window 3 30
Heated seats ß 3 36.
Heated steering wheel * 3 70.
In Automatic mode temperature, fan
speed and air distribution are
regulated automatically.
Climate control settings are shown on the Info-Display. Setting
modifications are briefly popped-up,
superimposed over the currently
displayed menu.
The electronic climate control system
is only fully operational when the
engine is running.
Automatic mode AUTO
Basic setting for maximum comfort: ● Press AUTO, the air distribution
and fan speed are regulated
automatically. The LED in the
button illuminates to indicate
activation.
● Open all air vents to allow optimised air distribution in
automatic mode.
● Press n to switch on optimal
cooling and demisting. The LED in the button illuminates to
indicate activation.
● Set the preselected temperature using the centre rotary knob.Recommended temperature is
22 °C.
Temperature preselection
Set temperature by turning the centre
rotary knob to the desired value. It is
indicated in the display of the switch.
For reasons of comfort, change
temperature only in small increments.
Page 120 of 239
118Climate control
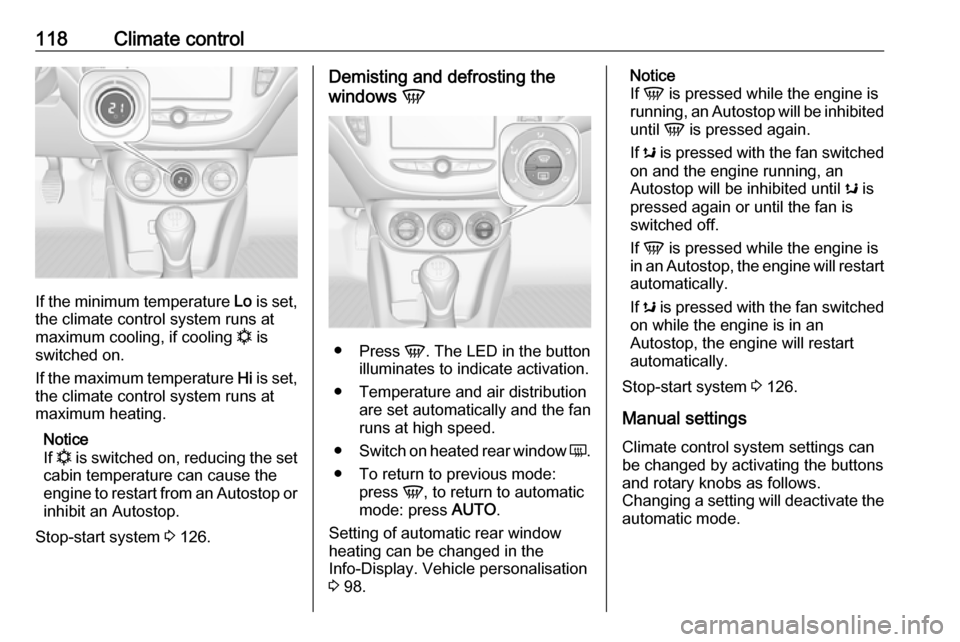
If the minimum temperature Lo is set,
the climate control system runs at
maximum cooling, if cooling n is
switched on.
If the maximum temperature Hi is set,
the climate control system runs at
maximum heating.
Notice
If n is switched on, reducing the set
cabin temperature can cause the
engine to restart from an Autostop or inhibit an Autostop.
Stop-start system 3 126.
Demisting and defrosting the
windows V
●
Press V. The LED in the button
illuminates to indicate activation.
● Temperature and air distribution are set automatically and the fan
runs at high speed.
● Switch on heated rear window Ü.
● To return to previous mode: press V, to return to automatic
mode: press AUTO.
Setting of automatic rear window
heating can be changed in the
Info-Display. Vehicle personalisation
3 98.
Notice
If V is pressed while the engine is
running, an Autostop will be inhibited
until V is pressed again.
If s is pressed with the fan switched
on and the engine running, an
Autostop will be inhibited until s is
pressed again or until the fan is
switched off.
If V is pressed while the engine is
in an Autostop, the engine will restart automatically.
If s is pressed with the fan switched
on while the engine is in an
Autostop, the engine will restart
automatically.
Stop-start system 3 126.
Manual settings Climate control system settings can
be changed by activating the buttons
and rotary knobs as follows.
Changing a setting will deactivate the automatic mode.