charging VAUXHALL ADAM 2016 User Guide
[x] Cancel search | Manufacturer: VAUXHALL, Model Year: 2016, Model line: ADAM, Model: VAUXHALL ADAM 2016Pages: 237, PDF Size: 7.16 MB
Page 166 of 237

164Vehicle careReplacing the vehicle batteryNotice
Any deviation from the instructions
given in this section may lead to
temporary deactivation of the stop-
start system.
When the vehicle battery is being
replaced, please ensure that there
are no open ventilation holes in the
vicinity of the positive terminal. If a
ventilation hole is open in this area, it
must be closed off with a dummy cap, and the ventilation in the vicinity of the
negative terminal must be opened.
Only use batteries that allow the fuse
box to be mounted above the vehicle
battery.
In vehicles with an AGM (Absorptive
Glass Mat) battery, make sure to
have the battery replaced with
another AGM battery.
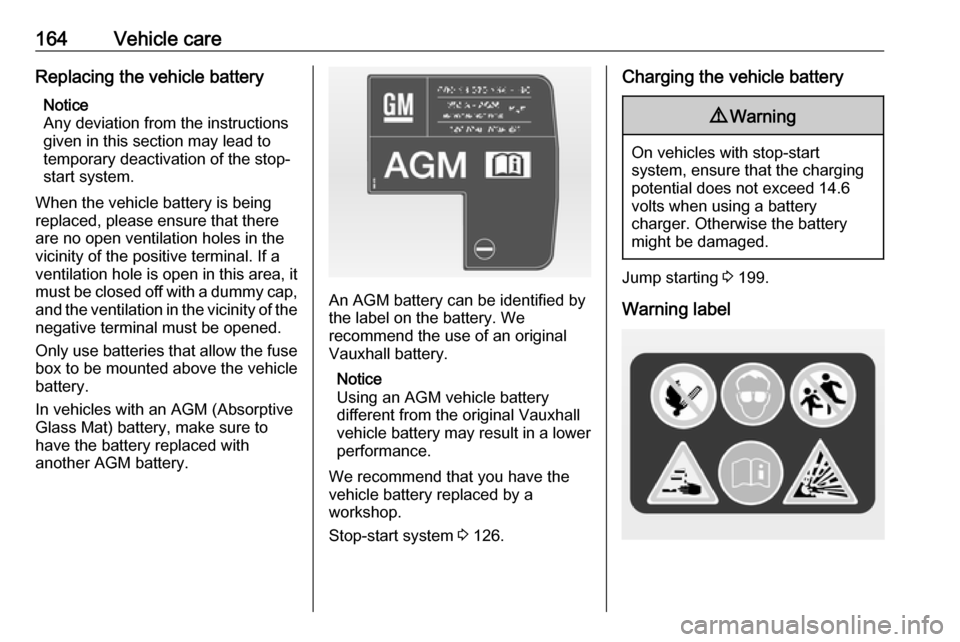
An AGM battery can be identified by the label on the battery. We
recommend the use of an original
Vauxhall battery.
Notice
Using an AGM vehicle battery
different from the original Vauxhall
vehicle battery may result in a lower performance.
We recommend that you have the
vehicle battery replaced by a
workshop.
Stop-start system 3 126.
Charging the vehicle battery9 Warning
On vehicles with stop-start
system, ensure that the charging potential does not exceed 14.6
volts when using a battery
charger. Otherwise the battery
might be damaged.
Jump starting 3 199.
Warning label
Page 192 of 237

190Vehicle care
6.Unscrew valve cap from defective
tyre.
7. Screw the filler hose to the tyre valve.
8. The switch on the compressor must be set to J.
9. Connect the compressor plug to the power outlet or cigarette
lighter socket.
To avoid discharging the battery,
we recommend running the
engine.10. Set the rocker switch on the compressor to I. The tyre is filled
with sealant.
11. The compressor pressure gauge briefly indicates up to six bar
whilst the sealant bottle is
emptying (approx. 30 seconds).
Then the pressure starts to drop.
12. All of the sealant is pumped into the tyre. Then the tyre is inflated.
13. The prescribed tyre pressure should be obtained within ten
minutes. Tyre pressure 3 221.
When the correct pressure is
obtained, switch off the
compressor.If the prescribed tyre pressure is
not obtained within ten minutes,
remove the tyre repair kit. Move
the vehicle one tyre rotation.
Reattach the tyre repair kit and
continue the filling procedure for ten minutes. If the prescribed tyre
pressure is still not obtained, the
tyre is too badly damaged. Seek
the assistance of a workshop.
Drain excess tyre pressure with
the button over the pressure
indicator.
Do not run the compressor for
longer than ten minutes.
Page 232 of 237

230IndexAAccessories and vehicle modifications .......................... 158
Adjustable air vents ...................121
Airbag and belt tensioners ...........83
Airbag deactivation ................44, 83
Airbag label................................... 39 Airbag system .............................. 39
Air conditioning regular operation ................................ 122
Air conditioning system .............. 114
Air intake .................................... 121
Air vents...................................... 121
Antilock brake system ................ 134
Antilock brake system (ABS) .......85
Anti-theft alarm system ................25
Anti-theft locking system .............. 25
Appearance care ........................203
Ashtrays ....................................... 77
Automatic anti-dazzle ..................28
Automatic light control ...............106
Automatic locking ........................23
B Battery discharge protection ......112
Battery voltage ............................. 97
Belts.............................................. 37
Bicycle rack .................................. 53
Bonnet ....................................... 160
Brake and clutch fluid .................208Brake and clutch system .............84
Brake assist ............................... 135
Brake fluid .................................. 163
Brakes ............................... 134, 163
Breakdown.................................. 200
Bulb replacement ....................... 166
C Capacities .................................. 220
Car Pass ...................................... 20
Catalytic converter .....................129
Central locking system ................22
Changing tyre and wheel size ...186
Charging system .......................... 83
Child restraint installation locations ................................... 47
Child restraints.............................. 45
Child restraint systems ................45
Cigarette lighter ........................... 76
City mode ................................... 138
Climate control ............................. 15
Climate control systems .............113
Clock ............................................ 74
Code ............................................. 94
Collision damage repair ..............225
Colour-Info-Display .......................92
Control indicators.......................... 80
Control of the vehicle .................123
Controls ........................................ 70
Convex shape .............................. 27