infotainment VAUXHALL ADAM 2016 Owner's Manual
[x] Cancel search | Manufacturer: VAUXHALL, Model Year: 2016, Model line: ADAM, Model: VAUXHALL ADAM 2016Pages: 237, PDF Size: 7.16 MB
Page 23 of 237
Keys, doors and windows21Basic settingsSome settings can be changed in theInfo-Display.
Vehicle personalisation 3 97.
Radio remote control battery
replacement
Replace the battery as soon as the
range reduces.
Batteries do not belong in household
waste. They must be disposed of at
an appropriate recycling collection
point.
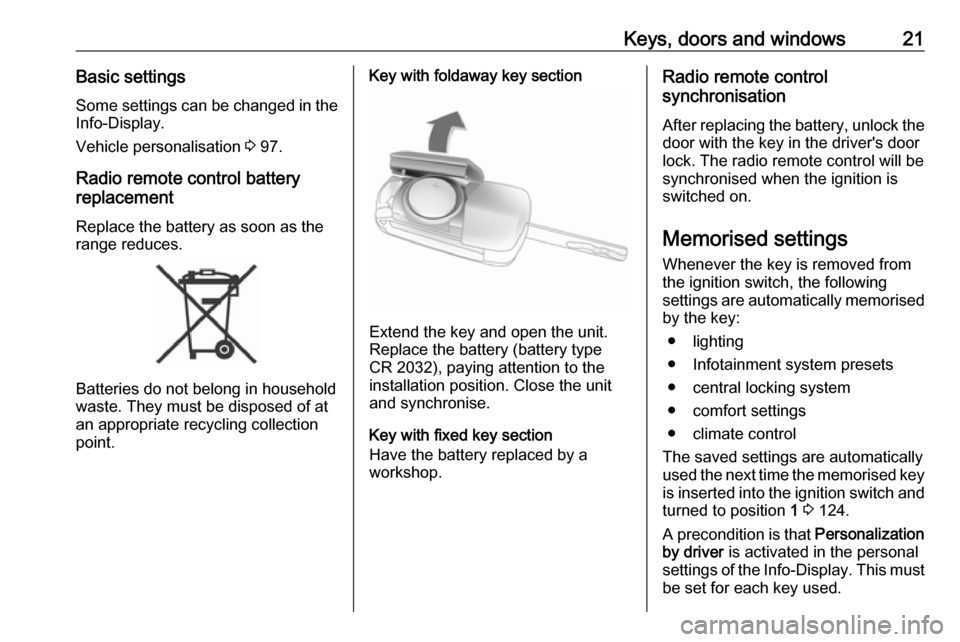
Key with foldaway key section
Extend the key and open the unit.
Replace the battery (battery type CR 2032), paying attention to the
installation position. Close the unit
and synchronise.
Key with fixed key section
Have the battery replaced by a
workshop.
Radio remote control
synchronisation
After replacing the battery, unlock the
door with the key in the driver's door
lock. The radio remote control will be
synchronised when the ignition is
switched on.
Memorised settings Whenever the key is removed from
the ignition switch, the following
settings are automatically memorised by the key:
● lighting
● Infotainment system presets
● central locking system
● comfort settings
● climate control
The saved settings are automatically
used the next time the memorised key
is inserted into the ignition switch and
turned to position 1 3 124.
A precondition is that Personalization
by driver is activated in the personal
settings of the Info-Display. This must
be set for each key used.
Page 72 of 237
70Instruments and controlsControlsSteering wheel adjustment
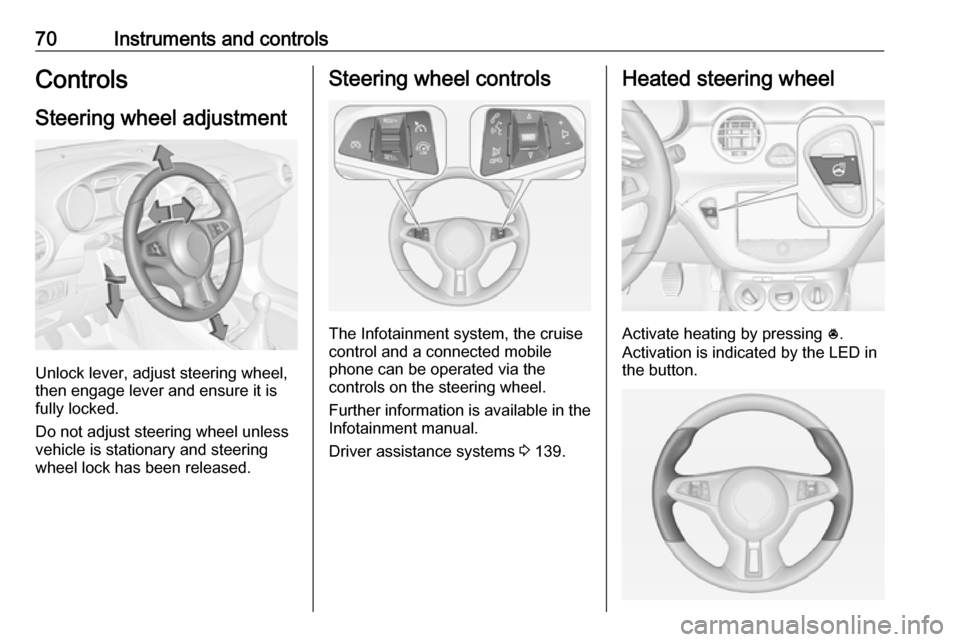
Unlock lever, adjust steering wheel,
then engage lever and ensure it is
fully locked.
Do not adjust steering wheel unless
vehicle is stationary and steering
wheel lock has been released.
Steering wheel controls
The Infotainment system, the cruise
control and a connected mobile
phone can be operated via the
controls on the steering wheel.
Further information is available in the
Infotainment manual.
Driver assistance systems 3 139.
Heated steering wheel
Activate heating by pressing *.
Activation is indicated by the LED in
the button.
Page 76 of 237
74Instruments and controls
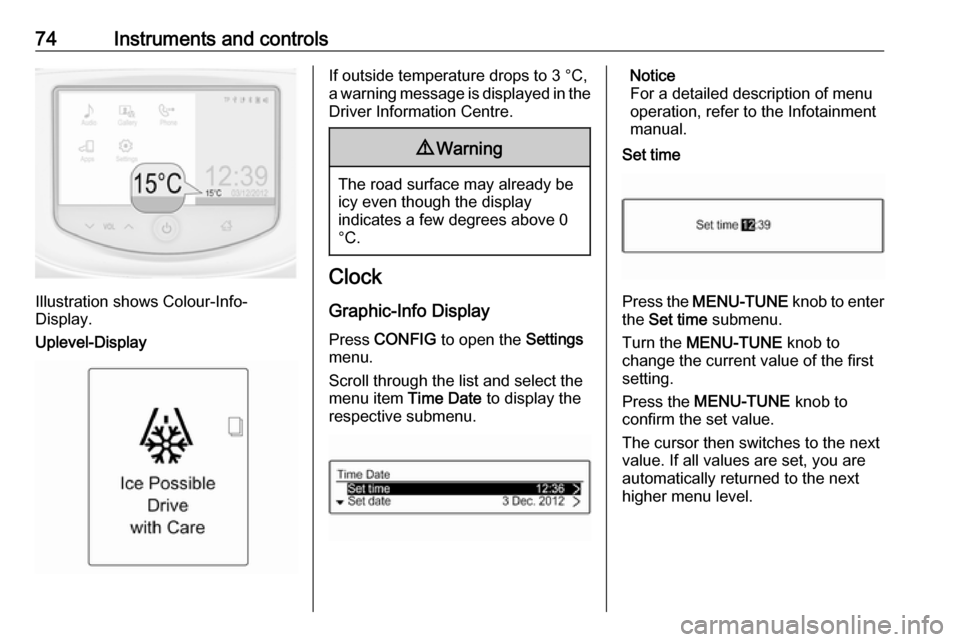
Illustration shows Colour-Info-
Display.
Uplevel-Display
If outside temperature drops to 3 °C,
a warning message is displayed in the Driver Information Centre.9 Warning
The road surface may already be
icy even though the display
indicates a few degrees above 0
°C.
Clock
Graphic-Info Display
Press CONFIG to open the Settings
menu.
Scroll through the list and select the
menu item Time Date to display the
respective submenu.
Notice
For a detailed description of menu
operation, refer to the Infotainment
manual.
Set time
Press the MENU-TUNE knob to enter
the Set time submenu.
Turn the MENU-TUNE knob to
change the current value of the first setting.
Press the MENU-TUNE knob to
confirm the set value.
The cursor then switches to the next
value. If all values are set, you are
automatically returned to the next
higher menu level.
Page 77 of 237
Instruments and controls75Set date
Press the MENU-TUNE knob to enter
the Set date submenu.
Turn the MENU-TUNE knob to
change the current value of the first setting.
Press the MENU-TUNE knob to
confirm the set value.
The cursor then switches to the next
value. If all values are set, you are
automatically returned to the next
higher menu level.
Set time format
To switch between the available
options, repeatedly press the
MENU-TUNE knob.
Set date format
To switch between the available
options, repeatedly press the
MENU-TUNE knob.
RDS clock synchronization
The RDS signal of most VHF
transmitters automatically sets the time. RDS time synchronisation cantake a few minutes. Some
transmitters do not send a correct
time signal. In such cases, it is
recommended to switch off the
automatic time synchronisation.
To switch between the options On
and Off, repeatedly press the
MENU-TUNE knob.
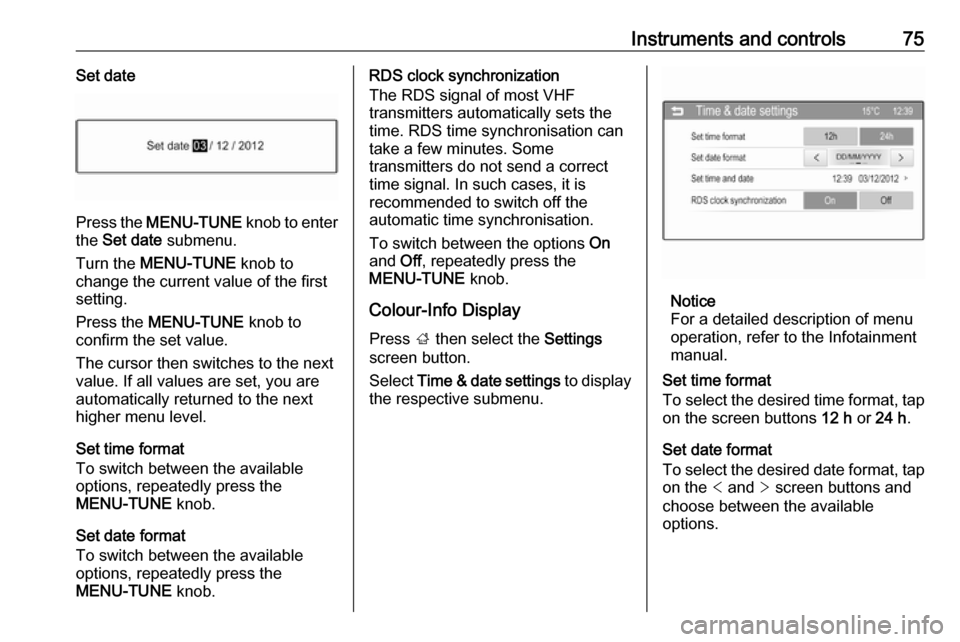
Colour-Info Display
Press ; then select the Settings
screen button.
Select Time & date settings to display
the respective submenu.
Notice
For a detailed description of menu
operation, refer to the Infotainment
manual.
Set time format
To select the desired time format, tap on the screen buttons 12 h or 24 h .
Set date format
To select the desired date format, tap
on the < and > screen buttons and
choose between the available options.
Page 95 of 237
Instruments and controls93
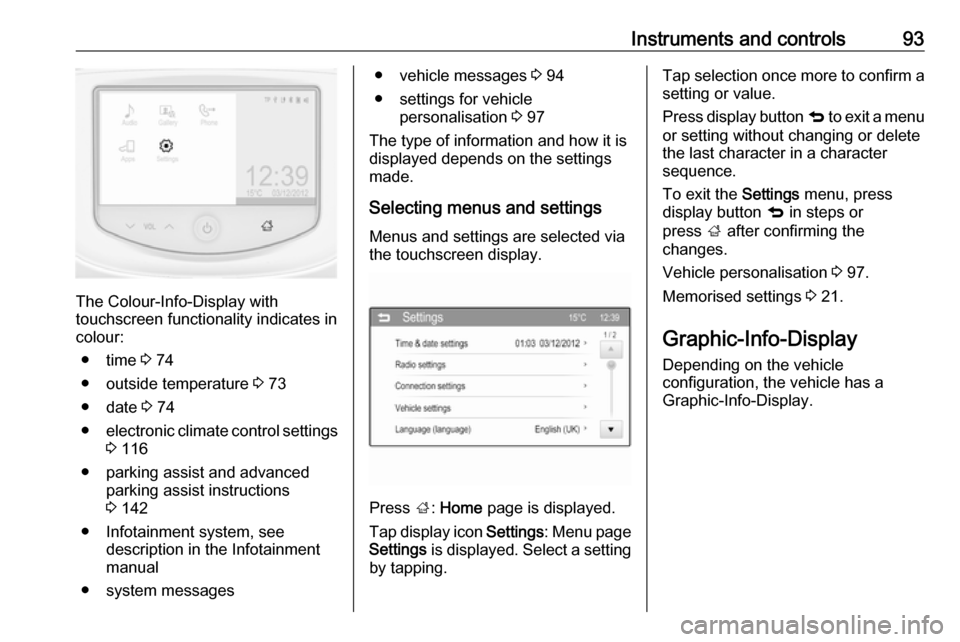
The Colour-Info-Display with
touchscreen functionality indicates in
colour:
● time 3 74
● outside temperature 3 73
● date 3 74
● electronic climate control settings
3 116
● parking assist and advanced parking assist instructions
3 142
● Infotainment system, see description in the Infotainment
manual
● system messages
● vehicle messages 3 94
● settings for vehicle personalisation 3 97
The type of information and how it is
displayed depends on the settings
made.
Selecting menus and settings Menus and settings are selected via
the touchscreen display.
Press ;: Home page is displayed.
Tap display icon Settings: Menu page
Settings is displayed. Select a setting
by tapping.
Tap selection once more to confirm a
setting or value.
Press display button q to exit a menu
or setting without changing or delete
the last character in a character
sequence.
To exit the Settings menu, press
display button q in steps or
press ; after confirming the
changes.
Vehicle personalisation 3 97.
Memorised settings 3 21.
Graphic-Info-Display Depending on the vehicle
configuration, the vehicle has a
Graphic-Info-Display.
Page 96 of 237
94Instruments and controls
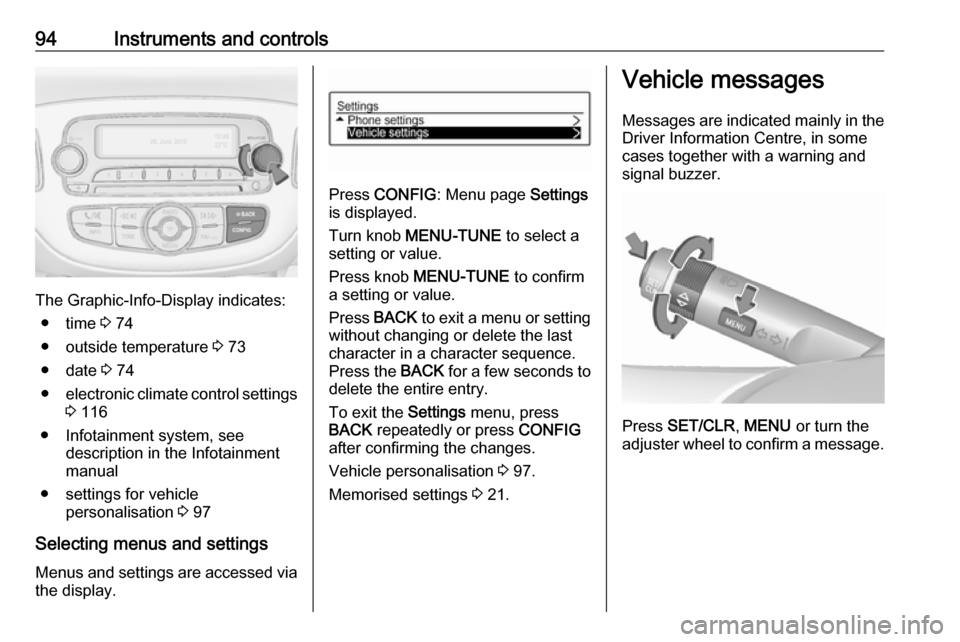
The Graphic-Info-Display indicates:● time 3 74
● outside temperature 3 73
● date 3 74
● electronic climate control settings
3 116
● Infotainment system, see description in the Infotainment
manual
● settings for vehicle personalisation 3 97
Selecting menus and settings
Menus and settings are accessed via the display.
Press CONFIG : Menu page Settings
is displayed.
Turn knob MENU-TUNE to select a
setting or value.
Press knob MENU-TUNE to confirm
a setting or value.
Press BACK to exit a menu or setting
without changing or delete the last
character in a character sequence.
Press the BACK for a few seconds to
delete the entire entry.
To exit the Settings menu, press
BACK repeatedly or press CONFIG
after confirming the changes.
Vehicle personalisation 3 97.
Memorised settings 3 21.
Vehicle messages
Messages are indicated mainly in the
Driver Information Centre, in some
cases together with a warning and
signal buzzer.
Press SET/CLR , MENU or turn the
adjuster wheel to confirm a message.
Page 100 of 237
98Instruments and controls
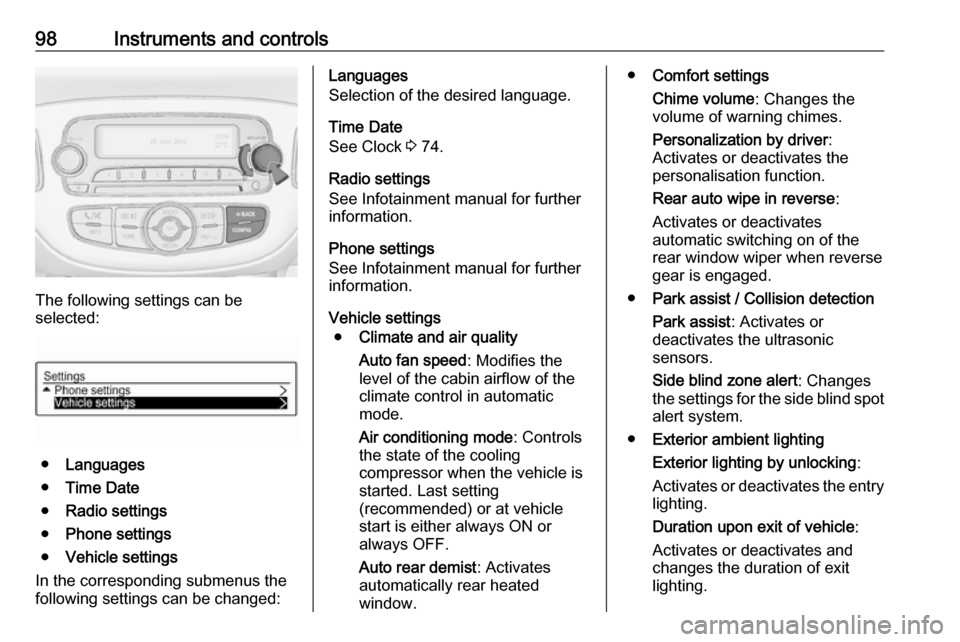
The following settings can be
selected:
● Languages
● Time Date
● Radio settings
● Phone settings
● Vehicle settings
In the corresponding submenus the
following settings can be changed:
Languages
Selection of the desired language.
Time Date
See Clock 3 74.
Radio settings
See Infotainment manual for further
information.
Phone settings
See Infotainment manual for further
information.
Vehicle settings ● Climate and air quality
Auto fan speed : Modifies the
level of the cabin airflow of the
climate control in automatic
mode.
Air conditioning mode : Controls
the state of the cooling
compressor when the vehicle is
started. Last setting
(recommended) or at vehicle
start is either always ON or
always OFF.
Auto rear demist : Activates
automatically rear heated
window.● Comfort settings
Chime volume : Changes the
volume of warning chimes.
Personalization by driver :
Activates or deactivates the
personalisation function.
Rear auto wipe in reverse :
Activates or deactivates
automatic switching on of the
rear window wiper when reverse
gear is engaged.
● Park assist / Collision detection
Park assist : Activates or
deactivates the ultrasonic
sensors.
Side blind zone alert : Changes
the settings for the side blind spot alert system.
● Exterior ambient lighting
Exterior lighting by unlocking :
Activates or deactivates the entry
lighting.
Duration upon exit of vehicle :
Activates or deactivates and
changes the duration of exit
lighting.
Page 102 of 237

100Instruments and controlsRadio settings
See Infotainment manual for further
information.
Connection settings
See Infotainment manual for further
information.
Vehicle settings ● Climate & air quality
Auto fan speed : Modifies the
level of the cabin airflow of the
climate control in automatic
mode.
Air conditioning mode : Controls
the state of the cooling
compressor when the vehicle is
started. Last setting
(recommended) or at vehicle
start is either always ON or
always OFF.
Auto rear defog : Activates
automatically rear heated
window.
● Comfort & convenience
Chime volume : Changes the
volume of warning chimes.Personalization by driver :
Activates or deactivates the
personalisation function.
Auto wipe in reverse gear :
Activates or deactivates
automatic switching on of the
rear window wiper when reverse gear is engaged.
● Collision / detection
Park assist : Activates or
deactivates the ultrasonic
sensors.
Side blind zone alert : Changes
the settings for the side blind spot
alert system.
● Lighting
Exit lighting : Activates or
deactivates and changes the
duration of exit lighting.
Vehicle locator lights : Activates
or deactivates the welcome
lighting.
● Power door locks
Auto door lock : Activates or
deactivates the automatic door locking function after switching
on ignition.Unlocked door anti lock out :
Activates or deactivates the door locking function while a door is
open.
Delayed door lock : Activates or
deactivates the delayed door
locking function. This menu
option is displayed with Unlocked
door anti lock out deactivated.
Central locking system 3 22.
● Lock, unlock settings
Remote unlock light feedback :
Activates or deactivates the
hazard warning flasher feedback
whilst unlocking.
Remote door unlock : Changes
the configuration to unlock only
the driver's door or the whole
vehicle whilst unlocking.
Relock remotely unlocked doors :
Activates or deactivates the
automatic relock function after
unlocking without opening the
vehicle.
● Vehicle factory settings :
Restores the setting values back
to the factory default settings.
Page 103 of 237

Instruments and controls101Language
Selection of the desired language.
Text scroll
See Infotainment manual for further information.
Touch beep volume
See Infotainment manual for further information.
Max startup volume
See Infotainment manual for further
information.
System version
See Infotainment manual for further
information.
DivX(R) VOD
See Infotainment manual for further information.OnStar® system
OnStar is a personal connectivity and mobility assistant with integrated
Wi-Fi hotspot. The OnStar service is
available 24 hours a day, seven days
a week.
Notice
OnStar is not available for all
markets. For further information,
contact your workshop.
Notice
In order to be available and
operational, OnStar needs a valid
OnStar subscription, functioning
vehicle electrics, mobile service and
GPS satellite link.
To activate the OnStar services and
set up an account, press Z and speak
with an OnStar advisor.
Depending on the equipment of the vehicle, the following services areavailable:
● OnStar emergency services and support in the case of a vehicle
breakdown
● Wi-Fi hotspot● OnStar smartphone application
● OnStar remote services, e.g. location of the vehicle, activation
of horn and lights, control of
central locking system
● Stolen vehicle assistance
● Vehicle health check
● Destination download
Notice
All functions requiring data
connection to the vehicle are no
longer available if the vehicle ignition
has not been turned on for ten days.
OnStar buttons
Page 127 of 237
Driving and operating125Power to the Infotainment system will
continue to operate for 30 minutes or until the key is removed from theignition switch, regardless of whether any door is opened.
Starting the engine
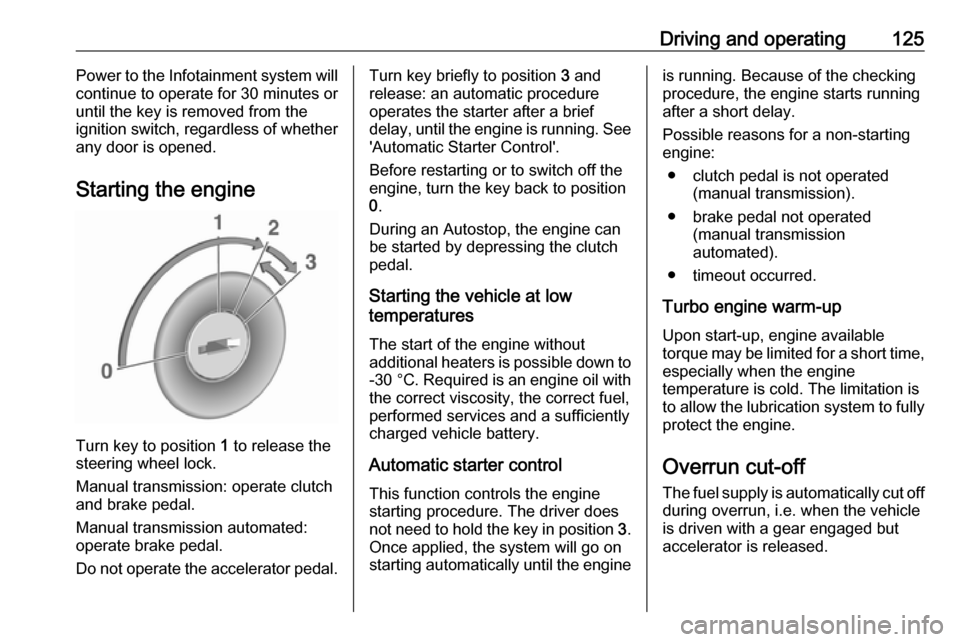
Turn key to position 1
to release the
steering wheel lock.
Manual transmission: operate clutch
and brake pedal.
Manual transmission automated:
operate brake pedal.
Do not operate the accelerator pedal.
Turn key briefly to position 3 and
release: an automatic procedure operates the starter after a brief
delay, until the engine is running. See
'Automatic Starter Control'.
Before restarting or to switch off the
engine, turn the key back to position
0 .
During an Autostop, the engine can
be started by depressing the clutch
pedal.
Starting the vehicle at low
temperatures
The start of the engine without
additional heaters is possible down to -30 °C . Required is an engine oil with
the correct viscosity, the correct fuel,
performed services and a sufficiently
charged vehicle battery.
Automatic starter controlThis function controls the engine
starting procedure. The driver does
not need to hold the key in position 3.
Once applied, the system will go on
starting automatically until the engineis running. Because of the checking
procedure, the engine starts running after a short delay.
Possible reasons for a non-starting engine:
● clutch pedal is not operated (manual transmission).
● brake pedal not operated (manual transmission
automated).
● timeout occurred.
Turbo engine warm-up
Upon start-up, engine available
torque may be limited for a short time, especially when the engine
temperature is cold. The limitation is
to allow the lubrication system to fully
protect the engine.
Overrun cut-off
The fuel supply is automatically cut off
during overrun, i.e. when the vehicle
is driven with a gear engaged but accelerator is released.