ESP VAUXHALL ADAM 2017 Infotainment system
[x] Cancel search | Manufacturer: VAUXHALL, Model Year: 2017, Model line: ADAM, Model: VAUXHALL ADAM 2017Pages: 93, PDF Size: 1.77 MB
Page 37 of 93
Phone37Disconnecting a devicePress ; and then select SETTINGS.
Select Bluetooth and then Device
Management to display the
respective menu.
Select the Bluetooth device currently
connected. You are prompted with a message.
Select Yes to disconnect the device.
Deleting a device Press ; and then select SETTINGS.
Select Bluetooth and then Device
Management to display the
respective menu.
Select DEL next to the Bluetooth
device. You are prompted with a
message.
Select Yes to delete the device.
Device info Press ; and then select SETTINGS.
Select Bluetooth and then Device
Information to display the respective
menu.The information displayed includes
Device Name , Address , and PIN
Code .
Emergency call9 Warning
Connection setup cannot be
guaranteed in all situations.For this reason you should not rely
exclusively on a mobile phone
when a vitally important
communication (e.g. a medical
emergency) is concerned.
In some networks it may be
necessary for a valid SIM card to
be properly inserted in the mobile
phone.
9 Warning
Bear in mind that you can make
and receive calls with the mobile
phone, if it is in a service area with
a sufficiently strong signal. Under
certain circumstances emergency
calls cannot be made on all mobile
phone networks; it is possible that
they cannot be made when certain network services and/or telephone
functions are active. You can
enquire about this with the local
network operators.
The emergency call number can
differ depending on the region and country. Please enquire
beforehand about the correct
emergency call number for the
relevant region.
Making an emergency call
Dial the emergency call number (e.g.
112 ).
The telephone connection to the
emergency call centre is set up.
Answer when the service personnel
questions you about the emergency.
9 Warning
Do not end the call until you are
requested to do so by the
emergency call centre.
Page 38 of 93
38PhoneOperation
As soon as a connection via
Bluetooth has been set up between
your mobile phone and the
Infotainment system, you can operate many functions of your mobile phone
via the Infotainment system.
Notice
In the handsfree mode, mobile
phone operation is still possible, e.g.
taking a call or adjusting the volume.
After the setup of a connection
between the mobile phone and the Infotainment system, mobile phone
data is transmitted to the Infotainment system. This can take some time
depending on the mobile phone and
the amount of data to be transferred.
During this period, operation of the
mobile phone via the Infotainment
system is possible only to a limited extent.
Notice
Not every mobile phone supports all
functions of the Phone portal.
Therefore deviations from the range
of functions described with these
specific mobile phones are possible.Phone main menu
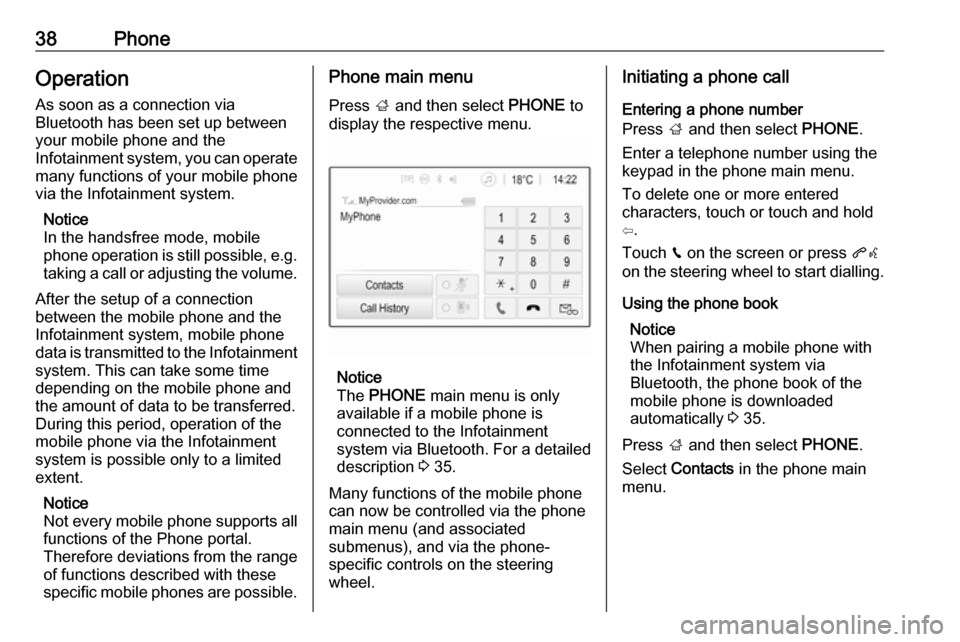
Press ; and then select PHONE to
display the respective menu.
Notice
The PHONE main menu is only
available if a mobile phone is connected to the Infotainment
system via Bluetooth. For a detailed
description 3 35.
Many functions of the mobile phone can now be controlled via the phone
main menu (and associated
submenus), and via the phone-
specific controls on the steering
wheel.
Initiating a phone call
Entering a phone number
Press ; and then select PHONE.
Enter a telephone number using the
keypad in the phone main menu.
To delete one or more entered
characters, touch or touch and hold
⇦.
Touch v on the screen or press qw
on the steering wheel to start dialling.
Using the phone book Notice
When pairing a mobile phone with
the Infotainment system via
Bluetooth, the phone book of the
mobile phone is downloaded
automatically 3 35.
Press ; and then select PHONE.
Select Contacts in the phone main
menu.
Page 40 of 93
40PhoneContacts settings
The contacts list can be sorted by last
name or first name.
Press ; and then select SETTINGS
to display the respective menu.
Select Bluetooth and then Sort
Order . Activate the desired option.
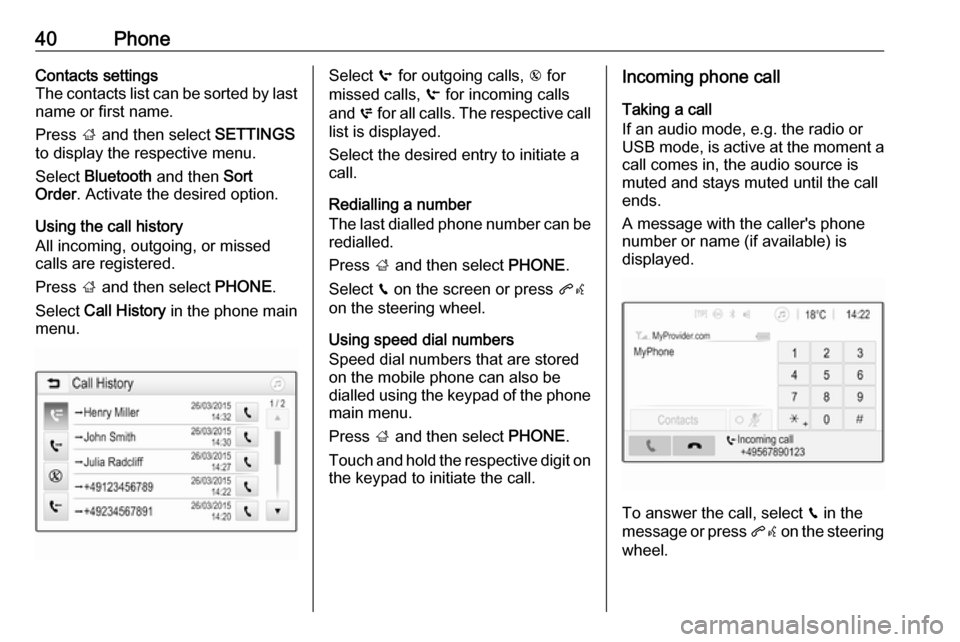
Using the call history
All incoming, outgoing, or missed calls are registered.
Press ; and then select PHONE.
Select Call History in the phone main
menu.Select q for outgoing calls, r for
missed calls, s for incoming calls
and p for all calls. The respective call
list is displayed.
Select the desired entry to initiate a
call.
Redialling a number
The last dialled phone number can be
redialled.
Press ; and then select PHONE.
Select v on the screen or press qw
on the steering wheel.
Using speed dial numbers
Speed dial numbers that are stored
on the mobile phone can also be
dialled using the keypad of the phone main menu.
Press ; and then select PHONE.
Touch and hold the respective digit on the keypad to initiate the call.Incoming phone call
Taking a call
If an audio mode, e.g. the radio or
USB mode, is active at the moment a call comes in, the audio source is
muted and stays muted until the call
ends.
A message with the caller's phone
number or name (if available) is
displayed.
To answer the call, select v in the
message or press qw on the steering
wheel.
Page 41 of 93
Phone41Rejecting a call
To reject the call, select J in the
message or press xn on the
steering wheel.
Changing the ring tone
Press ; and then select SETTINGS.
Select Bluetooth and then Ringtones
to display the respective menu. A list of all devices paired is displayed.
Select the desired device. A list of all
ringtones available for this device is
displayed.
Select one of the ringtones.
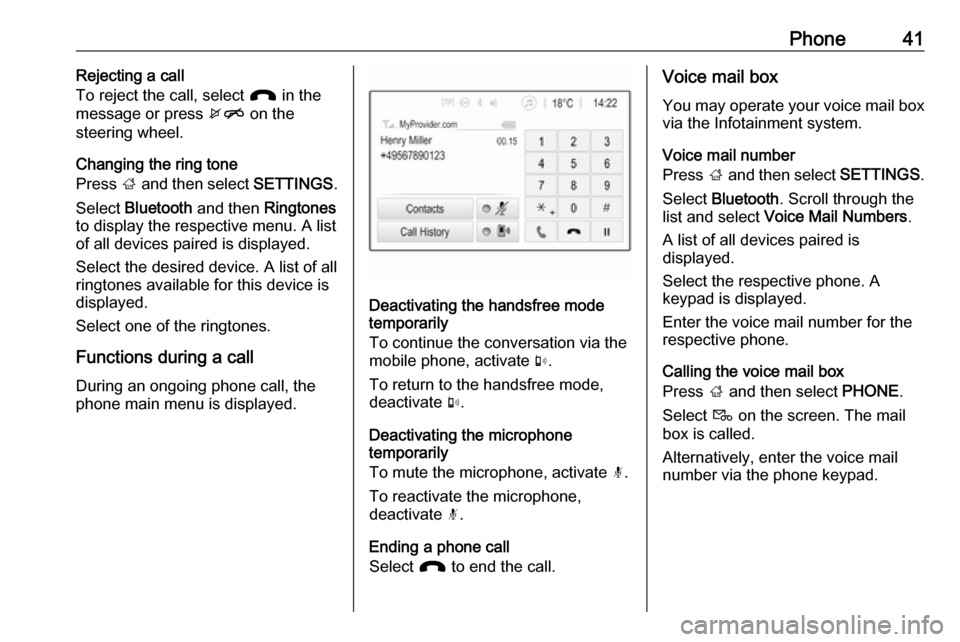
Functions during a call During an ongoing phone call, the
phone main menu is displayed.
Deactivating the handsfree mode
temporarily
To continue the conversation via the
mobile phone, activate m.
To return to the handsfree mode,
deactivate m.
Deactivating the microphone
temporarily
To mute the microphone, activate n.
To reactivate the microphone,
deactivate n.
Ending a phone call
Select J to end the call.
Voice mail box
You may operate your voice mail box via the Infotainment system.
Voice mail number
Press ; and then select SETTINGS.
Select Bluetooth . Scroll through the
list and select Voice Mail Numbers .
A list of all devices paired is
displayed.
Select the respective phone. A
keypad is displayed.
Enter the voice mail number for the
respective phone.
Calling the voice mail box
Press ; and then select PHONE.
Select t on the screen. The mail
box is called.
Alternatively, enter the voice mail number via the phone keypad.
Page 56 of 93
56IntroductionPress CONFIG to open the Settings
menu.
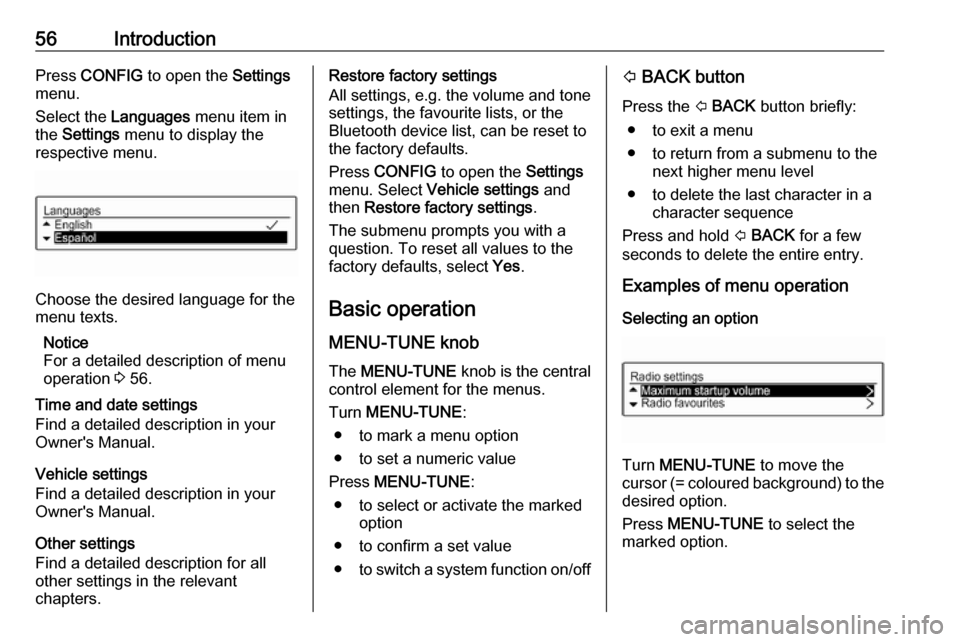
Select the Languages menu item in
the Settings menu to display the
respective menu.
Choose the desired language for the
menu texts.
Notice
For a detailed description of menu
operation 3 56.
Time and date settings
Find a detailed description in your
Owner's Manual.
Vehicle settings
Find a detailed description in your Owner's Manual.
Other settings
Find a detailed description for all
other settings in the relevant
chapters.
Restore factory settings
All settings, e.g. the volume and tone
settings, the favourite lists, or the
Bluetooth device list, can be reset to
the factory defaults.
Press CONFIG to open the Settings
menu. Select Vehicle settings and
then Restore factory settings .
The submenu prompts you with a
question. To reset all values to the
factory defaults, select Yes.
Basic operation
MENU-TUNE knob The MENU-TUNE knob is the central
control element for the menus.
Turn MENU-TUNE :
● to mark a menu option
● to set a numeric value
Press MENU-TUNE :
● to select or activate the marked option
● to confirm a set value
● to switch a system function on/offP BACK button
Press the P BACK button briefly:
● to exit a menu
● to return from a submenu to the next higher menu level
● to delete the last character in a character sequence
Press and hold P BACK for a few
seconds to delete the entire entry.
Examples of menu operation
Selecting an option
Turn MENU-TUNE to move the
cursor (= coloured background) to the desired option.
Press MENU-TUNE to select the
marked option.
Page 60 of 93
60RadioRadioUsage.......................................... 60
Station search .............................. 60
Autostore lists .............................. 61
Favourite lists ............................... 62
Waveband menus ........................62
Radio data system (RDS) ............64
Digital audio broadcasting ...........66Usage
Activating the radio
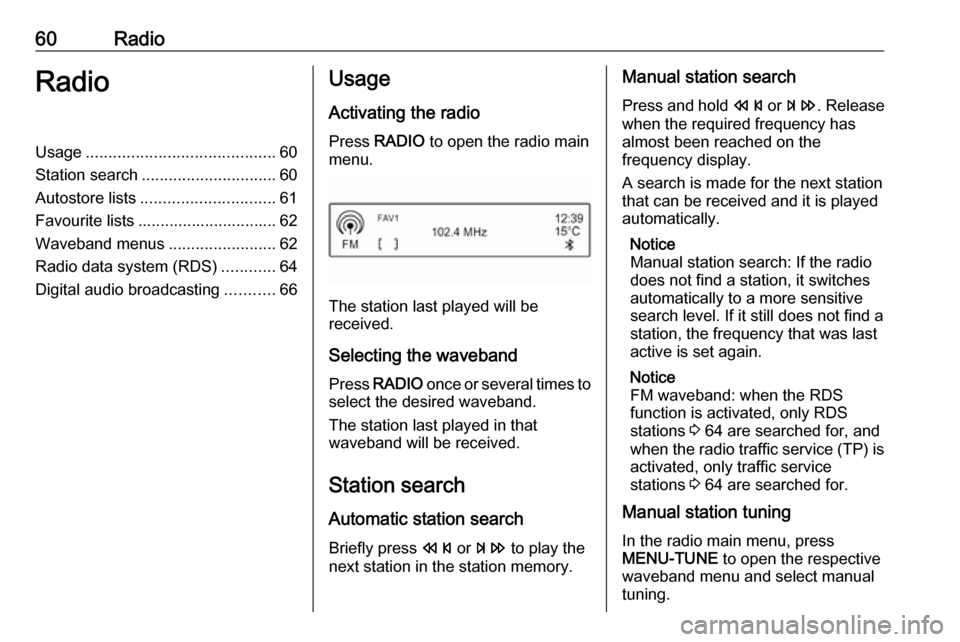
Press RADIO to open the radio main
menu.
The station last played will be
received.
Selecting the waveband
Press RADIO once or several times to
select the desired waveband.
The station last played in that
waveband will be received.
Station search Automatic station search
Briefly press s or u to play the
next station in the station memory.
Manual station search
Press and hold s or u . Release
when the required frequency has
almost been reached on the
frequency display.
A search is made for the next station
that can be received and it is played
automatically.
Notice
Manual station search: If the radio
does not find a station, it switches
automatically to a more sensitive
search level. If it still does not find a
station, the frequency that was last
active is set again.
Notice
FM waveband: when the RDS
function is activated, only RDS
stations 3 64 are searched for, and
when the radio traffic service (TP) is activated, only traffic service
stations 3 64 are searched for.
Manual station tuning
In the radio main menu, press
MENU-TUNE to open the respective
waveband menu and select manual tuning.
Page 61 of 93
Radio61On the pop-up frequency display, turn
MENU-TUNE and set the optimal
reception frequency.
Autostore lists The stations received best in a
waveband can be searched for and
stored automatically via the autostore
function.
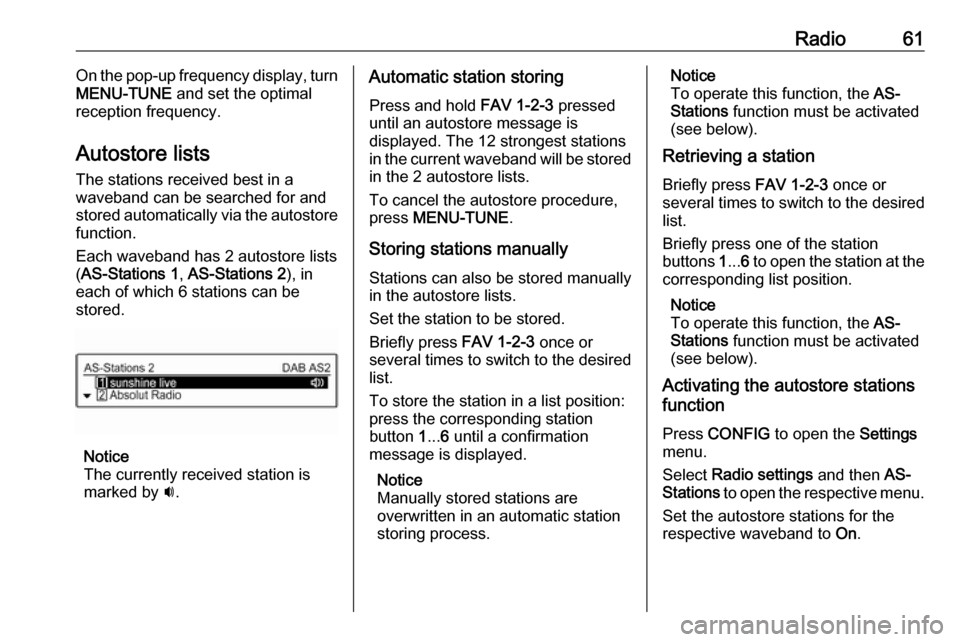
Each waveband has 2 autostore lists ( AS-Stations 1 , AS-Stations 2 ), in
each of which 6 stations can be stored.
Notice
The currently received station is
marked by i.
Automatic station storing
Press and hold FAV 1-2-3 pressed
until an autostore message is
displayed. The 12 strongest stations
in the current waveband will be stored
in the 2 autostore lists.
To cancel the autostore procedure,
press MENU-TUNE .
Storing stations manually Stations can also be stored manually
in the autostore lists.
Set the station to be stored.
Briefly press FAV 1-2-3 once or
several times to switch to the desired
list.
To store the station in a list position:
press the corresponding station
button 1... 6 until a confirmation
message is displayed.
Notice
Manually stored stations are
overwritten in an automatic station
storing process.Notice
To operate this function, the AS-
Stations function must be activated
(see below).
Retrieving a station
Briefly press FAV 1-2-3 once or
several times to switch to the desired
list.
Briefly press one of the station
buttons 1... 6 to open the station at the
corresponding list position.
Notice
To operate this function, the AS-
Stations function must be activated
(see below).
Activating the autostore stations function
Press CONFIG to open the Settings
menu.
Select Radio settings and then AS-
Stations to open the respective menu.
Set the autostore stations for the
respective waveband to On.
Page 62 of 93
62RadioFavourite lists
Stations of all wavebands can be
stored manually in the favourite lists.
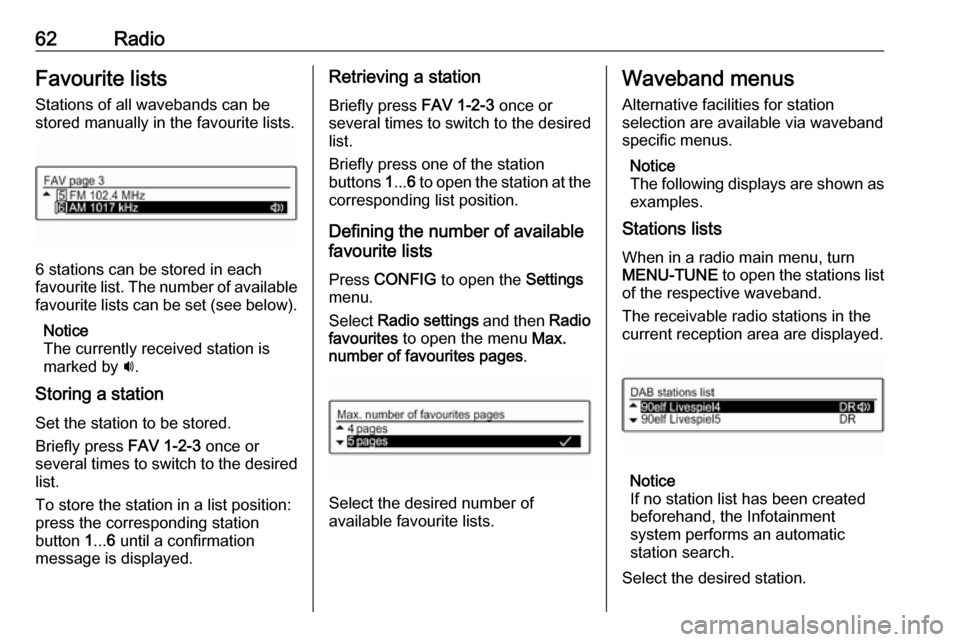
6 stations can be stored in each
favourite list. The number of available favourite lists can be set (see below).
Notice
The currently received station is
marked by i.
Storing a station Set the station to be stored.
Briefly press FAV 1-2-3 once or
several times to switch to the desired
list.
To store the station in a list position:
press the corresponding station
button 1... 6 until a confirmation
message is displayed.
Retrieving a station
Briefly press FAV 1-2-3 once or
several times to switch to the desired list.
Briefly press one of the station
buttons 1... 6 to open the station at the
corresponding list position.
Defining the number of available
favourite lists
Press CONFIG to open the Settings
menu.
Select Radio settings and then Radio
favourites to open the menu Max.
number of favourites pages .
Select the desired number of
available favourite lists.
Waveband menus
Alternative facilities for station
selection are available via waveband specific menus.
Notice
The following displays are shown as
examples.
Stations lists
When in a radio main menu, turn
MENU-TUNE to open the stations list
of the respective waveband.
The receivable radio stations in the
current reception area are displayed.
Notice
If no station list has been created
beforehand, the Infotainment
system performs an automatic
station search.
Select the desired station.
Page 63 of 93
Radio63Notice
The currently received station is
marked by i.
Updating the stations lists
When in a radio main menu, press
MENU-TUNE to open the relevant
waveband menu.
If the stations stored in the waveband-
specific station list can no longer be
received:
Select the respective menu item to
update the station list in the
respective waveband menu, e.g.
Update FM station list .
A station search is started. Once the
search is completed, the station last
received will be played.
To cancel the station search: press
MENU-TUNE .
Notice
If a waveband-specific station list is
updated, the corresponding
category list is also updated.Favourites list
While in a radio main menu, press
MENU-TUNE to open the relevant
waveband menu.
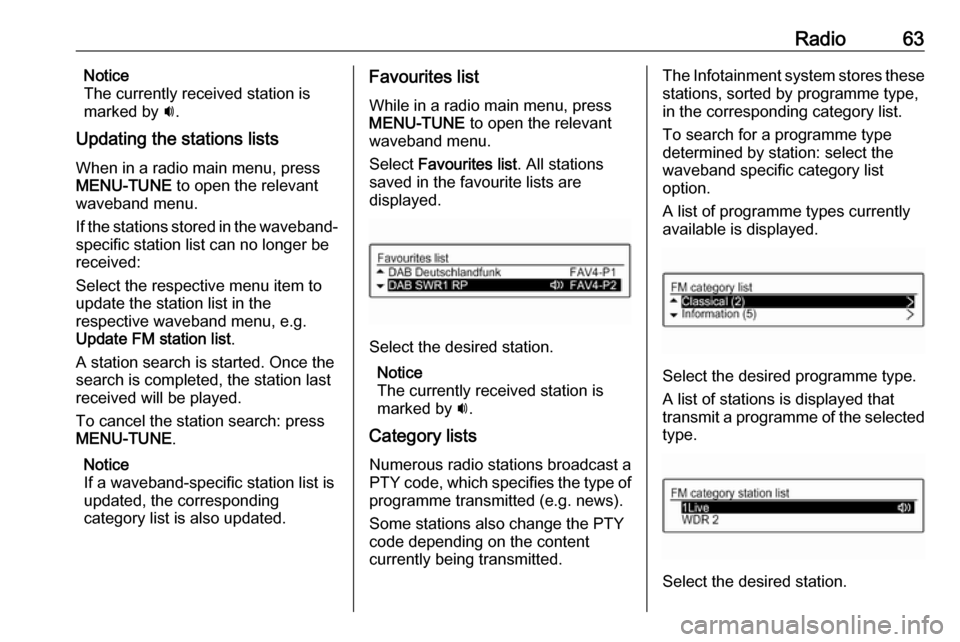
Select Favourites list . All stations
saved in the favourite lists are
displayed.
Select the desired station.
Notice
The currently received station is
marked by i.
Category lists Numerous radio stations broadcast a
PTY code, which specifies the type of
programme transmitted (e.g. news).
Some stations also change the PTY
code depending on the content
currently being transmitted.
The Infotainment system stores these stations, sorted by programme type,
in the corresponding category list.
To search for a programme type
determined by station: select the
waveband specific category list
option.
A list of programme types currently
available is displayed.
Select the desired programme type.
A list of stations is displayed that
transmit a programme of the selected
type.
Select the desired station.
Page 64 of 93
64RadioThe category list is updated, too,
when the corresponding waveband
specific station list is updated.
Notice
The currently received station is marked by i.
DAB announcements
Besides their music programmes,
numerous DAB stations 3 66
broadcast various announcement
categories.
The currently received DAB service
(programme) is interrupted when any
announcement of previously
activated categories is pending.
Activating announcement categories
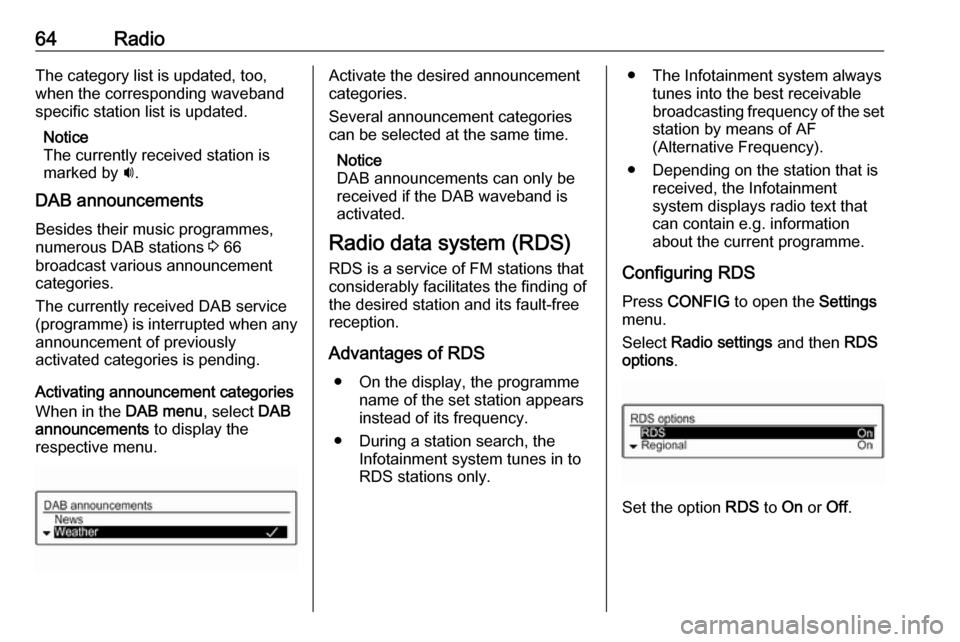
When in the DAB menu, select DAB
announcements to display the
respective menu.Activate the desired announcement
categories.
Several announcement categories
can be selected at the same time.
Notice
DAB announcements can only be
received if the DAB waveband is
activated.
Radio data system (RDS)
RDS is a service of FM stations that considerably facilitates the finding of
the desired station and its fault-free
reception.
Advantages of RDS ● On the display, the programme name of the set station appears
instead of its frequency.
● During a station search, the Infotainment system tunes in to
RDS stations only.● The Infotainment system always tunes into the best receivable
broadcasting frequency of the set station by means of AF
(Alternative Frequency).
● Depending on the station that is received, the Infotainment
system displays radio text that
can contain e.g. information
about the current programme.
Configuring RDS Press CONFIG to open the Settings
menu.
Select Radio settings and then RDS
options .
Set the option RDS to On or Off.