light VAUXHALL ANTARA 2015 Owner's Manual
[x] Cancel search | Manufacturer: VAUXHALL, Model Year: 2015, Model line: ANTARA, Model: VAUXHALL ANTARA 2015Pages: 223, PDF Size: 6.07 MB
Page 3 of 223

Introduction.................................... 2
In brief ............................................ 6
Keys, doors and windows ............19
Seats, restraints ........................... 34
Storage ........................................ 56
Instruments and controls .............73
Lighting ...................................... 106
Climate control ........................... 115
Driving and operating .................123
Vehicle care ............................... 152
Service and maintenance ..........197
Technical data ........................... 200
Customer information ................211
Index .......................................... 216Contents
Page 13 of 223

In brief11
1Side air vents .....................120
2 Fixed air vents .................... 121
3 High beam .......................... 107
Headlight flash ...................107
Turn and lane-change
signals ................................ 109
Exit lighting ......................... 113
Parking lights .....................110
Cruise control ....................... 91
4 Remote control on
steering wheel ......................73
Trip computer .....................101
5 Horn ..................................... 74
6 Instruments .......................... 80
7 Windscreen wiper and
washer system, headlight
washer system .....................74
Rear window wiper and
washer system .....................768Info-Display .......................... 95
Check control, tyre
pressure monitoring
system ................................ 178
Trip computer .....................101
9 Centre air vents .................. 120
10 Hazard warning flashers ....108
Parking assist ..................... 143
Electronic Stability Control . 139
Descent control system ...... 140
Status LED for anti-theft
alarm system ........................ 25
Folding exterior mirrors ........28
Eco button for stop/start
system ................................. 125
11 Infotainment system .............10
12 Front passenger airbag ........47
13 Status LEDs for front
passenger airbag .................49
Control indicator for front
passenger seat belt .............42
14 Glovebox .............................. 5715Fuse box ............................ 172
16 Climate control system ....... 115
17 Ignition switch with
steering wheel lock ............124
18 Accelerator pedal ...............124
19 Driver airbag ........................ 47
20 Brake pedal ........................ 137
21 Clutch pedal ....................... 123
22 Steering wheel adjustment ..73
23 Bonnet release ...................154
24 Coin storage ......................... 56
25 Card holder .......................... 56
26 Light switch ........................ 106
Automatic light control .......106
Instrument illumination .......111
Rear fog light ...................... 110
Front fog lights ...................109
Headlight range
adjustment ......................... 107
Page 14 of 223
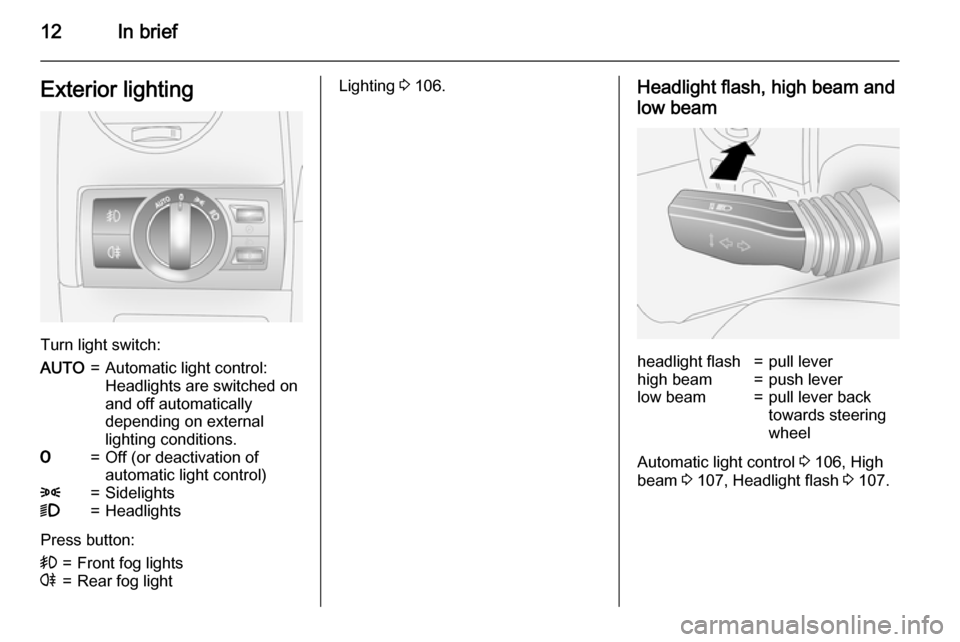
12In briefExterior lighting
Turn light switch:
AUTO=Automatic light control:
Headlights are switched on
and off automatically
depending on external
lighting conditions.7=Off (or deactivation of
automatic light control)8=Sidelights9=Headlights
Press button:
>=Front fog lightsr=Rear fog lightLighting 3 106.Headlight flash, high beam and
low beamheadlight flash=pull leverhigh beam=push leverlow beam=pull lever back
towards steering
wheel
Automatic light control 3 106, High
beam 3 107, Headlight flash 3 107.
Page 15 of 223
In brief13
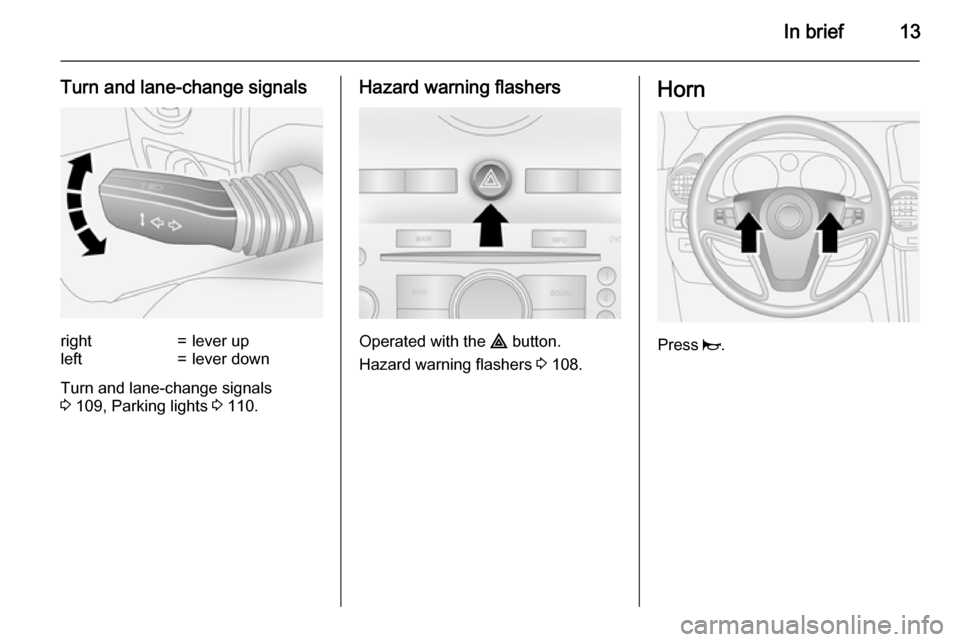
Turn and lane-change signalsright=lever upleft=lever down
Turn and lane-change signals
3 109, Parking lights 3 110.
Hazard warning flashers
Operated with the ¨ button.
Hazard warning flashers 3 108.
Horn
Press j.
Page 16 of 223
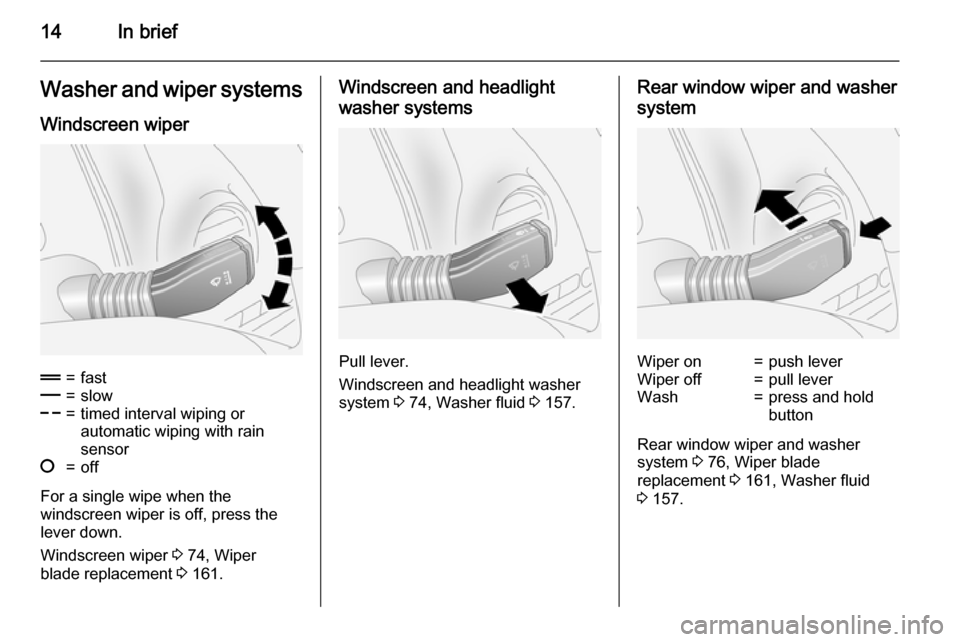
14In briefWasher and wiper systems
Windscreen wiper&=fast%=slow$=timed interval wiping or
automatic wiping with rain
sensor§=off
For a single wipe when the
windscreen wiper is off, press the
lever down.
Windscreen wiper 3 74, Wiper
blade replacement 3 161.
Windscreen and headlight
washer systems
Pull lever.
Windscreen and headlight washer
system 3 74, Washer fluid 3 157.
Rear window wiper and washer
systemWiper on=push leverWiper off=pull leverWash=press and hold
button
Rear window wiper and washer
system 3 76, Wiper blade
replacement 3 161, Washer fluid
3 157.
Page 18 of 223
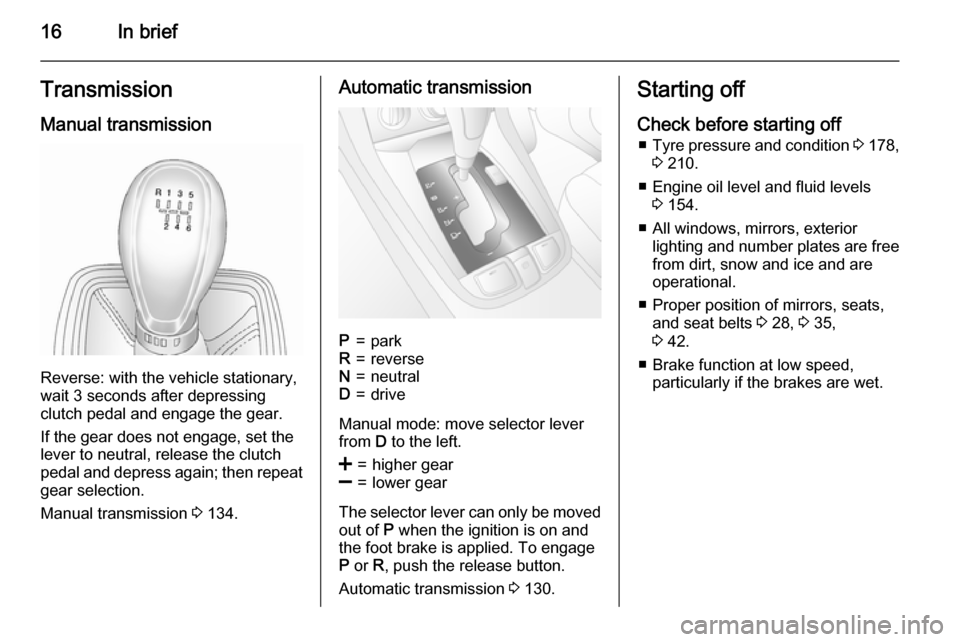
16In briefTransmission
Manual transmission
Reverse: with the vehicle stationary,
wait 3 seconds after depressing
clutch pedal and engage the gear.
If the gear does not engage, set the
lever to neutral, release the clutch
pedal and depress again; then repeat
gear selection.
Manual transmission 3 134.
Automatic transmissionP=parkR=reverseN=neutralD=drive
Manual mode: move selector lever
from D to the left.
<=higher gear]=lower gear
The selector lever can only be moved
out of P when the ignition is on and
the foot brake is applied. To engage
P or R, push the release button.
Automatic transmission 3 130.
Starting off
Check before starting off ■ Tyre pressure and condition 3 178,
3 210.
■ Engine oil level and fluid levels 3 154.
■ All windows, mirrors, exterior lighting and number plates are free
from dirt, snow and ice and are
operational.
■ Proper position of mirrors, seats, and seat belts 3 28, 3 35,
3 42.
■ Brake function at low speed, particularly if the brakes are wet.
Page 19 of 223
In brief17
Starting the engine
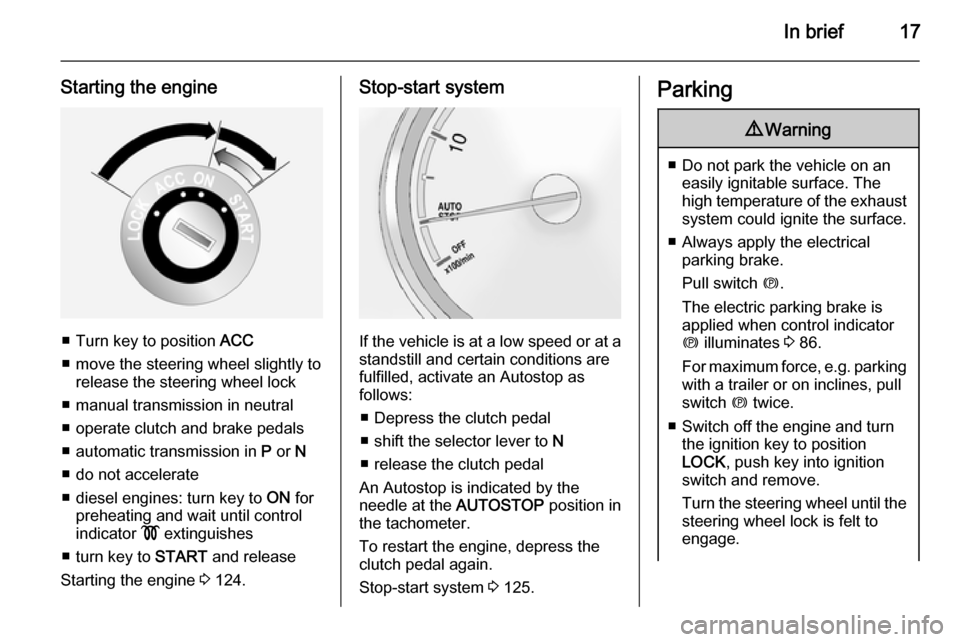
■ Turn key to position ACC
■ move the steering wheel slightly to release the steering wheel lock
■ manual transmission in neutral
■ operate clutch and brake pedals ■ automatic transmission in P or N
■ do not accelerate
■ diesel engines: turn key to ON for
preheating and wait until control
indicator ! extinguishes
■ turn key to START and release
Starting the engine 3 124.
Stop-start system
If the vehicle is at a low speed or at a
standstill and certain conditions are
fulfilled, activate an Autostop as
follows:
■ Depress the clutch pedal
■ shift the selector lever to N
■ release the clutch pedal
An Autostop is indicated by the
needle at the AUTOSTOP position in
the tachometer.
To restart the engine, depress the
clutch pedal again.
Stop-start system 3 125.
Parking9 Warning
■ Do not park the vehicle on an
easily ignitable surface. The
high temperature of the exhaust system could ignite the surface.
■ Always apply the electrical parking brake.
Pull switch m.
The electric parking brake is
applied when control indicator
m illuminates 3 86.
For maximum force, e.g. parking
with a trailer or on inclines, pull
switch m twice.
■ Switch off the engine and turn the ignition key to position
LOCK , push key into ignition
switch and remove.
Turn the steering wheel until the
steering wheel lock is felt to
engage.
Page 27 of 223
Keys, doors and windows25
Activating
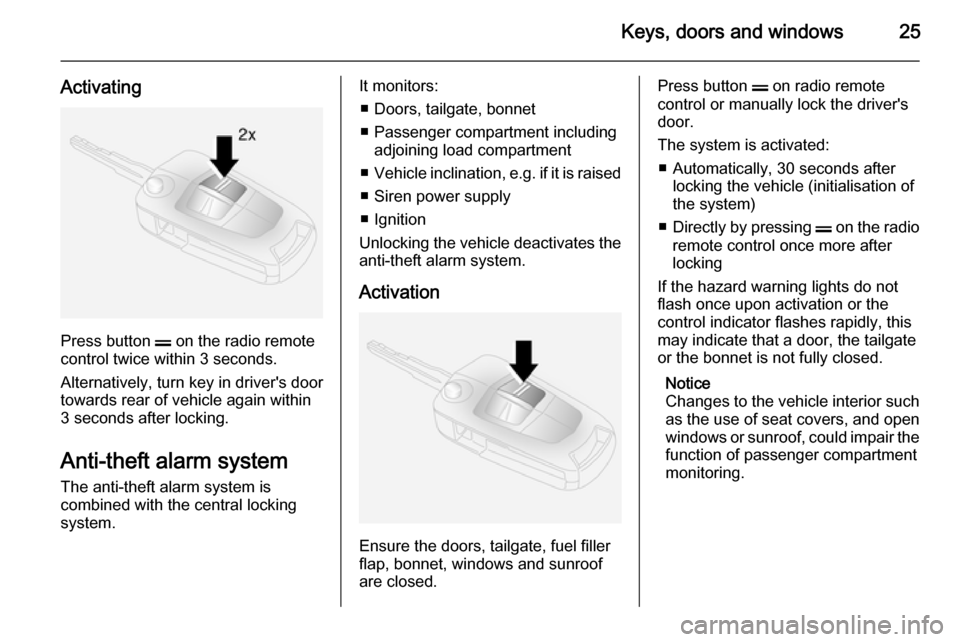
Press button p on the radio remote
control twice within 3 seconds.
Alternatively, turn key in driver's door
towards rear of vehicle again within
3 seconds after locking.
Anti-theft alarm system
The anti-theft alarm system is
combined with the central locking
system.
It monitors:
■ Doors, tailgate, bonnet
■ Passenger compartment including adjoining load compartment
■ Vehicle inclination, e.g. if it is raised
■ Siren power supply
■ Ignition
Unlocking the vehicle deactivates the
anti-theft alarm system.
Activation
Ensure the doors, tailgate, fuel filler
flap, bonnet, windows and sunroof
are closed.
Press button p on radio remote
control or manually lock the driver's
door.
The system is activated: ■ Automatically, 30 seconds after locking the vehicle (initialisation of
the system)
■ Directly by pressing p on the radio
remote control once more after
locking
If the hazard warning lights do not flash once upon activation or the
control indicator flashes rapidly, this
may indicate that a door, the tailgate
or the bonnet is not fully closed.
Notice
Changes to the vehicle interior such
as the use of seat covers, and open
windows or sunroof, could impair the function of passenger compartment
monitoring.
Page 28 of 223
26Keys, doors and windows
Activation without monitoring of
passenger compartment and
vehicle inclination
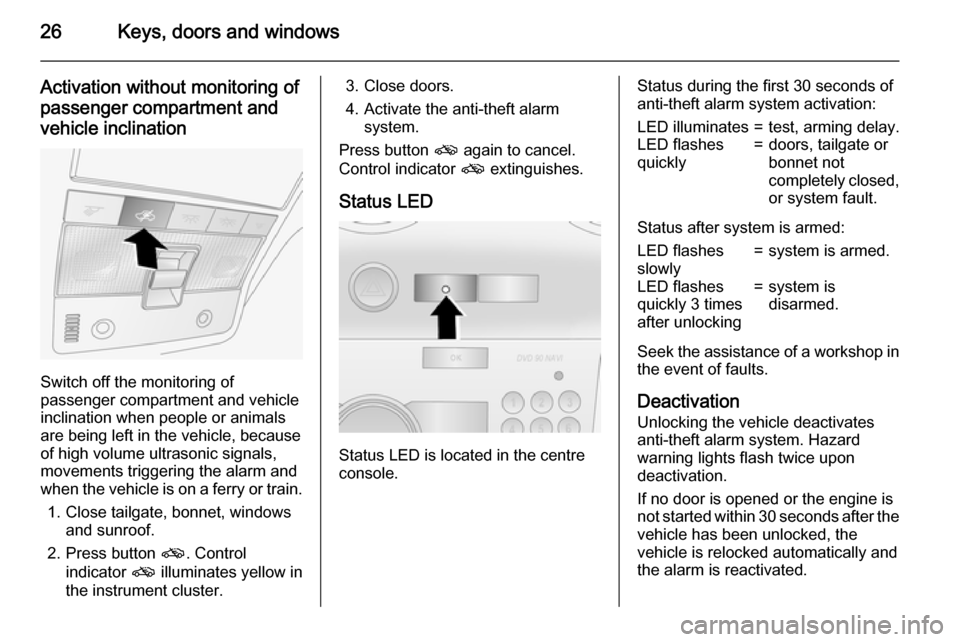
Switch off the monitoring of
passenger compartment and vehicle
inclination when people or animals
are being left in the vehicle, because
of high volume ultrasonic signals,
movements triggering the alarm and
when the vehicle is on a ferry or train.
1. Close tailgate, bonnet, windows and sunroof.
2. Press button o. Control
indicator o illuminates yellow in
the instrument cluster.
3. Close doors.
4. Activate the anti-theft alarm system.
Press button o again to cancel.
Control indicator o extinguishes.
Status LED
Status LED is located in the centre
console.
Status during the first 30 seconds of
anti-theft alarm system activation:LED illuminates=test, arming delay.LED flashes
quickly=doors, tailgate or
bonnet not
completely closed,
or system fault.
Status after system is armed:
LED flashes
slowly=system is armed.LED flashes
quickly 3 times
after unlocking=system is
disarmed.
Seek the assistance of a workshop in
the event of faults.
Deactivation
Unlocking the vehicle deactivates
anti-theft alarm system. Hazard
warning lights flash twice upon
deactivation.
If no door is opened or the engine is
not started within 30 seconds after the
vehicle has been unlocked, the
vehicle is relocked automatically and
the alarm is reactivated.
Page 29 of 223
Keys, doors and windows27
If the alarm has been triggered, the
hazard warning lights will not flash
upon deactivation.
Alarm When triggered, the alarm sounds via a separate battery-backed power
sounder, and the hazard warning
lights flash simultaneously. The
number and duration of alarm signals
are stipulated by legislation.
The alarm can be silenced by
pressing any button of the radio
remote control or manually unlocking
the driver's door with the ignition key. The anti-theft alarm system is
deactivated at the same time.
If the vehicle's battery is to be
disconnected (e.g. for maintenance
work), the alarm siren must be
deactivated as follows: switch the
ignition on then off, then disconnect
the vehicle's battery within
15 seconds.Immobiliser
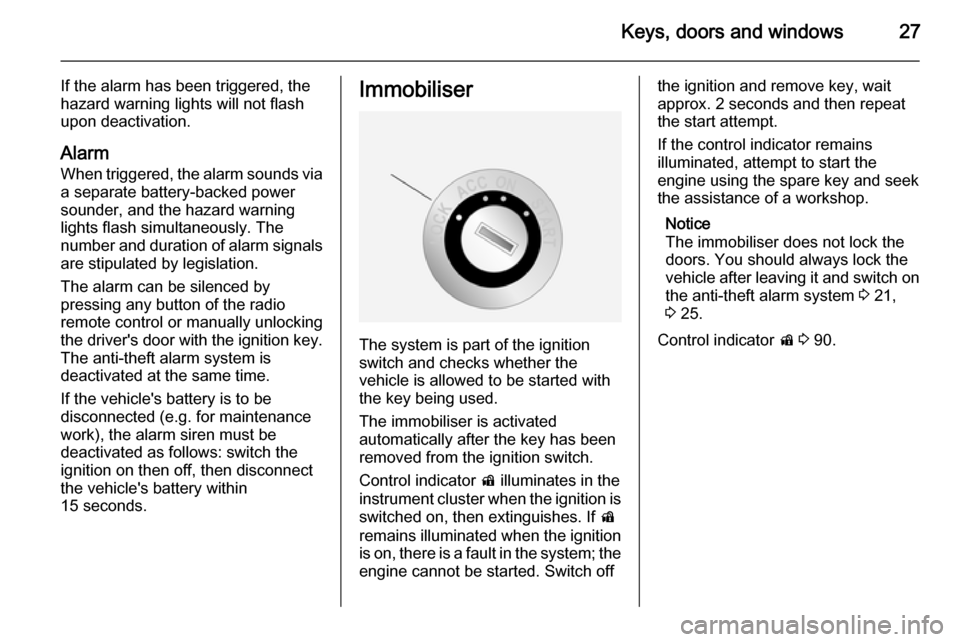
The system is part of the ignition
switch and checks whether the
vehicle is allowed to be started with the key being used.
The immobiliser is activated
automatically after the key has been
removed from the ignition switch.
Control indicator d illuminates in the
instrument cluster when the ignition is switched on, then extinguishes. If d
remains illuminated when the ignition
is on, there is a fault in the system; the
engine cannot be started. Switch off
the ignition and remove key, wait
approx. 2 seconds and then repeat
the start attempt.
If the control indicator remains
illuminated, attempt to start the
engine using the spare key and seek
the assistance of a workshop.
Notice
The immobiliser does not lock the
doors. You should always lock the
vehicle after leaving it and switch on the anti-theft alarm system 3 21,
3 25.
Control indicator d 3 90.