tyre pressure VAUXHALL ASTRA J 2014.25 Owner's Manual
[x] Cancel search | Manufacturer: VAUXHALL, Model Year: 2014.25, Model line: ASTRA J, Model: VAUXHALL ASTRA J 2014.25Pages: 329, PDF Size: 9.99 MB
Page 21 of 329

In brief19Starting offCheck before starting off ■ Tyre pressure and condition 3 258,
3 307.
■ Engine oil level and fluid levels 3 224.
■ All windows, mirrors, exterior lighting and number plates are free
from dirt, snow and ice and are
operational.
■ Proper position of mirrors, seats, and seat belts 3 31, 3 40,
3 48.
■ Brake function at low speed, particularly if the brakes are wet.Starting the engine
■ Turn key to position 1
■ move the steering wheel slightly to release the steering wheel lock
■ operate clutch and brake
■ automatic transmission in P or N
■ do not operate accelerator pedal
■ diesel engines: turn the key to position 2 for preheating and wait
until control indicator !
extinguishes
■ turn key to position 3 and release
Starting the engine 3 163.
Stop-start system
If the vehicle is at a low speed or at a
standstill and certain conditions are
fulfilled, activate an Autostop as
follows:
■ Depress the clutch pedal
■ set the lever in neutral
■ release the clutch pedal
An Autostop is indicated by the
needle at the AUTOSTOP position in
the tachometer.
To restart the engine, depress the
clutch pedal again.
Stop-start system 3 165.
Page 101 of 329

Storage99
vehicle weight (see identification
plate 3 285) and the EC kerb
weight.
To calculate the payload, enter the
data for your vehicle in the Weights
table at the front of this manual.
The EC kerb weight includes
weights for the driver (68 kg),
luggage (7 kg) and all fluids (tank
90 % full).
Optional equipment and
accessories increase the kerb
weight.
■ Driving with a roof load increases the sensitivity of the vehicle to
cross-winds and has a detrimental
effect on vehicle handling due to
the vehicle's higher centre of
gravity. Distribute the load evenly
and secure it properly with retaining
straps. Adjust the tyre pressure and vehicle speed according to the load
conditions. Check and retighten the straps frequently.
Do not drive faster than 75 mph.
The permissible roof load is 75 kg for the 3-door / 5-door hatchbackand 4-door saloon, for the Sports
tourer it is 100 kg. The roof load is
the combined weight of the roof
rack and the load.
Page 119 of 329

Instruments and controls117
Electronic Stability Control 3 177,
Traction Control system 3 176.
Traction Control system off k illuminates yellow.
The system is deactivated.
Preheating
! illuminates yellow.
Preheating is activated. Only
activates when outside temperature
is low.
Diesel particle filter
% illuminates or flashes yellow.
The diesel particle filter requires
cleaning.
Continue driving until %
extinguishes. If possible, do not allow engine speed to drop below
2000 rpm.Illuminates
The diesel particle filter is full. Start
cleaning process as soon as
possible.
Flashes The maximum filling level of the filter
is reached. Start cleaning process
immediately to avoid damage to the
engine.
Diesel particle filter 3 168, Stop-start
system 3 165.
Tyre pressure monitoring
system
w illuminates or flashes yellow.
Illuminates
Tyre pressure loss. Stop immediately
and check tyre pressure.
Flashes Fault in system or tyre without
pressure sensor mounted (e.g. spare
wheel). After 60-90 seconds the
control indicator illuminates
continuously. Consult a workshop.Engine oil pressure
I illuminates red.
Illuminates when the ignition is
switched on and extinguishes shortly after the engine starts.
Illuminates when the engine isrunningCaution
Engine lubrication may be
interrupted. This may result in
damage to the engine and/or
locking of the drive wheels.
1. Depress clutch.
2. Select neutral gear, set selector lever to N.
3. Move out of the flow of traffic as quickly as possible without
impeding other vehicles.
4. Switch off ignition.
Page 123 of 329

Instruments and controls121
Turn the adjuster wheel to highlight a
menu option or to set a numeric value.
Press the SET/CLR button to select a
function or to confirm a message.
Vehicle Information Menu
Press the MENU button to select the
Vehicle Information Menu , or on
Uplevel-Combi-Display select X.
Turn the adjuster wheel to select a
submenu. Press the SET/CLR button
to confirm.
Follow the instructions given in the submenus.
Possible submenus can be,
depending on the version:
■ Unit : displayed units can be
changed
■ Tire Pressure : checks tyre pressure
of all wheels during driving 3 259
■ Tire Load : select tyre pressure
category according to the actually
inflated tyre pressure 3 259
■ Remaining Oil Life : indicates when
to change the engine oil and filter
3 110
Page 129 of 329

Instruments and controls127
No.Vehicle message6Depress brake pedal to release
electric parking brake7Turn steering wheel, switch
ignition off and then on9Turn steering wheel, start
engine again12Vehicle overloaded13Compressor overheated15Centre high-mounted brake
light failure16Brake light failure17Headlight levelling malfunction18Left low beam failure19Rear fog light failure20Right low beam failure21Left sidelight failure22Right sidelight failure23Reversing light failureNo.Vehicle message24Number plate light failure25Left front turn signal failure26Left rear turn signal failure27Right front turn signal failure28Right rear turn signal failure29Check trailer brake light30Check trailer reversing light31Check left trailer turn signal32Check right trailer turn signal33Check trailer rear fog light34Check trailer rear light35Replace battery in radio remote
control48Clean side blind zone alert
system49Lane departure warning
unavailable53Tighten gas capNo.Vehicle message54Water in diesel fuel filter55Diesel particle filter is full
3 16856Tyre pressure imbalance on
front axle57Tyre pressure imbalance on
rear axle58Tyres without TPMS sensors
detected59Open and then close driver
window60Open and then close front
passenger window61Open and then close rear left
window62Open and then close rear right
window65Theft attempted66Service theft alarm system67Service steering wheel lock
Page 130 of 329
128Instruments and controls
No.Vehicle message68Service power steering69Service suspension system70Service level control system71Service rear axle74Service AFL75Service air conditioning76Service side blind zone alert
system77Service lane departure warning79Top up engine oil81Service transmission82Change engine oil soon83Service adaptive cruise control84Engine power is reduced89Service vehicle soon94Shift to park before exiting95Service airbagNo.Vehicle message128Bonnet open134Park assist fault, clean bumper136Service parking assist145Check washer fluid level174Low vehicle battery258Park assist off
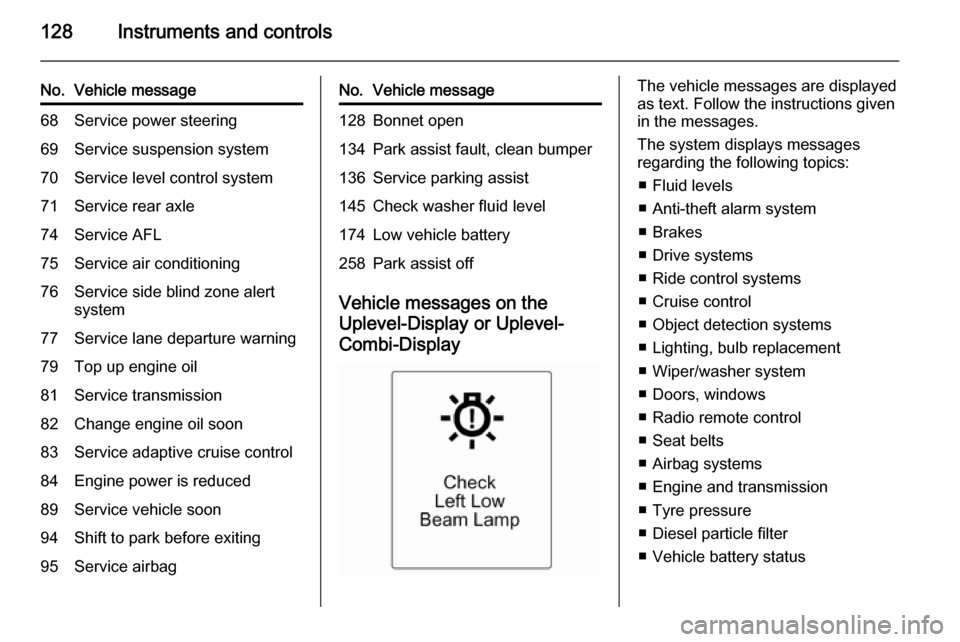
Vehicle messages on the
Uplevel-Display or Uplevel- Combi-Display
The vehicle messages are displayed
as text. Follow the instructions given
in the messages.
The system displays messages
regarding the following topics:
■ Fluid levels
■ Anti-theft alarm system
■ Brakes
■ Drive systems
■ Ride control systems
■ Cruise control
■ Object detection systems
■ Lighting, bulb replacement
■ Wiper/washer system
■ Doors, windows
■ Radio remote control
■ Seat belts
■ Airbag systems
■ Engine and transmission
■ Tyre pressure
■ Diesel particle filter
■ Vehicle battery status
Page 178 of 329

176Driving and operating
Control indicator m flashes: electric
parking brake is not fully applied or released. When continuously
flashing, release electric parking
brake and retry applying.
Brake assist If the brake pedal is depressed
quickly and forcefully, maximum
brake force is automatically applied
(full braking).
Maintain steady pressure on the
brake pedal for as long as full braking
is required. Maximum brake force is
automatically reduced when the
brake pedal is released.
Hill start assist The system helps prevent unintendedmovement when driving away on
inclines.
When releasing the foot brake after
stopping on an incline, the brakes
remain on for a further two seconds.
The brakes release automatically as
soon as the vehicle begins to
accelerate.The hill start assist is not active during
an Autostop.Ride control systems
Traction Control system
The Traction Control system (TC) is a
component of the Electronic Stability
Control (ESC) 3 177.
TC improves driving stability when
necessary, regardless of the type of
road surface or tyre grip, by
preventing the drive wheels from
spinning.
As soon as the drive wheels starts to spin, engine output is reduced and
the wheel spinning the most is braked
individually. This considerably
improves the driving stability of the
vehicle on slippery road surfaces.
TC is operational after each engine
start as soon as the control indicator
b extinguishes.
When TC operates b flashes.
Page 220 of 329
218Driving and operatingDriving characteristics and
towing tips Before attaching a trailer, lubricatethe coupling ball. However, do not do
so if a stabiliser, which acts on the
coupling ball, is being used to reduce
snaking movements.
For trailers with low driving stability
and caravan trailers with a permitted
gross vehicle weight of more than
1300 kg the use of a stabiliser is
strongly recommended when driving
above 50 mph.
If the trailer starts snaking, drive more slowly, do not attempt to correct the
steering and brake sharply if
necessary.
When driving downhill, drive in the
same gear as if driving uphill and
drive at a similar speed.
Adjust tyre pressure to the value
specified for full load 3 307.Trailer towing
Trailer loads The permissible trailer loads are
vehicle and engine-dependent
maximum values which must not be
exceeded. The actual trailer load is
the difference between the actual
gross weight of the trailer and the
actual coupling socket load with the
trailer coupled.
The permissible trailer loads are
specified in the vehicle documents. In
general, they are valid for gradients
up to max. 12 %.
The permitted trailer load applies up
to the specified incline and up to an
altitude of 1000 metres above sea
level. Since engine power decreases
as altitude increases due to the air becoming thinner, therefore reducing
climbing ability, the permissible gross train weight also decreases by 10 %
for every 1000 metres of additional
altitude. The gross train weight does
not have to be reduced when driving
on roads with slight inclines (less than
8 %, e.g. motorways).The permissible gross train weight
must not be exceeded. This weight is
specified on the identification plate
3 285.
Vertical coupling load
The vertical coupling load is the load
exerted by the trailer on the coupling
ball. It can be varied by changing the
weight distribution when loading the
trailer.
The maximum permissible vertical
coupling load (75 kg) is specified on
the towing equipment identification
plate and in the vehicle documents.
Always aim for the maximum load,
especially in the case of heavy
trailers. The vertical coupling load
should never fall below 25 kg.
Page 224 of 329
222Vehicle careVehicle careGeneral Information...................222
Vehicle checks ........................... 223
Bulb replacement .......................230
Electrical system ........................250
Vehicle tools .............................. 256
Wheels and tyres .......................258
Jump starting ............................. 274
Towing ....................................... 276
Appearance care .......................278General Information
Accessories and vehicle
modifications
We recommend the use of genuine parts and accessories and factory
approved parts specific for your
vehicle type. We cannot assess or
guarantee reliability of other products
- even if they have a regulatory or
otherwise granted approval.
Do not make any modifications to the electrical system, e.g. changes of
electronic control units (chip tuning).Caution
When transporting the vehicle on
a train or on a recovery vehicle, the
mud flaps might be damaged.
Vehicle storage
Storage for a long period of time
If the vehicle is to be stored for several months:
■ Wash and wax the vehicle.
■ Have the wax in the engine compartment and underbody
checked.
■ Clean and preserve the rubber seals.
■ Fill up fuel tank completely.
■ Change the engine oil.
■ Drain the washer fluid reservoir.
■ Check the coolant antifreeze and corrosion protection.
■ Adjust tyre pressure to the value specified for full load.
■ Park the vehicle in a dry, well ventilated place. Engage first orreverse gear or set selector lever to P . Prevent the vehicle from rolling.
■ Do not apply the parking brake.
Page 225 of 329
Vehicle care223
■ Open the bonnet, close all doorsand lock the vehicle.
■ Disconnect the clamp from the negative terminal of the vehicle
battery. Beware that all systems are
not functional, e.g. anti-theft alarm
system.
Putting back into operation
When the vehicle is to be put back into
operation:
■ Connect the clamp to the negative terminal of the vehicle battery.
Activate the electronics of the
power windows.
■ Check tyre pressure.
■ Fill up the washer fluid reservoir.
■ Check the engine oil level.
■ Check the coolant level.
■ Fit the number plate if necessary.
End-of-life vehicle
recovery
Information on end-of-life vehicle
recovery centres and the recycling of
end-of-life vehicles is available on ourwebsite, where legally required. Only
entrust this work to an authorised
recycling centre.
Gas vehicles must be recycled by a
service centre authorised for gas
vehicles.Vehicle checks
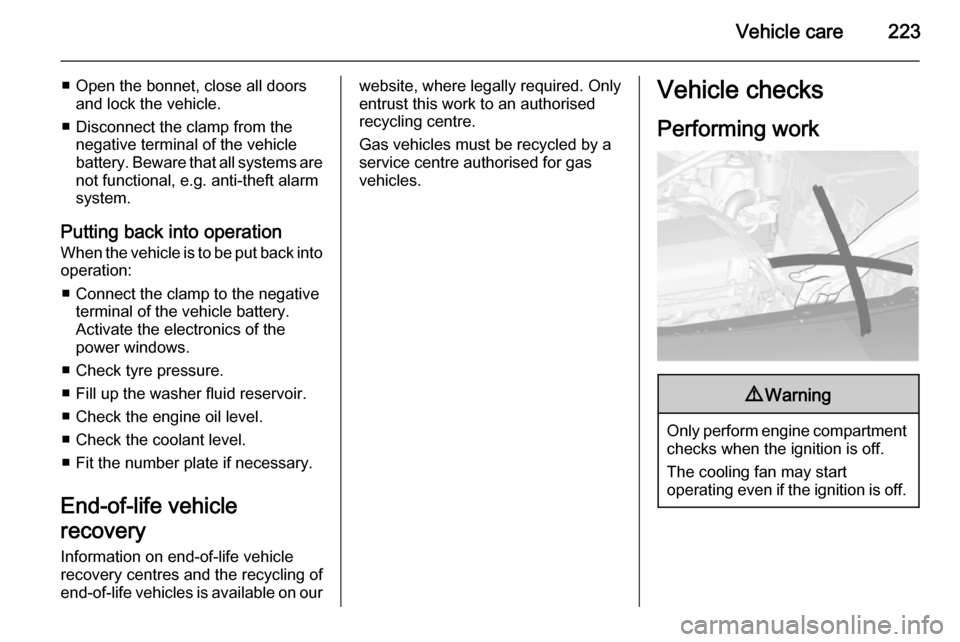
Performing work9 Warning
Only perform engine compartment
checks when the ignition is off.
The cooling fan may start
operating even if the ignition is off.