lights VAUXHALL ASTRA J 2015.75 Owner's Guide
[x] Cancel search | Manufacturer: VAUXHALL, Model Year: 2015.75, Model line: ASTRA J, Model: VAUXHALL ASTRA J 2015.75Pages: 337, PDF Size: 10.17 MB
Page 144 of 337
142Lighting
If there are no restrictions detected,the system switches back to high
beam.
When the system is active, the front
camera monitors the area ahead of
the vehicle and ensures an optimum
light distribution for maximum driver
vision during almost all conditions.
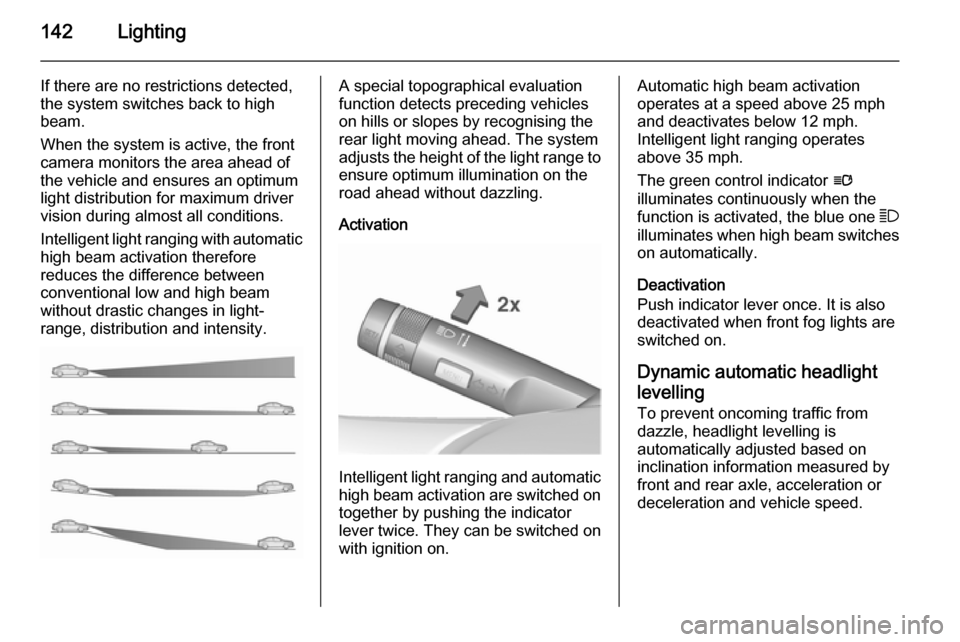
Intelligent light ranging with automatic
high beam activation therefore
reduces the difference between
conventional low and high beam without drastic changes in light-
range, distribution and intensity.A special topographical evaluation
function detects preceding vehicles
on hills or slopes by recognising the
rear light moving ahead. The system
adjusts the height of the light range to
ensure optimum illumination on the
road ahead without dazzling.
Activation
Intelligent light ranging and automatic
high beam activation are switched on together by pushing the indicator
lever twice. They can be switched on
with ignition on.
Automatic high beam activation
operates at a speed above 25 mph
and deactivates below 12 mph.
Intelligent light ranging operates
above 35 mph.
The green control indicator l
illuminates continuously when the
function is activated, the blue one 7
illuminates when high beam switches
on automatically.
Deactivation
Push indicator lever once. It is also
deactivated when front fog lights are
switched on.
Dynamic automatic headlight
levelling
To prevent oncoming traffic from dazzle, headlight levelling is
automatically adjusted based on
inclination information measured by
front and rear axle, acceleration or
deceleration and vehicle speed.
Page 145 of 337
Lighting143
Fault in adaptive forward lightingsystem
When the system detects a failure in
the Adaptive forward lighting system,
the system moves to a preset position to avoid dazzling of oncoming traffic.
If this is not possible the affected
headlight will be automatically
switched off. In any case one
headlight will stay on. A warning is
displayed in the Driver Information
Centre (DIC).
Hazard warning flashers
Operated by pressing ¨.
In the event of an accident with airbag
deployment the hazard warning
flashers are activated automatically.
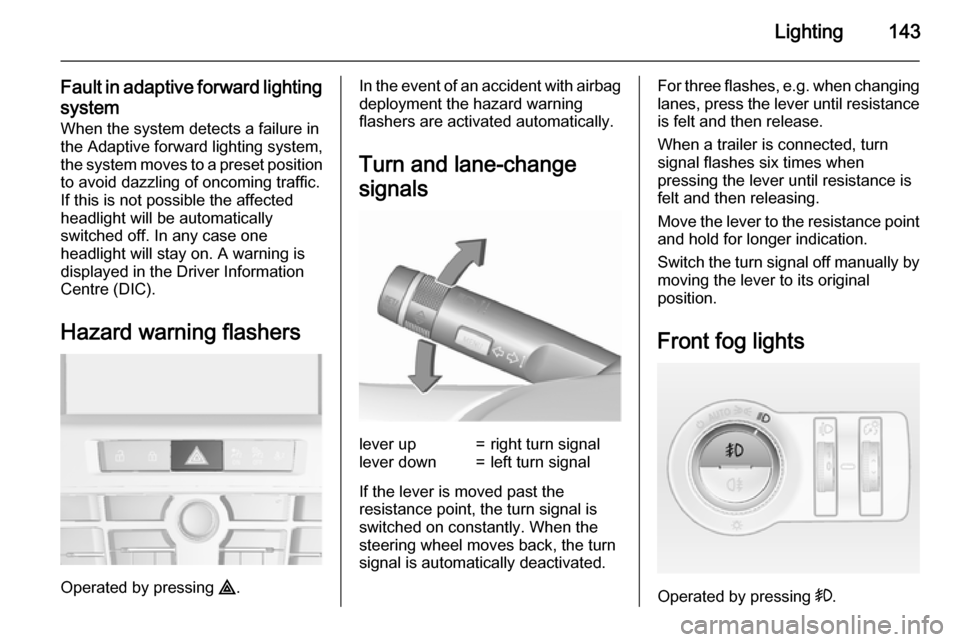
Turn and lane-change
signalslever up=right turn signallever down=left turn signal
If the lever is moved past the
resistance point, the turn signal is
switched on constantly. When the
steering wheel moves back, the turn
signal is automatically deactivated.
For three flashes, e.g. when changing
lanes, press the lever until resistance
is felt and then release.
When a trailer is connected, turn
signal flashes six times when
pressing the lever until resistance is
felt and then releasing.
Move the lever to the resistance point
and hold for longer indication.
Switch the turn signal off manually by moving the lever to its original
position.
Front fog lights
Operated by pressing >.
Page 146 of 337
144Lighting
Light switch in position AUTO:
switching on front fog lights will switch headlights on automatically.
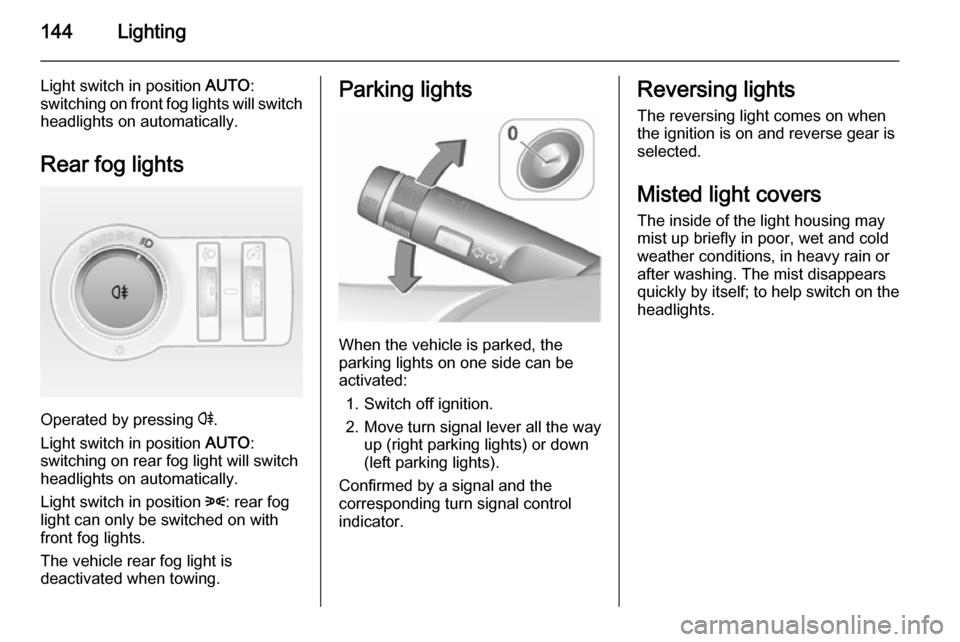
Rear fog lights
Operated by pressing r.
Light switch in position AUTO:
switching on rear fog light will switch
headlights on automatically.
Light switch in position 8: rear fog
light can only be switched on with
front fog lights.
The vehicle rear fog light is
deactivated when towing.
Parking lights
When the vehicle is parked, the
parking lights on one side can be
activated:
1. Switch off ignition.
2. Move turn signal lever all the way up (right parking lights) or down
(left parking lights).
Confirmed by a signal and the
corresponding turn signal control
indicator.
Reversing lights
The reversing light comes on when
the ignition is on and reverse gear is
selected.
Misted light covers The inside of the light housing may
mist up briefly in poor, wet and cold weather conditions, in heavy rain or
after washing. The mist disappears
quickly by itself; to help switch on the
headlights.
Page 147 of 337

Lighting145Interior lighting
Instrument panel
illumination control
Brightness of the following lights can
be adjusted when the exterior lights
are on:
■ instrument panel illumination
■ Info-Display
■ illuminated switches and operation elements
Turn thumb wheel A and hold until
the desired brightness is obtained.
On vehicles with light sensor, the
brightness can only be adjusted when
the exterior lights are on and the light sensor detects night conditions.
Interior lights
During entry and exit of the vehicle,
the front and rear courtesy lights
automatically switch on and then off
after a delay.
Notice
In the event of an accident with
airbag deployment the courtesy
lights are turned on automatically.
Front courtesy lightOperate rocker switch:w=automatic switching on
and offpress u=onpress v=off
Courtesy light on version with
panorama roof
Left and right lamps are separately
switchable.
Operate rocker switches:
centre posi‐
tion=automatic switching
on and offpress I=onpress 0=off
Page 148 of 337
146Lighting
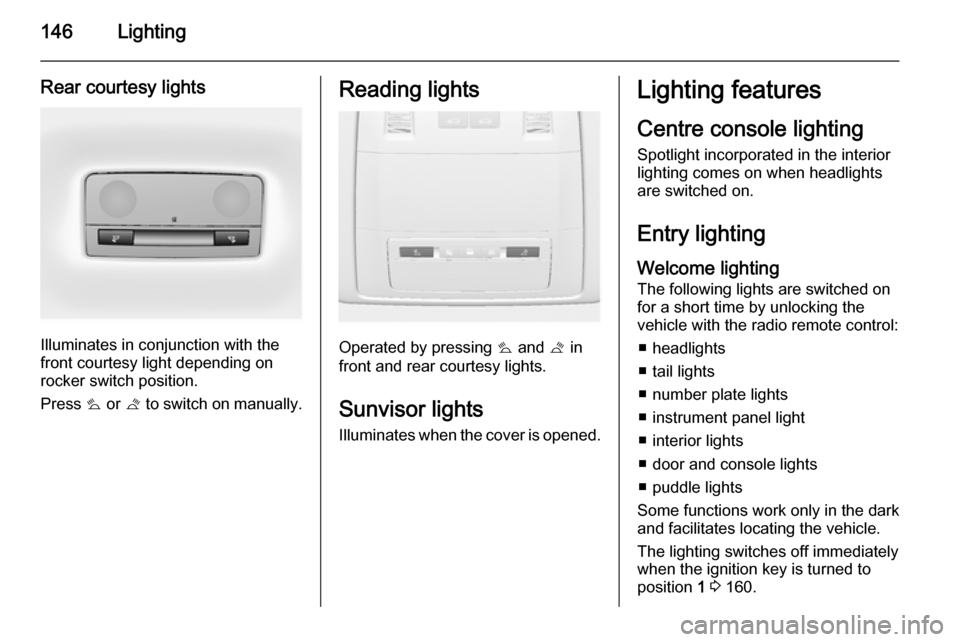
Rear courtesy lights
Illuminates in conjunction with the
front courtesy light depending on
rocker switch position.
Press s or t to switch on manually.
Reading lights
Operated by pressing s and t in
front and rear courtesy lights.
Sunvisor lights
Illuminates when the cover is opened.
Lighting features
Centre console lighting Spotlight incorporated in the interior
lighting comes on when headlights
are switched on.
Entry lighting
Welcome lighting
The following lights are switched on
for a short time by unlocking the
vehicle with the radio remote control:
■ headlights
■ tail lights
■ number plate lights
■ instrument panel light
■ interior lights
■ door and console lights
■ puddle lights
Some functions work only in the dark
and facilitates locating the vehicle.
The lighting switches off immediately
when the ignition key is turned to
position 1 3 160.
Page 149 of 337
Lighting147
Activation or deactivation of this
function can be changed in the
Settings menu in the Info-Display.
Vehicle personalisation 3 131.
The settings can be saved for the key being used 3 22.
The following lights will additionally switch on when the driver's door is
opened:
■ all switches
■ Driver Information Centre (DIC)
■ door pocket lights
■ console lights
Exit lighting
The following lights switch on if the
key is removed from the ignition
switch:
■ interior lights
■ instrument panel light (only when it is dark)
■ door and console lights
■ puddle lightsThey will switch off automatically after
a delay and will be activated again if
the driver's door is opened.
Headlights, tail lights and number
plate lights illuminate the surrounding area for an adjustable time after
leaving the vehicle.
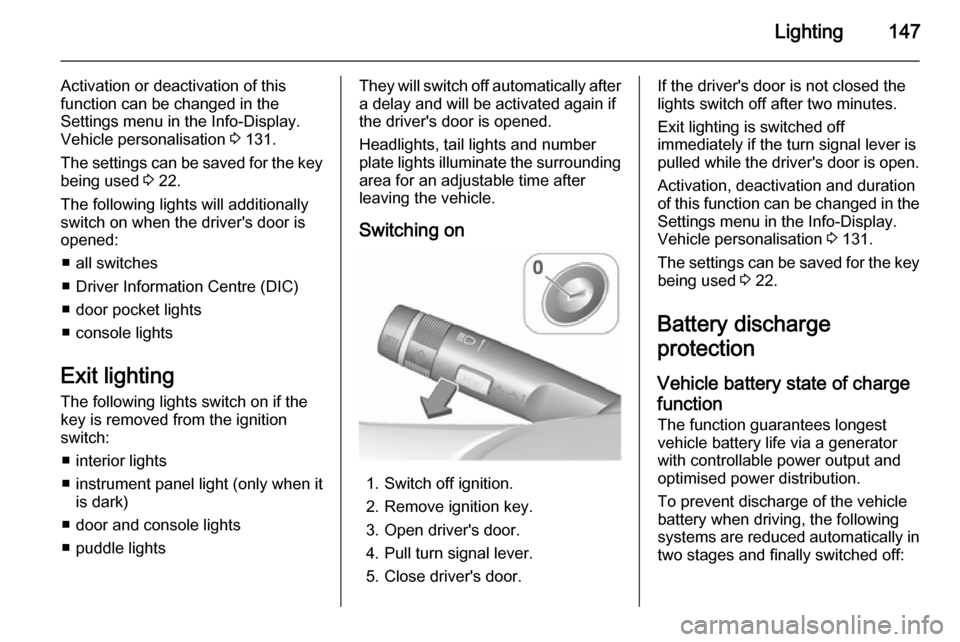
Switching on
1. Switch off ignition.
2. Remove ignition key.
3. Open driver's door.
4. Pull turn signal lever.
5. Close driver's door.
If the driver's door is not closed the
lights switch off after two minutes.
Exit lighting is switched off
immediately if the turn signal lever is pulled while the driver's door is open.
Activation, deactivation and duration
of this function can be changed in the Settings menu in the Info-Display.
Vehicle personalisation 3 131.
The settings can be saved for the key being used 3 22.
Battery discharge
protection
Vehicle battery state of charge
function
The function guarantees longest
vehicle battery life via a generator with controllable power output and
optimised power distribution.
To prevent discharge of the vehicle
battery when driving, the following
systems are reduced automatically in two stages and finally switched off:
Page 150 of 337

148Lighting
■ Auxiliary heater
■ Heated rear window and mirrors
■ Heated seats
■ Fan
In the second stage a message which
confirms the activation of the vehicle
battery discharge protection will be
displayed in the Driver Information
Centre (DIC).
Switching off electric lights
To prevent discharge of the vehicle
battery when the ignition is switched
off, some interior lights are switched
off automatically after some time.
Page 173 of 337

Driving and operating171Caution
It is not advisable to drive with thehand resting on the selector lever.
Upshift indication 3 115.
Brakes
The brake system comprises two
independent brake circuits.
If a brake circuit fails, the vehicle can
still be braked using the other brake
circuit. However, braking effect is
achieved only when the brake pedal
is depressed firmly. Considerably
more force is needed for this. The
braking distance is extended. Seek
the assistance of a workshop before
continuing your journey.
When the engine is not running, the
support of the brake servo unit
disappears once the brake pedal has
been depressed once or twice.
Braking effect is not reduced, but
braking requires significantly greater
force. It is especially important to bear this in mind when being towed.
Control indicator R 3 113.
Antilock brake system
Antilock brake system (ABS)
prevents the wheels from locking.ABS starts to regulate brake pressure as soon as a wheel shows a tendency to lock. The vehicle remains
steerable, even during hard braking.
ABS control is made apparent
through a pulse in the brake pedal
and the noise of the regulation
process.
For optimum braking, keep the brake
pedal fully depressed throughout the
braking process, despite the fact that
the pedal is pulsating. Do not reduce
the pressure on the pedal.
After starting off the system performs a self-test which may be audible.
Control indicator u 3 114.
Adaptive brake light
During full braking, all three brake
lights flash for the duration of ABS
control.
Page 184 of 337
182Driving and operating
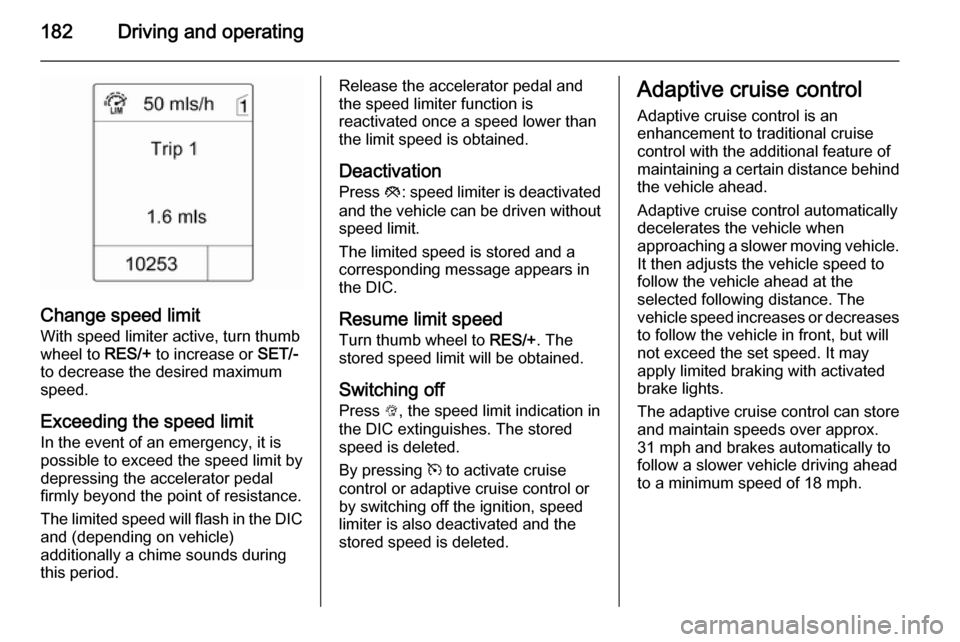
Change speed limit
With speed limiter active, turn thumb
wheel to RES/+ to increase or SET/-
to decrease the desired maximum
speed.
Exceeding the speed limit
In the event of an emergency, it is possible to exceed the speed limit by
depressing the accelerator pedal
firmly beyond the point of resistance.
The limited speed will flash in the DIC and (depending on vehicle)
additionally a chime sounds during
this period.
Release the accelerator pedal and the speed limiter function is
reactivated once a speed lower than
the limit speed is obtained.
Deactivation Press y: speed limiter is deactivated
and the vehicle can be driven without
speed limit.
The limited speed is stored and a
corresponding message appears in
the DIC.
Resume limit speed Turn thumb wheel to RES/+. The
stored speed limit will be obtained.
Switching off Press L, the speed limit indication in
the DIC extinguishes. The stored
speed is deleted.
By pressing m to activate cruise
control or adaptive cruise control or
by switching off the ignition, speed
limiter is also deactivated and the
stored speed is deleted.Adaptive cruise control
Adaptive cruise control is an
enhancement to traditional cruise control with the additional feature of
maintaining a certain distance behind the vehicle ahead.
Adaptive cruise control automatically
decelerates the vehicle when
approaching a slower moving vehicle.
It then adjusts the vehicle speed to
follow the vehicle ahead at the
selected following distance. The
vehicle speed increases or decreases to follow the vehicle in front, but willnot exceed the set speed. It may
apply limited braking with activated
brake lights.
The adaptive cruise control can store and maintain speeds over approx.
31 mph and brakes automatically to
follow a slower vehicle driving ahead to a minimum speed of 18 mph.
Page 207 of 337
Driving and operating205
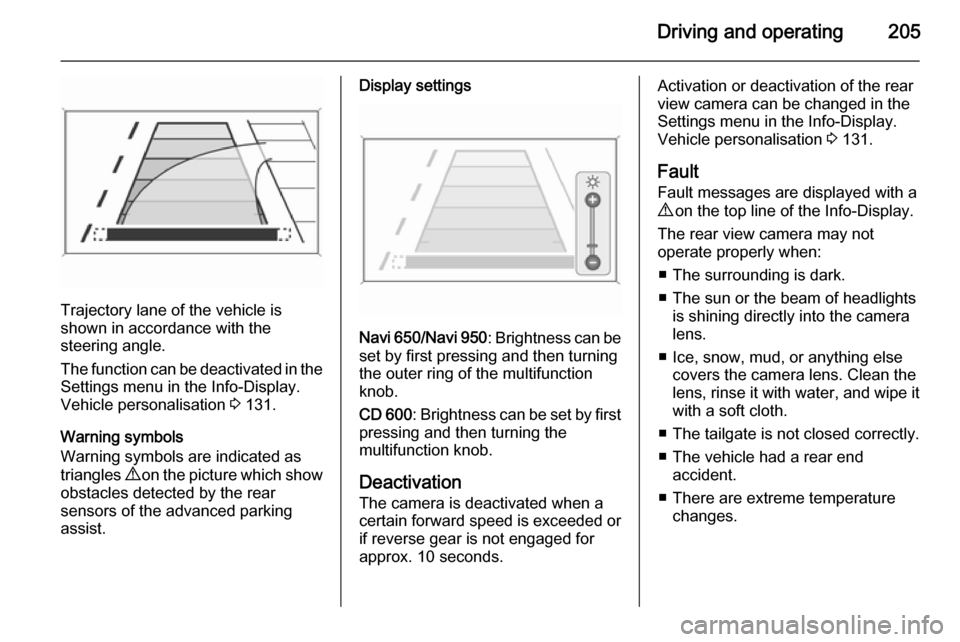
Trajectory lane of the vehicle is
shown in accordance with the
steering angle.
The function can be deactivated in the
Settings menu in the Info-Display.
Vehicle personalisation 3 131.
Warning symbols
Warning symbols are indicated as
triangles 9 on the picture which show
obstacles detected by the rear
sensors of the advanced parking
assist.
Display settings
Navi 650 /Navi 950 : Brightness can be
set by first pressing and then turning
the outer ring of the multifunction
knob.
CD 600 : Brightness can be set by first
pressing and then turning the
multifunction knob.
Deactivation
The camera is deactivated when a certain forward speed is exceeded or
if reverse gear is not engaged for
approx. 10 seconds.
Activation or deactivation of the rear
view camera can be changed in the Settings menu in the Info-Display.
Vehicle personalisation 3 131.
Fault
Fault messages are displayed with a
9 on the top line of the Info-Display.
The rear view camera may not
operate properly when:
■ The surrounding is dark.
■ The sun or the beam of headlights is shining directly into the camera
lens.
■ Ice, snow, mud, or anything else covers the camera lens. Clean the
lens, rinse it with water, and wipe it
with a soft cloth.
■ The tailgate is not closed correctly.
■ The vehicle had a rear end accident.
■ There are extreme temperature changes.