steering wheel VAUXHALL ASTRA J 2016.25 User Guide
[x] Cancel search | Manufacturer: VAUXHALL, Model Year: 2016.25, Model line: ASTRA J, Model: VAUXHALL ASTRA J 2016.25Pages: 267, PDF Size: 7.72 MB
Page 77 of 267
Instruments and controls75Controls
Steering wheel adjustment
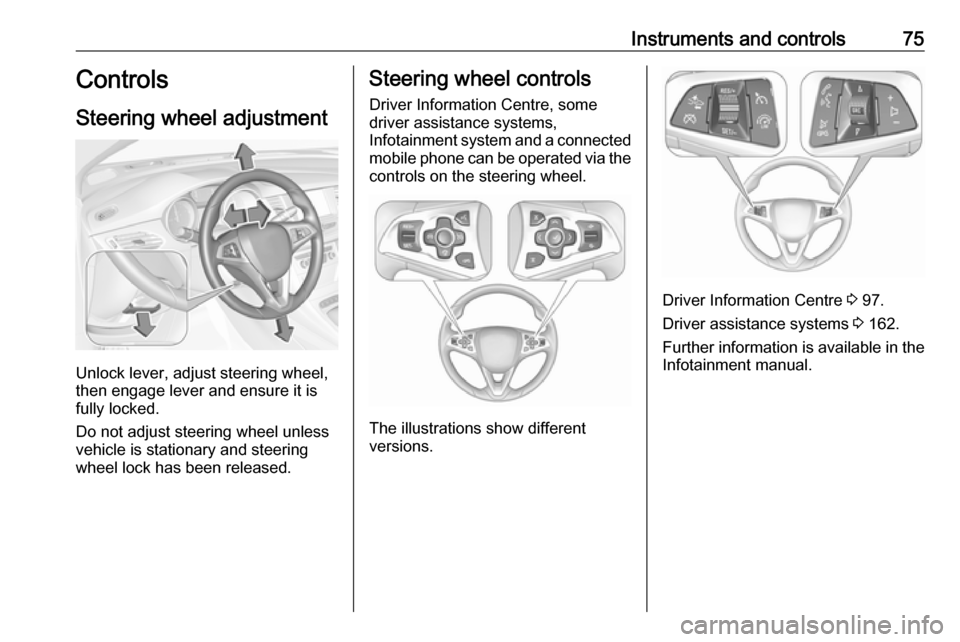
Unlock lever, adjust steering wheel,
then engage lever and ensure it is
fully locked.
Do not adjust steering wheel unless
vehicle is stationary and steering
wheel lock has been released.
Steering wheel controls
Driver Information Centre, some
driver assistance systems,
Infotainment system and a connected mobile phone can be operated via the
controls on the steering wheel.
The illustrations show different
versions.
Driver Information Centre 3 97.
Driver assistance systems 3 162.
Further information is available in the
Infotainment manual.
Page 78 of 267
76Instruments and controlsHeated steering wheel
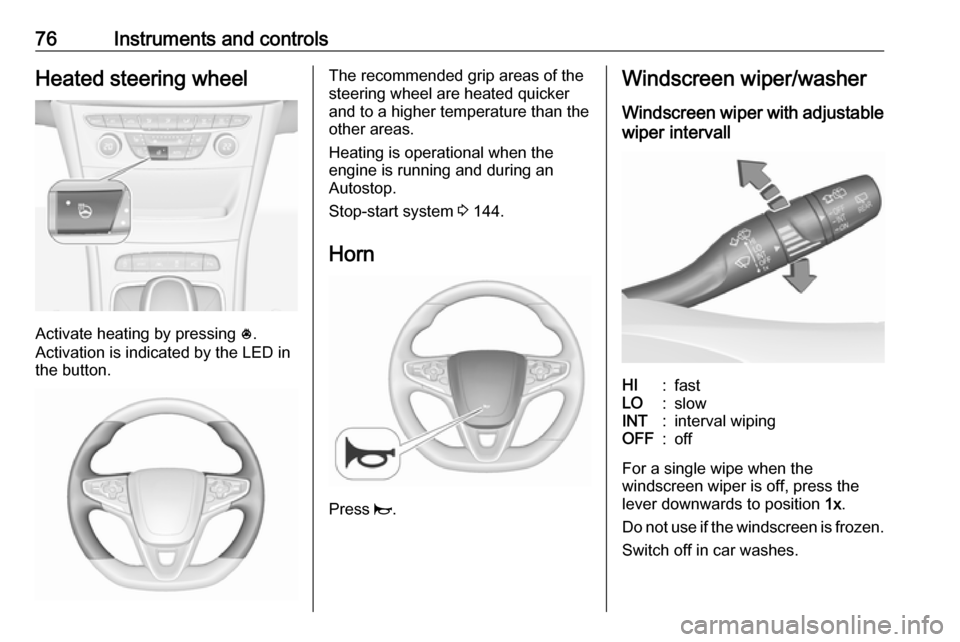
Activate heating by pressing *.
Activation is indicated by the LED in
the button.
The recommended grip areas of the
steering wheel are heated quicker
and to a higher temperature than the
other areas.
Heating is operational when the
engine is running and during an
Autostop.
Stop-start system 3 144.
Horn
Press j.
Windscreen wiper/washer
Windscreen wiper with adjustable
wiper intervallHI:fastLO:slowINT:interval wipingOFF:off
For a single wipe when the
windscreen wiper is off, press the
lever downwards to position 1x.
Do not use if the windscreen is frozen.
Switch off in car washes.
Page 90 of 267
88Instruments and controlsOdometer
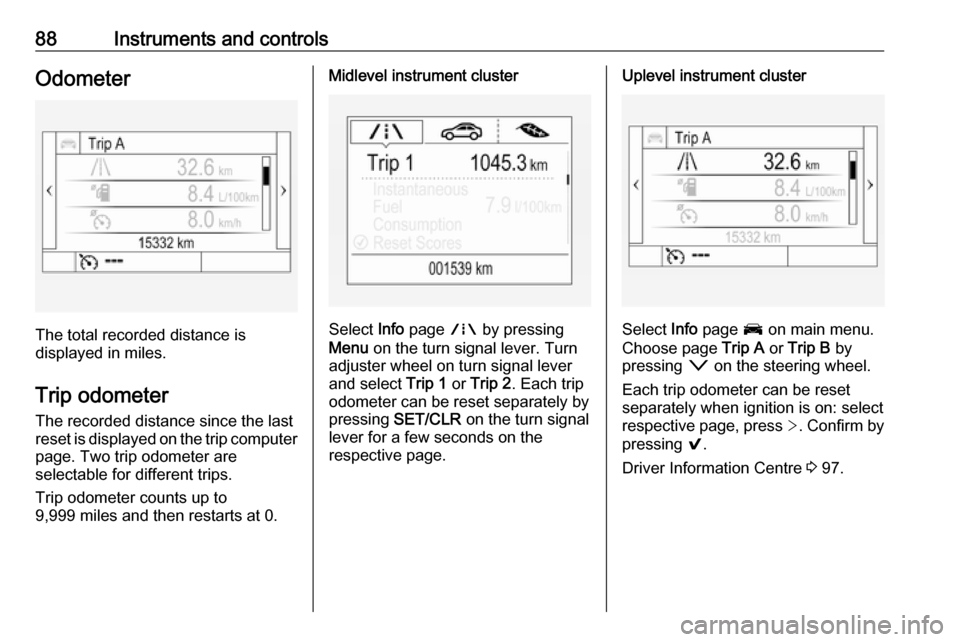
The total recorded distance is
displayed in miles.
Trip odometer The recorded distance since the last
reset is displayed on the trip computer
page. Two trip odometer are
selectable for different trips.
Trip odometer counts up to
9,999 miles and then restarts at 0.
Midlevel instrument cluster
Select Info page ; by pressing
Menu on the turn signal lever. Turn
adjuster wheel on turn signal lever and select Trip 1 or Trip 2 . Each trip
odometer can be reset separately by pressing SET/CLR on the turn signal
lever for a few seconds on the
respective page.
Uplevel instrument cluster
Select Info page J on main menu.
Choose page Trip A or Trip B by
pressing o on the steering wheel.
Each trip odometer can be reset separately when ignition is on: select
respective page, press >. Confirm by
pressing 9.
Driver Information Centre 3 97.
Page 92 of 267

90Instruments and controlsCaution
If engine coolant temperature is
too high, stop vehicle, switch off
engine. Danger to engine. Check
coolant level.
Service display
The engine oil life system informs
when to change the engine oil and
filter. Based on driving conditions, the interval at which an engine oil and
filter change will be indicated can vary
considerably.
The remaining oil life duration menu
is displayed in the Driver Information
Centre 3 97.
On Midlevel display select the
Settings Menu by pressing MENU on
the turn signal lever. Turn the adjuster wheel to select the Remaining Oil
Life page.
On Uplevel display select Info Menu
by pressing p on steering wheel.
Press P to select Remaining Oil
Life page.
Remaining oil life duration is indicated
in percentage.
Reset
On Midlevel display press SET/CLR
on turn signal lever for several
seconds to reset. The ignition must be
switched on but engine not running.
On Uplevel display press > on
steering wheel to open the subfolder. Select Reset and confirm by pressing
Page 97 of 267
Instruments and controls95Traction Control system off
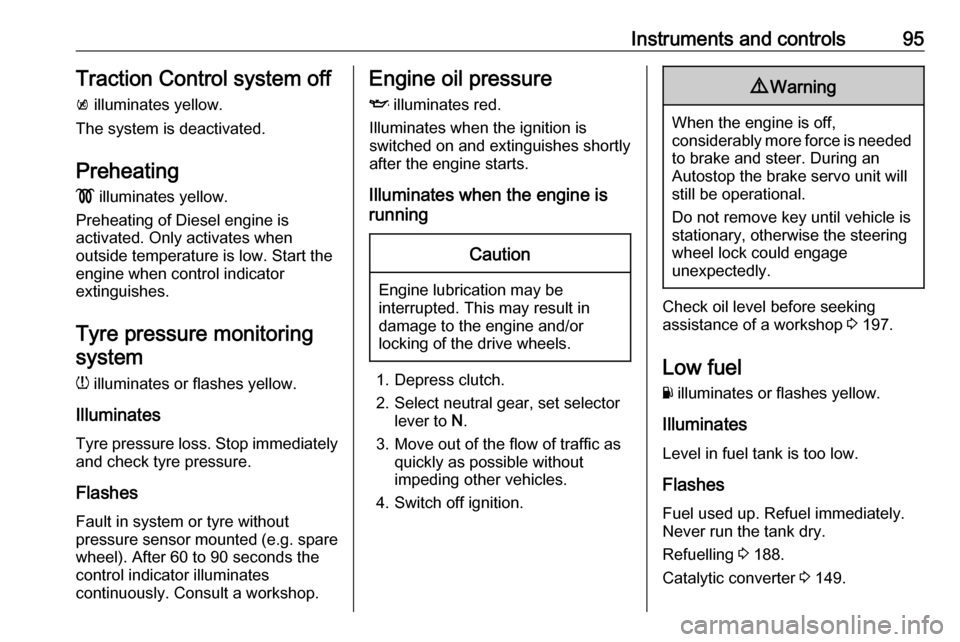
k illuminates yellow.
The system is deactivated.
Preheating
! illuminates yellow.
Preheating of Diesel engine is
activated. Only activates when
outside temperature is low. Start the engine when control indicator
extinguishes.
Tyre pressure monitoring system
w illuminates or flashes yellow.
Illuminates
Tyre pressure loss. Stop immediately
and check tyre pressure.
Flashes
Fault in system or tyre without
pressure sensor mounted (e.g. spare
wheel). After 60 to 90 seconds the
control indicator illuminates
continuously. Consult a workshop.Engine oil pressure
I illuminates red.
Illuminates when the ignition is
switched on and extinguishes shortly
after the engine starts.
Illuminates when the engine is
runningCaution
Engine lubrication may be
interrupted. This may result in
damage to the engine and/or
locking of the drive wheels.
1. Depress clutch.
2. Select neutral gear, set selector lever to N.
3. Move out of the flow of traffic as quickly as possible without
impeding other vehicles.
4. Switch off ignition.
9 Warning
When the engine is off,
considerably more force is needed
to brake and steer. During an
Autostop the brake servo unit will still be operational.
Do not remove key until vehicle is stationary, otherwise the steeringwheel lock could engage
unexpectedly.
Check oil level before seeking
assistance of a workshop 3 197.
Low fuel
Y illuminates or flashes yellow.
Illuminates
Level in fuel tank is too low.
Flashes
Fuel used up. Refuel immediately.
Never run the tank dry.
Refuelling 3 188.
Catalytic converter 3 149.
Page 100 of 267
98Instruments and controlsSelecting menus and functions
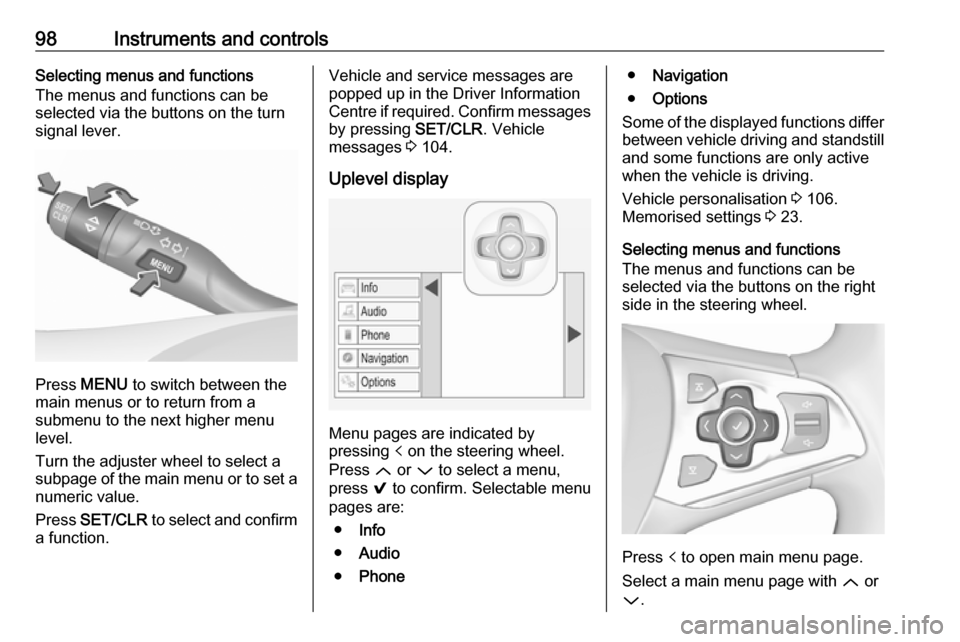
The menus and functions can be
selected via the buttons on the turn signal lever.
Press MENU to switch between the
main menus or to return from a
submenu to the next higher menu
level.
Turn the adjuster wheel to select a
subpage of the main menu or to set a
numeric value.
Press SET/CLR to select and confirm
a function.
Vehicle and service messages are
popped up in the Driver Information
Centre if required. Confirm messages
by pressing SET/CLR. Vehicle
messages 3 104.
Uplevel display
Menu pages are indicated by
pressing p on the steering wheel.
Press Q or P to select a menu,
press 9 to confirm. Selectable menu
pages are:
● Info
● Audio
● Phone
●Navigation
● Options
Some of the displayed functions differ
between vehicle driving and standstill and some functions are only active
when the vehicle is driving.
Vehicle personalisation 3 106.
Memorised settings 3 23.
Selecting menus and functions
The menus and functions can be
selected via the buttons on the right
side in the steering wheel.
Press p to open main menu page.
Select a main menu page with Q or
P .
Page 106 of 267
104Instruments and controlsSpeech recognition
Description see Infotainment manual.
Vehicle personalisation 3 106.
Valet mode
Some functions of the Driver
Information Centre and the Info-
Display can be limited for some
drivers.
Activation or deactivation of valet
mode can be set in the menu
Settings in the vehicle personalisation
menu.
Vehicle personalisation 3 106.
For more information see
Infotainment manual.Vehicle messages
Messages are indicated in the Driver
Information Centre, in some cases
together with a warning and signal
chime.
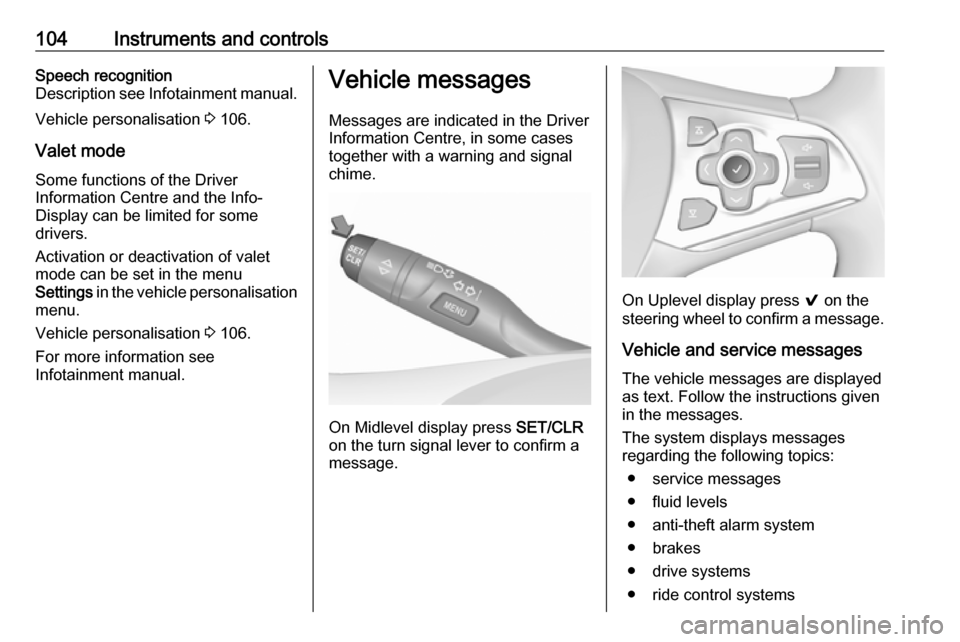
On Midlevel display press SET/CLR
on the turn signal lever to confirm a
message.
On Uplevel display press 9 on the
steering wheel to confirm a message.
Vehicle and service messages
The vehicle messages are displayed
as text. Follow the instructions given
in the messages.
The system displays messages
regarding the following topics:
● service messages
● fluid levels
● anti-theft alarm system
● brakes
● drive systems
● ride control systems
Page 125 of 267
Lighting123
The illustrations show different
versions.
In the event of an accident with airbag
deployment, the hazard warning
flashers are activated automatically.
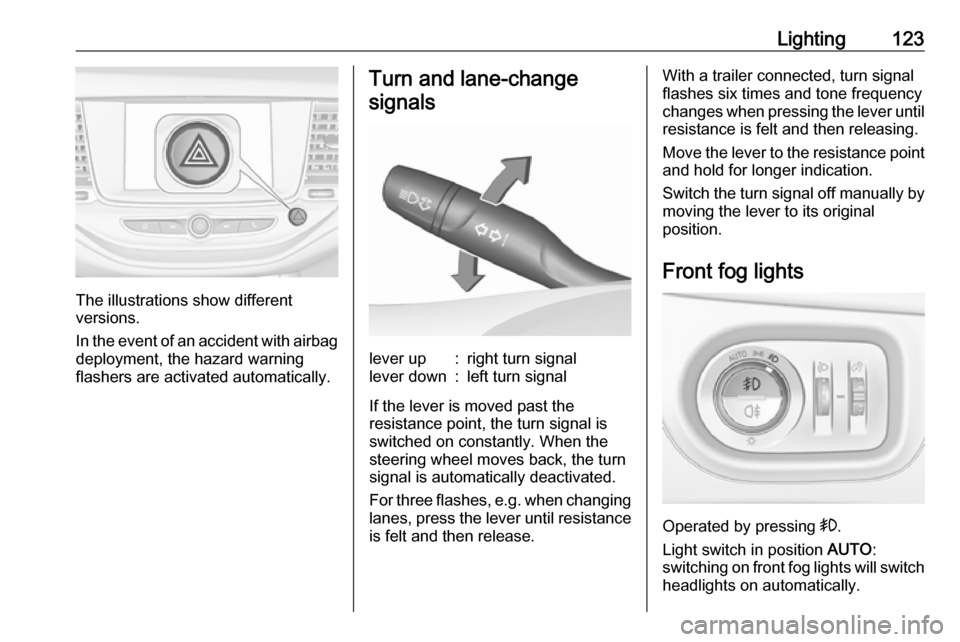
Turn and lane-change
signalslever up:right turn signallever down:left turn signal
If the lever is moved past the
resistance point, the turn signal is
switched on constantly. When the
steering wheel moves back, the turn
signal is automatically deactivated.
For three flashes, e.g. when changing
lanes, press the lever until resistance
is felt and then release.
With a trailer connected, turn signal
flashes six times and tone frequency
changes when pressing the lever until resistance is felt and then releasing.
Move the lever to the resistance point
and hold for longer indication.
Switch the turn signal off manually by
moving the lever to its original
position.
Front fog lights
Operated by pressing >.
Light switch in position AUTO:
switching on front fog lights will switch headlights on automatically.
Page 131 of 267
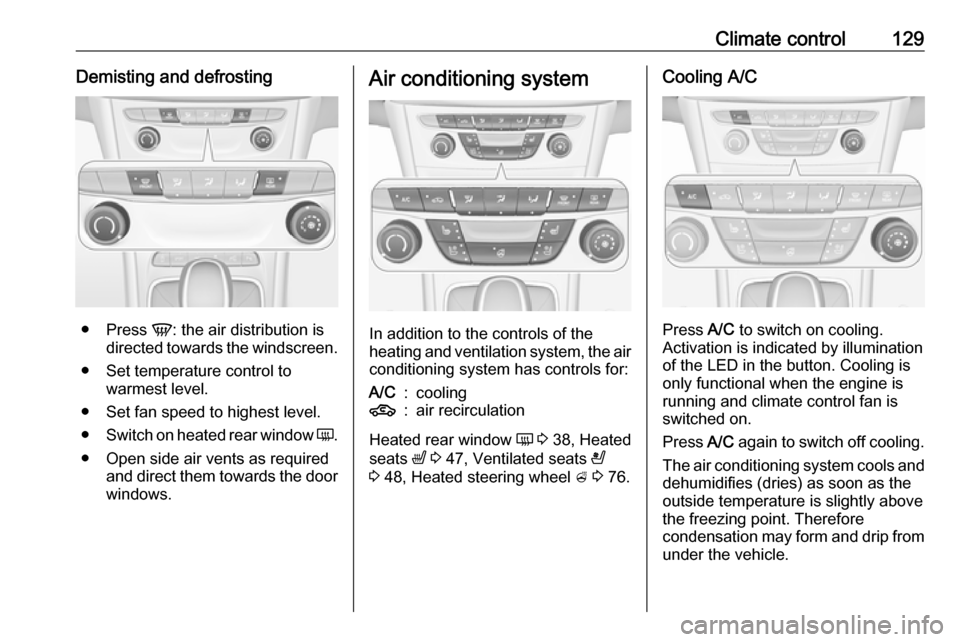
Climate control129Demisting and defrosting
●Press V: the air distribution is
directed towards the windscreen.
● Set temperature control to warmest level.
● Set fan speed to highest level.
● Switch on heated rear window Ü.
● Open side air vents as required and direct them towards the doorwindows.
Air conditioning system
In addition to the controls of the
heating and ventilation system, the air conditioning system has controls for:
A/C:cooling4:air recirculation
Heated rear window Ü 3 38, Heated
seats ß 3 47, Ventilated seats A
3 48, Heated steering wheel A 3 76.
Cooling A/C
Press A/C to switch on cooling.
Activation is indicated by illumination
of the LED in the button. Cooling is
only functional when the engine is
running and climate control fan is switched on.
Press A/C again to switch off cooling.
The air conditioning system cools and
dehumidifies (dries) as soon as the
outside temperature is slightly above
the freezing point. Therefore
condensation may form and drip from under the vehicle.
Page 134 of 267
132Climate controlHeated rear window Ü 3 38, Heated
seats ß 3 47, Ventilated seats A
3 48, Heated steering wheel A 3 76.
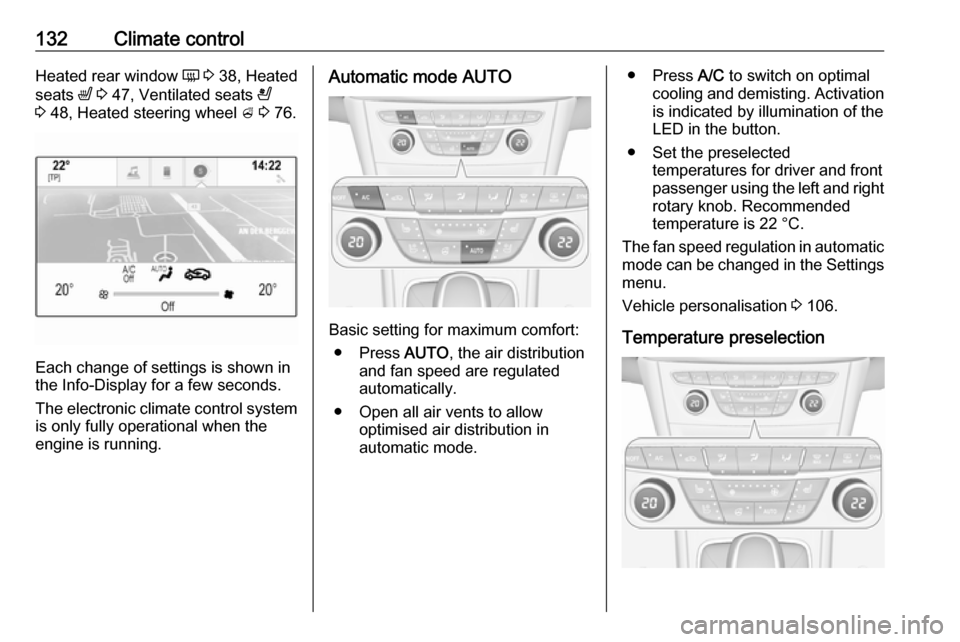
Each change of settings is shown in
the Info-Display for a few seconds.
The electronic climate control system
is only fully operational when the
engine is running.
Automatic mode AUTO
Basic setting for maximum comfort:
● Press AUTO, the air distribution
and fan speed are regulated
automatically.
● Open all air vents to allow optimised air distribution in
automatic mode.
● Press A/C to switch on optimal
cooling and demisting. Activation is indicated by illumination of the
LED in the button.
● Set the preselected temperatures for driver and front
passenger using the left and right
rotary knob. Recommended
temperature is 22 °C.
The fan speed regulation in automatic mode can be changed in the Settings menu.
Vehicle personalisation 3 106.
Temperature preselection