stop start VAUXHALL ASTRA J 2016.75 Owner's Guide
[x] Cancel search | Manufacturer: VAUXHALL, Model Year: 2016.75, Model line: ASTRA J, Model: VAUXHALL ASTRA J 2016.75Pages: 291, PDF Size: 8.73 MB
Page 173 of 291

Driving and operating171Engine brakingAutomatic mode
When driving downhill, the manual transmission automated does not shift into higher gears until a fairly
high engine speed has been reached. It shifts down in good time when
braking.
Manual mode
To utilise the engine braking effect,
select a lower gear in good time when
driving downhill. Changing into
manual mode is only possible while the engine is running or during an
Autostop.
Rocking the vehicle
Rocking the vehicle is only
permissible if the vehicle is stuck in
sand, mud or snow. Move the selector
lever between R and D in a repeat
pattern. Do not race the engine and
avoid sudden acceleration.Parking
The most recently engaged gear (see transmission display) remains
engaged when switching off ignition.
With N, no gear is engaged.
Therefore always apply the parking
brake when switching off ignition. If
parking brake is not applied, P flashes
in the transmission display and the
key cannot be removed from the
ignition switch. P stops flashing in the
transmission display as soon as the
parking brake is slightly applied.
When the ignition is switched off, the
transmission no longer responds to
movement of the selector lever.
Manual mode
If a higher gear is selected when the engine speed is too low, or a lower
gear when the speed is too high, the
shift is not executed. This prevents
the engine from running at too low or
too high an engine speed. A warning
message is displayed in the Driver
Information Centre. Vehicle
messages 3 120.If engine speed is too low, the
transmission automatically shifts to a
lower gear.
When + or - is selected in automatic
mode, the transmission switches to
manual mode and shifts accordingly.
Gear shift indication
The symbol R or S with a number
beside is indicated when gearshifting
is recommended for fuel saving
reasons.
Shift indication appears only in
manual mode.
Electronic driving programmes
● Following a cold start, the operating temperature
programme increases engine
speed to quickly bring the
catalytic converter to the required
temperature.
● The adaptive programme tailors gearshifting to the driving
conditions, e.g. greater load or
gradients.
Page 177 of 291
Driving and operating175Brake assistIf brake pedal is depressed quickly
and forcefully, maximum brake force
is automatically applied.
Operation of brake assist might
become apparent by a pulse in the
brake pedal and a greater resistance when depressing the brake pedal.
Maintain steady pressure on the
brake pedal as long as full braking is
required. Maximum brake force is
automatically reduced when brake
pedal is released.
Hill start assist The system helps prevent unintended
movement when driving away on
inclines.
When releasing the brake pedal after
stopping on an incline, brakes remain on for further two seconds. The
brakes release automatically as soon
as the vehicle begins to accelerate.Ride control systems
Traction Control system
The Traction Control system (TC) is a component of the Electronic Stability
Control (ESC).
TC improves driving stability when
necessary, regardless of the type of
road surface or tyre grip, by
preventing the drive wheels from
spinning.
As soon as the drive wheels starts to spin, engine output is reduced and
the wheel spinning the most is braked
individually. This considerably
improves the driving stability of the
vehicle on slippery road surfaces.
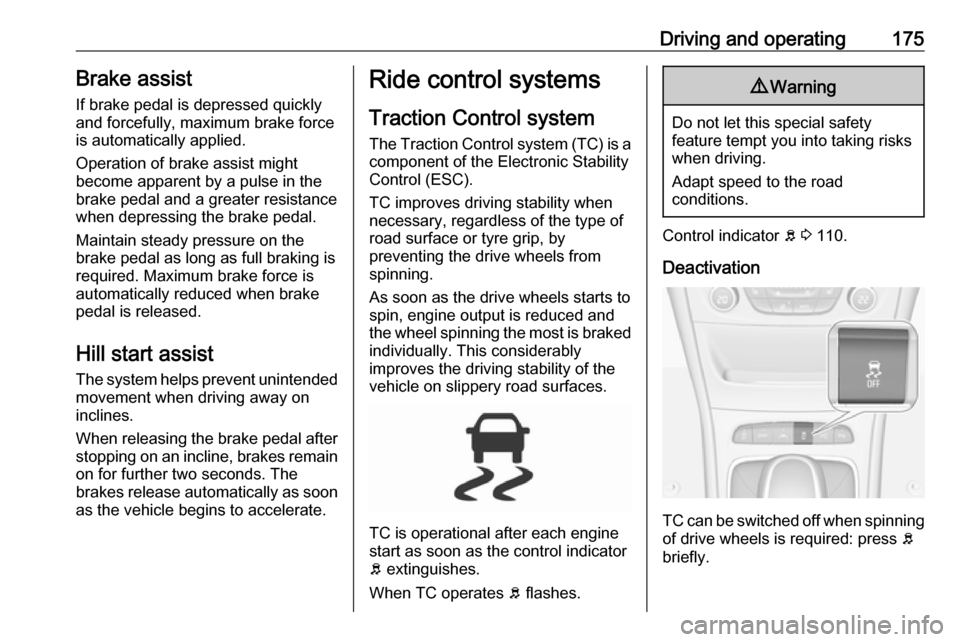
TC is operational after each engine
start as soon as the control indicator
b extinguishes.
When TC operates b flashes.
9 Warning
Do not let this special safety
feature tempt you into taking risks
when driving.
Adapt speed to the road
conditions.
Control indicator b 3 110.
Deactivation
TC can be switched off when spinning of drive wheels is required: press b
briefly.
Page 193 of 291
Driving and operating191
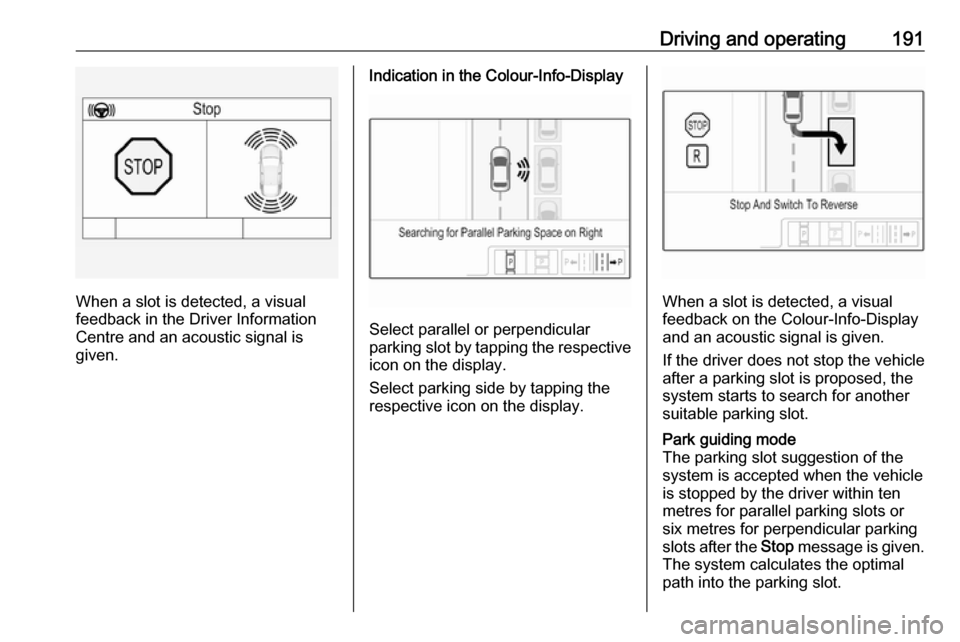
When a slot is detected, a visual
feedback in the Driver Information
Centre and an acoustic signal is
given.
Indication in the Colour-Info-Display
Select parallel or perpendicular
parking slot by tapping the respective icon on the display.
Select parking side by tapping the
respective icon on the display.
When a slot is detected, a visual
feedback on the Colour-Info-Display
and an acoustic signal is given.
If the driver does not stop the vehicle after a parking slot is proposed, the
system starts to search for another
suitable parking slot.
Park guiding mode
The parking slot suggestion of the system is accepted when the vehicle
is stopped by the driver within ten
metres for parallel parking slots or
six metres for perpendicular parking
slots after the Stop message is given.
The system calculates the optimal
path into the parking slot.
Page 216 of 291
214Vehicle careIf the bonnet is opened during anAutostop, the engine will be restarted automatically for safety reasons.
Closing
Before closing the bonnet, press the
support into the holder.
Lower the bonnet and let it fall into the latch from a low height (20-25 cm).
Check that the bonnet is engaged.Caution
Do not press the bonnet into the
latch to avoid dents.
Engine oil
Check the engine oil level manually
on a regular basis to prevent damage
to the engine. Ensure that the correct
specification of oil is used.
Recommended fluids and lubricants
3 261.
The maximum engine oil
consumption is 0.6 l per 1000 km.
Check with the vehicle on a level
surface. The engine must be at
operating temperature and switched
off for at least five minutes.Caution
It is the owner's responsibility to
maintain the proper level of an
appropriate quality oil in the
engine.
Pull out the dipstick, wipe it clean,
insert it to the stop on the handle, pull
out and read the engine oil level.
Insert dipstick to the stop on the
handle and make half a turn.
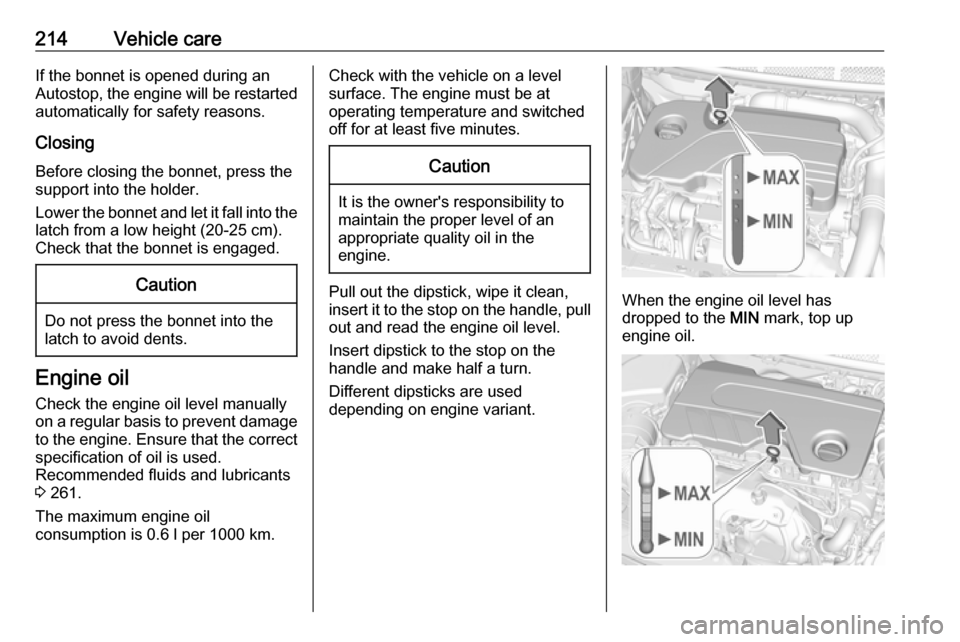
Different dipsticks are used
depending on engine variant.When the engine oil level has
dropped to the MIN mark, top up
engine oil.
Page 219 of 291
Vehicle care217Vehicle battery
The vehicle battery is located in the
load compartment under the rear floor cover behind the rear seats. Rear
floor cover 3 79.
There are connecting points for jump starting in the engine compartment.
Jump starting 3 253.
The vehicle battery is maintenance-
free provided that the driving profile
allows sufficient charging of the
battery. Short-distance-driving and
frequent engine starts can discharge
the battery. Avoid the use of
unnecessary electrical consumers.
Batteries do not belong in household
waste. They must be disposed of at
an appropriate recycling collection
point.
Laying up the vehicle for more than
four weeks can lead to battery
discharge. Disconnect the clamp from
the negative terminal of the vehicle
battery.
Ensure the ignition is switched off
before connecting or disconnecting
the vehicle battery.
Vehicle battery discharge protection
3 142.
Replacing the vehicle battery Notice
Any deviation from the instructions
given in this section may lead to
temporary deactivation of the stop-
start system.
When the vehicle battery is being
replaced, please ensure that there
are no open ventilation holes in the
vicinity of the positive terminal. If a
ventilation hole is open in this area, it
must be closed off with a dummy cap, and the ventilation in the vicinity of the
negative terminal must be opened.
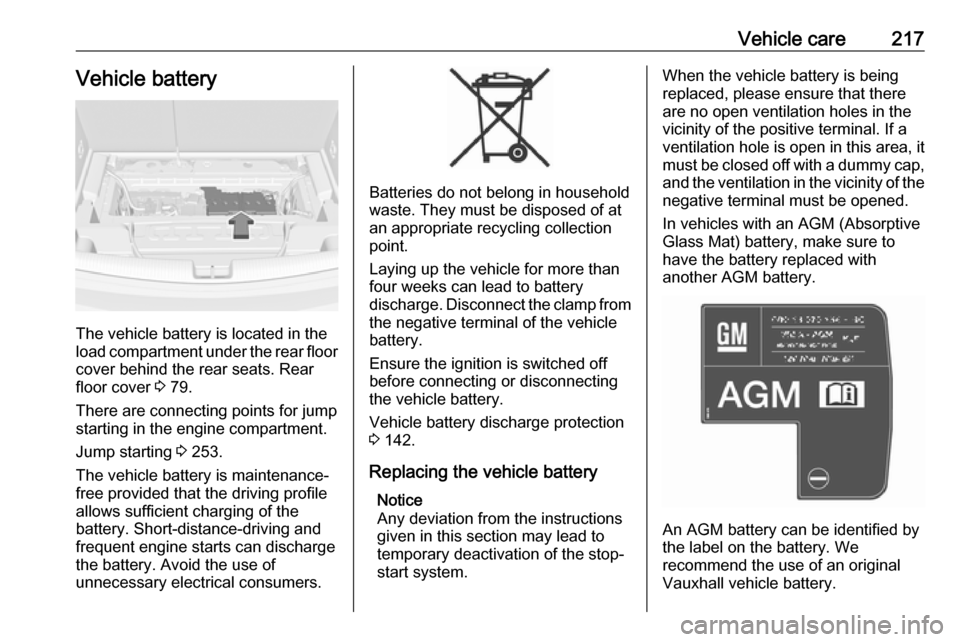
In vehicles with an AGM (Absorptive
Glass Mat) battery, make sure to
have the battery replaced with
another AGM battery.
An AGM battery can be identified by
the label on the battery. We
recommend the use of an original
Vauxhall vehicle battery.
Page 220 of 291
218Vehicle careNotice
Using an AGM vehicle battery
different from the original Vauxhall vehicle battery may result in a lower performance.
We recommend that you have the vehicle battery replaced by a
workshop.
Stop-start system 3 159.
Charging the vehicle battery9 Warning
On vehicles with stop-start
system, ensure that the charging potential does not exceed
14.6 volts when using a battery
charger. Otherwise the vehicle
battery might be damaged.
Jump starting 3 253.
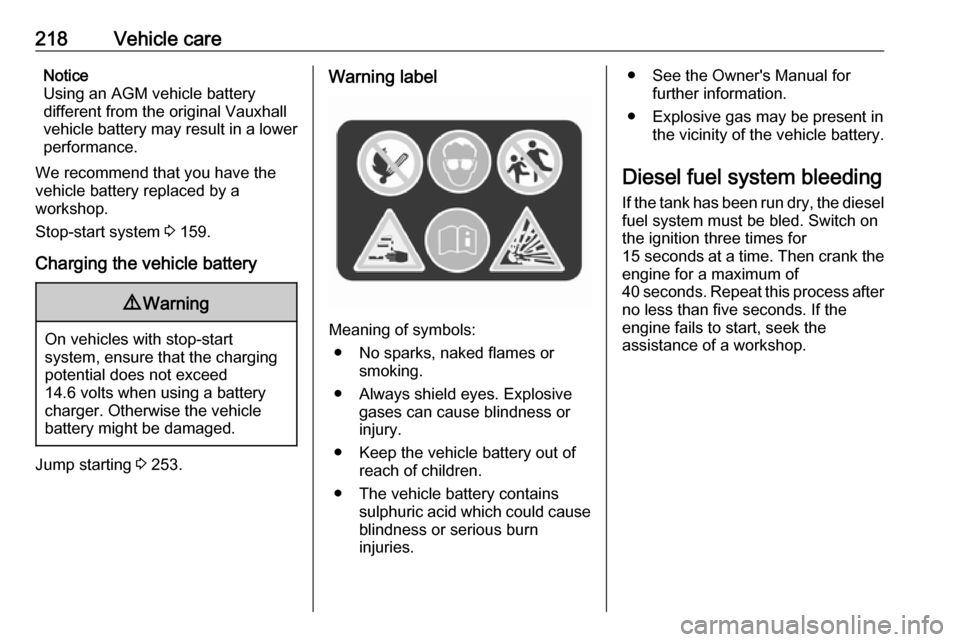
Warning label
Meaning of symbols:
● No sparks, naked flames or smoking.
● Always shield eyes. Explosive gases can cause blindness or
injury.
● Keep the vehicle battery out of reach of children.
● The vehicle battery contains sulphuric acid which could cause
blindness or serious burn
injuries.
● See the Owner's Manual for further information.
● Explosive gas may be present in the vicinity of the vehicle battery.
Diesel fuel system bleeding If the tank has been run dry, the diesel
fuel system must be bled. Switch on
the ignition three times for
15 seconds at a time. Then crank the
engine for a maximum of 40 seconds. Repeat this process after
no less than five seconds. If the
engine fails to start, seek the
assistance of a workshop.
Page 244 of 291
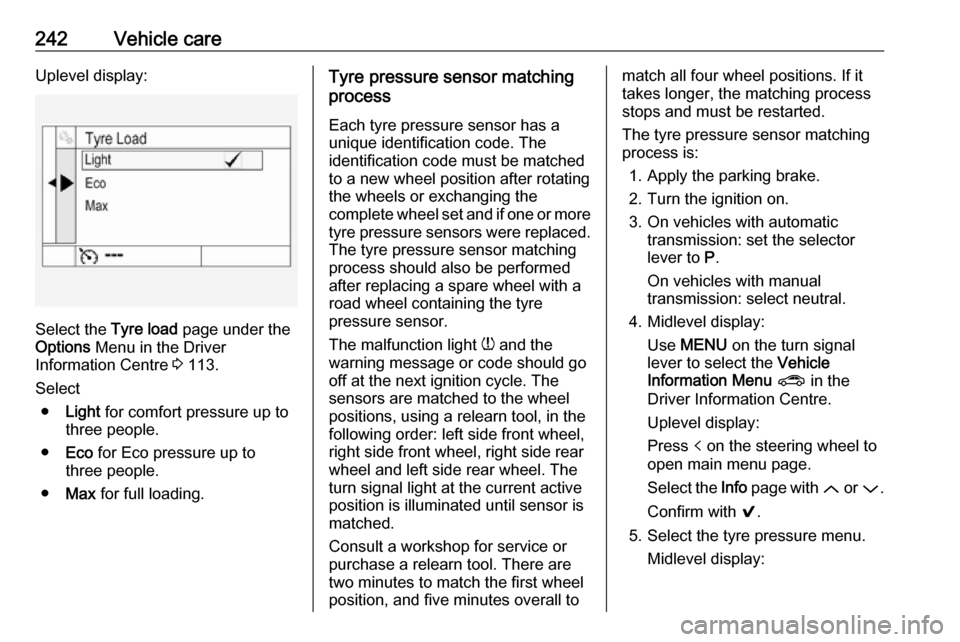
242Vehicle careUplevel display:
Select the Tyre load page under the
Options Menu in the Driver
Information Centre 3 113.
Select ● Light for comfort pressure up to
three people.
● Eco for Eco pressure up to
three people.
● Max for full loading.
Tyre pressure sensor matching
process
Each tyre pressure sensor has a
unique identification code. The
identification code must be matched
to a new wheel position after rotating the wheels or exchanging the
complete wheel set and if one or more tyre pressure sensors were replaced.
The tyre pressure sensor matching
process should also be performed
after replacing a spare wheel with a
road wheel containing the tyre
pressure sensor.
The malfunction light w and the
warning message or code should go
off at the next ignition cycle. The
sensors are matched to the wheel
positions, using a relearn tool, in the following order: left side front wheel,
right side front wheel, right side rear
wheel and left side rear wheel. The
turn signal light at the current active
position is illuminated until sensor is
matched.
Consult a workshop for service or
purchase a relearn tool. There are
two minutes to match the first wheel
position, and five minutes overall tomatch all four wheel positions. If it
takes longer, the matching process stops and must be restarted.
The tyre pressure sensor matching
process is:
1. Apply the parking brake.
2. Turn the ignition on.
3. On vehicles with automatic transmission: set the selector
lever to P.
On vehicles with manual
transmission: select neutral.
4. Midlevel display: Use MENU on the turn signal
lever to select the Vehicle
Information Menu ? in the
Driver Information Centre.
Uplevel display:
Press p on the steering wheel to
open main menu page.
Select the Info page with Q or P.
Confirm with 9.
5. Select the tyre pressure menu. Midlevel display:
Page 270 of 291
![VAUXHALL ASTRA J 2016.75 Owners Guide 268Technical dataEngine dataEngine identifier codeB10XFLB14XEB14XFLB14XFTB16SHTSales designation1.01.41.41.41.6Engineering codeB10XFTB14XEB14XFTB14XFTB16SHTPiston displacement [cm3
]999139913991399159 VAUXHALL ASTRA J 2016.75 Owners Guide 268Technical dataEngine dataEngine identifier codeB10XFLB14XEB14XFLB14XFTB16SHTSales designation1.01.41.41.41.6Engineering codeB10XFTB14XEB14XFTB14XFTB16SHTPiston displacement [cm3
]999139913991399159](/img/38/19350/w960_19350-269.png)
268Technical dataEngine dataEngine identifier codeB10XFLB14XEB14XFLB14XFTB16SHTSales designation1.01.41.41.41.6Engineering codeB10XFTB14XEB14XFTB14XFTB16SHTPiston displacement [cm3
]9991399139913991598Engine power [kW]777492110147at rpm4500-600060004000-56005000-56005500Torque [Nm]170130245/230 2)245/230 2)280at rpm1800-430043002000-35002000-40001650-5000Fuel typePetrolPetrolPetrolPetrolPetrolOctane rating RON 3)recommended9595959598possible9898989895possible9191919191Additional fuel type–––––2)
With Stop-start system.
3) A country specific label at the fuel filler flap can supersede the engine specific requirement.
Page 289 of 291

287Power seat adjustment ................49
Power windows ............................ 40
Preheating ................................. 111
Puncture ..................................... 248
Q
Quickheat ................................... 151
R Radio Frequency Identification (RFID) ..................................... 283
Radio remote control ...................20
Reading lights ............................ 140
Rear floor storage cover ..............79
Rear fog light .....................112, 139
Rear seats .................................... 54
Rear view camera ...................... 195
Rear window wiper/washer .......... 93
Recommended fluids and lubricants ........................ 261, 265
Refuelling ................................... 203
Retained power off .....................156
Reversing lights .........................139
Ride control systems ..................175
Roof .............................................. 43
Roof load ...................................... 87
Roof rack ..................................... 86
S
Safety belts ................................... 55
Safety net .................................... 83Seat adjustment ............................. 7
Seat belt ........................................ 8
Seat belt reminder .....................107
Seat belts ..................................... 55
Seat heating Seat heating, front .....................53
Seat heating, rear .....................54
Seat position ................................ 46
Selector lever ..................... 166, 170
Service ............................... 152, 260
Service display .......................... 106
Service information ....................260
Side airbag system ......................60
Side blind spot alert ....................194
Sidelights .................................... 132
Side turn signal lights ................228
Software acknowledgement .......280
Spare wheel ............................... 250
Speed limiter....................... 112, 180
Speedometer ............................. 103
Sport mode ................................ 177
Starting and operating ................154
Starting off ................................... 16
Starting the engine ....................157
Steering ...................................... 154
Steering wheel adjustment ......9, 90
Steering wheel controls ...............90
Stop-start system........................ 159
Storage ......................................... 70
Storage compartments .................70Sunroof ........................................ 43
Sunvisor lights ........................... 141
Sun visors .................................... 42
Symbols ......................................... 4
T
Tachometer ............................... 105
Tail lights ................................... 222
Three-point seat belt .................... 56
Tools .......................................... 236
Tow bar....................................... 205
Towing ................................ 205, 255
Towing another vehicle .............256
Towing equipment .....................207
Towing the vehicle .....................255
Traction Control system ............. 175
Traction Control system off......... 111
Traffic sign assistant ...........113, 197
Trailer coupling ........................... 205
Trailer stability assist .................210
Trailer towing ............................. 206
Transmission ............................... 15
Transmission display .........165, 170
Tread depth ............................... 243
Trip odometer ............................ 104
Turn and lane-change signals ...138
Turn signal ................................. 107
Tyre chains ................................ 244
Tyre designations ......................238
Tyre pressure ............................ 238