ECU VAUXHALL ASTRA J GTC 2018 Owner's Guide
[x] Cancel search | Manufacturer: VAUXHALL, Model Year: 2018, Model line: ASTRA J GTC, Model: VAUXHALL ASTRA J GTC 2018Pages: 293, PDF Size: 8.29 MB
Page 212 of 293

210Vehicle careCorner lighting
1. Rotate the cap anticlockwise andremove it.
2. Rotate the bulb holderanticlockwise to disengage.
Withdraw the bulb holder from the
reflector.
3. Disengage the bulb from the plug connector by pulling.
4. Replace the bulb and connect bulb holder with the plug
connector.
5. Insert the bulb holder, engaging the two lugs into the reflector and
rotate clockwise to secure.
6. Fit the cap and rotate clockwise.
Fog lights
3-door hatchback
1. Disengage the cover with a screwdriver in the recess and
remove the cover.
Page 217 of 293

Vehicle care2152. Unscrew both plastic securingnuts from the inside by hand.
3. Carefully withdraw the light assembly from the recesses and
remove.
4. Detach wiring plug from bulb carrier.
5. Remove the bulb holder by turning and replace the bulb by
withdrawing or pushing the bulb
slightly into the socket and
rotating anticlockwise:
Tail light/Brake light ( 1)
Turn signal light ( 2)
Version with Light Emitting Diode (LED)
Only turn signal light ( 2) can be
changed.
6. Insert and turn bulb holder clockwise into the tail light
assembly. Connect the wiring
plug with the light assembly. Fit
light assembly with the retaining
pins into the recesses of the
vehicle body and tighten the
plastic securing nuts from the
inside of the load compartment.
Close cover and engage.
Light assembly in the tailgate
1. Open the tailgate and remove the
covers on the respective side.
2. Unscrew three screws.
3. Remove the tail light assembly from tailgate.
4. Remove the bulb holder by turning and replace the bulb by
withdrawing or pushing the bulb
slightly into the socket and rotating anticlockwise:
Page 218 of 293

216Vehicle care
Tail light (1)
Rear fog light/Reverse light ( 2),
depending on the side.
Version with Light Emitting Diode
(LED)
Only rear fog light respectively
reverse light ( 2), depending on the
side of the vehicle, can be
changed.
5. Insert and turn bulb holder clockwise into the tail light
assembly. Fit the tail light
assembly in the tailgate and
tighten the screws. Attach all
covers.
4-door saloon
1. Remove cover on the responding side.
2.Unscrew two plastic securing nuts
from the inside by hand.
3. Carefully withdraw tail light assembly from recesses and
remove. Make sure that the cable duct remains in position.
4. Detach wiring plug from bulb carrier.
Page 219 of 293

Vehicle care217
5. Remove the bulb holder byturning and replace the bulb by
withdrawing or pushing the bulb
slightly into the socket and rotating anticlockwise:
Tail light/Brake light ( 1)
Turn signal light ( 2)
6. Insert bulb holder and turn clockwise. Connect the wiring
plug. Fit light assembly with the
retaining pins into the recesses of
the vehicle body and tighten the
plastic securing nuts from the
inside of the load compartment.
Attach cover.
Light assembly in the tailgate
1. Open the tailgate and remove the
cover on the respective side.
2. Remove the bulb holder by turning and replace the bulb by
withdrawing or pushing the bulb
slightly into the socket and rotating anticlockwise:
Tail light ( 1)
Rear fog light/Reverse light ( 2),
depending on the side of the
vehicle.
3. Insert bulb holder and turn clockwise. Attach cover.
Side turn signal lights
3-door hatchback To replace bulb, remove lamp
housing:
Page 228 of 293

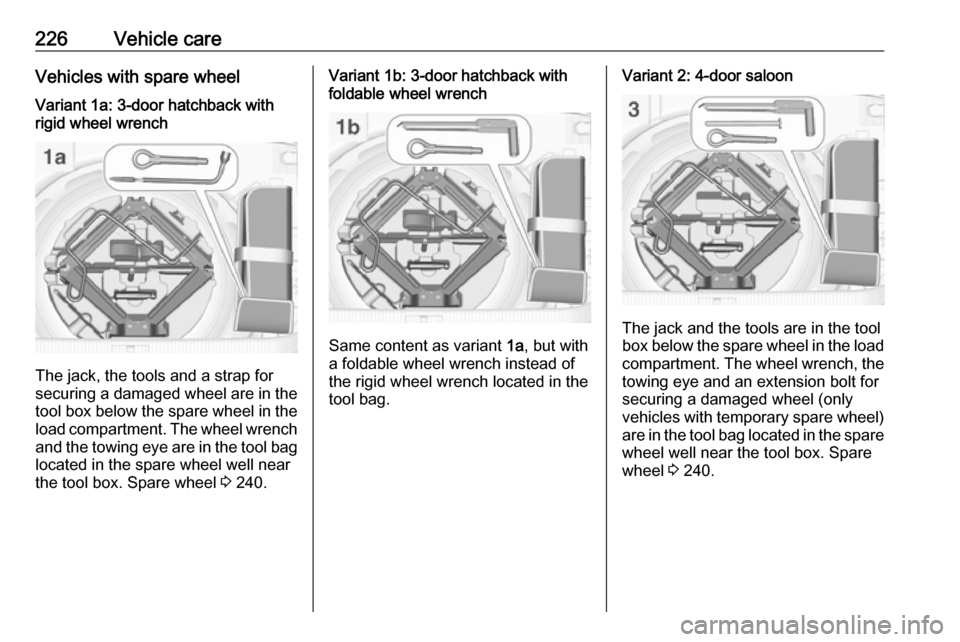
226Vehicle careVehicles with spare wheelVariant 1a: 3-door hatchback with
rigid wheel wrench
The jack, the tools and a strap for
securing a damaged wheel are in the
tool box below the spare wheel in the load compartment. The wheel wrenchand the towing eye are in the tool bag
located in the spare wheel well near
the tool box. Spare wheel 3 240.
Variant 1b: 3-door hatchback with
foldable wheel wrench
Same content as variant 1a, but with
a foldable wheel wrench instead of
the rigid wheel wrench located in the
tool bag.
Variant 2: 4-door saloon
The jack and the tools are in the tool
box below the spare wheel in the load
compartment. The wheel wrench, the towing eye and an extension bolt for
securing a damaged wheel (only
vehicles with temporary spare wheel)
are in the tool bag located in the spare wheel well near the tool box. Spare
wheel 3 240.
Page 240 of 293

238Vehicle care
Install the wheel wrench ensuring
that it locates securely and loosen
each wheel nut by half a turn.
Variants 1b, 2 and 3 with foldable
wheel wrench:
Fold out the wheel wrench and
install ensuring that it locates
securely and loosen each wheel
nut by half a turn.
The wheels might be protected by
locking wheel nuts. To loosen
these specific nuts first attach the
adapter onto the head of the nut
before installing the wheel
wrench. The adapter is located in
the glovebox.
3. Ensure the jack is correctly positioned under the relevant
vehicle jacking point.
Some versions have sill
panellings with covered vehicle
jacking points: pull out the cover
at the respective jacking point
firstly.
4. 3-door hatchback and 4-door
saloon, jack variants 1a, 1b and 3
3 225:
Page 241 of 293

Vehicle care239
Set the jack to the necessary
height. Position it directly below
the jacking point in a manner that
prevents it from slipping.
Attach jack handle and with the
jack correctly aligned rotate
handle until wheel is clear of the ground.
5. Unscrew the wheel nuts.
6. Change the wheel. Spare wheel 3 240.
7. Screw on the wheel nuts.
8. Lower the vehicle and remove jack.
9. Install the wheel wrench ensuring that it is located securely and
tighten each nut in a crosswise
sequence. Tightening torque is
140 Nm.
10. Align the valve hole in the wheel cover with the tyre valve before
installing.
Install wheel nut caps.
Install centre cap on alloy wheels.
11. Install vehicle jacking point cover on versions with sill panelling.
12. Stow the replaced wheel 3 240,
the vehicle tools 3 225 and the
adapter for the locking wheel nuts 3 58.
13. Check the tyre pressure of the installed tyre and the wheel nut
torque as soon as possible.Have the defective tyre renewed or repaired as soon as possible.
Jacking position for lifting platform
Rear arm position of the lifting
platform centrically under the recess
of the sill.
Page 242 of 293

240Vehicle care
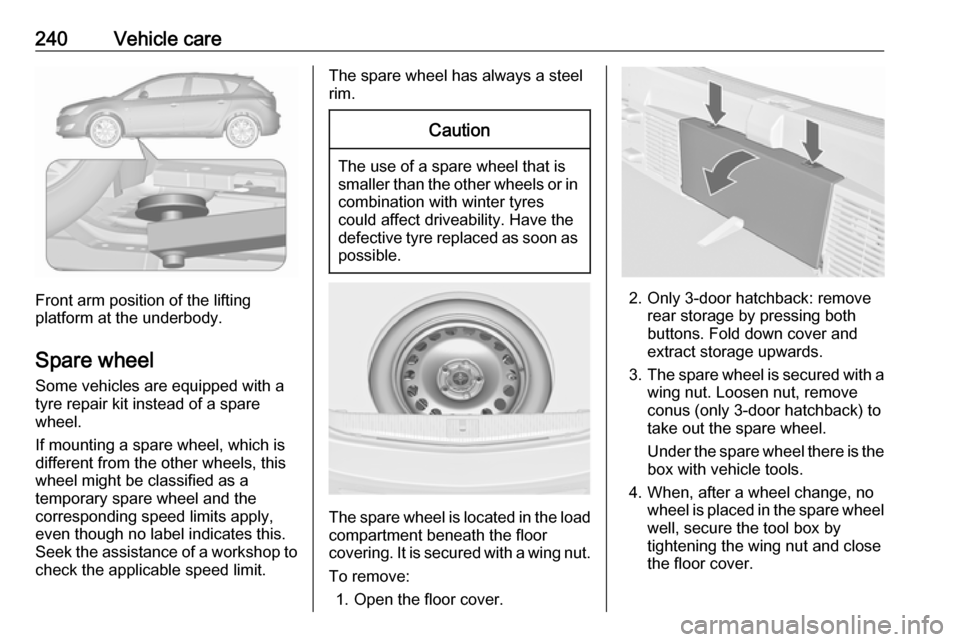
Front arm position of the lifting
platform at the underbody.
Spare wheel Some vehicles are equipped with a
tyre repair kit instead of a spare
wheel.
If mounting a spare wheel, which is
different from the other wheels, this
wheel might be classified as a
temporary spare wheel and the
corresponding speed limits apply,
even though no label indicates this.
Seek the assistance of a workshop to
check the applicable speed limit.
The spare wheel has always a steel
rim.Caution
The use of a spare wheel that is smaller than the other wheels or in combination with winter tyres
could affect driveability. Have the defective tyre replaced as soon as
possible.
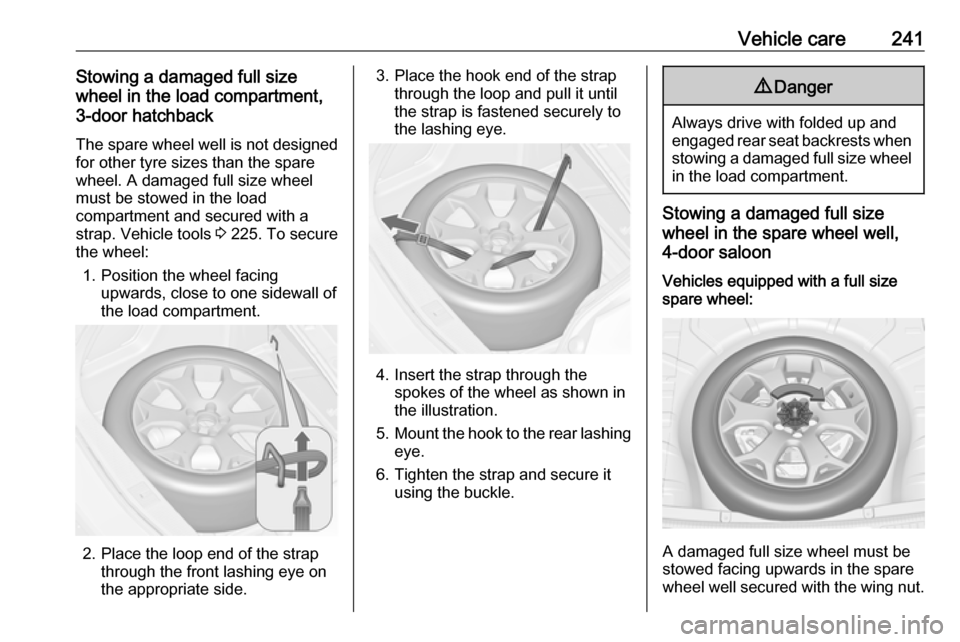
The spare wheel is located in the load
compartment beneath the floor
covering. It is secured with a wing nut.
To remove: 1. Open the floor cover.
2. Only 3-door hatchback: remove rear storage by pressing both
buttons. Fold down cover and
extract storage upwards.
3. The spare wheel is secured with a
wing nut. Loosen nut, remove
conus (only 3-door hatchback) to
take out the spare wheel.
Under the spare wheel there is the box with vehicle tools.
4. When, after a wheel change, no wheel is placed in the spare wheel
well, secure the tool box by
tightening the wing nut and close
the floor cover.
Page 243 of 293

Vehicle care241Stowing a damaged full size
wheel in the load compartment,
3-door hatchback
The spare wheel well is not designed
for other tyre sizes than the spare
wheel. A damaged full size wheel
must be stowed in the load
compartment and secured with a
strap. Vehicle tools 3 225. To secure
the wheel:
1. Position the wheel facing upwards, close to one sidewall of
the load compartment.
2. Place the loop end of the strap through the front lashing eye on
the appropriate side.
3. Place the hook end of the strap through the loop and pull it until
the strap is fastened securely to
the lashing eye.
4. Insert the strap through the spokes of the wheel as shown in
the illustration.
5. Mount the hook to the rear lashing
eye.
6. Tighten the strap and secure it using the buckle.
9 Danger
Always drive with folded up and
engaged rear seat backrests when stowing a damaged full size wheel
in the load compartment.
Stowing a damaged full size
wheel in the spare wheel well,
4-door saloon
Vehicles equipped with a full size spare wheel:
A damaged full size wheel must be
stowed facing upwards in the spare
wheel well secured with the wing nut.
Page 244 of 293

242Vehicle careThe floor cover can be placed on the
projecting wheel.Vehicles equipped with a temporary
spare wheel:
Secure a damaged full size wheel
facing upwards with the wing nut in
the spare wheel well after exchanging the thread bolt by an extension bolt,
placed in the tool bag 3 225. To
replace the bolt:
1. Install the hexagon key of the wheel wrench ensuring that it
locates securely on the bolt.
2. Turn the wheel wrench anticlockwise to loosen the bolt.
Remove the bolt.
3. Take the extension bolt from the tool bag 3 225 and screw it in
hand-tight using the hexagon key
of the wheel wrench.
4. Store the tool box and the damaged wheel outside up in the
spare wheel well and secure it by
turning the wing nut clockwise on the bolt.
The floor cover can be placed on the
projecting wheel.
Replace the extension bolt with the
short bolt before placing the
temporary spare wheel in the well
after renewing or repairing the
defective wheel.
Stowing the spare wheel back in
the well after replacing the
damaged wheel
1. Open the floor cover, loosen and remove wing nut.
Only 3-door hatchback: open floor
cover, remove rear storage,
loosen and remove wing nut and
conus.
2. Only 4-door saloon with temporary spare wheel: replace
the extension bolt with the short
bolt by using the hexagon key of
the wheel wrench.
3. Place the tools in the tool box or the tool bag 3 225.
4. Place spare wheel facing upwards, in the wheel well and
secure by tightening the wing nut.