light VAUXHALL CASCADA 2015 Infotainment system
[x] Cancel search | Manufacturer: VAUXHALL, Model Year: 2015, Model line: CASCADA, Model: VAUXHALL CASCADA 2015Pages: 133, PDF Size: 2.29 MB
Page 26 of 133

26Radio
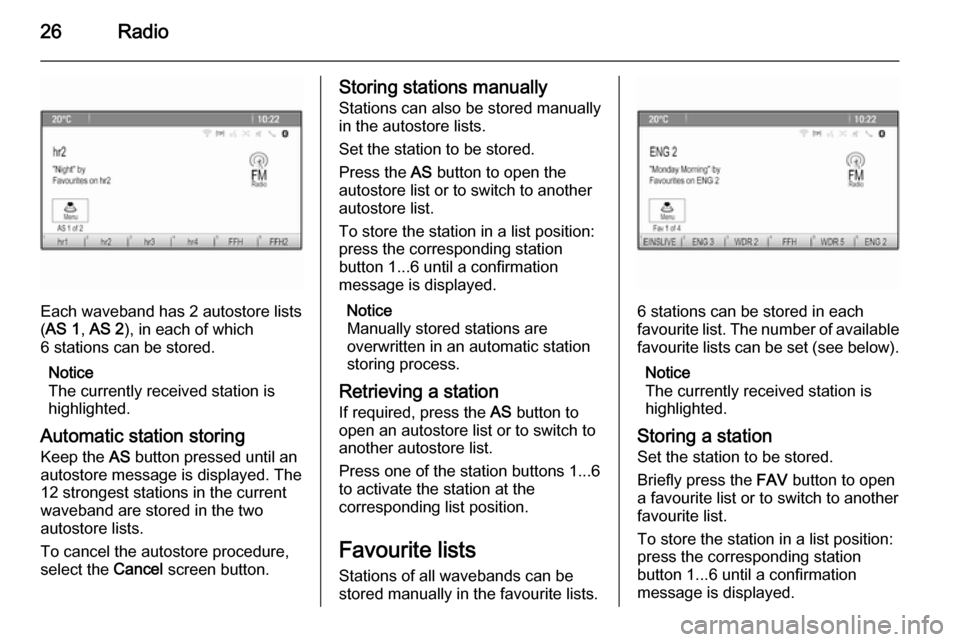
Each waveband has 2 autostore lists
( AS 1 , AS 2 ), in each of which
6 stations can be stored.
Notice
The currently received station is highlighted.
Automatic station storing
Keep the AS button pressed until an
autostore message is displayed. The
12 strongest stations in the current
waveband are stored in the two
autostore lists.
To cancel the autostore procedure,
select the Cancel screen button.
Storing stations manually
Stations can also be stored manually
in the autostore lists.
Set the station to be stored.
Press the AS button to open the
autostore list or to switch to another autostore list.
To store the station in a list position:
press the corresponding station
button 1...6 until a confirmation
message is displayed.
Notice
Manually stored stations are
overwritten in an automatic station
storing process.
Retrieving a station
If required, press the AS button to
open an autostore list or to switch to
another autostore list.
Press one of the station buttons 1...6
to activate the station at the
corresponding list position.
Favourite lists
Stations of all wavebands can be
stored manually in the favourite lists.
6 stations can be stored in each
favourite list. The number of available favourite lists can be set (see below).
Notice
The currently received station is
highlighted.
Storing a station Set the station to be stored.
Briefly press the FAV button to open
a favourite list or to switch to another favourite list.
To store the station in a list position:
press the corresponding station
button 1...6 until a confirmation
message is displayed.
Page 40 of 133

40Navigation
The following options are available:■ Full Map ("Normal" view described
above): Full screen map view, all
functions and indication screen
buttons displayed.
■ Full Glory : Full screen map view,
most functions and indication
screen buttons hidden.
■ Split with Turn List : Divided screen
with map on the left and turn list on the right side.
■ Split with Turn Arrow : Divided
screen with map on the left side and
turn arrow for the next turning
manoeuvre on the right side.
■ Split with Media : Divided screen
with map on the left side and audio source currently active on the right
side.
Select the desired option.
Map display
Press the multifunction knob to
display the Navigation Menu . Select
the Map Settings menu item and then
Map Display to display the respective
submenu.Depending on the external lighting
conditions, activate the Day or Night
menu item.
For an automatic adaption by the
system, activate Automatic.
Displaying POIs
Press the multifunction knob to
display the Navigation Menu .
Select the Show POIs menu item to
display the respective submenu.
If you wish all POIs available in the
system to be displayed on the map,
activate Show all POIs .
If you do not wish POIs to be
displayed on the map, activate Hide
all POIs .
To only display specific POIs, activate the User Defined menu item and then
activate the POI categories you wish
to be displayed.
Changing screen information
The route information displayed on
the screen during active route
guidance may be customised.Press the multifunction knob to
display the Navigation Menu . Scroll
through the list and select the Switch
Route Time/Destination menu item.Time information
If you wish to change the time
information displayed, select Switch
Arrival/Travel Time to display the
respective submenu.
Activate the information setting you
wish to be displayed.Destination information
If you are in a waypoint trip, you may
want to display the route information
for a waypoint instead of those for the final destination.
To change the setting, select Switch
Waypoint/Destination . A list of all
destinations in the waypoint trip
currently active is displayed.
Activate the information setting you
wish to be displayed.
Page 56 of 133

56Speech recognition
In such a case you must select
another language for the display if you want to control the Infotainment
system via voice input. Changing
the display language, see
"Language" in chapter "System
settings" 3 21.
Address input for destinations in
foreign countries
In case you want to enter the address
of a destination located in a foreign
country via voice input, you must
change the language of the
Infotainment display to the language
of the foreign country.
E.g. if the display is currently set to
English and you want to enter the
name of a city located in France, you
must change the display language to
French.
Exceptions: If you want to enter
addresses in Belgium, you may
optionally change the display
language to French or Dutch. For
addresses in Switzerland you may
optionally change the display
language to French, German, or
Italian.For changing the display language,
see "Language" in chapter "System
settings" 3 21.
Input order for destination addresses The order in which the parts of an
address must be entered using the
speech recognition system is
dependent on the country where the
destination is located.
An example for the respective input
order is given out by the system.
Voice pass-thru application
The voice pass-thru application of the Infotainment system allows access to
the speech recognition commands on your smartphone. See operating
instructions for your smartphone to
find out whether your smartphone
supports this feature.Usage
Embedded speech recognitionActivating speech recognition Notice
Speech recognition is not available
during an active phone call.
Press the w button on the right side of
the steering wheel.
The audio system mutes, the w
symbol on the display is highlighted, and a voice output message prompts you to say a command.
As soon as the speech recognition is
ready for voice input, a beep is heard.
You can now say a voice command to directly initiate a system function
(e.g. playing a radio station), or to
start a dialogue sequence with
several dialogue steps (e.g. entering
a destination address), see
"Operation via speech commands"
further below.
Page 108 of 133

108CD Player
■ On mixed mode CDs (audio tracksand compressed files, e.g. MP3,
are stored), the audio tracks part and the compressed files part can
be played separately.
■ Avoid leaving fingerprints when you
change CDs.
■ Put CDs back in their sleeves immediately after removing them
from the CD player in order to
protect them from damage and dirt.
■ Dirt and liquids on CDs can smear the lens of the CD player inside thedevice and cause faults.
■ Protect CDs from heat and direct sunlight.
■ The following restrictions apply for the data stored on an MP3/WMA
CD:
Number of tracks: max. 999.
Number of folders: max. 255.
Folder structure depth: max.
64 levels (recommended: max.
8 levels).
Number of playlists: max. 15.Number of songs per playlist: max.
255.
Applicable playlist
extensions: .m3u, .pls, .asx, .wpl.
■ This chapter deals only with playing
MP3 files since the operation for
MP3 and WMA files is identical.
When a CD with WMA files is
loaded MP3 related menus are
displayed.
Usage Starting CD playbackPress the CD button to open the CD
or MP3 menu.
If there is a CD in the CD player, CD playback is started.
Depending on the data stored on the
audio CD or MP3 CD differing
information about the CD and the
current music track will be shown on
the display.
Inserting a CD
Insert a CD with the printed side
facing up into the CD slot until it is
drawn in.
Notice
If a CD is inserted, a CD symbol is
shown in the top line of the display.
Changing the standard page
view (only with CD 300)
During audio CD or MP3 playback: press the multifunction knob and then
select Default CD page view or
Default MP3 page view .
Select the desired option.