lock VAUXHALL COMBO 2014 Owner's Guide
[x] Cancel search | Manufacturer: VAUXHALL, Model Year: 2014, Model line: COMBO, Model: VAUXHALL COMBO 2014Pages: 187, PDF Size: 4.15 MB
Page 63 of 187
Instruments and controls61Instruments and
controlsControls ....................................... 61
Warning lights, gauges and indi‐ cators ........................................... 67
Information displays .....................79
Vehicle messages ........................ 85
Trip computer ............................... 86Controls
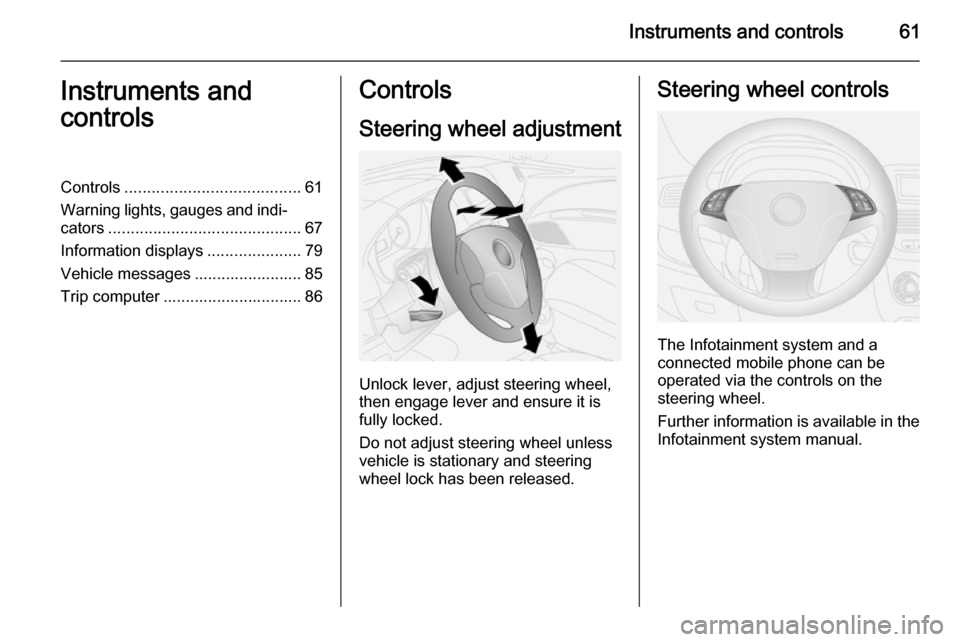
Steering wheel adjustment
Unlock lever, adjust steering wheel,
then engage lever and ensure it is fully locked.
Do not adjust steering wheel unless
vehicle is stationary and steering
wheel lock has been released.
Steering wheel controls
The Infotainment system and a
connected mobile phone can be
operated via the controls on the
steering wheel.
Further information is available in the
Infotainment system manual.
Page 65 of 187
Instruments and controls63Rear window wiper/washer
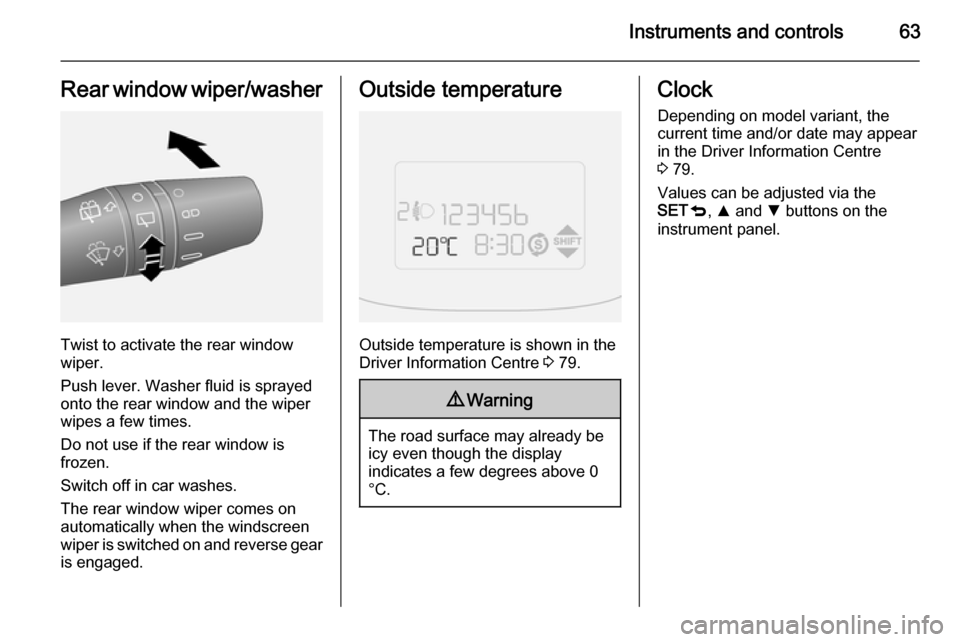
Twist to activate the rear window
wiper.
Push lever. Washer fluid is sprayed
onto the rear window and the wiper
wipes a few times.
Do not use if the rear window is
frozen.
Switch off in car washes.
The rear window wiper comes on
automatically when the windscreen
wiper is switched on and reverse gear
is engaged.
Outside temperature
Outside temperature is shown in the
Driver Information Centre 3 79.
9 Warning
The road surface may already be
icy even though the display
indicates a few degrees above 0
°C.
Clock
Depending on model variant, the
current time and/or date may appear
in the Driver Information Centre
3 79.
Values can be adjusted via the
SET q, R and S buttons on the
instrument panel.
Page 66 of 187
64Instruments and controls
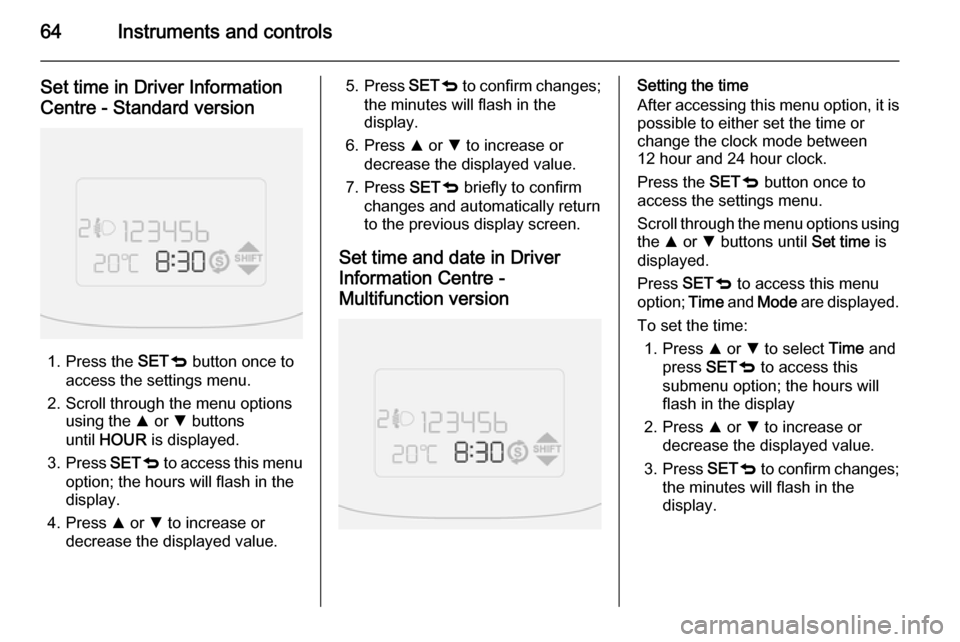
Set time in Driver Information
Centre - Standard version
1. Press the SETq button once to
access the settings menu.
2. Scroll through the menu options using the R or S buttons
until HOUR is displayed.
3. Press SETq to access this menu
option; the hours will flash in the display.
4. Press R or S to increase or
decrease the displayed value.
5. Press SETq to confirm changes;
the minutes will flash in the
display.
6. Press R or S to increase or
decrease the displayed value.
7. Press SETq briefly to confirm
changes and automatically return
to the previous display screen.
Set time and date in Driver
Information Centre -
Multifunction versionSetting the time
After accessing this menu option, it is possible to either set the time or
change the clock mode between
12 hour and 24 hour clock.
Press the SETq button once to
access the settings menu.
Scroll through the menu options using
the R or S buttons until Set time is
displayed.
Press SETq to access this menu
option; Time and Mode are displayed.
To set the time: 1. Press R or S to select Time and
press SETq to access this
submenu option; the hours will
flash in the display
2. Press R or S to increase or
decrease the displayed value.
3. Press SETq to confirm changes;
the minutes will flash in the display.
Page 67 of 187

Instruments and controls65
4. Press R or S to increase or
decrease the displayed value.
5. Press SETq briefly to confirm
changes and automatically return
to the previous display screen.
To change the clock mode between 12 hour and 24 hour clock:
1. Press R or S to select Mode and
press SETq to access this
submenu option; the display will
flash.
2. Press R or S to change clock
mode between 12h and 24h.
3. Press SETq briefly to confirm
changes and automatically return to the previous display screen.
Setting the date 1. Press the SETq button once to
access the settings menu.
2. Scroll through the menu options using the R or S buttons until Set
date is displayed.
3. Press SETq to access this menu
option; the year will flash in the
display.4. Press R or S to increase or
decrease the displayed value.
5. Press SETq to confirm changes;
the month will flash in the display.
6. Press R or S to increase or
decrease the displayed value.
7. Press SETq to confirm changes;
the day will flash in the display.
8. Press R or S to increase or
decrease the displayed value.
9. Press SETq briefly to confirm
changes and automatically return to the previous display screen.Power outlets
A 12 Volt power outlet is located in the
centre console.
Rear power outlets
Depending on model variant,12 Volt
power outlets are located at the
sidewall in the load compartment.
Page 77 of 187

Instruments and controls759Warning
Stop. Do not continue your
journey. Consult a workshop.
Illuminates if the brake vacuum servo
fails; the brake pedal becomes stiff
when pressed. The brake system
remains operational however,
assistance will be reduced. The
steering may also require
considerably more effort when
turning.
Illuminates after the ignition is
switched on if the parking brake is
applied 3 112.
Brake pad wear F illuminates yellow.
The front brake pads are worn, seek
the assistance of a workshop
immediately.
Antilock brake system
(ABS)
u illuminates yellow.
Illuminates for a few seconds after the
ignition is switched on. The system is
ready for operation when the control
indicator extinguishes.
If the control indicator does not
extinguish after a few seconds, or if it illuminates while driving, there is a
fault in the ABS. The brake system
remains operational but without ABS
regulation.
Antilock brake system 3 112.
Upshift [ or Ò illuminates in the Driver
Information Centre 3 79 when
gearshifting is recommended to
improve fuel economy.
Hill start assist
Z illuminates yellow.
Illuminates when the ignition is
switched on and extinguishes shortly
after the engine starts.
If the control indicator does not
extinguish after a few seconds, or if it illuminates while driving, there is afault in the Hill start assist. Seek the
assistance of a workshop to have the
fault remedied.
The Electronic Stability Program
(ESP) control indicator x may also
illuminate 3 76 in conjunction with
Z .
Depending on model variant, 9 will
illuminate as an alternative if control
indicator Z is not present. A warning
message may also be displayed in
the Driver Information Centre 3 79.
Generic warning 9 3 73.
Hill start assist 3 113.
Ultrasonic parking assist r illuminates yellow.
Fault in system
or
Fault due to sensors that are dirty or
covered by ice or snow
or
Page 79 of 187
Instruments and controls77
Continue driving until
[ extinguishes. If possible, do not
allow engine speed to drop below
2000 rpm.
Illuminates The diesel particle filter is full. Start
cleaning process as soon as
possible.
Diesel particle filter 3 106, Stop-start
system 3 103.
Engine oil pressure
I illuminates red.
Illuminates when the ignition is
switched on and extinguishes shortly
after the engine starts.
Illuminates when the engine is runningCaution
Engine lubrication may be
interrupted. This may result in
damage to the engine and/or
locking of the drive wheels.
1. Depress clutch.
2. Select neutral gear (or move selector lever to N).
3. Move out of the flow of traffic as quickly as possible without
impeding other vehicles.
4. Switch off ignition.9 Warning
When the engine is off,
considerably more force is needed
to brake and steer. During an
Autostop the brake servo unit will still be operational.
Do not remove key until vehicle is stationary, otherwise the steeringwheel lock could engage
unexpectedly.
Check oil level before seeking the
assistance of a workshop 3 127.
Change engine oil
Diesel engines with dieselparticle filter
I flashes red.
Illuminates when the ignition is
switched on and extinguishes shortly
after the engine starts.
The engine oil life monitor lets you know when to change the oil. Control
indicator I will flash, together with a
message in the Driver Information
Centre, to indicate that engine oil life
has been diminished and the oil
needs changing.
Based on driving conditions, the
interval at which an oil change will be
indicated can vary considerably.
Depending on model variant, I may
flash in the following ways:
■ for 1 minute every 2 hours, or
■ for 3 minute cycles with I off for
intervals of 5 seconds.
Page 82 of 187
80Instruments and controls
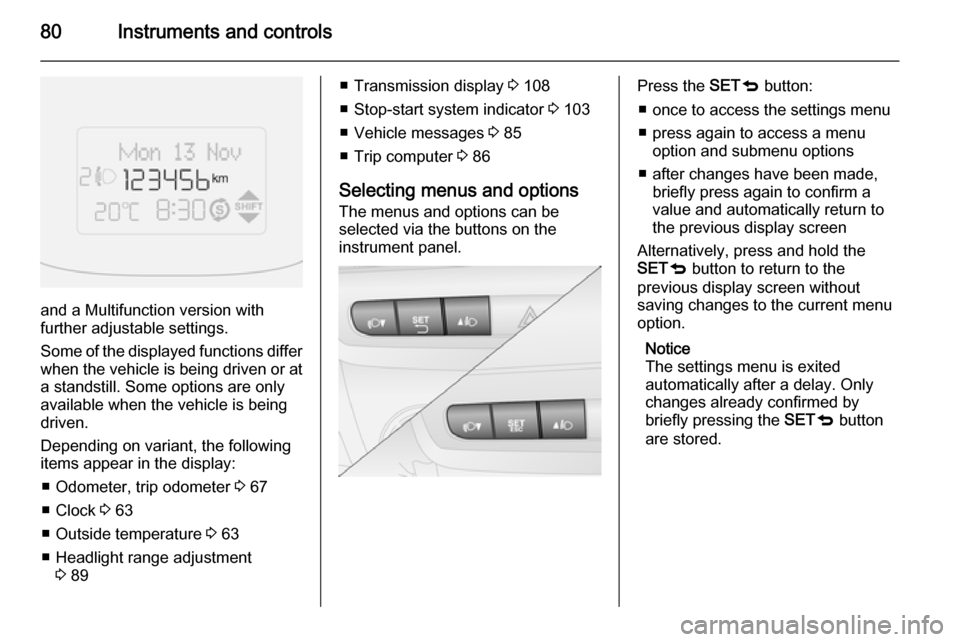
and a Multifunction version with
further adjustable settings.
Some of the displayed functions differ
when the vehicle is being driven or at a standstill. Some options are onlyavailable when the vehicle is being
driven.
Depending on variant, the following
items appear in the display:
■ Odometer, trip odometer 3 67
■ Clock 3 63
■ Outside temperature 3 63
■ Headlight range adjustment 3 89
■ Transmission display 3 108
■ Stop-start system indicator 3 103
■ Vehicle messages 3 85
■ Trip computer 3 86
Selecting menus and options
The menus and options can be
selected via the buttons on the
instrument panel.Press the SETq button:
■ once to access the settings menu
■ press again to access a menu option and submenu options
■ after changes have been made, briefly press again to confirm a
value and automatically return to
the previous display screen
Alternatively, press and hold the
SET q button to return to the
previous display screen without
saving changes to the current menu
option.
Notice
The settings menu is exited
automatically after a delay. Only
changes already confirmed by
briefly pressing the SETq button
are stored.
Page 83 of 187
Instruments and controls81
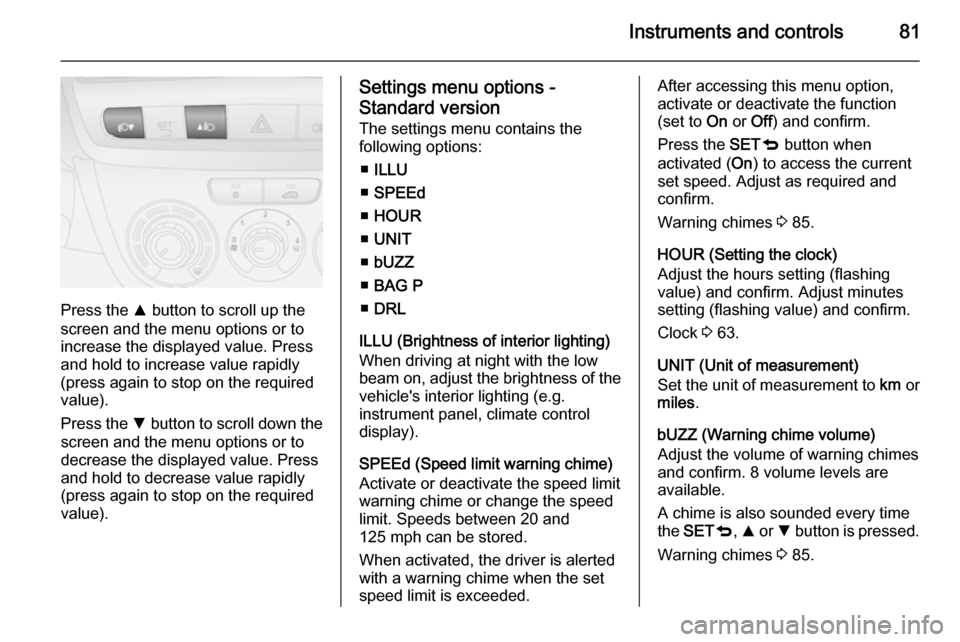
Press the R button to scroll up the
screen and the menu options or to
increase the displayed value. Press
and hold to increase value rapidly
(press again to stop on the required
value).
Press the S button to scroll down the
screen and the menu options or to
decrease the displayed value. Press
and hold to decrease value rapidly (press again to stop on the requiredvalue).
Settings menu options -
Standard version The settings menu contains the
following options:
■ ILLU
■ SPEEd
■ HOUR
■ UNIT
■ bUZZ
■ BAG P
■ DRL
ILLU (Brightness of interior lighting)
When driving at night with the low
beam on, adjust the brightness of the
vehicle's interior lighting (e.g.
instrument panel, climate control display).
SPEEd (Speed limit warning chime)
Activate or deactivate the speed limit
warning chime or change the speed
limit. Speeds between 20 and
125 mph can be stored.
When activated, the driver is alerted
with a warning chime when the set
speed limit is exceeded.After accessing this menu option,
activate or deactivate the function
(set to On or Off) and confirm.
Press the SETq button when
activated ( On) to access the current
set speed. Adjust as required and
confirm.
Warning chimes 3 85.
HOUR (Setting the clock)
Adjust the hours setting (flashing
value) and confirm. Adjust minutes
setting (flashing value) and confirm.
Clock 3 63.
UNIT (Unit of measurement)
Set the unit of measurement to km or
miles .
bUZZ (Warning chime volume)
Adjust the volume of warning chimes
and confirm. 8 volume levels are
available.
A chime is also sounded every time
the SET q, R or S button is pressed.
Warning chimes 3 85.
Page 85 of 187

Instruments and controls83
Press the SETq button when
activated ( On) to access the current
set speed. Adjust as required and
confirm.
Warning chimes 3 85.
TRIP B DATA
Activate or deactivate the second trip
computer (set to On or Off).
Trip B records average consumption, distance travelled, average speed
and travel time (driving time). The
measurement can be restarted at any
time. Trip computer 3 86.
SET TIME (Setting the clock and
clock mode)
After accessing this menu option, it is possible to either set the time or
change the clock mode between 12
hour and 24 hour clock.
Select Time and confirm. Adjust the
hours setting (flashing value) and
confirm. Adjust minutes setting
(flashing value) and confirm.
Select Mode and confirm. Select
12h or 24h and confirm.
Clock 3 63.SET DATE
Adjust the year setting (flashing
value) and confirm. Adjust month
setting (flashing value) and confirm.
Adjust the day setting (flashing value)
and confirm.
RADIO INFO (Display audio and
radio information)
Activate radio info (set to On) to
display audio and radio information (e.g. station frequency, RDS
messages, track number). Deactivate
when not required (set to Off).
AUTOCLOSE (Automatic central
locking when driving)
Activate the autoclose feature (set to
On ) to automatically lock the doors
when vehicle speed exceeds
12 mph. Deactivate when not
required (set to Off).
UNIT OF MEASUREMENT (for
Distance, Fuel consumption and
Temperature)
After accessing this menu option, it is possible to set the unit of
measurement for distance, fuel
consumption and temperature.Select Distance and confirm. Set the
unit of measurement to km or mi
(miles) and confirm.
Select Consumption and confirm.
When the Distance unit is set to km, it
is possible to set the unit of
measurement for fuel consumption to either l/100km or km/l . When the
Distance unit is set to mi (miles), fuel
consumption is shown in mpg.
Select Temperature and confirm. Set
the unit of measurement to °C or °F
and confirm.
LANGUAGE (for Display messages) Display messages can be shown in
different languages, including:
English, German, French, Italian,
Portuguese, Spanish, Dutch, Polish and Turkish. Select desired language
and confirm.
WARNING VOLUME (Warning chime volume)
Adjust the volume of warning chimes and confirm. 8 volume levels are
available.
Warning chimes 3 85.
Page 100 of 187

98Climate control
clockwise=warmanticlockwise=cold
Heating will not be fully effective until
the engine has reached normal
operating temperature.
When the minimum temperature is
set below 16 ℃, the electronic climate
control system runs at maximum
cooling. LO appears in the display.
If the maximum temperature is set
above 32 ℃, the electronic climate
control system runs at maximum
heating. HI appears in the display.
Fan speed
The selected fan speed is indicated
with bars in the display.
Press ] or < to increase or decrease
the fan speed.
maximum fan
speed=all bars displayedminimum fan
speed=one bar displayed
Press n button to deactivate fan.
To return to automatic fan speed:
Press AUTO button.
Demisting and defrosting the
windows
Press the Ê button.
Temperature and air distribution are
set automatically and the fan runs at a high speed.
When the vehicle reaches normal
operating temperature the function
remains active for approx. 3 minutes.
To return to automatic mode: press
button n or AUTO .
Air distribution
Press R, S and 6 buttons.
LED in buttons illuminate.
Arrows shown in the display indicate
the distribution settings.
Cooling
Press button n to switch on cooling.
Activation is indicated by the LED in
the button. Cooling is only functional
when the engine is running and
climate control fan is switched on.
Press button n again to switch off
cooling.The air conditioning system cools and
dehumidifies (dries) when outside
temperature is above a specific level. Therefore condensation may form
and drip from under the vehicle.
If no cooling or drying is required
press n again to switch the cooling
system off, thus saving fuel.
Manual air recirculation mode
Operated with the 4 button.recir‐
cula‐
tion on=LED in button illuminated;
D appears in the displayrecir‐
cula‐
tion off=LED in button
extinguishes; E
appears in the display9 Warning
The exchange of fresh air is
reduced in air recirculation mode.
In operation without cooling the air humidity increases, so the
windows may mist up. The quality
of the passenger compartment air
deteriorates, which may cause the vehicle occupants to feel drowsy.