door lock VAUXHALL COMBO E 2020 Owner's Guide
[x] Cancel search | Manufacturer: VAUXHALL, Model Year: 2020, Model line: COMBO E, Model: VAUXHALL COMBO E 2020Pages: 279, PDF Size: 28.6 MB
Page 77 of 279

Storage75
3. Move past the point of resistanceto lock the ladder flap with the
props.
Support bar Rest long loads on the support bar.1. Push the lever to the top.
2. Push the support bar a bit to the front and then guide it down to thedoor pillar.
3. Hold the long load in the angled position.
4. Move the support bar below the load to its original position. Fix it
by pressing the lever downwards
past the point of resistance.
The rear doors will only lock when the support bar is installed.
5. Secure the loads firmly. The side supports can be used as hooking
points.
Closing the ladder flap
1. Check that the support bar is properly locked.
2. Lower the ladder flap.
3. Fix the spring clip in its retainer.
Load compartment cover
Rear luggage cover Do not place any objects on the cover.
Closing the cover
Pull the load compartment cover
towards the rear and engage it in the
side brackets.
Page 90 of 279

88Instruments and controlsInstruments and
controlsControls ....................................... 89
Steering wheel adjustment ........89
Steering wheel controls .............89
Heated steering wheel ...............89
Horn ........................................... 90
Windscreen wiper and washer ..90
Rear window wiper and washer ...................................... 92
Outside temperature ..................92
Clock ......................................... 93
Power outlets ............................. 93
Inductive charging .....................94
Cigarette lighter ......................... 95
Ashtrays .................................... 96
Warning lights, gauges and indi‐ cators ........................................... 96
Instrument cluster ......................96
Speedometer ............................. 97
Odometer .................................. 97
Trip odometer ............................ 97
Tachometer ............................... 98
Fuel gauge ................................ 98
Engine coolant temperature gauge ....................................... 99Engine oil level monitor.............99
Service display .......................... 99
Control indicators ....................100
Turn lights ................................ 100
Seat belt reminder ...................101
Airbag and belt tensioners .......101
Airbag deactivation ..................102
Charging system .....................102
Malfunction indicator light ........102
Service vehicle soon ...............102
Stop engine ............................. 102
System check .......................... 103
Brake and clutch system .........103
Parking brake .......................... 103
Electric parking brake ..............103
Electric parking brake fault ......103
Antilock brake system (ABS) ...104
Gear shifting ............................ 104
Overload indicator ...................104
Descent control system ...........104
Lane keep assist .....................104
Electronic Stability Control and Traction Control system .........104
Engine coolant temperature ....104
Preheating ............................... 105
Exhaust filter ............................ 105
AdBlue ..................................... 105
Deflation detection system ......105
Engine oil pressure ..................105
Low fuel ................................... 106Autostop.................................. 106
Exterior light ............................ 106
High beam ............................... 106
Low beam ................................ 106
High beam assist .....................106
LED headlights ........................ 106
Front fog lights ......................... 106
Rear fog light ........................... 107
Rain sensor ............................. 107
Cruise control .......................... 107
Adaptive cruise control ............107
Side blind spot alert .................107
Active emergency braking .......107
Speed limiter ........................... 107
Door open ................................ 107
Displays ..................................... 108
Driver Information Centre ........108
Info Display .............................. 110
Head-up display ......................112
Rear view display ....................113
Vehicle messages ......................114
Warning chimes .......................114
Vehicle personalisation ..............115
Telematics services ...................119
Vauxhall Connect ....................119
Page 118 of 279
116Instruments and controls●Comfort
Ambient lighting : Adjusts the
brightness of the ambient
lighting.
Rear wiper in reverse gear :
Activates or deactivates
automatic switching on of the
rear window wiper when reverse
gear is engaged.
● Vehicle
Unlocking boot only : Activation /
deactivation.
Plip action : Driver / all doors.
● Security
Fatigue Detection system :
Activates or deactivates the
driver drowsiness system.
● Driving assistance
Speed recommendation :
Activates or deactivates the
function.Colour Info Display Multimedia
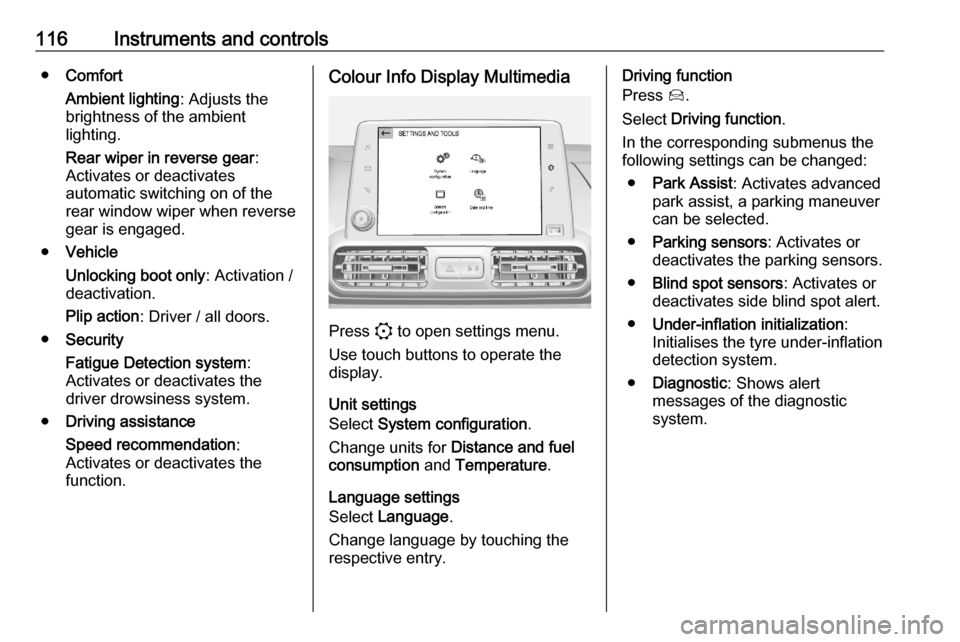
Press : to open settings menu.
Use touch buttons to operate the
display.
Unit settings
Select System configuration .
Change units for Distance and fuel
consumption and Temperature .
Language settings
Select Language .
Change language by touching the
respective entry.
Driving function
Press Í.
Select Driving function .
In the corresponding submenus the
following settings can be changed:
● Park Assist : Activates advanced
park assist, a parking maneuver
can be selected.
● Parking sensors : Activates or
deactivates the parking sensors.
● Blind spot sensors : Activates or
deactivates side blind spot alert.
● Under-inflation initialization :
Initialises the tyre under-inflation
detection system.
● Diagnostic : Shows alert
messages of the diagnostic
system.
Page 120 of 279
118Instruments and controlsLanguage settings
Select Languages .
Change language by touching the
respective entry.
Confirm with G.
Driving functions
Press Í.
Select Driving functions .
In the corresponding submenus the
following settings can be changed:
● Park Assist : Activates advanced
park assist, a parking maneuver
can be selected.
● Parking sensors : Activates or
deactivates the parking sensors.
● Blind spot sensors : Activates or
deactivates side blind spot alert.
● Under-inflation initialization :
Initialises the tyre under-inflation
detection system.
● Diagnostic : Shows alert
messages of the diagnostic
system.Vehicle settings
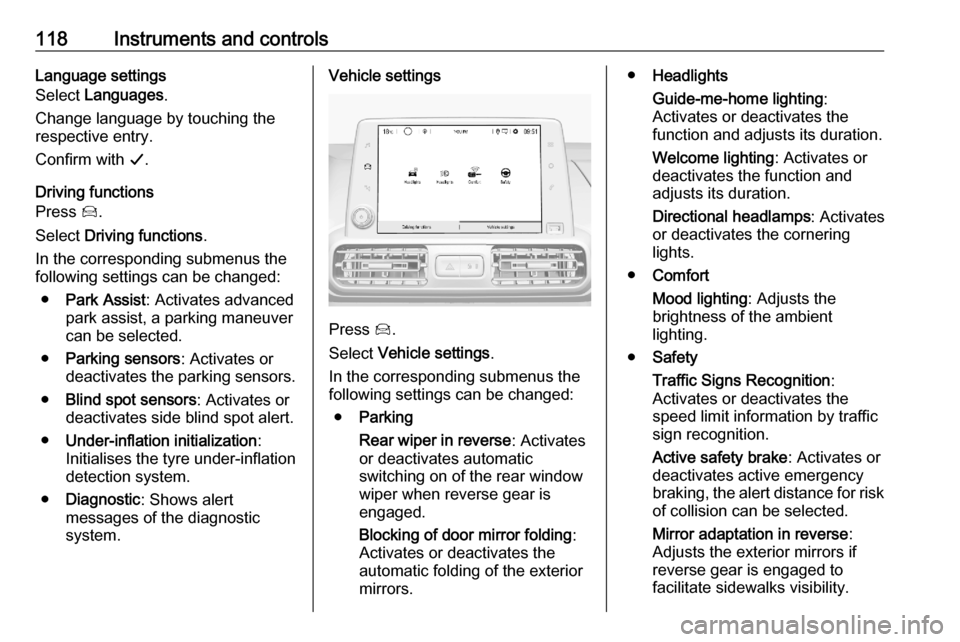
Press Í.
Select Vehicle settings .
In the corresponding submenus the
following settings can be changed:
● Parking
Rear wiper in reverse : Activates
or deactivates automatic
switching on of the rear window
wiper when reverse gear is
engaged.
Blocking of door mirror folding :
Activates or deactivates the
automatic folding of the exterior
mirrors.
● Headlights
Guide-me-home lighting :
Activates or deactivates the
function and adjusts its duration.
Welcome lighting : Activates or
deactivates the function and
adjusts its duration.
Directional headlamps : Activates
or deactivates the cornering
lights.
● Comfort
Mood lighting : Adjusts the
brightness of the ambient
lighting.
● Safety
Traffic Signs Recognition :
Activates or deactivates the
speed limit information by traffic sign recognition.
Active safety brake : Activates or
deactivates active emergency braking, the alert distance for risk of collision can be selected.
Mirror adaptation in reverse :
Adjusts the exterior mirrors if
reverse gear is engaged to
facilitate sidewalks visibility.
Page 130 of 279
128LightingLighting featuresCentre console lighting A spotlight integrated in the overheadconsole illuminates the centre
console when headlights are
switched off.
The intensity can be adjusted in the
vehicle personalisation 3 115.
Entry lighting
Welcome lighting
Some or all of the following lights are
switched on for a short time by
unlocking the vehicle with the radio
remote control:
● headlights
● tail lights
● interior lights
The number of activated lights
depends on the surrounding light
conditions.
The lighting switches off immediately
when the ignition is switched on.
Starting off 3 17.This function can be activated or
deactivated in the vehicle
personalisation 3 115.
The following lights will additionally
switch on when the driver's door is
opened:
● illumination of some switches
● Driver Information Centre
Exit lighting The following lights are switched on if
the key is removed from the ignition
switch:
● interior lights
● instrument panel light
They will switch off automatically after
a delay. This function works only in
the dark.
Path lighting
Headlights, tail lights and number
plate lights illuminate the surrounding
area for an adjustable time after
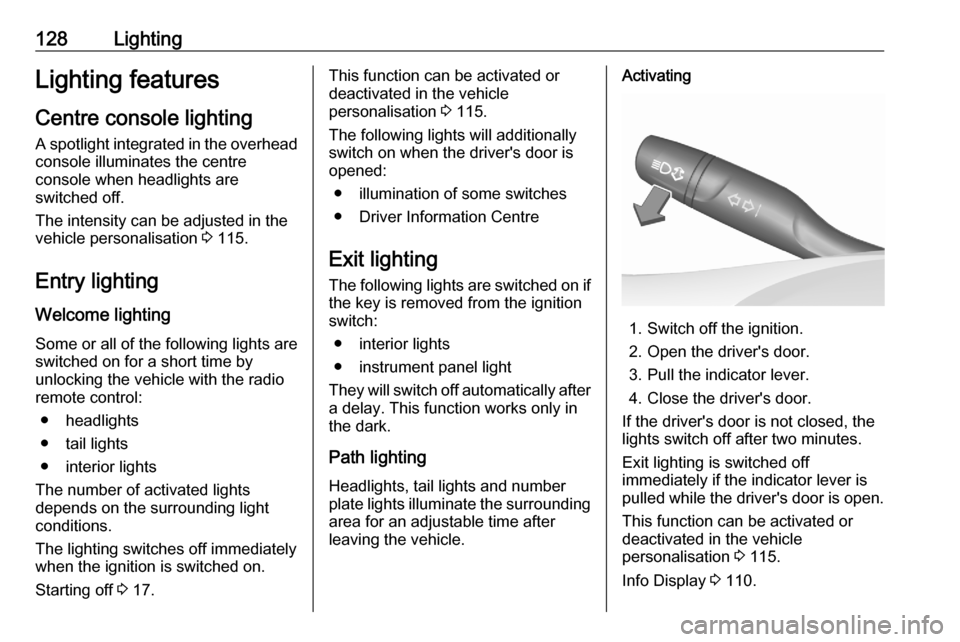
leaving the vehicle.Activating
1. Switch off the ignition.
2. Open the driver's door.
3. Pull the indicator lever.
4. Close the driver's door.
If the driver's door is not closed, the
lights switch off after two minutes.
Exit lighting is switched off
immediately if the indicator lever is
pulled while the driver's door is open.
This function can be activated or
deactivated in the vehicle
personalisation 3 115.
Info Display 3 110.
Page 133 of 279
Climate control131clockwise:increaseanticklockwise:decrease
Air recirculation system u
Press u to activate air recirculation
mode. The LED in the button
illuminates to indicate activation.
Press u again to deactivate air
recirculation mode.
9 Warning
The exchange of fresh air is
reduced in air recirculation mode.
In operation without cooling the air humidity increases, so the
windows may mist up from inside.
The quality of the passenger
compartment air deteriorates,
which may cause the vehicle
occupants to feel drowsy.
In warm and very humid ambient air conditions, the windscreen may mist
up from outside when cold air is
directed towards it. If windscreen
mists up from outside, activate
windscreen wiper and deactivate l.
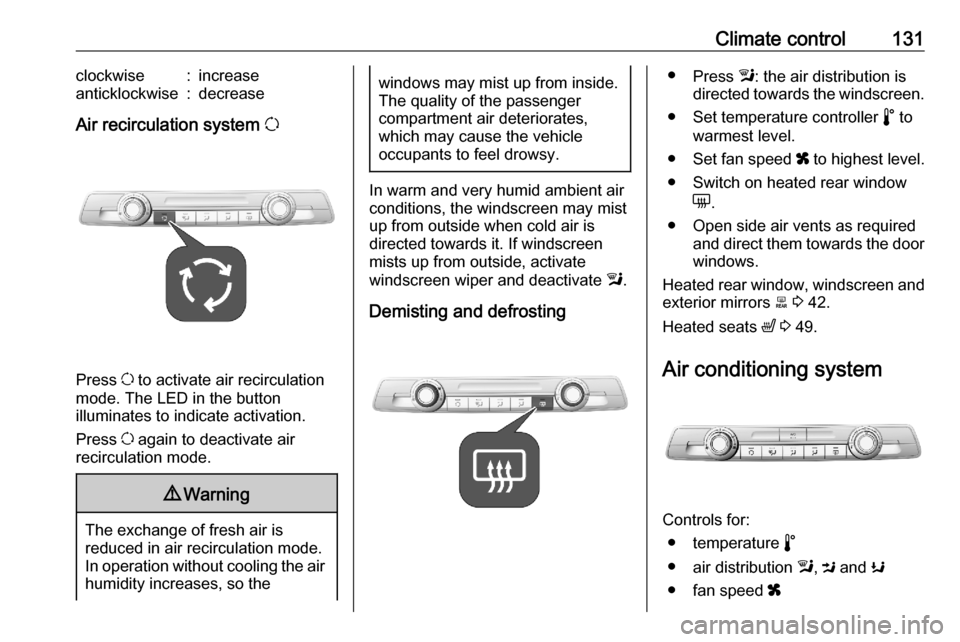
Demisting and defrosting
● Press l: the air distribution is
directed towards the windscreen.
● Set temperature controller n to
warmest level.
● Set fan speed x to highest level.
● Switch on heated rear window e.
● Open side air vents as required and direct them towards the doorwindows.
Heated rear window, windscreen and exterior mirrors b 3 42.
Heated seats ß 3 49.
Air conditioning system
Controls for: ● temperature n
● air distribution l, M and K
● fan speed x
Page 134 of 279
132Climate control● cooling A/C
● air recirculation q
● heated rear window and exterior mirrors e
Heated rear window e 3 42.
Heated exterior mirrors e 3 38.
Temperature n
Adjust the temperature by turning n
to the desired temperature.HI:warmLO:cold
Heating will not be fully effective until
the engine has reached normal
operating temperature.
Air distribution l,
M ,
K
l:to windscreen and front door
windowsM:to head area via adjustable air
ventsK:to foot well
All combinations are possible.
Fan speed x
Adjust the air flow by turning x to the
desired speed.clockwise:increaseanticlockwise:decrease
Cooling A/C
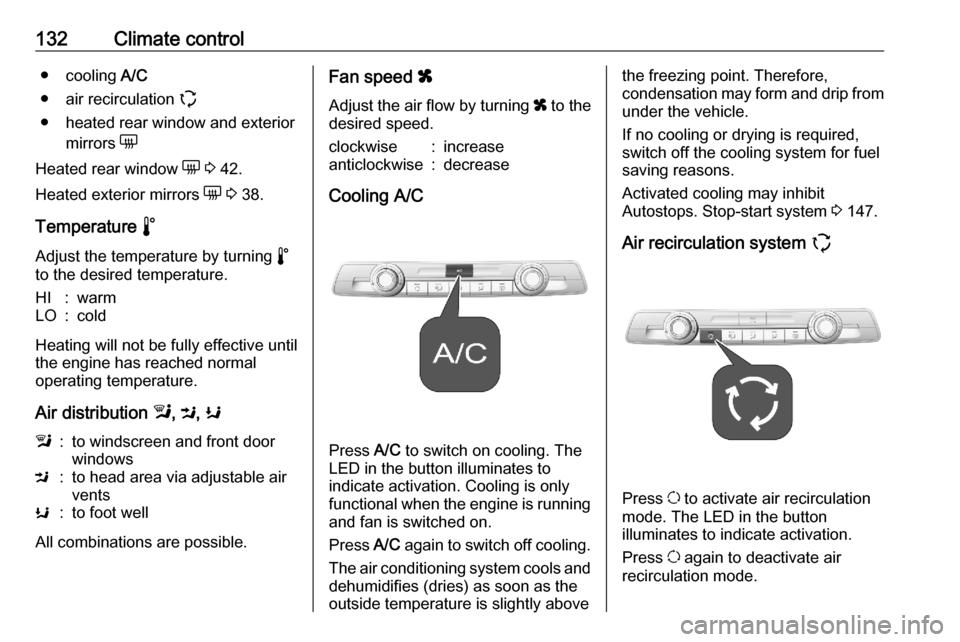
Press A/C to switch on cooling. The
LED in the button illuminates to
indicate activation. Cooling is only
functional when the engine is running
and fan is switched on.
Press A/C again to switch off cooling.
The air conditioning system cools and
dehumidifies (dries) as soon as the
outside temperature is slightly above
the freezing point. Therefore,
condensation may form and drip from
under the vehicle.
If no cooling or drying is required,
switch off the cooling system for fuel
saving reasons.
Activated cooling may inhibit
Autostops. Stop-start system 3 147.
Air recirculation system q
Press u to activate air recirculation
mode. The LED in the button
illuminates to indicate activation.
Press u again to deactivate air
recirculation mode.
Page 146 of 279
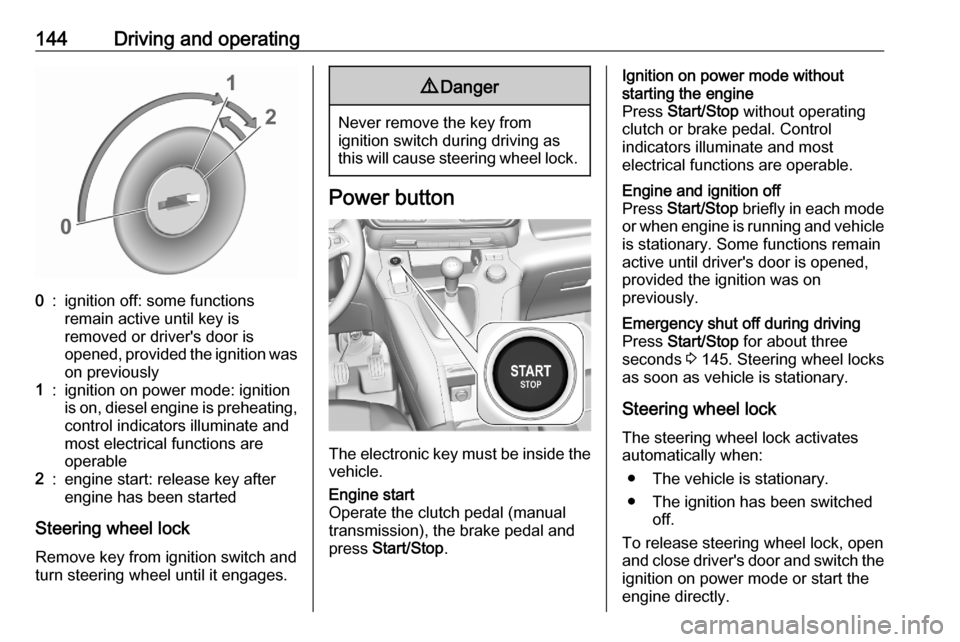
144Driving and operating0:ignition off: some functions
remain active until key is
removed or driver's door is
opened, provided the ignition was
on previously1:ignition on power mode: ignition
is on, diesel engine is preheating, control indicators illuminate and
most electrical functions are
operable2:engine start: release key after
engine has been started
Steering wheel lock
Remove key from ignition switch and
turn steering wheel until it engages.
9 Danger
Never remove the key from
ignition switch during driving as
this will cause steering wheel lock.
Power button
The electronic key must be inside the
vehicle.
Engine start
Operate the clutch pedal (manual
transmission), the brake pedal and
press Start/Stop .Ignition on power mode without
starting the engine
Press Start/Stop without operating
clutch or brake pedal. Control
indicators illuminate and most
electrical functions are operable.Engine and ignition off
Press Start/Stop briefly in each mode
or when engine is running and vehicle
is stationary. Some functions remain
active until driver's door is opened,
provided the ignition was on
previously.Emergency shut off during driving
Press Start/Stop for about three
seconds 3 145. Steering wheel locks
as soon as vehicle is stationary.
Steering wheel lock
The steering wheel lock activates
automatically when:
● The vehicle is stationary.
● The ignition has been switched off.
To release steering wheel lock, open
and close driver's door and switch the ignition on power mode or start the
engine directly.
Page 147 of 279
Driving and operating1459Warning
If the vehicle battery is discharged,
the vehicle must not be towed,
tow-started or jump-started as the
steering wheel lock cannot be
disengaged.
Operation on vehicles with
electronic key system in case of
failure
If either the electronic key fails or the
battery of the electronic key is weak,
a message may be displayed in the
Driver Information Centre.
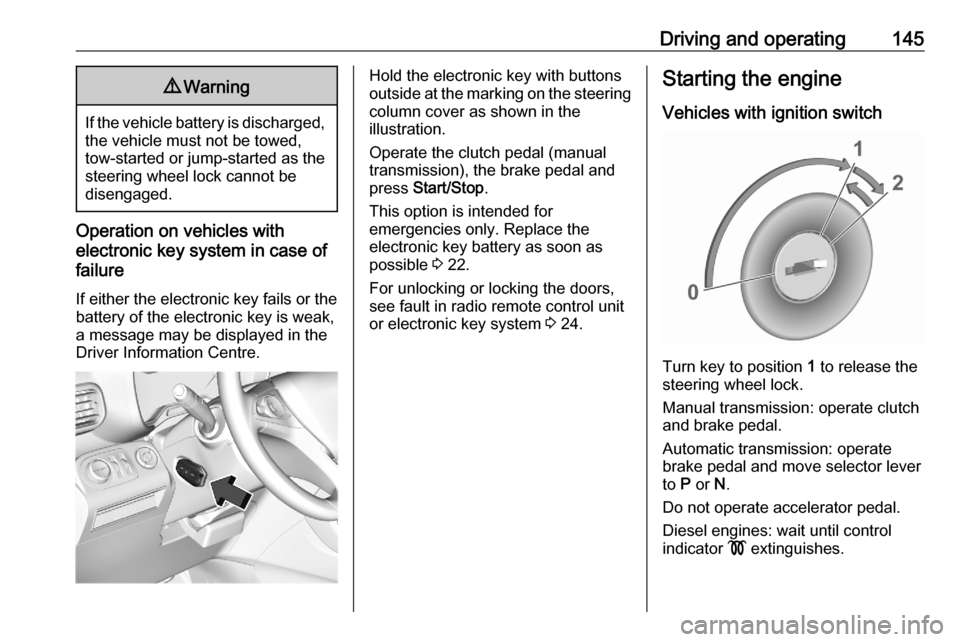
Hold the electronic key with buttons
outside at the marking on the steering column cover as shown in the
illustration.
Operate the clutch pedal (manual
transmission), the brake pedal and
press Start/Stop .
This option is intended for
emergencies only. Replace the
electronic key battery as soon as
possible 3 22.
For unlocking or locking the doors,
see fault in radio remote control unit
or electronic key system 3 24.Starting the engine
Vehicles with ignition switch
Turn key to position 1 to release the
steering wheel lock.
Manual transmission: operate clutch
and brake pedal.
Automatic transmission: operate
brake pedal and move selector lever
to P or N.
Do not operate accelerator pedal.
Diesel engines: wait until control
indicator ! extinguishes.
Page 156 of 279
154Driving and operatingNotice
Whenever a filling pump with a
nozzle for passenger cars is not
available at a filling station, use only
AdBlue bottles or canisters with a
sealed refill adapter for refilling, to
prevent splashback and overspill,
and in order to ensure that the fumes
from the tank are captured and do
not emerge. AdBlue in bottles or
canisters is available in many filling
stations and can be purchased e.g. at Vauxhall dealers and other retail
outlets.
Since AdBlue has a limited
durability, check the date of expiry
before refilling.
Notice
Refill the tank to a level of at least
5 l to ensure that the new AdBlue
level is being detected.
In case AdBlue refill is not
successfully detected:1. Continuously drive the vehicle for 10 min making sure that
vehicle speed is always higher
than 12 mph.
2. If AdBlue refill is detected successfully, AdBlue supply-
driven warnings or limitations will
disappear.
If AdBlue refill is still not detected, seek the assistance of a workshop.
If AdBlue must be refilled at
temperatures below -11 °C, the
refilling of AdBlue may not be
detected by the system. In this
event, park the vehicle in a space
with a higher ambient temperature
until AdBlue is liquified.
Notice
When unscrewing the protective cap
from the filler neck, ammonia fumes
may emerge. Do not inhale as the
fumes have a pungent smell. The
fumes are not harmful by inhalation.
The AdBlue tank should be filled
completely. This must be done if the
warning message regarding
prevention of an engine restart is
already displayed.The vehicle must be parked on a level surface.
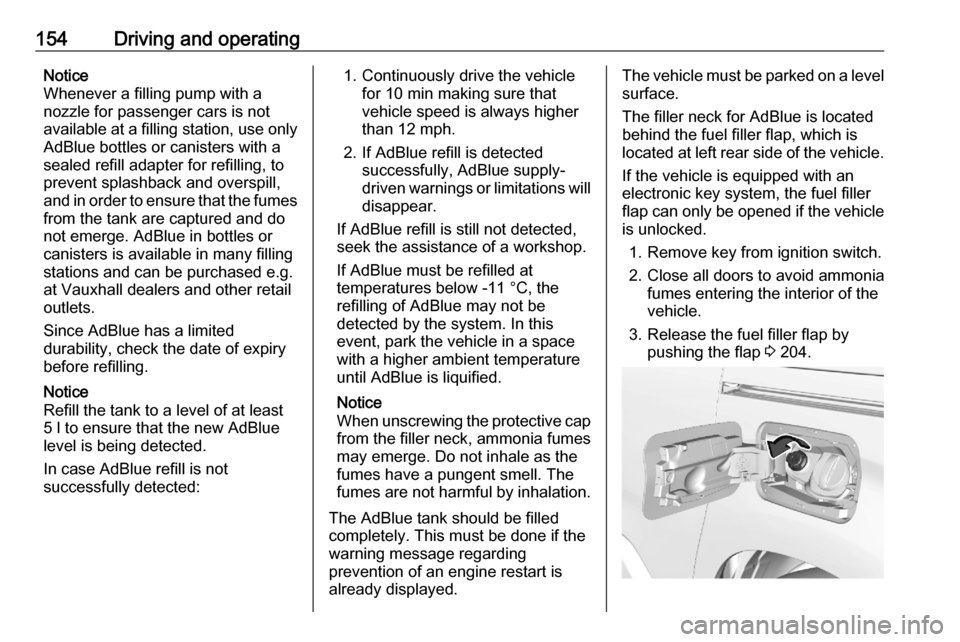
The filler neck for AdBlue is located
behind the fuel filler flap, which is located at left rear side of the vehicle.
If the vehicle is equipped with an
electronic key system, the fuel filler
flap can only be opened if the vehicle
is unlocked.
1. Remove key from ignition switch.
2. Close all doors to avoid ammonia fumes entering the interior of the
vehicle.
3. Release the fuel filler flap by pushing the flap 3 204.