navigation system VAUXHALL CORSA 2014.5 Infotainment system
[x] Cancel search | Manufacturer: VAUXHALL, Model Year: 2014.5, Model line: CORSA, Model: VAUXHALL CORSA 2014.5Pages: 177, PDF Size: 2.97 MB
Page 38 of 177

38Navigation
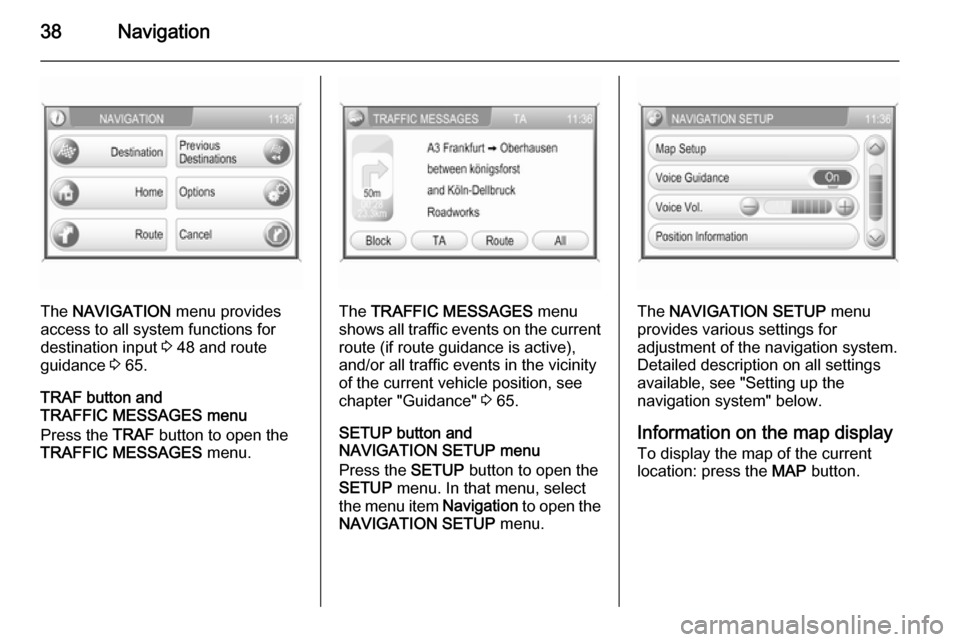
The NAVIGATION menu provides
access to all system functions for destination input 3 48 and route
guidance 3 65.
TRAF button and
TRAFFIC MESSAGES menu
Press the TRAF button to open the
TRAFFIC MESSAGES menu.The TRAFFIC MESSAGES menu
shows all traffic events on the current route (if route guidance is active),
and/or all traffic events in the vicinity
of the current vehicle position, see
chapter "Guidance" 3 65.
SETUP button and
NAVIGATION SETUP menu
Press the SETUP button to open the
SETUP menu. In that menu, select
the menu item Navigation to open the
NAVIGATION SETUP menu.The NAVIGATION SETUP menu
provides various settings for
adjustment of the navigation system. Detailed description on all settingsavailable, see "Setting up the
navigation system" below.
Information on the map display
To display the map of the current
location: press the MAP button.
Page 39 of 177

Navigation39
Route guidance not active
If route guidance is not active, the
following information is displayed:
■ In the top line: information on the currently active audio source and
the current time.
■ Map display of the area around the
current position.
The map can be displayed in
different views: tap on the Menu
screen button, and then select the
Map Setup menu item to open the
MAP SETUP menu, see "Setting up
the map display" below.
■ Current position indicated by a red triangle.
■ Street name of current position.
■ Points of interest (POI), e.g. petrol stations, parking areas or
restaurants, indicated by
corresponding symbols.
The display of POIs can be
switched on/off, see "Setting up the
navigation system" below.
■ A compass indicating the north direction.
■ The currently selected map scale (to change scale: turn multifunctionknob).Route guidance active
If route guidance is active, the
following information is displayed:
■ In the top line: information on the currently active audio source and
the current time.
■ Voice screen button: tap on this
button to repeat the last announced
voice command.
Touch the Voice screen button for
a few seconds to enable or disable
voice guidance.
If voice guidance is enabled, the button label is shown in white,
otherwise in black.
Page 40 of 177

40Navigation
Notice
The activation/deactivation of voice
guidance is indicated by a beep, if
system sounds are activated 3 11.
■ Map display of the area around the
current position.
The map can be displayed in
different views: tap on the Menu
screen button and then select the
Map Setup menu item to open the
MAP SETUP menu, see "Setting up
the map display" below.
■ Current position indicated by a red triangle.
■ Route indicated by a blue line.
■ Final destination indicated by a black chequered flag.
■ Waypoint (intermediate destination) indicated by a red
chequered flag.
■ Points of interest (POI), e.g. petrol stations, parking areas, or
restaurants, indicated by
corresponding symbols, see
chapter "Symbol overview" 3 73.The display of POIs can be
switched on/off, see "Setting up the
map display" below.
■ Traffic incidents, e.g. traffic jams, indicated by corresponding
symbols, see chapter "Symbol
overview" 3 73.
Traffic incidents are only indicated
on the map display, if dynamic
route guidance is activated, see
chapter "Guidance" 3 65.
■ At the bottom of the map: street name of the current position.
■ At the top of the map: name of the street to follow after the next
intersection.
■ Direction arrow and distance to the
next manoeuvre.
Changing the distance unit, see
"Setting up the navigation system"
below.
■ Estimated arrival time or remaining
travel time.
To toggle between arrival time and
remaining travel time: tap on the
displayed time.■ Remaining distance to the final destination.
Changing the distance unit, see
"Setting up the navigation system"
below.
■ A compass symbol indicating the north direction.
If the two-dimensional map view
mode is active (see "Setting up the
map display" below): tap on the
compass symbol to toggle the map
view between the "north
orientation" and the "driving
direction orientation" mode.
■ The currently selected map scale (to change scale: turn multifunction
knob).
If the auto zoom mode is active (see "Setting up the map display"
below): the map scale will be
adjusted (zoom in/out)
automatically by the navigation system to ensure reliable route
guidance.
Page 41 of 177

Navigation41
Moving the visible map section
The visible map section on the map display can be moved freely in all
directions.Activating the move mode
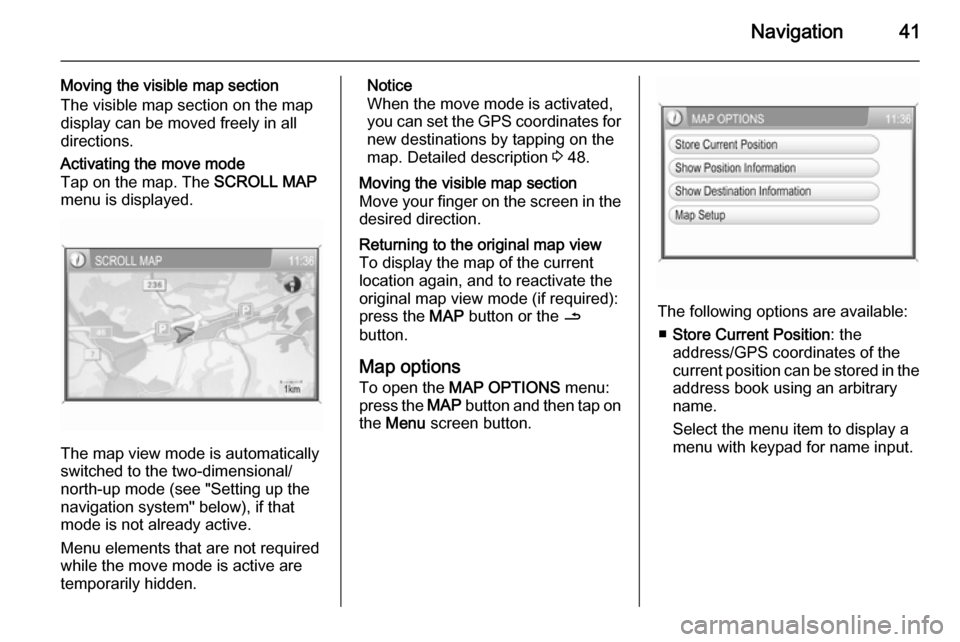
Tap on the map. The SCROLL MAP
menu is displayed.
The map view mode is automatically
switched to the two-dimensional/ north-up mode (see "Setting up the
navigation system" below), if that
mode is not already active.
Menu elements that are not required
while the move mode is active are
temporarily hidden.
Notice
When the move mode is activated,
you can set the GPS coordinates for new destinations by tapping on the
map. Detailed description 3 48.Moving the visible map section
Move your finger on the screen in the
desired direction.Returning to the original map view
To display the map of the current
location again, and to reactivate the
original map view mode (if required):
press the MAP button or the /
button.
Map options
To open the MAP OPTIONS menu:
press the MAP button and then tap on
the Menu screen button.
The following options are available:
■ Store Current Position : the
address/GPS coordinates of the current position can be stored in the
address book using an arbitrary
name.
Select the menu item to display a
menu with keypad for name input.
Page 43 of 177

Navigation43
In the 2D map view, you can toggle
between the "north orientation",
and the "driving direction
orientation" mode, see Map
orientation below.
In the 3D map view, only the
"driving direction orientation" mode
is available.
■ Map orientation : toggles the 2D
map view between the "north
orientation" ( north-up) mode and
the "driving direction orientation"
( head -up) mode.
In the head-up mode, the map
rotates depending on the driving
direction of the vehicle.
■ Auto Zoom : if set to On, the map
scale will be adjusted (zoom in/out) automatically by the navigationsystem to ensure reliable route
guidance.■ Show POIs In Map : if set to On,
points of interest, e.g. fuel stations,
parking areas, or restaurants, are
indicated by corresponding
symbols on the map.
■ Map Data Information : displays the
name and version of the map data
stored on the inserted SD card.
Setting up the navigation
system
To open the NAVIGATION SETUP
menu: press the SETUP button, and
then select the Navigation menu item.The following settings/options are
available:
■ Map Setup : displays the MAP
SETUP menu, see "Setting up the
map display" above.
■ Voice Guidance : if set to On, voice
commands (e.g. remaining
distance to next turning, turning
direction) are announced during
route guidance.
■ Voice Vol. : if voice guidance is
activated (see above), change this
setting to adjust the volume of voice commands. After each change an
audible feedback is given.
■ Position Information : displays the
address/GPS coordinates of the current position.
To store the displayed address/
GPS coordinates in the address
book: select the Save screen
button.
Page 44 of 177

44Navigation
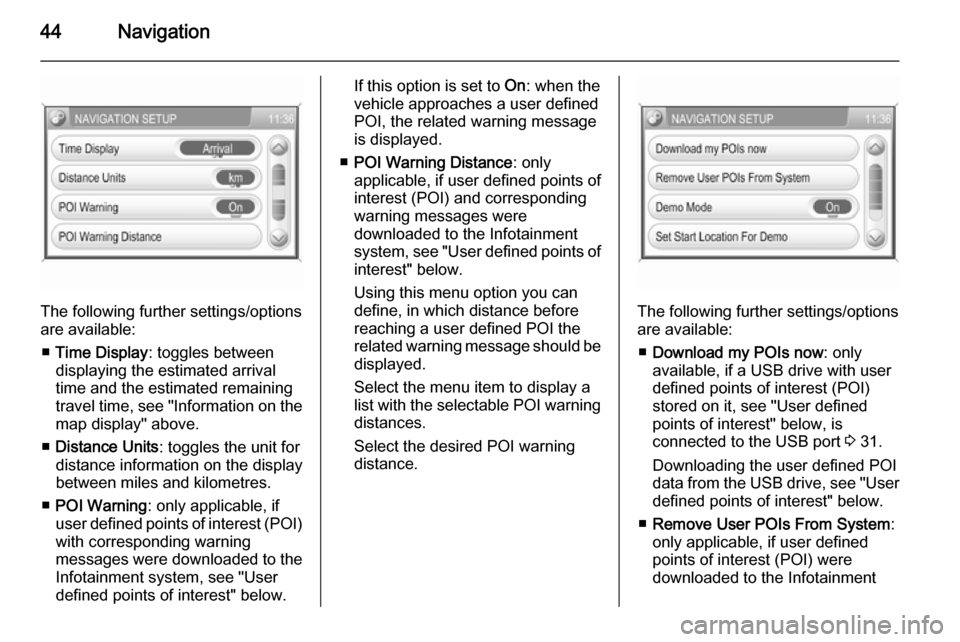
The following further settings/options
are available:
■ Time Display : toggles between
displaying the estimated arrival
time and the estimated remaining
travel time, see "Information on the
map display" above.
■ Distance Units : toggles the unit for
distance information on the display
between miles and kilometres.
■ POI Warning : only applicable, if
user defined points of interest (POI) with corresponding warning
messages were downloaded to the
Infotainment system, see "User
defined points of interest" below.
If this option is set to On: when the
vehicle approaches a user defined POI, the related warning message
is displayed.
■ POI Warning Distance : only
applicable, if user defined points of
interest (POI) and corresponding
warning messages were
downloaded to the Infotainment
system, see "User defined points of interest" below.
Using this menu option you can
define, in which distance before
reaching a user defined POI the
related warning message should be
displayed.
Select the menu item to display a list with the selectable POI warning distances.
Select the desired POI warning
distance.
The following further settings/options
are available:
■ Download my POIs now : only
available, if a USB drive with user defined points of interest (POI)
stored on it, see "User defined
points of interest" below, is
connected to the USB port 3 31.
Downloading the user defined POI data from the USB drive, see "User
defined points of interest" below.
■ Remove User POIs From System :
only applicable, if user defined
points of interest (POI) were
downloaded to the Infotainment
Page 45 of 177

Navigation45
system, see "User defined points ofinterest" below.
Select the menu item to remove all
user defined POI data from the Infotainment system.
■ Demo Mode : the demo mode
enables you to plan your trip, and
provides an overview of the route.
The demo mode requires a start
position, that may be different from
your current position, and a
destination.
To set a start position: see Set Start
Location For Demo below.
To set a destination: use one of the usual options for destination input
3 48.
To activate the demo mode: set the
menu option to On. Route guidance
is now simulated.
Please note, that in demo mode the
displayed estimated arrival time or
remaining travel time, see
"Information on the map display"
above, is not realistic. In demo
mode the simulated vehicle speed
is unrealistically high, toaccomplish a short execution time
for a simulated trip.
To return to normal route guidance: set the menu option to Off.
■ Set Start Location For Demo :
displays a menu for the manual
input of a start position.
Enter the address of the desired
start position 3 48.
Enabling or disabling the display of
TMC (traffic) messages
You can enable the display of TMC
messages even if no route guidance
is active.
Notice
Detailed descriptions on TMC, see
chapter "Dynamic guidance" 3 70.
Press the SETUP button, and then
select the Traffic Messages menu
item.Enabling the display of TMC
messages
Set Dynamic navigation to Prompt . In
the event of a traffic jam or other traffic
incidents a corresponding TMC
message will be shown on the
display.Disabling the display of TMC
messages
Set Dynamic navigation to Off or
Automatic . No TMC messages will be
shown on the display.
Page 46 of 177

46Navigation
Notice
Functionality of the Dynamic
navigation settings when route
guidance is active, see "Settings for route calculation and guidance" in
chapter "Guidance" 3 65.
User defined points of interest
In addition to the predefined points of interest (POI) stored on the map SD
card, you can create user defined
POIs that meet your special personal
needs. After creation, such user
defined POIs can be downloaded to
the Infotainment system.
You can create two different types of
user defined POIs:
(1) Destination POIs : POIs that you
can use as destinations for route
guidance.
For each POI you need to define the GPS coordinates (longitude and
latitude values) of the POI's location
and a descriptive name.
After downloading the POI data to the Infotainment system, you will find the
POI name (e.g. "Michaels house") in
the menu for user defined POIs3 48. You can select the regarding
menu item as destination for route
guidance.
(2) POI warnings : POIs that you want
to be warned of ( e.g. very sharp turns
on a road), before reaching the
corresponding location.
For each POI you need to define the
GPS coordinates (longitude and
latitude values) of the POI's location
and a descriptive warning message.
After downloading the POI data to the Infotainment system, and in case
route guidance is active:
When the vehicle approaches the
POI location defined by the GPS
coordinates, the corresponding
warning message (e.g. "Very sharp turn") will be displayed.
Using the menu option POI Warning
Distance in the NAVIGATION
SETUP menu, see above, you can
define, in which distance before
reaching a user defined POI the
related warning message should be
displayed.Creating user defined POIs
For each POI type you need to create
a separate text file, e.g. by using a
simple text editor software.Destination POIs
1. Create a text file with an arbitrary name and the file extension .asc,
e.g. "TomsDestinationPOIs.asc".
2. The POI data need to be entered into the text file in the following
format:
Longitude coordinate, Latitude
coordinate, "Name of POI [ any
comment ]"
Page 47 of 177
![VAUXHALL CORSA 2014.5 Infotainment system Navigation47
Example: 9.9800000,
52.0150000, "Michaels House
[ Fleet Street ]"
Please note, that the text shown
above has to be entered in a
single line, see image above.
3. Get the required GPS coord VAUXHALL CORSA 2014.5 Infotainment system Navigation47
Example: 9.9800000,
52.0150000, "Michaels House
[ Fleet Street ]"
Please note, that the text shown
above has to be entered in a
single line, see image above.
3. Get the required GPS coord](/img/38/19421/w960_19421-46.png)
Navigation47
Example: 9.9800000,
52.0150000, "Michaels House
[ Fleet Street ]"
Please note, that the text shown
above has to be entered in a
single line, see image above.
3. Get the required GPS coordinates, e.g. from a
topographical map.
The GPS coordinates need to be
expressed in decimal degrees, as shown in the example above.
4. Enter the Longitude and Latitude coordinates into the text file,
separated by a comma and a
space.
5. Enter an arbitrary name for the POI, and, if desired, an optional
comment in square brackets.
The name and comment must be enclosed by quotation marks, and
separated from the GPS
coordinates by a comma and a
space.6. Enter further POI data, using a separate line for each POI, into
the text file, as described above.
7. Store the text file, e.g. on your local hard drive.POI warnings
Create a separate text file with an
arbitrary name and the file
extension .asc, e.g.
"TomsPOIWarnings.asc".
The further operating steps for
creating a text file with POI warnings are the same as described for
destination POIs, see above.
The only difference is: instead of
creating a name (e.g. "Michaels
house") you need to create a warning message (e.g. "Very sharp turn").
Storing the text files on a USB drive 1. In the root directory of a USB drive: create a folder named" myPOIs ", e.g. "F:\myPOIs",
where "F:\" is the root directory of
the USB drive.
2. In the "myPOIs" folder, store the text file with destination POIs,
e.g. "F:\myPOIs
\TomsDestinationPOIs.asc".
3. In the folder "myPOIs" create a subfolder named
" myPOIWarnings ".
4. In that subfolder store the text file with POI warnings, e.g.
"F:\myPOIs\myPOIWarnings
\TomsPOIWarnings.asc"
Downloading the user defined POIs
Connect the USB drive with your user
defined POI data to the USB port
3 31 of the Infotainment system.
Page 48 of 177

48Navigation
To start the download: press the
SETUP button, select the Navigation
screen button, select the Download
my POIs now menu item, and then
confirm the displayed message.
The POI data will be downloaded to
the Infotainment system.
Destination input Various methods are available to set
your destination for route guidance.
Press the NAV button to open the
NAVIGATION menu.The NAVIGATION menu provides
three options that you can use for destination input:
■ Destination : opens the ENTER
DESTINATION menu.
Notice
If route guidance is active, a
message is displayed before the
ENTER DESTINATION menu will be
opened.
You need to decide first, if you want
to add a waypoint (an intermediate
destination) to the currently set
destination, or if you want to replace
the currently set destination by a
new destination.
Detailed description on adding a
waypoint to a destination, see
chapter "Guidance" 3 65.
The ENTER DESTINATION menu
is the main entry point for entering
and/or selecting destinations, see
"Entering an address directly" and
subsequent paragraphs below.
■ Previous Destinations : displays a
list with destinations, that were
previously used for route guidance.
You can select an entry from that
list to set it as your new destination,
see "Selecting a previous
destination" below.
■ Home : displays a menu that you
can use to store an address as your home address, and/or to select
your already stored home address